George Vondriska

Session 2: Choosing Your Glue

George Vondriska
Duration:   40  mins

Description

We identify and discuss ten different types of glue: Yellow glue; white glue; polyurethane glue; cyanoacrylate; waterproof and water-resistant glue; epoxy; hide glue, contact adhesive; repositionable spray adhesive; and thick viscosity glue.

The Class Guide PDF includes a handy reference chart that includes each glue’s characteristics. You can use this to help you ensure you always choose the best glue for the job.

Share tips, start a discussion or ask other students a question. If you have a question for the instructor, please click here.

Make a comment:
characters remaining

No Responses to “Session 2: Choosing Your Glue”

No Comments
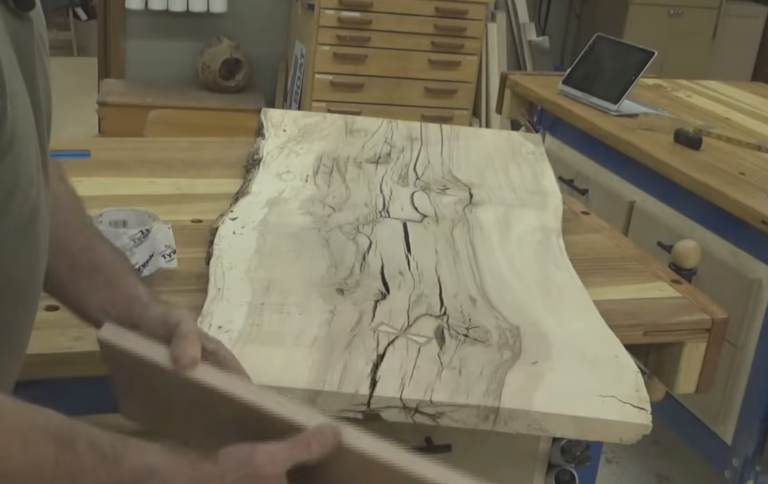
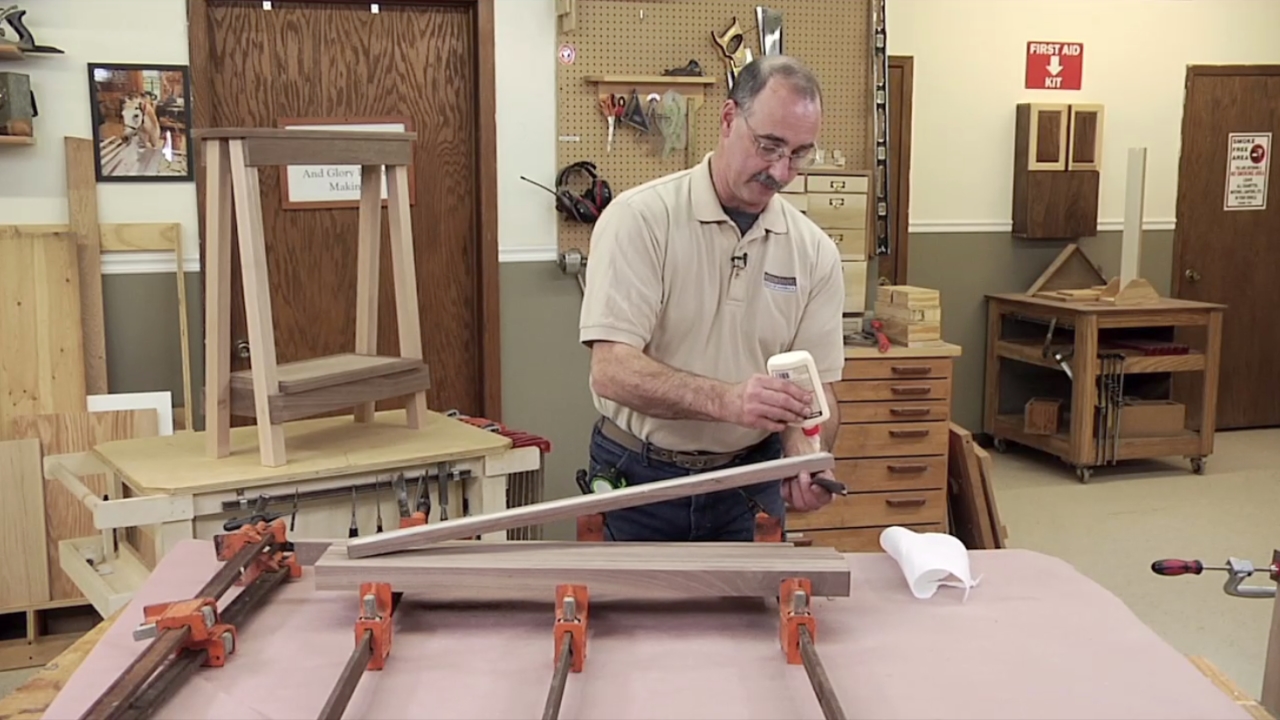
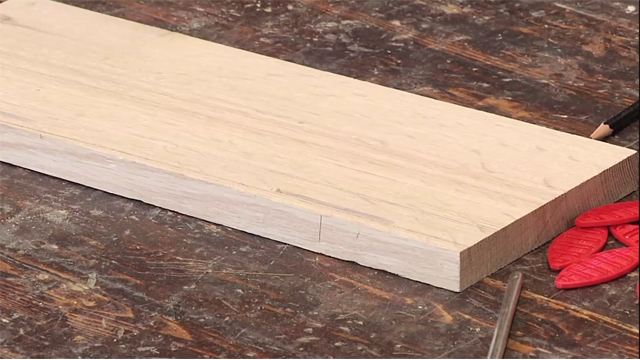
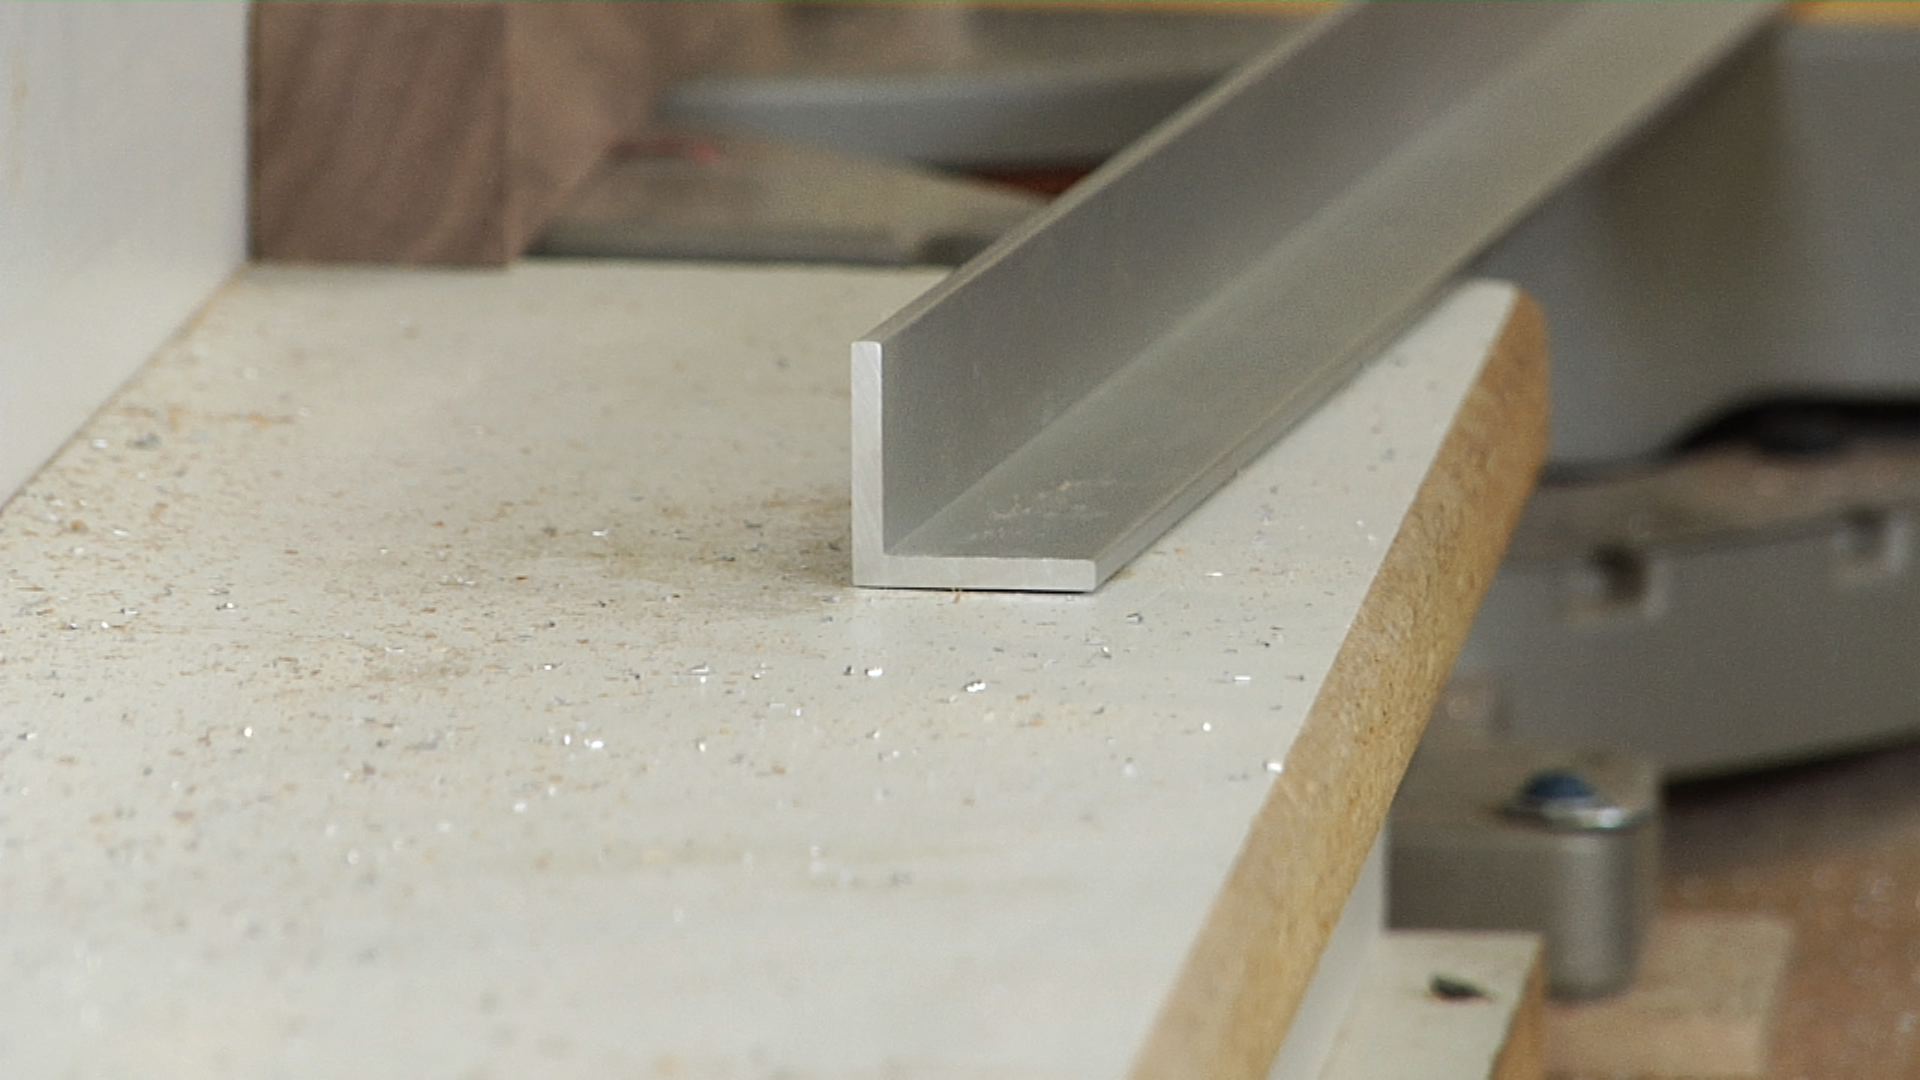
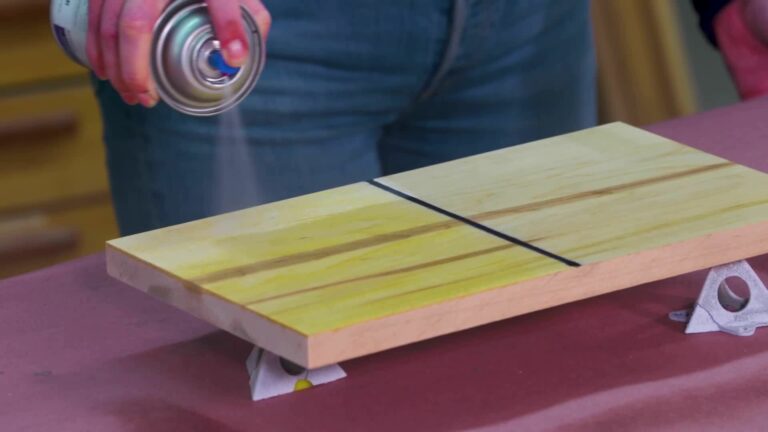
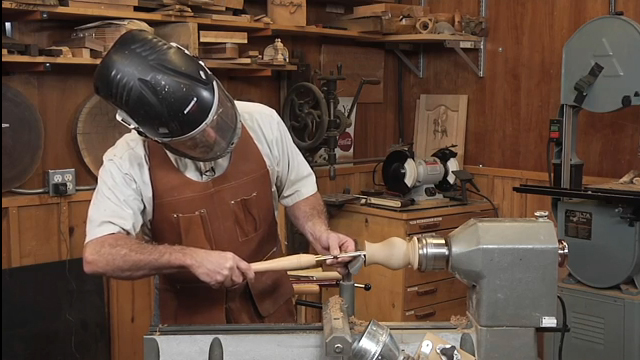
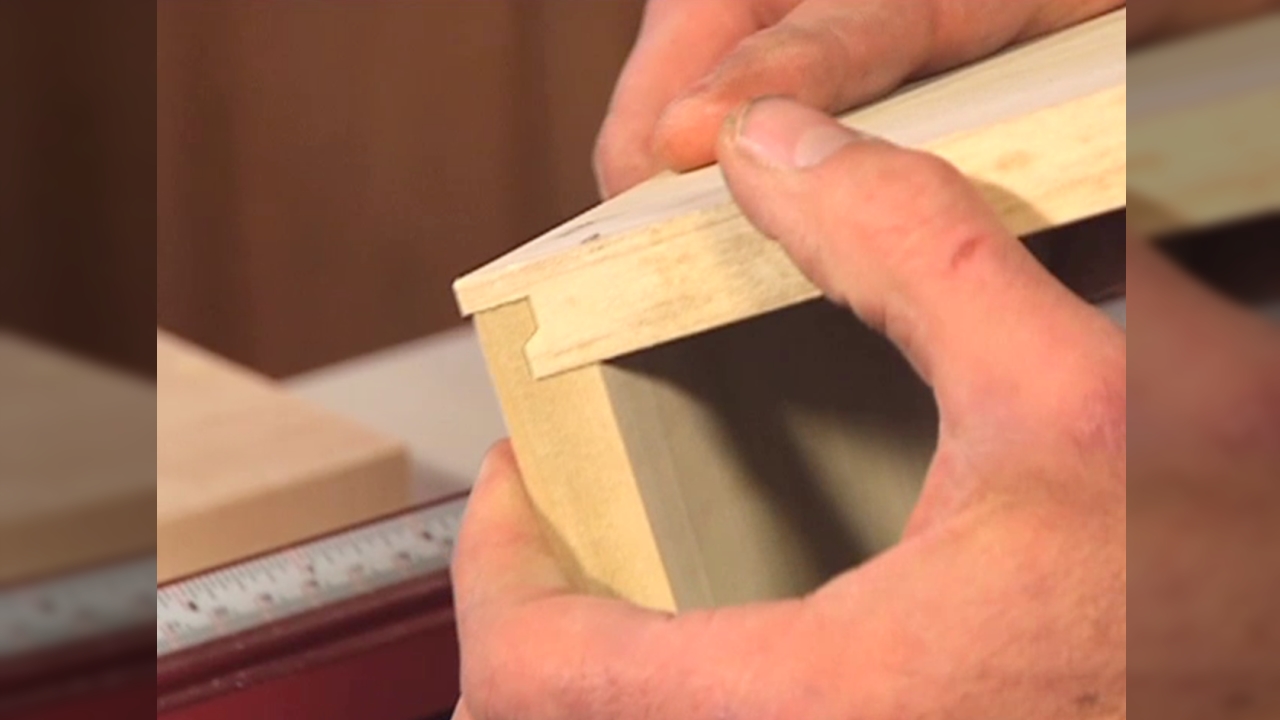
We're going to start off with the glue that for most of us is probably the go-to glue in our shops. And that is just standard yellow glue, carpenter's glue. It is aliphatic resin glue, and we've got a couple of things going here with these types of glues. Compared to another glue we're about to talk about, we're going to talk about white glue in just a second. This has a faster tack time than white glue does. Now within this family there are other glues that have faster and slower tacks, however, compared to white glue, faster tack time. It's gap filling capability is only around six thousandths of an inch. So three thousandths of an inch, that's about the thickness of a piece of paper. So it's less than that, which this goes back to the concept that we need to make sure our joinery is sound in order for the glue to work, because it's not gonna make up differences in the fit of your joint. It's a glue that is readily available. It's going to have plenty of strength for furniture making, cabinet making projects. Again, any of our really daily go-to stuff. What I'm going to look at here is common application edge to edge glue up for a tabletop or a raised panel. And when we do this, we're going to talk about glue application as well, but I'm going to hit on it a little bit, as long as we're right here. When the glue goes on, I'm looking for a film of glue that is uniform and relatively opaque. Meaning that if we look you really can't see the wood through the glue. I tell people in my classes to think of it like painting a wall, we want to cover up that substrate in this case, the substrate being the wooden edge. So back to our glue selection, yellow glue great go-to glue, lot of strength there for our standard furniture and cabinet making projects. Yellow glue by itself is not a water resistant or waterproof glue. We're going to talk more about those later. Looking at what we've got going here, there's some squeeze out on our panel. We're going to talk later about dealing with squeeze out. So we'll address that then. And again, the big thing I want you to remember here is white glue has a chance to be a viable candidate for you. Big thing to look at here is our yellow glue has a much faster tack time, shorter working time than the white glue does. So candidate number one for your woodworking projects good old fashioned yellow glue, carpenters glue. White glue, remember that it has the same strength characteristics as yellow glue. And yes, this is standard white school glue stuff that you use when you were in elementary school. Couple of differences, gap filling, we've got that same aspect about six thousandths of an inch. When white glue is fully dried, keep in mind, that it's a little bit softer than yellow glue dried. So where wouldn't I use this? I wouldn't want to use it in something like a tabletop glue up, a bunch of edge to edge joints, where we're going to be sanding over those seams when we're all done. The yellow glue is a better glue for that application cause it's harder, and it's going to sand out better. When you sand over white glue, it tends to gum a little bit. 'Cause just even in its dried state it's not quite as hard as yellow glue. A good feature of white glue is that it has a longer tack time, gives you more open time than yellow glue. So when you're looking at an assembly like I've got in front of me here, that's got a lot of moving pieces. It's got a lot of parts to it. This would be a great place to use white glue because it'll give you more working time. And then two, visualize when this box comes together what it's going to look like. This is a scenario where that issue of the glue being not sanding out very well, isn't a deal breaker because all the glue is inside the joint. I really don't have areas where I have to worry about sanding the glue scene. So biggest attribute with the white is having more open time, more working time. Nice fit. Boxes like this can be a little bit dicey because we've got inside corners and if it gets squeezed out there, that can be a bugaboo. So for that, be sure to have a look at our section on dealing with squeeze out and we specifically address inside corners on a box like this. So don't discount the childhood favorite of white school glue. It's got a place in your shop especially when you've got a more complex glue up and you want a little bit more working time to get everything together. Polyurethane glue, interesting stuff. About the consistency of honey. Wear gloves when you work with this stuff you don't want it on your skin. And with yellow glue and white glue they dry by evaporation. And in fact, if there's too much moisture in the wood it can really retard the drying and I mean they'll just take forever to dry if the wood is wet. So they're not good choices for that. Polyurethane glue on the other hand needs moisture present in order to cure. What I'm working with here is treated lumber. And if I had a touch on meter here that you could use you would find this stuff is pretty much dripping wet. It came from the lumberyard to my shop just a few days ago. And it is really, really, really wet. If you use polyurethane glue in places where the wood is already bone dry then you need to add moisture to the wood and I'll show you an example of that in just a second. Gap filling on polyurethane glue don't get tricked by the way it foams up and let you think that that's a gap filling characteristic. It's not. Gap filling capabilities on polyurethane glue are about five thousandths of an inch. So not much different than yellow glue. It will foam and it will fill gaps but not with any real strength. So you can't use polyurethane glue in an effort to compensate for lousy joinery. One of the things that you really gotta be aware of is that when we sit here and watch this that polyurethane glue is going to start to foam it's already doing it on this corner. So a couple of things about that, one, don't be tempted to wipe that as it weeps out of the joint all you're going to do is make a big mess. Polyurethane glue is a case where we really need to just let it sit and deal with it later. Later being, have a look at our dealing with squeeze out section. It is a waterproof glue. So in a case like this, making a planter box, it's a good choice for this because it can, unlike standard yellow glue, standard white glue, this can live outside. So again, got to have moisture present, and it is waterproof, great benefits, similar gap-filling characteristics to yellow and white glue. And as it foams we're just going to leave that sit deal with it after the fact. Now this idea of adding moisture, one of the other great characteristics, I'm going to pull my gloves off. One of the other great characteristics about polyurethane glue is the ability to use it for dissimilar objects. This is a wooden backer board, with a solid surface countertop. So solid surface countertop, you might know by the name Corian. Solid surface countertop inlay here and standard yellow or white glue would not provide a bond between these two. Because there's no porosity to this material. Polyurethane glue is a good choice. The maple was bone dry. The solid surface countertop was bone dry. So in this case a little bit of polyurethane glue went in there spritz some moisture on the back of the solid surface piece put that in and then we're going to get a glue bond. So again, like I said earlier if you've got stuff that's bone dry you've got to add moisture to it in order for the polyurethane glue to work. If you're using this glue on a joint where, let's say something like a mortise and tenon joint, you want to be a little bit careful about when you're going to remove the clamps because of it's foaming action, that foam can actually create pressure that pushes joints apart. So with a yellow or white glue I'm probably comfortable to pop the clamps off and handle the piece real carefully, but maybe 10 minutes after the clamps are on that stuff has started to tack pretty good, you can take the clamps off, use them for something else, set the piece aside. Can't really do that with polyurethane glue because of that foaming action which is going to continue and continue and continue. And it can, like I said, it can start to push the joint apart, if you take the clamps off prematurely. So little wrap-up, waterproof, great characteristic, needs moisture to dry. So if you're working with wet stuff it's a great choice for that. Downside, it foams, and that can be a mess, and you're going to have to deal with that later. But great product for dissimilar materials, like I showed you here. Another good glue to know about in your arsenal of sticking stuff together. Cyanoacrylate glue, which we more commonly just call CA glue, I think it's just a must have thing in your shop. It's good for repairs. It bonds really fast. It's pretty strong. And so pretty strong. The CA glue does not have a boatload of sheer strength. It's not a glue that we'd want to use to assemble an entire project, but I can tell you in my case in turning bowls or other items on the lathe where I've got a little break in them I've used CA glue to put them back together and continue the turning process. If I'm up against something where there's a void I've used CA glue to fill the voids. If I have a piece that's a little bit punky it's a little bit soft just in this section but the rest of it is sound enough to work with, you can use CA glue in order to fill that in order to stabilize that punkiness and let you continue to move forward with the project. The other thing, what I'm going to do here that's really neat about it is it can actually be used to put together stuff that's wet. This is a bowl blank, and we're going to put on it a dummy board, then fasten the faceplate to this, and turn this. And because this is wet, I can't use yellow glue. I could use polyurethane glue, but then I have to wait for that to cure. With the CA glue, I'm going to put a little shot of accelerator here on my blank. And the accelerator's going to help things dry a little bit quicker. You want to be conservative with the accelerator. If you overuse it, it can cause the CA glue to crystallize and that'll affect your strength. It's available in different viscosity's. And you want to match that to the work that you're doing. I'm using the thick one for this. I've got a screw sticking out. There's a center hole there. There they have found each other. And now all I need to do is give that really just a couple of minutes, and then that's going to cure. We'll put that on the lathe. And it's amazing that it lets me get away with it. As I mentioned, especially for turning application, CA glue is just a must to have on hand to do little repairs but as just a general handy thing to have in the shops, cyanoacrylate is really amazing. Like I said, stabilizing, punky stuff, filling voids, working with wet material. It's a really good glue to have. Let's see just how well this works over on the lathe. Beautiful chunk of wood. That's only the roughing step and I've got a ways to go, obviously. But I think at this stage of the game we can safely say the CA glue is doing a wonderful job holding that bowl blank onto the dummy board. And I'm going to quit talking and go back to work. Because I love bowl turning and can't wait to see this one go a little further. CA glue experiment worked wonderfully. When you're doing a project that's going to live outside, we need gluing options that are going to tolerate that, standard yellow glue, standard white glue, are not good for that. If you want to know more about polyurethane and two-part epoxy, those are good choices, but look at those segments. We're going to talk about glues that are in the yellow glue family. And what this really comes down to here is I want to make sure that you understand water resistant versus waterproof. So I'm going to work while I'm talking here. I've got a Cedar, this is going to be in a Cedar sign, that'll end up outside. And I have to glue these two boards together in order to get a panel that's large enough. Waterproof versus water resistant. Depends on what you're building. Generally my explanation on this is if you're doing something like an Adirondack chair and it's going to live outside most of the time, so it's going to get rained on, it's going to get damp, but it's not going to be constantly wet. A piece of furniture like that would be fine if you use a water resistant glue. As opposed to something like a planter, where you're going to fill the planter with dirt because that's what plants need, and then the other thing plants need is water. And when you're watering the stuff in that planter you're going to create an environment where it's probably constantly damp, constantly moist. And as a result, that's an application where you're way better off using a glue that's waterproof. So as I mentioned earlier, one route to go for that kind of stuff would be the polyurethanes and the epoxies but they've got their working traits. Glues in the yellow glue family like I'm using here are also really good candidates for this but just double check, make sure you're using the right glue for the job. At the end of the day, if you use a glue that's waterproof for everything, then you're going to be okay. In fact, if you wanted to go a step further and just say that's the only glue I'm going to buy and I'm even going to use it for my indoor projects there's nothing wrong with that. The only thing you're giving up is that the waterproof glue is more expensive than water resistant or standard yellow indoor glue. So more costs per ounce but your bases would always be covered. So I'm not saying you have to do that. I'm not saying you got to use an outdoor glue for your indoor projects, but going to this level we can't go wrong on the outdoor stuff, because we know it's going to tolerate the kind of work we need for furniture, like an Adirondack chair, and more constantly wet environments, like a planter. So just make sure you're picking the right one for the task at hand so that when it goes together, your project, it stays together. We've talked about a lot of glues that are not gap filling. And I keep talking about the whole idea of strength of a glue joint comes from the idea that the joint fits well. This glue is an exception to that rule which is great to know. Two-part epoxy is in fact gap filling, and it's got other great characteristics too, that we'll talk about. So in your woodworking world, let's say you run into a scenario where you're fixing an old chair and the rung on the chair is no longer a great fit for the hole it's got to go into, two-part epoxy can make up that difference. It's basically like pouring plastic into that joint and allowing that to make up the difference between the two mating parts. It's also waterproof and it's gap filling characteristic is something we're going to take advantage of in the like glue up we're going to do here. One of the things I like about it for much of what I do is that it's another glue like polyurethane that can put dissimilar products together. So we're in fact gonna use it to put steel and fiber and wood in a sandwich. So very common approach is to get it in a syringe like this. And what's nice is that that automatically gives us the right amount of resin and hardener. And what's really key then is that you, Sir Mix-a-Lot, you really have to stir this up, make sure you get a thorough mix of the two. If you're using this stuff a lot you'll also find two-part epoxy like this online from sources where you can get it in larger tubes and in a cost per ounce it's a little less expensive way to buy it. So it's not in a syringe like this. You're going to have to pour it out, measure your 50-50 mix but it'll save you some money over the time in which you're using the two-part epoxy. Now, what we're going to do is put a knife together maple scale, and then a fiber accent. Go on. Thank you. A steel blade. Now we'll talk about a solvent that'll clean this epoxy up but I am careful to try not to touch parts just in case there's a little epoxy on my fingers. Try to touch parts here that I don't want epoxy on. If you don't get it thoroughly mixed, it'll never cure. And that's going to be really bad. All right, little clamp action. In the yogurt cup, I have isopropyl alcohol and just read the instructions that come with the epoxy that you buy. There are solvents that'll clean this up but this is definitely a case where if you have squeeze out like I do right there, you want to deal with that now while the epoxy is still wet, 'cause it dries so hard and it is so durable that it's really, really the only way to clean it up after the fact is mechanically. So sanding, scraping. I'm not worried about squeeze out around the top of the handle 'cause that's all going to get shaped, that's all going to get sanded before this is done but here where those surfaces meet you want to take care of that kind of squeeze out now while the epoxy is still wet. Now I mentioned, because of what we're doing, I like that gap filling characteristic. And here's what I'm talking about, on a knife like this let's say you're making a kitchen knife, and at some point you cut raw meat with it, and there's liquid involved with that meat. If you know what I mean. One of the things the epoxy is doing for me here is it's filling in between all the layers, it's creating a gasket. So if I do end up in a scenario, I make a hunting knife and it is in a scenario where there's blood from an animal involved because we've gasketed everything with epoxy the blood can't get in between, for instance the handle and the fiber and get all gross and rancid inside there because it's all sealed up with the gap filling two-part epoxy. Great product to just... This is something I think strongly, you just need one of these syringe type cylinders in your shop all the time, so that we're on you run into a scenario where you need epoxy, you've got it on hand. Lots of great characteristics to this adhesive. If you're seeking a glue that's readily reversible, hide glue. Get it? Hide, seek. Is the answer for you. Hide glue has been around since forever and the name is the manner in which it's made. So historically this is, you boil animal parts from which you get glue. A couple of things going on here. This is a glue that is interior use only. It's a little honey-like. It takes a little getting used to. Now you can get it in different forms. What I have here is hide glue in a bottle, ready to go. The more traditional form of this is flakes of hide glue. You put them in a pot, you heat the pot, and as the glue melts, you're ready to use it. Now, especially with the hide glue that you heat up you have to be a little bit careful about your shop temperature conditions, because as it starts to cool it's starting to grab. So as you take it out of the pot and start to put stuff together, if your shop is 50 degrees it's going to tack really, really, really quickly. So you want to have a relatively warm work environment in which to work with it. This whole reversible thing. With hide glue, one of the things that's really cool about it is that if you expose it to heat and moisture steam you can reverse the bond. So the reason I've got a ukulele laying in front of me here, the parts of a ukulele, is that hide glue is what's very commonly used to put instruments together. And the reason for that is that over time if we need to disassemble the uke and do some work, if a brace cracks and we need to take it apart and repair the brace, if we've put this together with yellow glue we're not going to be easily able to do that. If we put it together with hide glue we can completely disassemble stuff, fix the part, put it back together. In fact, when you look at older tables that have these really pretty veneered types on them, in many cases those are held on with hide glue for a similar reason. It's a tabletop. Veneers are thin. So if over time the veneer gets damaged, you can use heat and moisture to remove the veneer and get a new veneer on. Now, the other thing that's kind of cool is that if you heat up the, let's say you've got a joint that you're disassembling, so you heat it, you just disassemble, in some cases, if there's enough glue left there you can simply heat and moisturize. You can steam the glue that's in place and put everything back together. If there's enough of that original hide glue left there. So it can be sort of unconstituted and reconstituted just with that steam process. It's not a glue in my shop that I'm using on a daily basis, but it's a glue that's a great problem solver. Again it's when I make guitars, I often use it there, the ukulele, any place where I know I want to have that attribute of it being reversible. That is a great, that makes it a great choice for projects where you need to have that attribute. For the most part we've been talking about permanently sticking stuff together with glue. Sometimes you want to be a little less permanent and this is an application for that. Here's a big picture of where I'm going on. On the CNC here, we're about to cut from cardboard, some patterns. So what I want to be able to do is stick the patterns down and there can't be any hold downs on them because we're going to cut through the cardboard. And I want to take that cardboard off put another piece on, take that off, put another piece on. So the key to this is a spray adhesive which is repositionable and that's what's in this aerosol can. Now don't confuse this with a can of contact cement, that is not repositionable. With this stuff it's specifically formulated, so I can do this. And this is a piece of melamine I've got on the CNC. And you can probably tell this has been done more than once because that's all of the schmutz on here is glue residue from previous applications. To make this work, you want to spray that on, and then do not immediately stick the parts together. It's a little bit like contact adhesive that way. We want to let this dry just a little bit, a couple of minutes. It's going to get to where, like right now when I touch it, I can feel it's wet. And a couple of minutes when I touch it, it's going to be tacky, but not wet. That's the point at which we can put the cardboard on. So we'll give that a minute or two and then come back and move on with the cardboard, then the CNC cut. That feels just right. Now notice unlike contacted adhesive I can make contact here wiggle that a little bit and then stick it. And then we'll run the tool path. And the beauty of this is the reposition ability, the repeatability. Which means with that first layer of adhesive on there, you get some feel there for how well it sticks. I'll separate these template parts when this is off but then I can grab my next sheet of cardboard for the next template, stick it down and I'm ready to go. And I would say, in this CNC work, working with this cardboard, I can do this probably six, or eight, or 10 pieces of cardboard on that first layer of glue before I need to do a new layer of glue. So the repositionable spray adhesive is a great adhesive to use for this kind of application or anytime that you want something stuck briefly and you want to be able to remove it, or move it, reposition it later. Contact adhesive, which we're going to use next, is very interesting stuff. It's very dissimilar from our other normal woodworking glues. A couple of things about it. This is a solvent-based form of contact adhesive. They also make it water-based. The functionality of the two is very, very similar. If you're in an environment where there's a pilot light any place, on a furnace, or a water heater, or a stove, don't use the solvent base, it's highly flammable. You get these fumes in your shop and things can go really bad, really fast, if there's any kind of open flame. You also need good ventilation, which we have here, because it's got a very, very strong odor. The big difference I find between the solvent base and the water base is that when we get to the step where we're waiting for it to dry, more about that in a second, the water base does take longer to get to that stage. With contact adhesive, its primary application really is on stuff like plastic laminate. It has a really good bond. It dries really, really quickly and it's a forever assembly, but you can't, don't get tricked to where you need to glue two pieces of wood together and you need to do it right now. So you think contact adhesive will do that for you. It will not soak into porous surfaces like yellow glue or white glue will and give you the bond you want. So really it's all about plastic laminate type applications. Here's the way this works. We have to get glue on both surfaces. You can brush it like I'm about to do, you can roll it, whatever you need to do to get a good uniform film on here. Back in the day when I was running a pretty good size commercial cabinet shop, we got this stuff in 50 gallon drums and we sprayed it and we were consuming miles and miles and miles of plastic laminate a month. So spraying made a lot of sense. If I'm doing a big countertop, which means a lot of square inches, a lot of square feet of core and laminate, then I'll do this with a disposable roller. And that's a good, fast way to put it on. Now what's interesting about contact adhesive, we've talked about tack time with all of our glues, with contact adhesive you don't put them together wet. We're going to let this just sit. It's a little counterintuitive but what we do here is let this get to a point where when I touch this surface, and this surface, they're dry, and that's when we're ready to put them together. Now it's not impossible, but more so on the core than on the P-lam, on the plastic laminate, you might have to come back and put another coat on this. It's probably not so much with MDF, which I'm using today, as with particle board, it can really soak in a lot of glue. And if you're finding that this is bone dry, this is still wet, then put another coat on the core. This one looks like it's pretty well coated. So I'm going to let it sit. We're going to wait and watch glue dry and then we'll come back and get our parts put together. At this stage of the game, there's just a tiny bit of tack to each of these services. That's where we want to be. Here's the most important thing, when that glue touches that glue, it's a one-shot deal. You're done. There's no repositioning. As a result, typically when you work with plastic laminate and a substrate like this, you make the plastic laminate oversize, and then you flush trim it, flush trim router bit, trim router, that's where that stuff comes from. You flush trim it after it's on. How much oversize? Well, that's going to depend on how comfortable you are laying these pieces down. This is a pretty small glue up. So this laminate is maybe only a half inch bigger in each direction than the substrate but you want to be really careful. And I'm eyeballing my boundaries here. And there are tricks for doing bigger sheets and this class isn't about making countertops, it's about glue. So you'll have to look for those tricks. However, recognize that with contact adhesive, one and done. So even just that gentle pressure. Yeah. It's pretty well stuck. And if I wanted to try to peel this off, I'd be very afraid that the plastic laminate is going to crack. To finish this, we have to seat it into that glue, and the tool of choice for this is a J-roller. We've got these sourced for you. And what this does, when I'm leaning on this, look at the small area of contact. So it puts a lot of pounds over a really tiny spot which gives us a lot of pounds per square inch of downward pressure. And the bottom line is you have to hit every square inch of the surface to make sure it's completely seated into the contact adhesive. If I was doing this with a water base, same process. Like I said, it's just that the water-based takes a little bit longer to dry. There are people who will use contact adhesive in addition to plastic laminate, they'll use it for veneers but typically for what are called phenolic backed veneers. What that means is the wood veneer has got a phenolic, a plastic-like back on it. And the reason contact adhesive works in that case is because of the phenolic. If you just do a substrate with a wooden veneer, then... Stay still. Then there's a chance that the glue could telegraph through the veneer, 'cause it's so thin and mess up your finish later. Or even if it doesn't, there's a chance that your finish can telegraph through the veneer and cause the contact adhesive to separate. So for instance, right now, these are bound. But if I put lacquer thinner in here, solvent, I could get them to come back apart. So if you're going to do contact adhesive with a veneer material, you want to do it with a phenolic back veneer. All right, those babies are stuck. So the cool thing with this is wood to plastic, primarily to plastic laminate and pretty instantaneous bond. At this point, we're ready to work with this and turn it into a countertop or whatever we're doing next. If you get into an application where you do want to spray in small surface areas, there are rattle can, there are aerosol forms of contact adhesive that you can use. And application of this would be the same as what we did here, but you don't have to roll it out or brush it out, you can simply spray it on. Have that sourced for you. Good thing to know about, especially if you're looking to make countertops like this for your house or for your shop. In the world of glue characteristics, one thing that you might find helpful is a glue that is a thicker viscosity. So first let me show you what I mean by that. And then from there, we'll talk about the wise. Drop of standard yellow carpenter's glue here. Drop of thick glue here. And then we're gonna run. Ready? Little bit of a viscosity difference there. With the thick glue, a couple of things, I use that where I've got something like a cabinet that I'm going to put a piece of crown molding on and I'm going to glue the crown molding in place. So imagine how bad this could get quickly. If I've got glue on the back of that molding and I'm trying to get a position just right and maybe using a Brad nailer to pin it. And if that yellow glue starts running down the face of the cabinet, that's going to be really bad. So the yellow or the extra thick glue is just going to hang in better. Even more commonly, when I run into an end grain application like this mitered frame this is another spot I use that glue. And the reason is that we know that end grain is just a bunch of pipes. It's all of the grains of the wood coming out here toward the miter. So when we put glue on there, it very often has a tendency to soak in. And that's why when we talk about lack of strength in end grain joints, that's the reason, is the glue has such a great propensity to just absorb into the wood. So by going with an extra thick glue, it's less likely to soak in. It's going to give us better strength across the miter. The other application like this then that I use that glue for is on pocket hole joinery. I always glue my pocket hole joints together, in addition to using the screws. And same thing, when I put this product on the end of the rail when I'm pocket holding it to the style that gives the joint that much more strength, just having glue in there in general. And then additionally, because it's extra thick, it doesn't soak in, and it gives me better strength across that end grain joint. Bottom line, next time you run into an application where some kind of a horizontal application, where the glue is going to have some propensity to drip on you, the thick glue is a good choice for that, and end grain applications, like this mitered frame, or pocket hole joinery, thick glue is a great product to use for that application as well.
Get exclusive premium content! Sign up for a membership now!