
How to Cut a Pentagon on a Table Saw
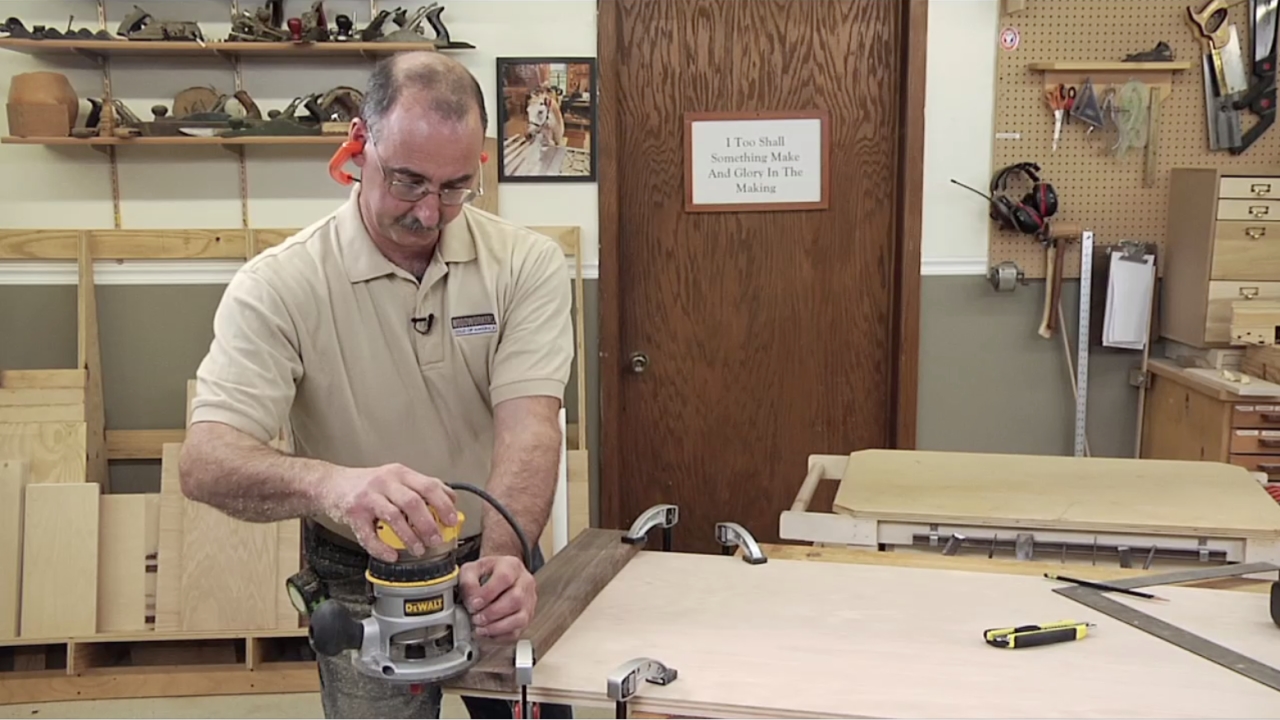
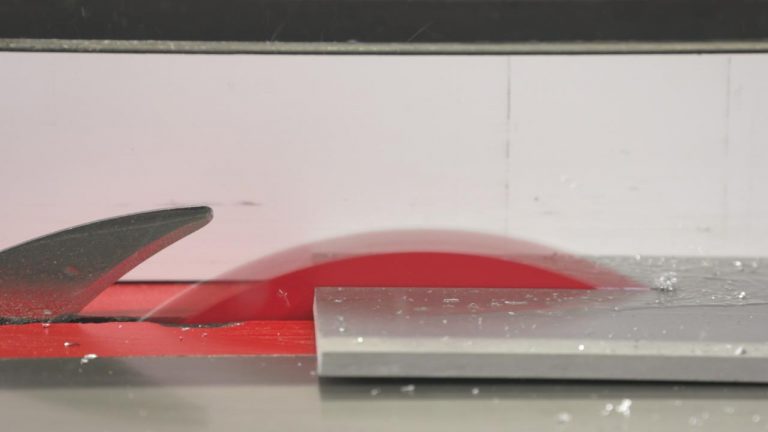
George VondriskaEvery now and then our woodworking requires us to rip a work piece to a polygon shape on the table saw. Perhaps you want to cut a pentagon, hexagon, octagon, nonagon, or any other polygon, for a fancy table leg or a post. This can be an intimidating or even frightening requirement, and if you just attempt to freehand the operation, it is almost certain to produce bad results. You will likely find that the sides are uneven, and there is a high likelihood that you will experience some mishap in the table saw, potentially a dangerous kickback.
Fortunately, there’s a method that can be used to produce perfect results in a repeatable fashion. This approach will require that you learn about cutting patterns on a table saw, which isn’t difficult, but just takes some careful planning and thoughtful execution. The approach that George Vondriska demonstrates in this video consists of the following steps:
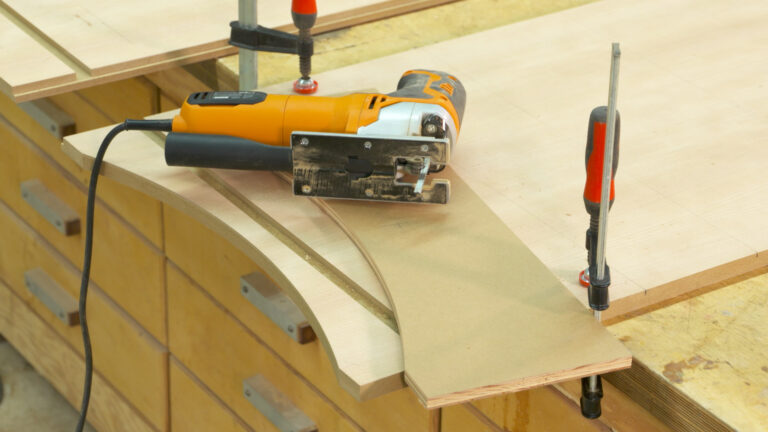
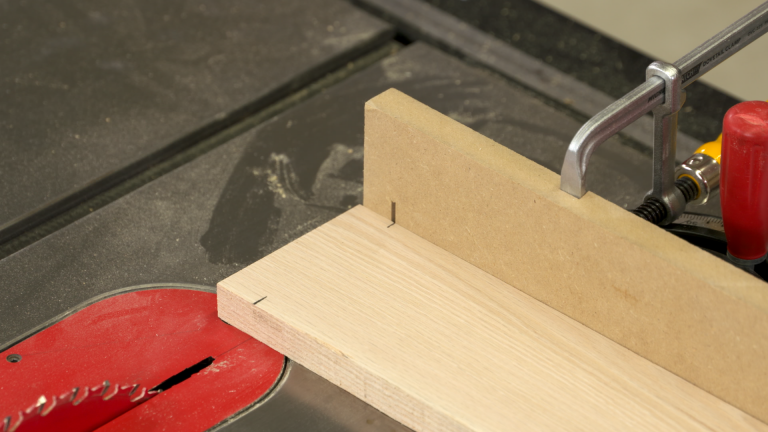
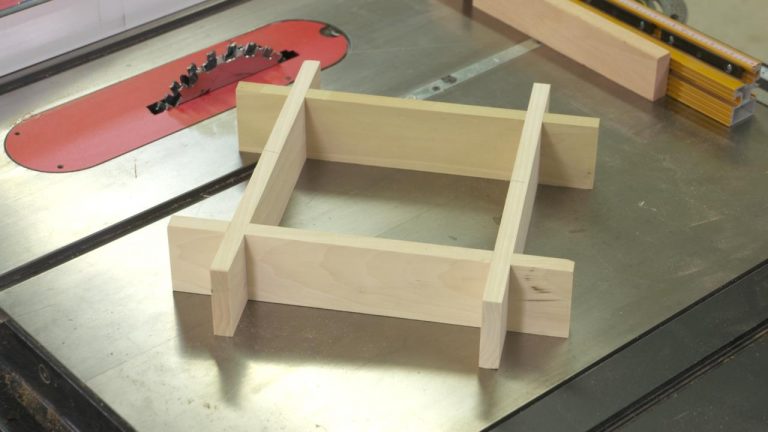
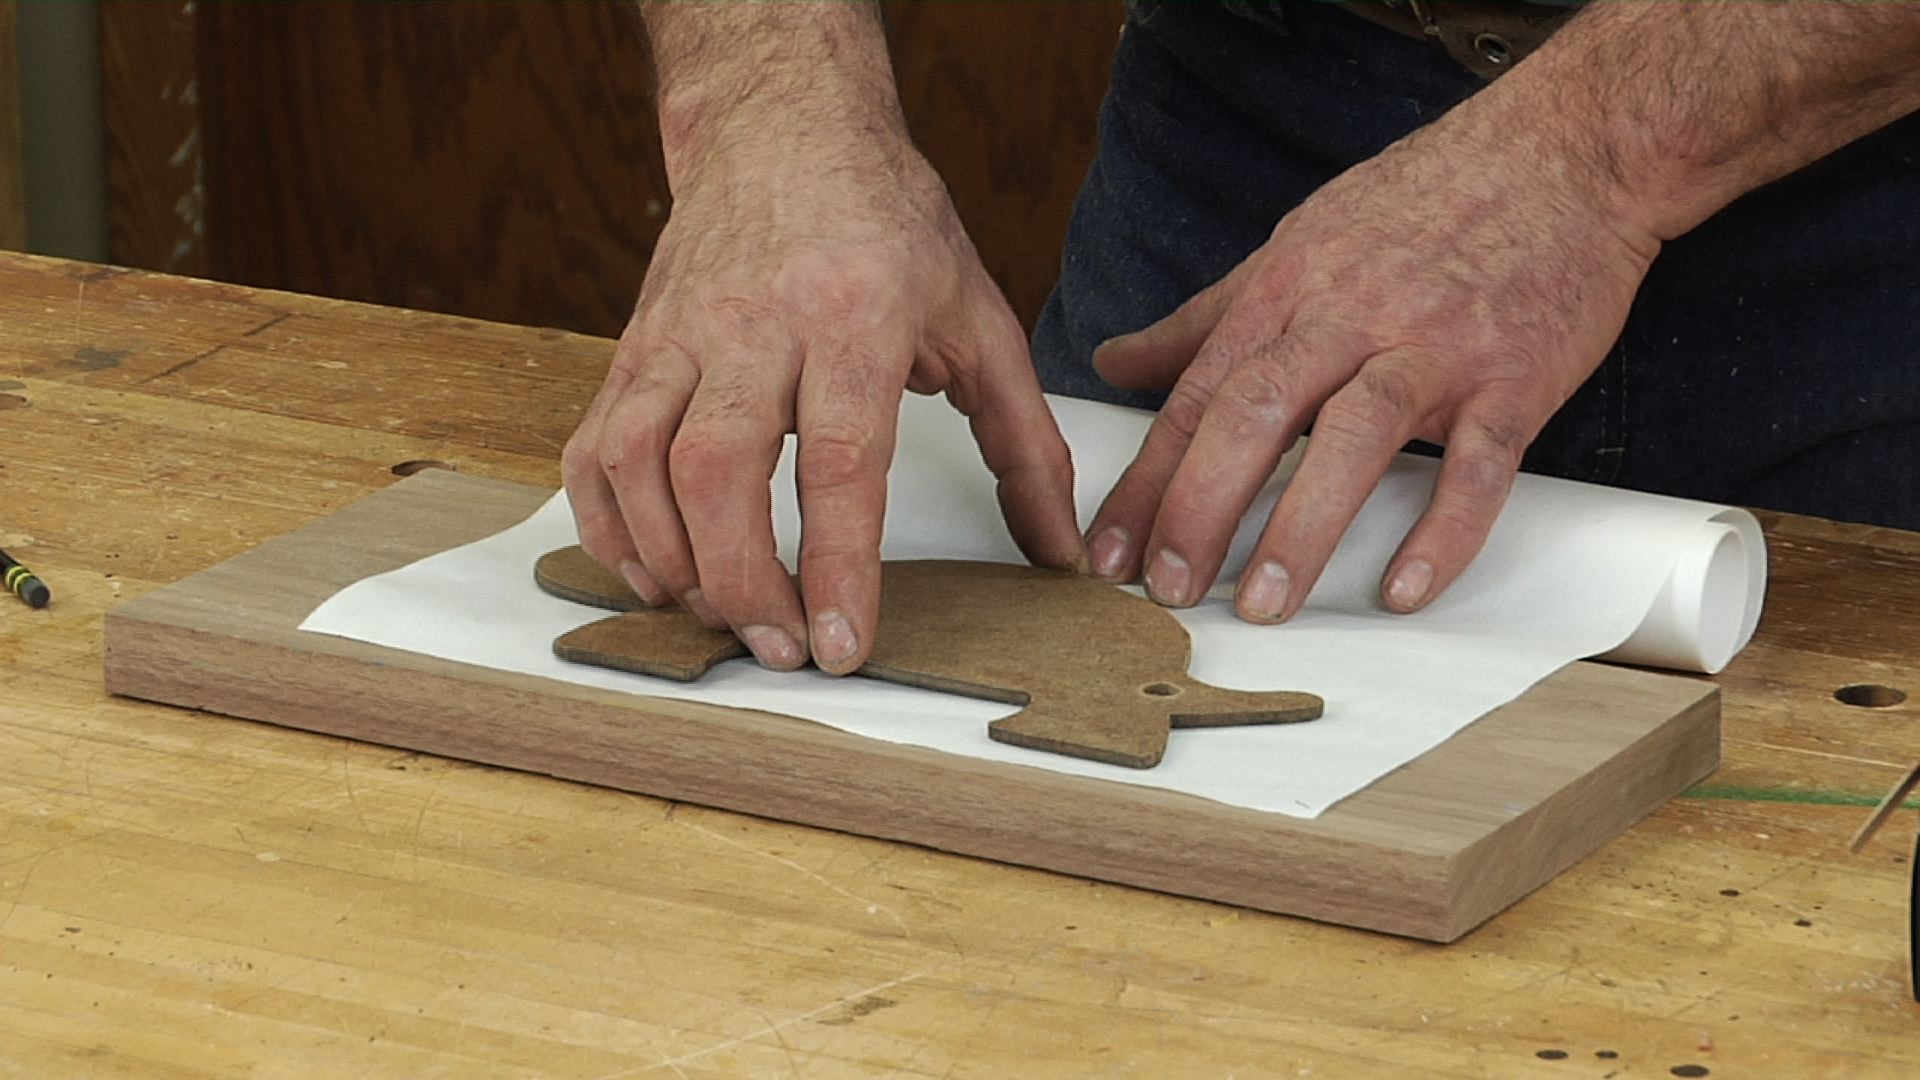
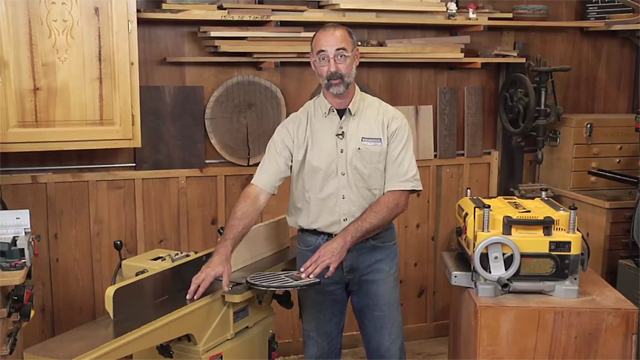
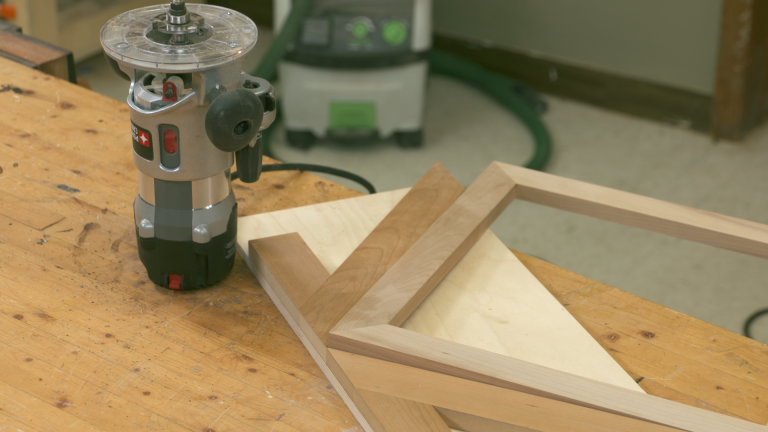
Make a template. First, you will carefully draw and cut out two copies of the shape that you want using a scroll saw, bandsaw, or handheld jigsaw.
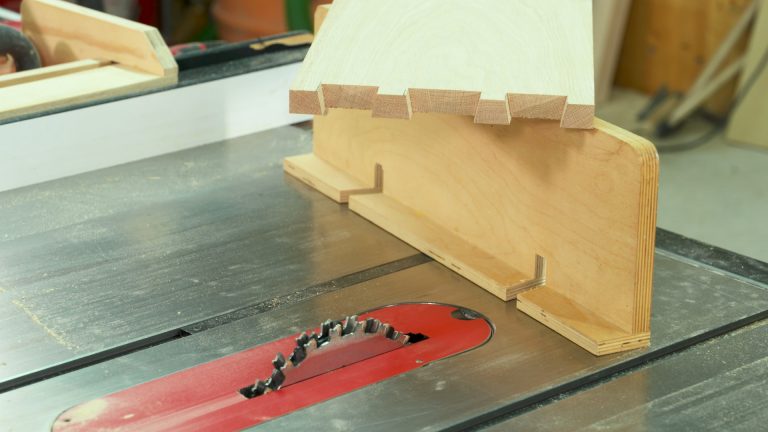
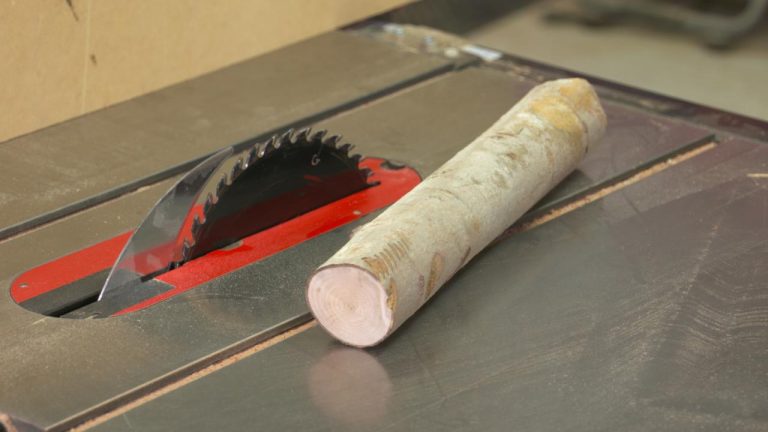
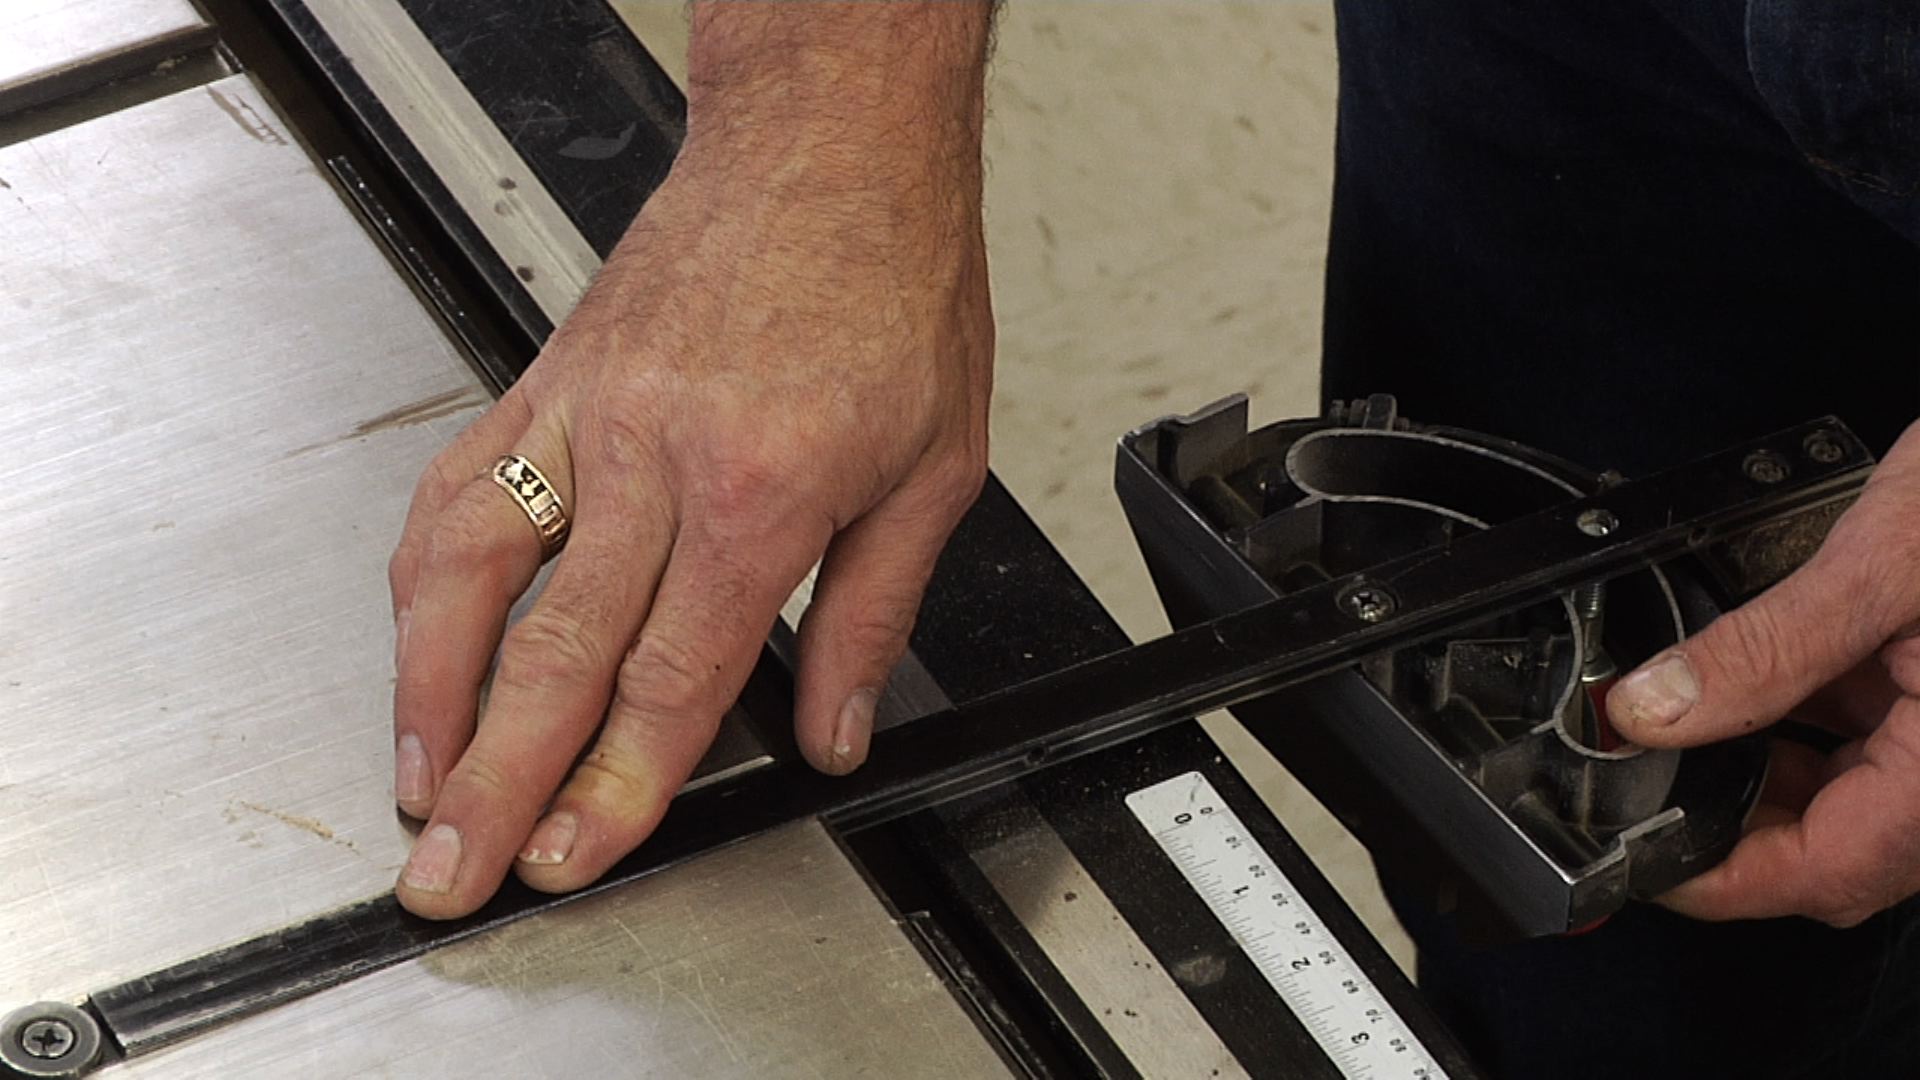
Set the blade angle. Use your template to set the angle of your cut. Take care in setting this angle correctly because it will be used for every cut.
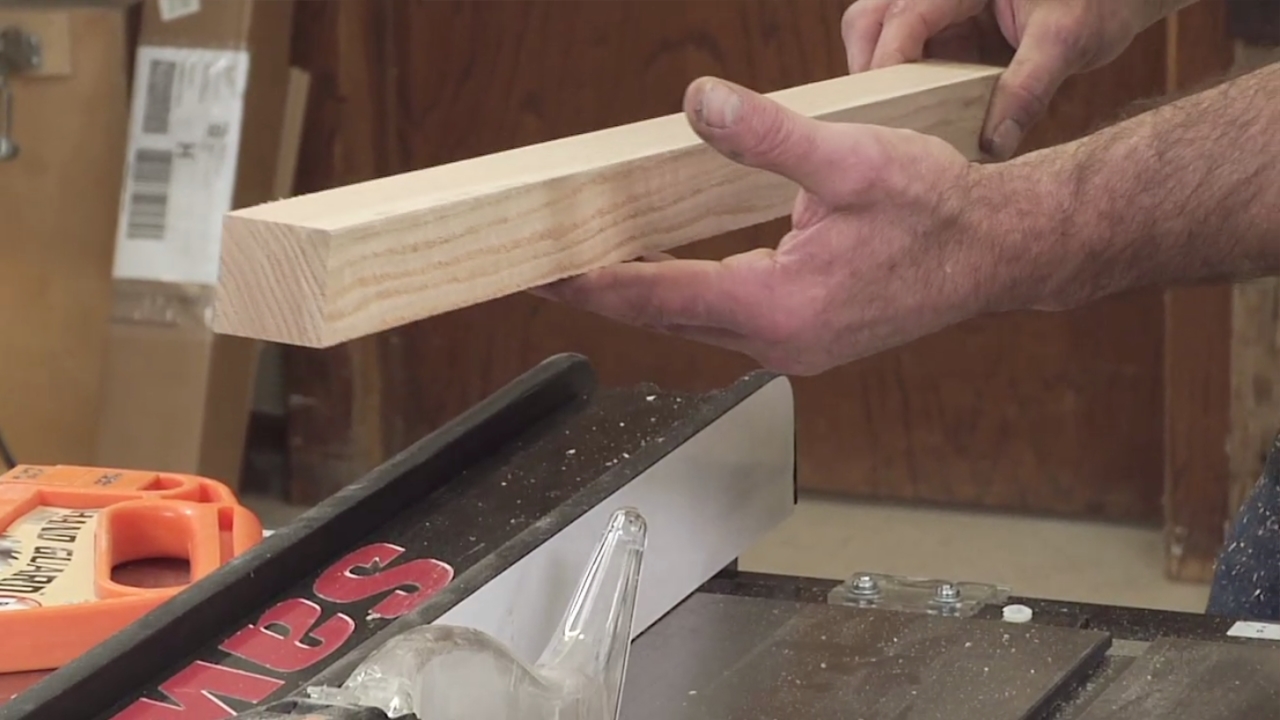
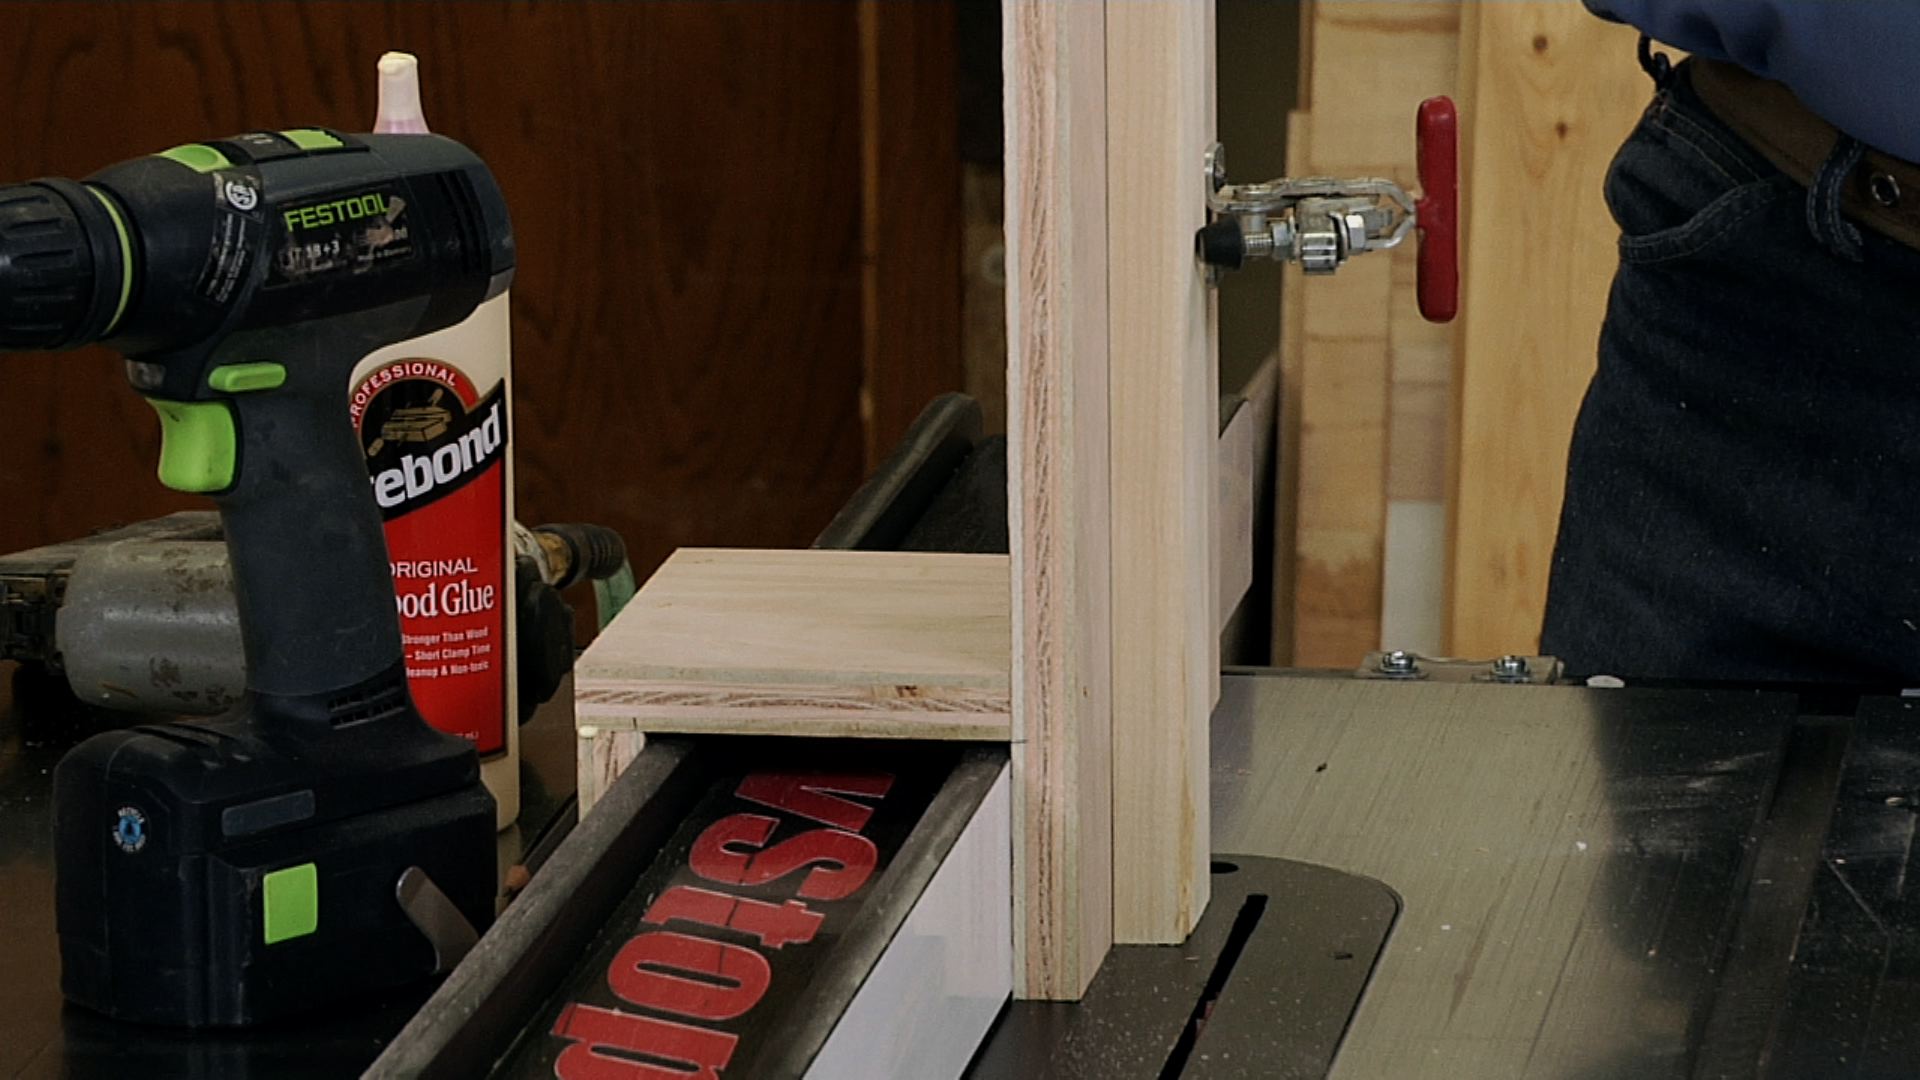
Attach to your blank. Use some temporary method of attaching a template to each end of your work piece.
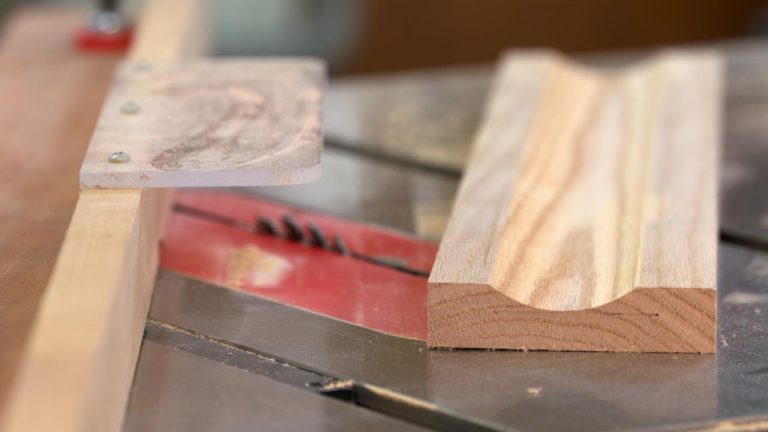
Make the cuts. Using your template to determine the fence placement, begin making the cuts in the sequence that George demonstrates to produce a perfect polygon.
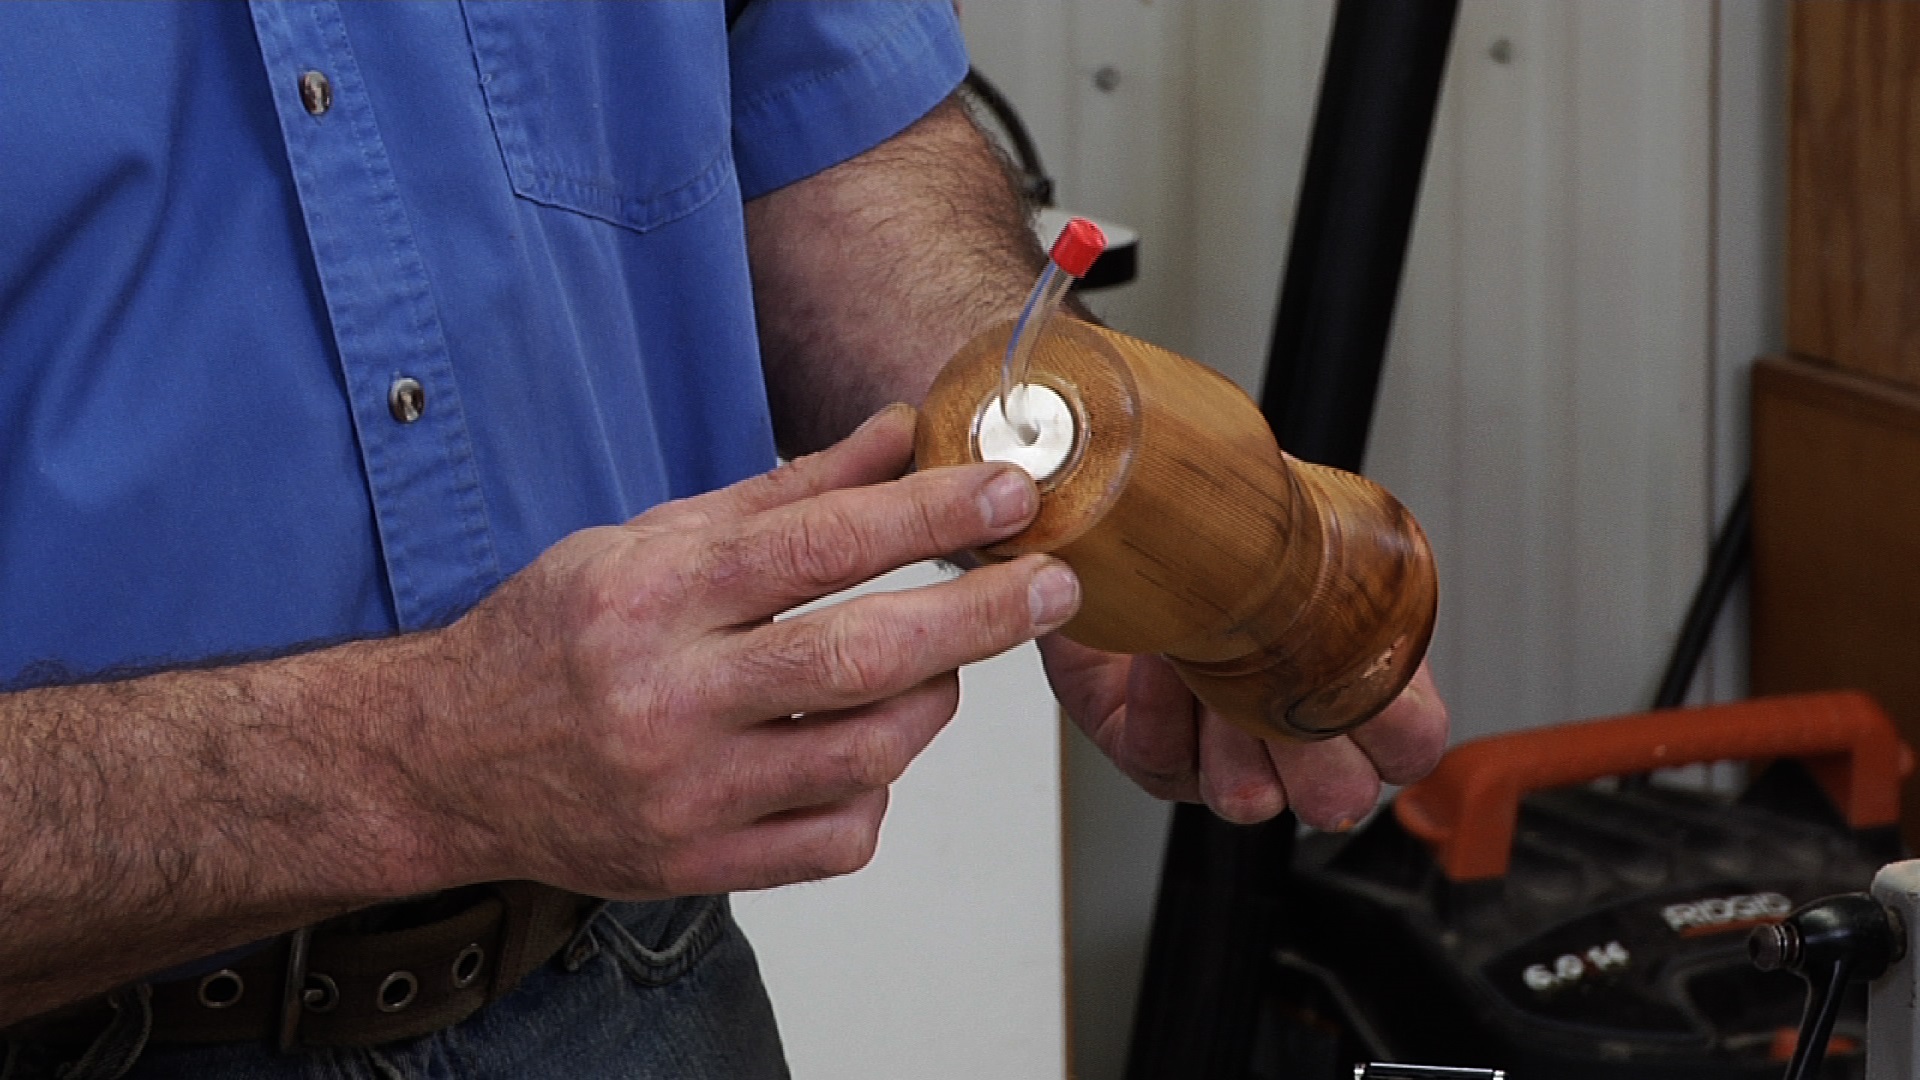
With this skill in your arsenal, you are now ready to apply it to make something that you’re proud of. If you found this information useful, check out more table saw videos that can help you improve your woodworking skills and produce better projects.
Explore videos by George Vondriska


You may be interested in


Premium Membership
Unlock exclusive member content from our industry experts.
- 24/7 Access to Premium Woodworking Videos, Projects, and Tips
- Step-by-Step Instructional Demos, Plans, and Tutorials
- 50% Off Video Downloads Purchased in the Woodworkers Guild of America Shop
- 2 Printable Woodworking Plans
Unlock exclusive member content from our industry experts.
- 24/7 Access to Premium Woodworking Videos, Projects, and Tips
- Step-by-Step Instructional Demos, Plans, and Tutorials
- 50% Off Video Downloads Purchased in the Woodworkers Guild of America Shop
- 2 Full-Length Video Downloads to Watch Offline
- 2 Printable Woodworking Plans
Gold Membership
$370 Value
Get everything included in Premium plus exclusive Gold Membership benefits.
- 24/7 Access to Premium Woodworking Videos, Projects, and Tips
- Step-by-Step Instructional Demos, Plans, and Tutorials
- 8 Full-Length Video Downloads to Watch Offline
- 3 Full-Length Woodworking Classes to Keep for Life
- 7 Printable Woodworking Plans
- Discounts on Purchase-to-Own Content in the Woodworkers Guild of America Shop
- Access to Ask the Expert Program
- Exclusive GOLD LIVE Streaming Events