
Bowl Turning Paper Joints
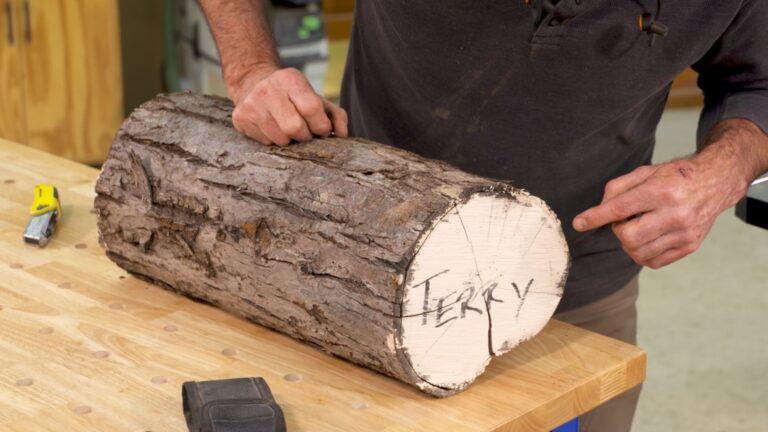
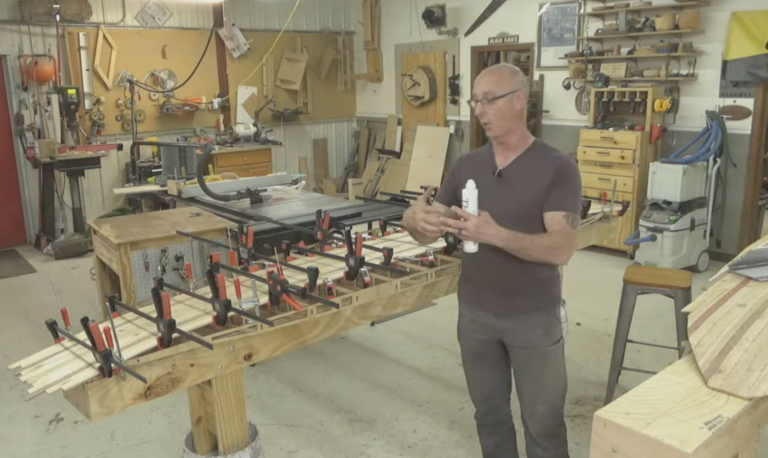
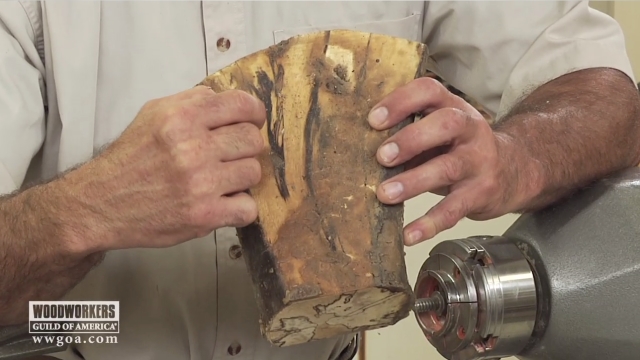
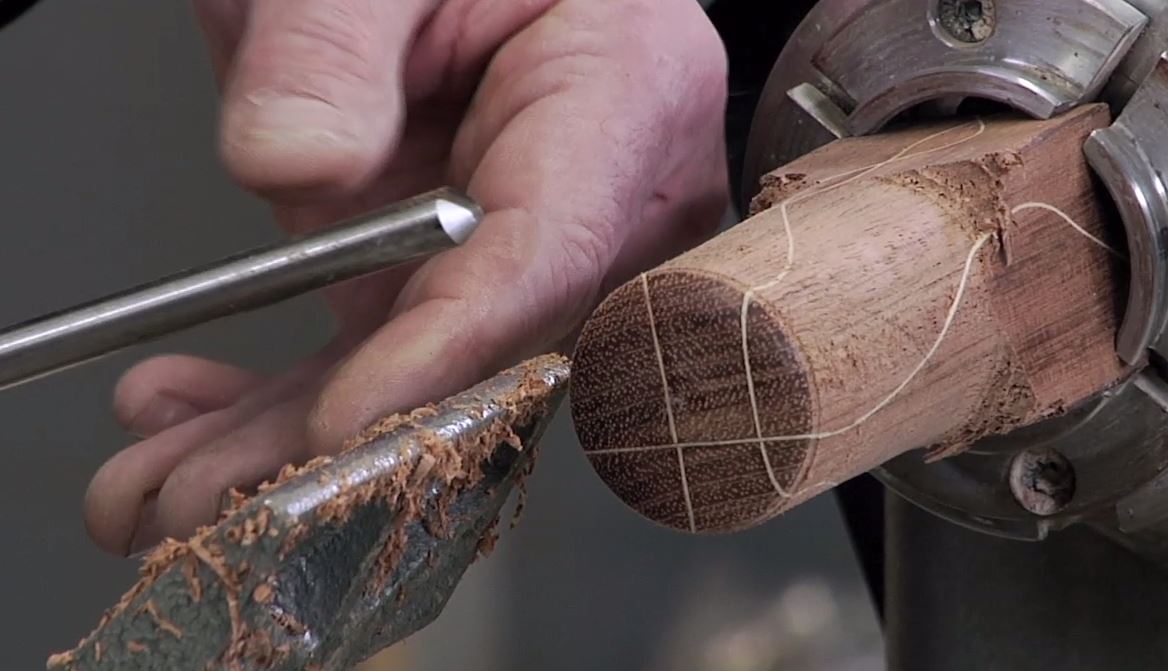
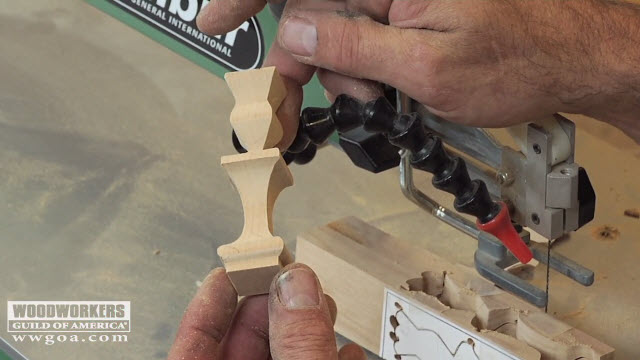
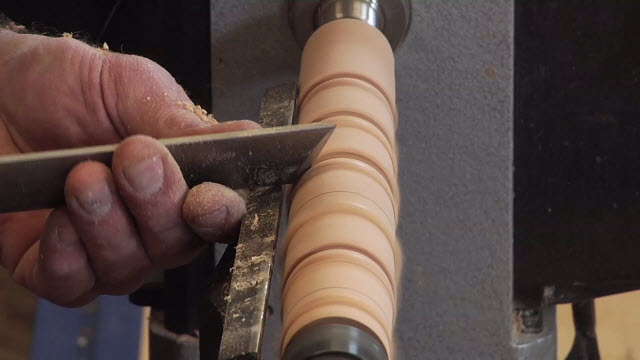
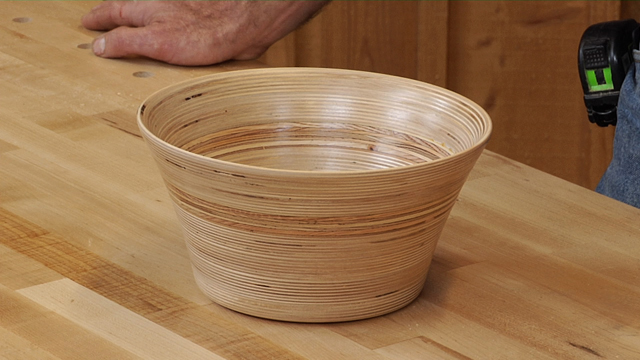
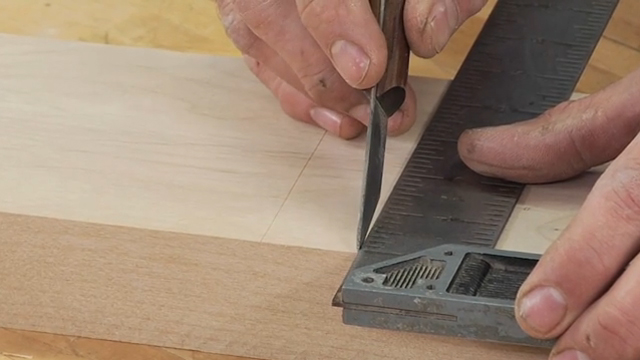
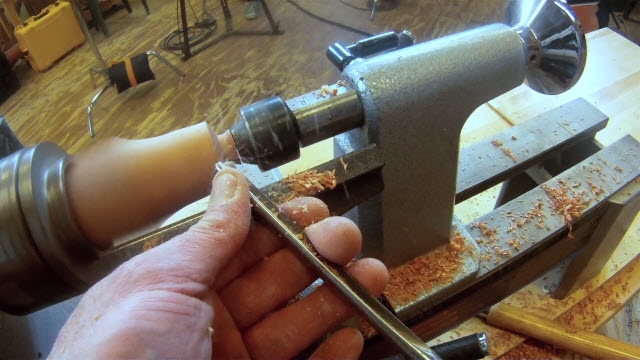
George VondriskaGeorge Vondriska teaches you how to use a paper joint for your bowl turning. A WoodWorkers Guild of America (WWGOA) original video.
Share tips, start a discussion or ask one of our experts or other students a question.
Make a comment:
Already a member? Sign in
4 Responses to “Bowl Turning Paper Joints”
Explore videos by George Vondriska
You may be interested in
Premium Membership
Unlock exclusive member content from our industry experts.
- 24/7 Access to Premium Woodworking Videos, Projects, and Tips
- Step-by-Step Instructional Demos, Plans, and Tutorials
- 50% Off Video Downloads Purchased in the Woodworkers Guild of America Shop
- 2 Printable Woodworking Plans
Unlock exclusive member content from our industry experts.
- 24/7 Access to Premium Woodworking Videos, Projects, and Tips
- Step-by-Step Instructional Demos, Plans, and Tutorials
- 50% Off Video Downloads Purchased in the Woodworkers Guild of America Shop
- 2 Full-Length Video Downloads to Watch Offline
- 2 Printable Woodworking Plans
Gold Membership
$370 Value
Get everything included in Premium plus exclusive Gold Membership benefits.
- 24/7 Access to Premium Woodworking Videos, Projects, and Tips
- Step-by-Step Instructional Demos, Plans, and Tutorials
- 8 Full-Length Video Downloads to Watch Offline
- 3 Full-Length Woodworking Classes to Keep for Life
- 7 Printable Woodworking Plans
- Discounts on Purchase-to-Own Content in the Woodworkers Guild of America Shop
- Access to Ask the Expert Program
- Exclusive GOLD LIVE Streaming Events
Get exclusive premium content! Sign up for a membership now!









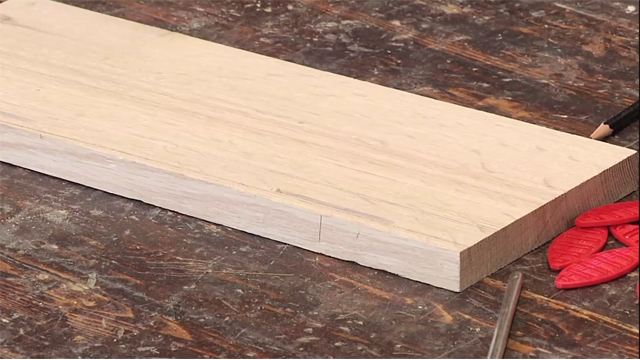
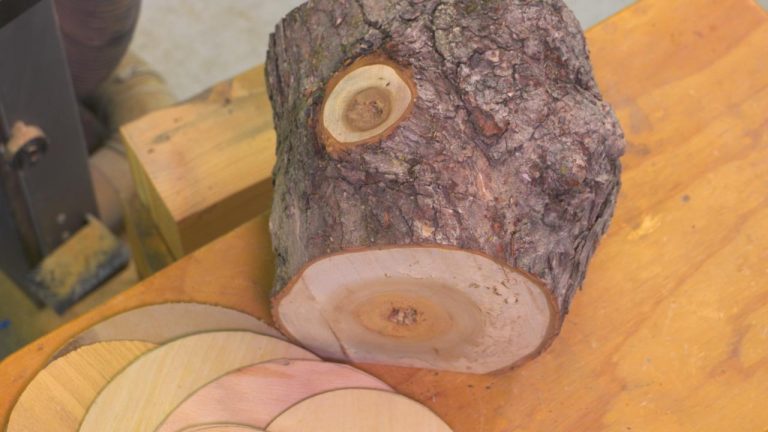
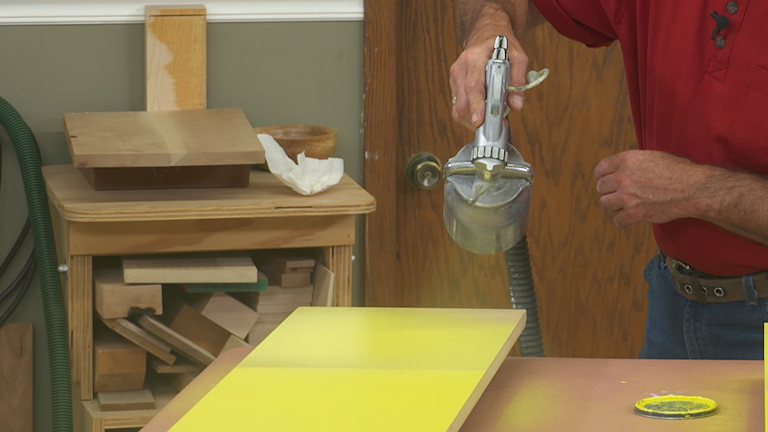
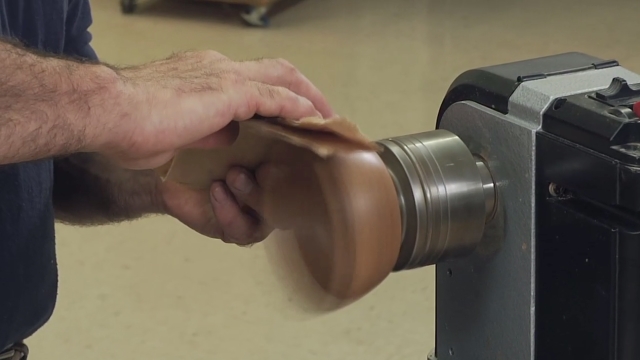
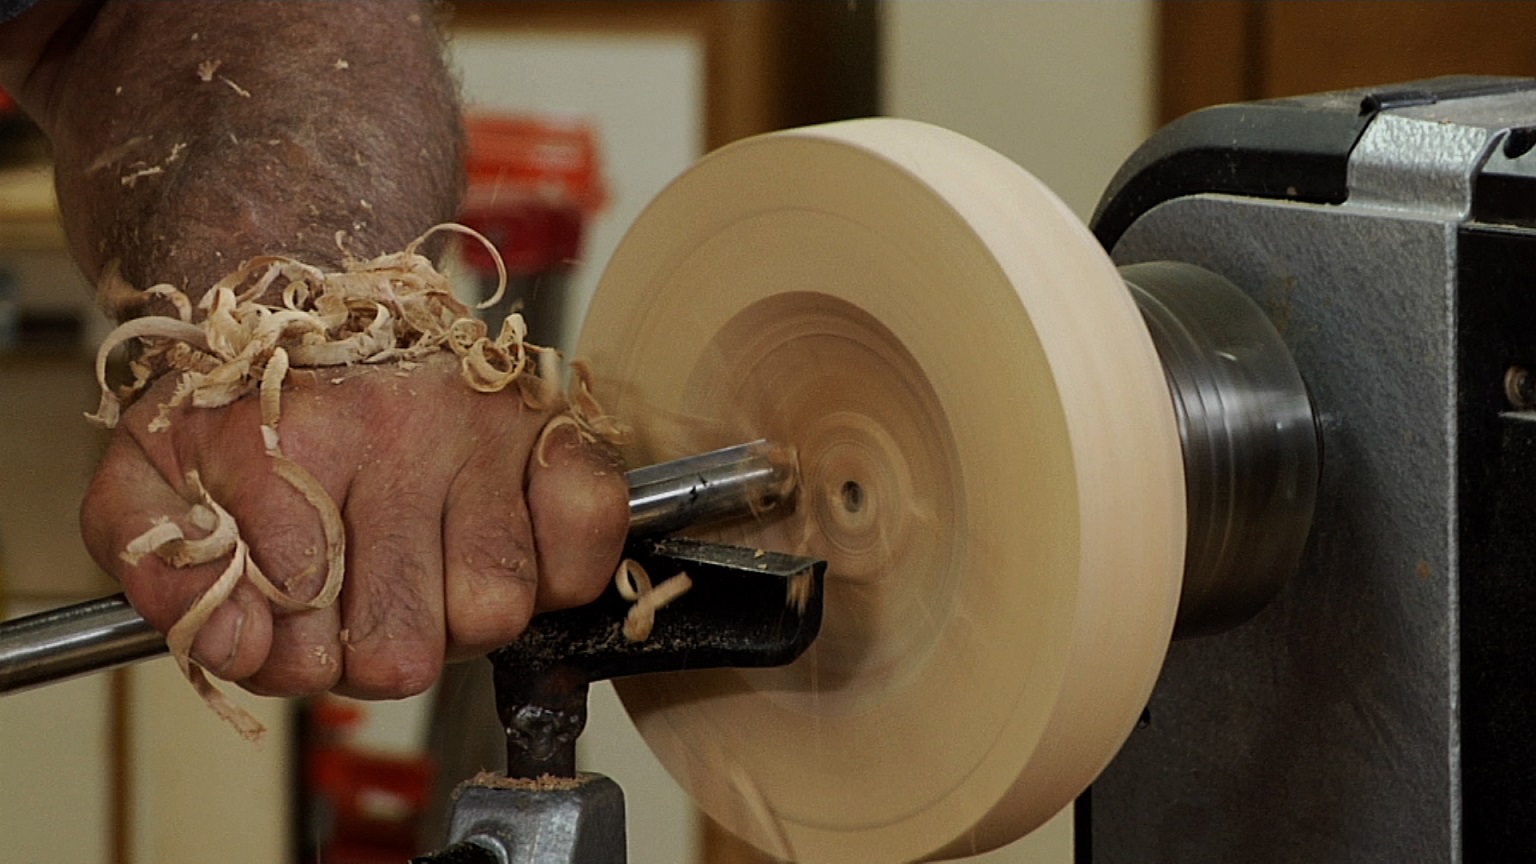
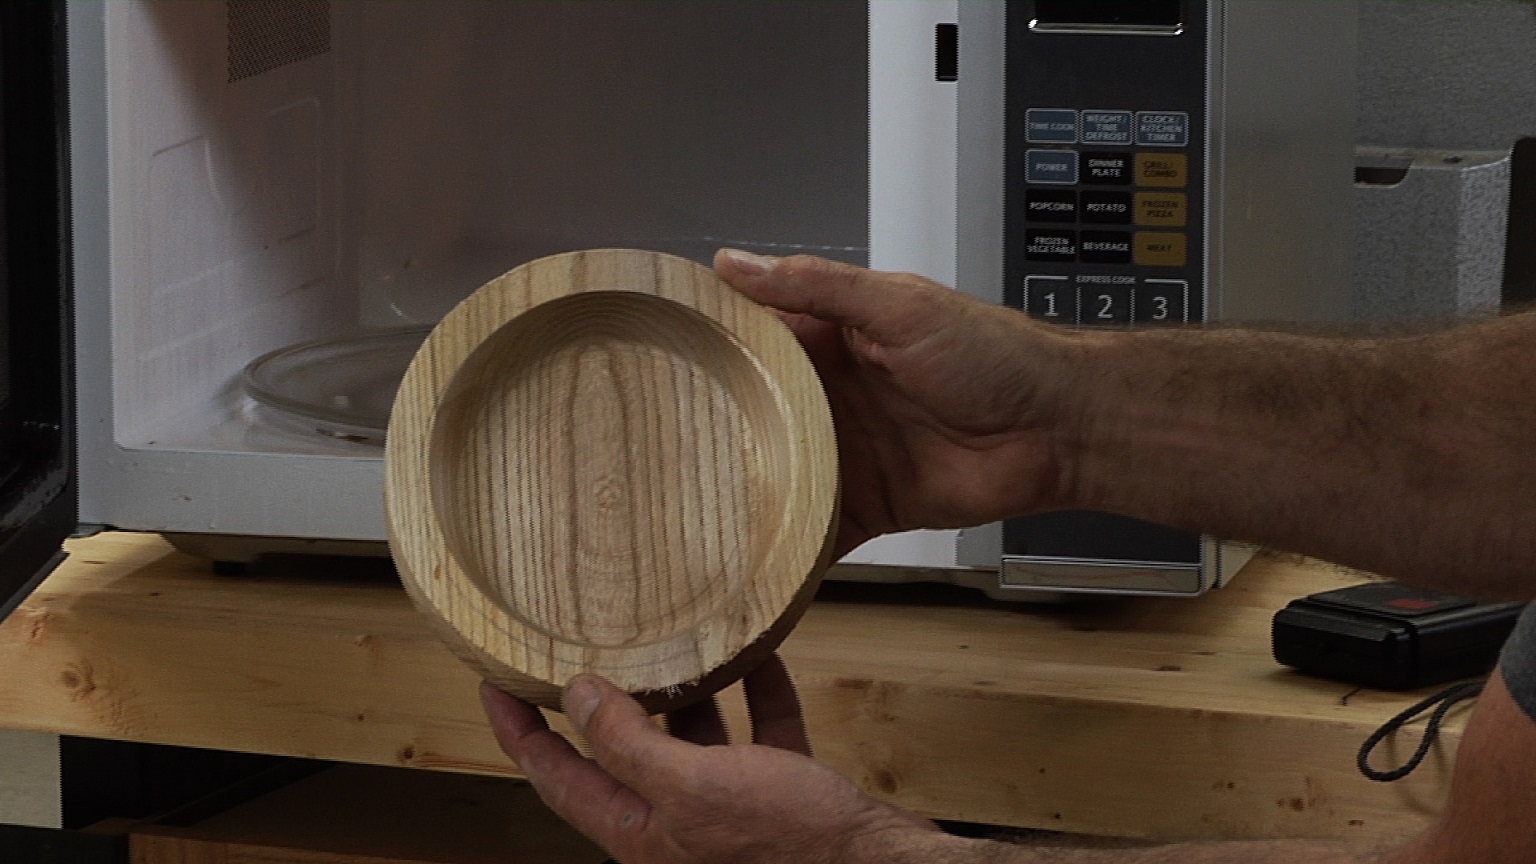
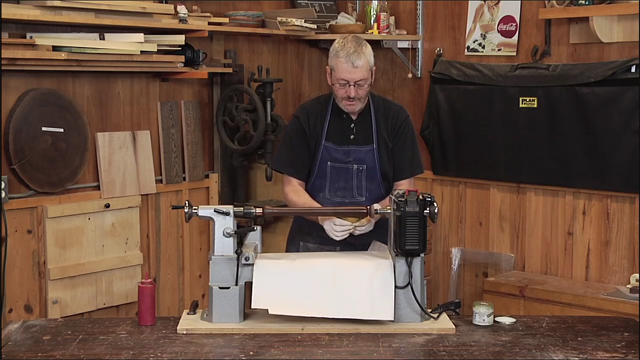
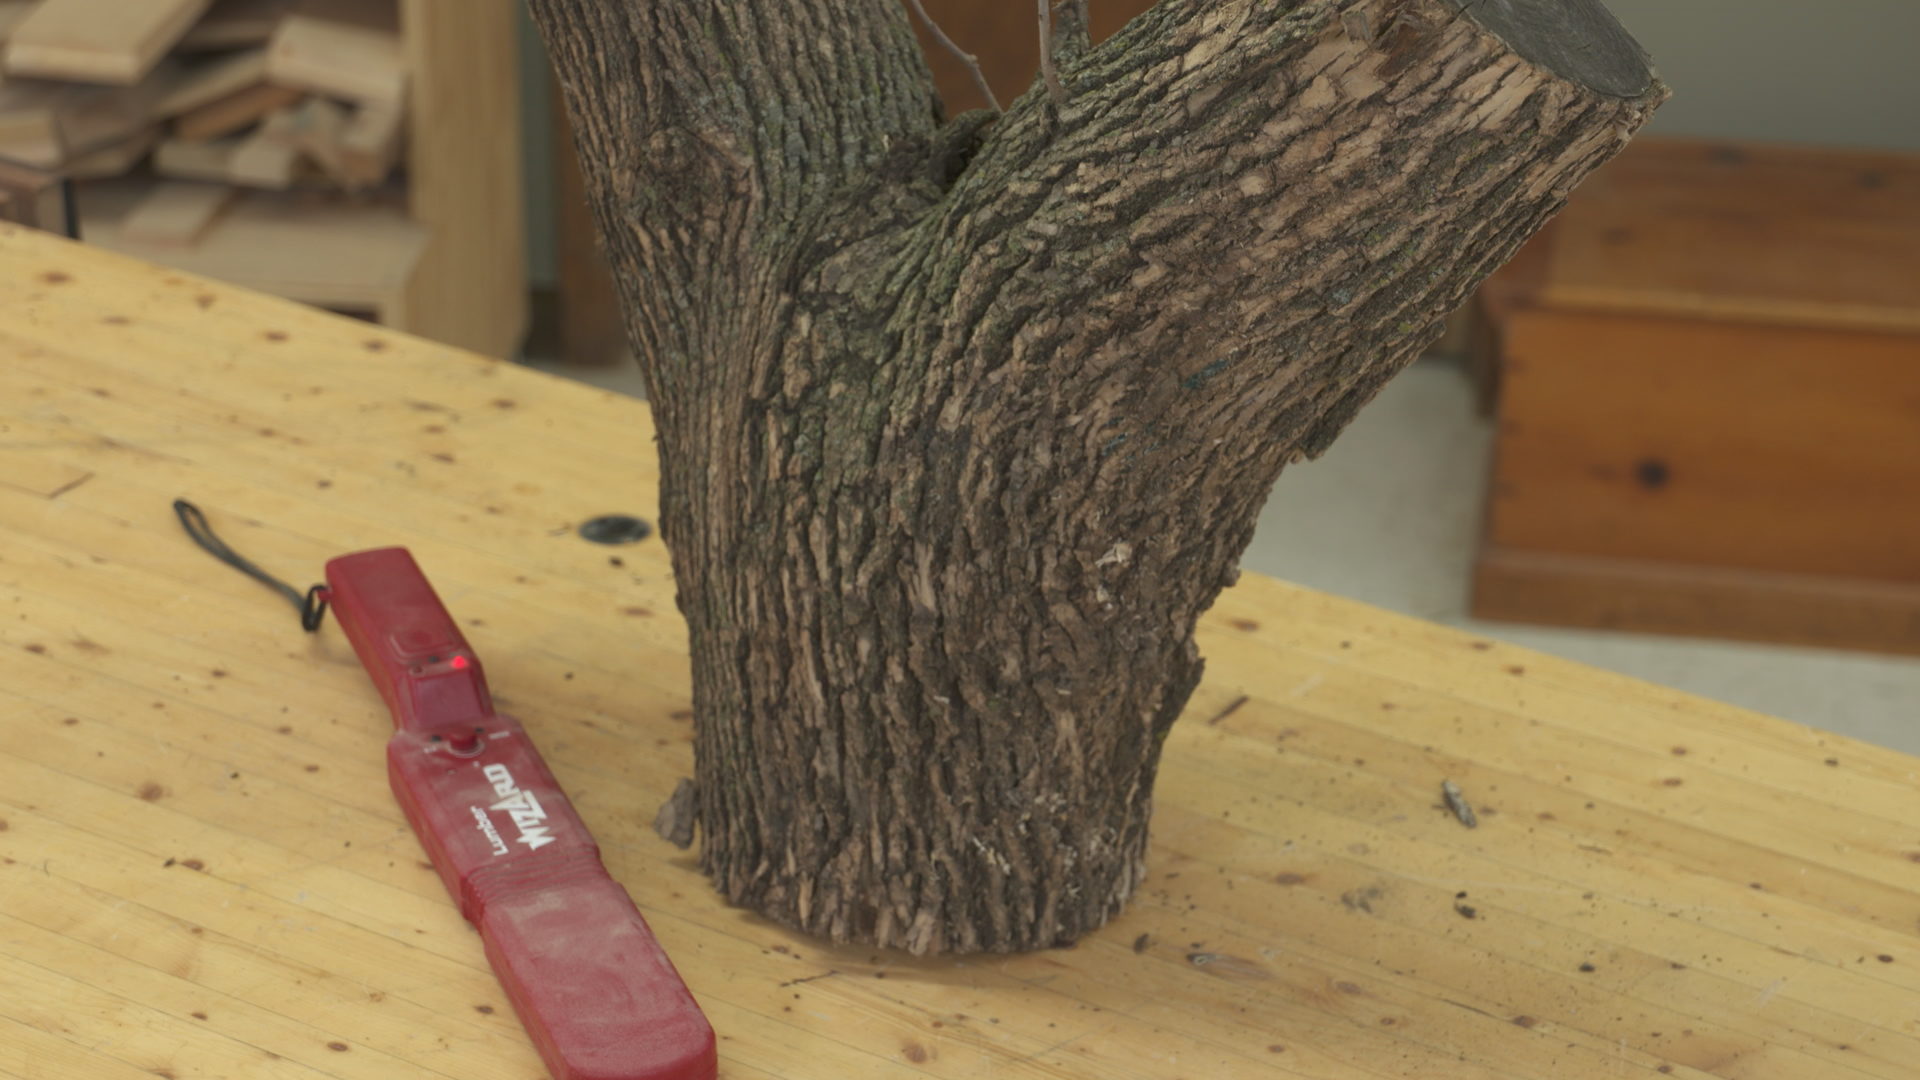
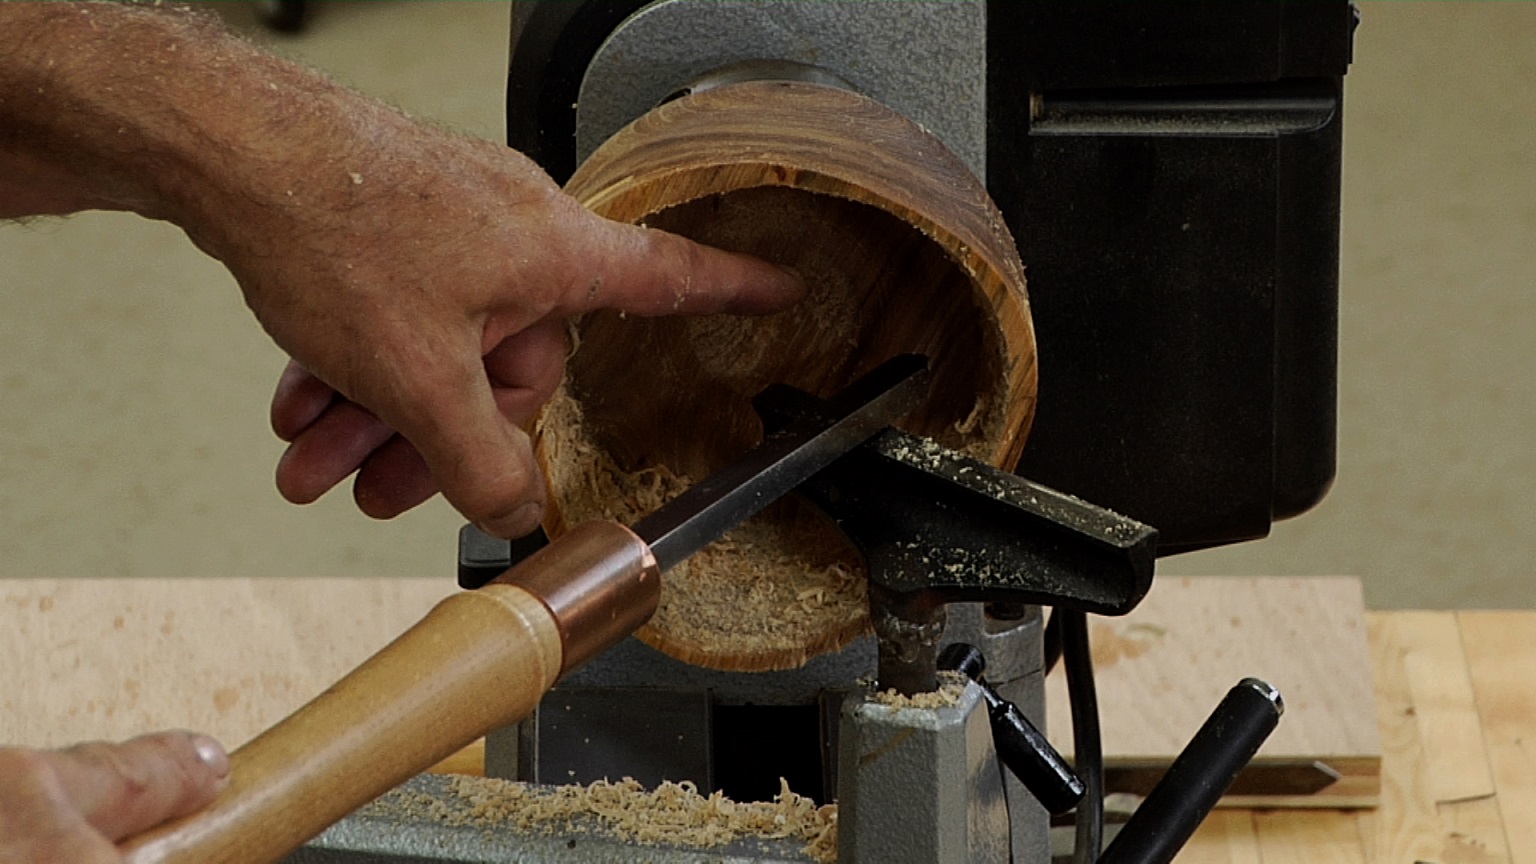
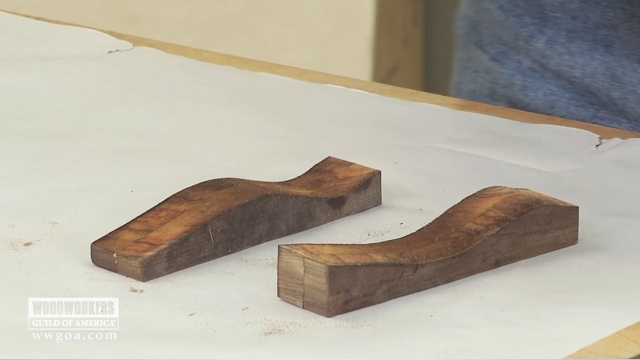
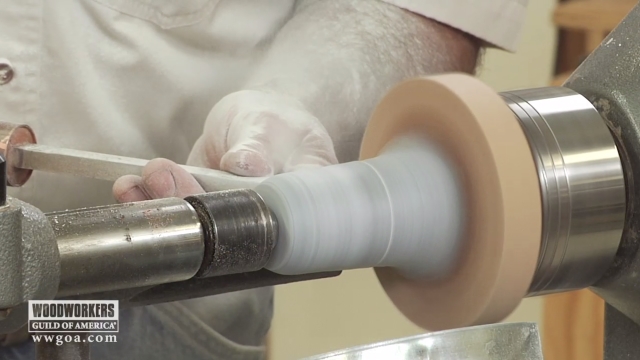
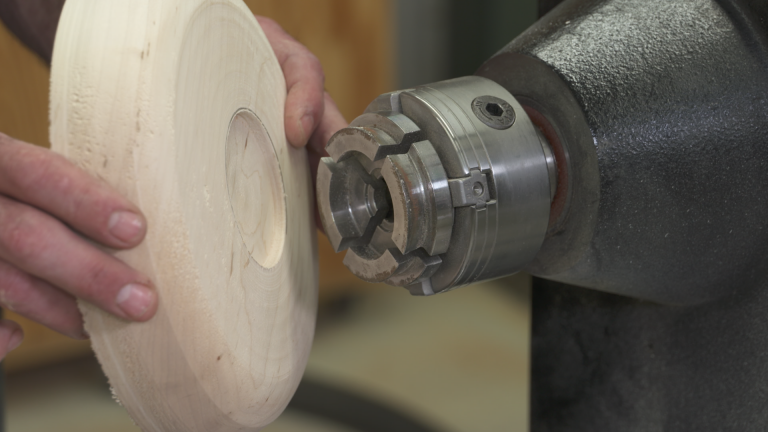
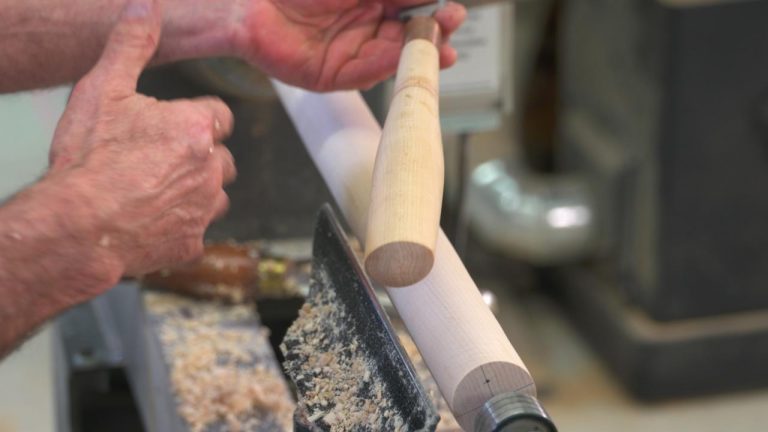
Can you show turning with this joint and the removal of the joint at the end of the turning? What happens to the nail?
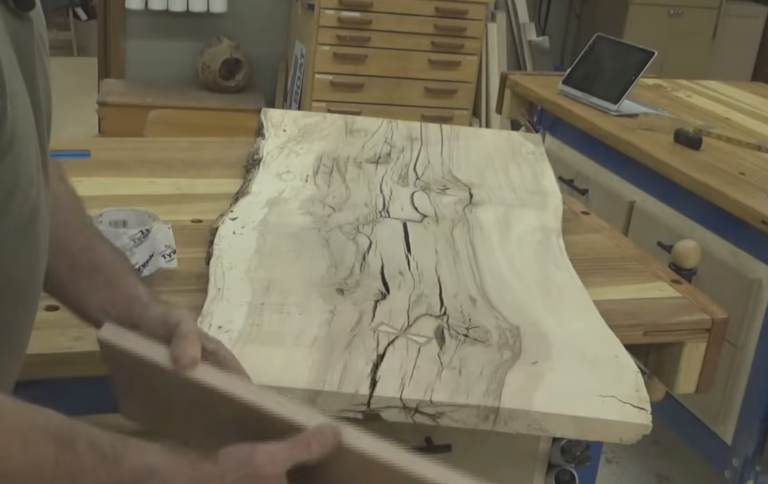
Does the paper make it easier to separate the backer from the blank? Is there any special method to remove the disc?
<strong> Ticket 19615 I appeared as though George had doubled the brown paper placed between the pieces of wood. Is this the case, or was it a single layer?
can i use this paper joint on any kind of hard wood? can it be any size of wood or just use on small blanks ?