George Vondriska

Bandsaw Jigs Session 4: Single Point Resaw

George Vondriska
Duration:   15  mins

Description

When you’re only resawing a board or two, you may not want to take the time to determine the drift on your bandsaw blade and set your fence. A single point resaw fence provides a very easy method for resawing, with minimal set up. You’ll love the super strong magnets that hold the jig to the bandsaw table.

Share tips, start a discussion or ask other students a question. If you have a question for the instructor, please click here.

Make a comment:
characters remaining

No Responses to “Bandsaw Jigs Session 4: Single Point Resaw”

No Comments

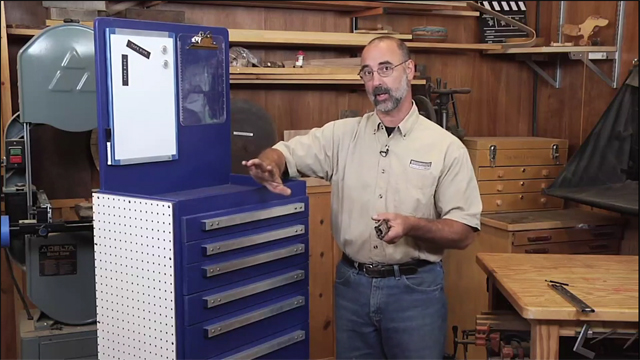
If you're interested in re-sawing on your bandsaw but you don't wanna have to go through drift compensation and figure all that out, a single point re-saw fence like this is a great way to go. Good news is, set up is really, really simple, bad news, we don't get the repeatability that we would get from a conventional re-saw fence. Talk about that some more in a sec. So again, gonna show you how to use it and then show you how to make it. Here's what we've got.

It's basically a right angle fixture. We've got a vertical, perfect 90 degrees to the base with a gusset in between to keep 'em that way, a little half round out here on the nose. That's our single point contact part. So when our board is up against it, unlike a conventional fence, we're not riding on this whole flat area, we're just making contact with that individual point. One of the things that's really cool about this is the way that it gets held to the bandsaw table.

These devices that are mounted into the base are magnets, and we've got those sourced for you. There are two rare-earth magnets inside that housing. So when I turn this, what it does is it aligns the polarity. One of 'em remains in its position, and the other one pivots, and the way they are right now, the polarity counteracts from one magnet to the other. When I do this, the polarity aligns, and you can see just what a grip that gets.

So we can position it, throw two magnets, and it's crazy solid on the saw. So, it makes positioning really, really easy to do any time you're setting something up on a cast iron tool. To use this, we have to do a little bit of marking out on our board. We need a line that we can follow. So one of the downsides to single point re-sawing is that, every board that you're going to cut, you have to mark out.

So I am going to do the finger and pencil method, and you could do this with your finger and a pencil. You could do this with a marking gauge, you could do this by measuring and laying it out. But that's where I want my re-saw to happen. Right on that pencil line. When we set up the jig, a really important aspect is that, when my material comes along and we're ready to cut, I wanna make sure that I make contact with the jig before I make contact with the blade.

So, something like this would be correct. This would be wrong. Because if we're behind the teeth, then the cutting is gonna start before we're in contact with the fence. So lead your cut by 3/8 to 1/2 inch or so, meaning from the high point of my contact to the teeth. Easiest way to position the fence is to simply, put your board up against that contact point, and then slide it all back and forth until the teeth, the blade are aligned with the pencil line that we just created.

I threw one magnet switch there and I'm gonna make sure I'm still right, because I could pivot a little bit if I needed to, but that looks pretty good. Lock the back, and we're ready for a cut. So unlike the whole drift compensation business, at this point, that's all it takes to make this go. Now, when you cut, we're going to hold this against that single point. And you'll also probably find, you have to do a little bit of steering in order to follow that line, in order to stay on the line.

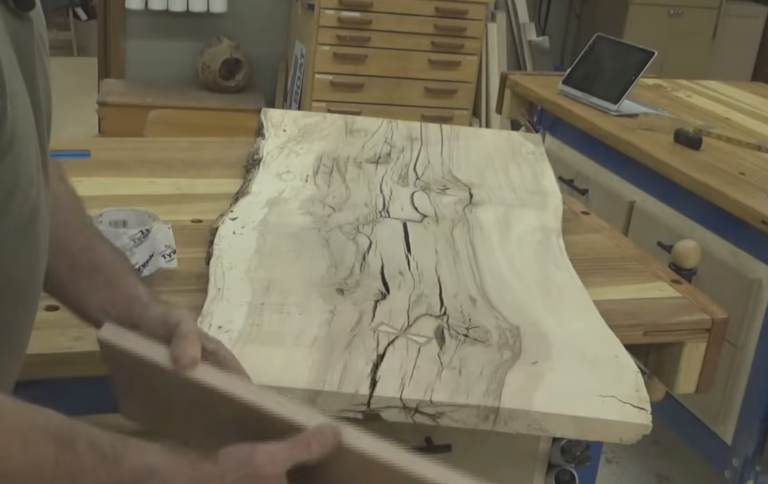
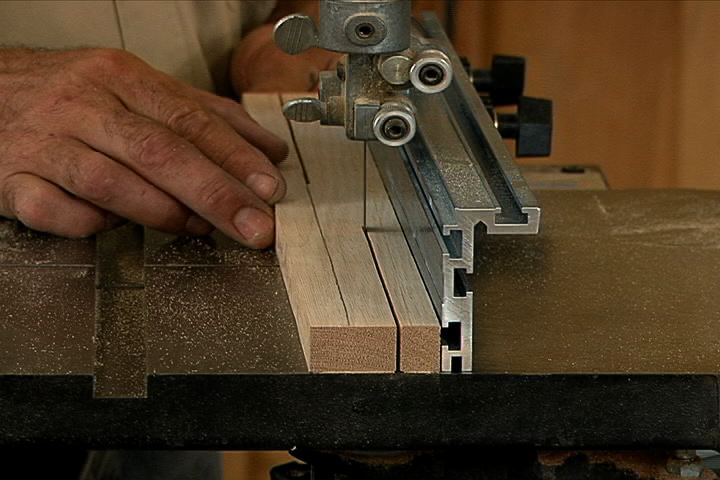
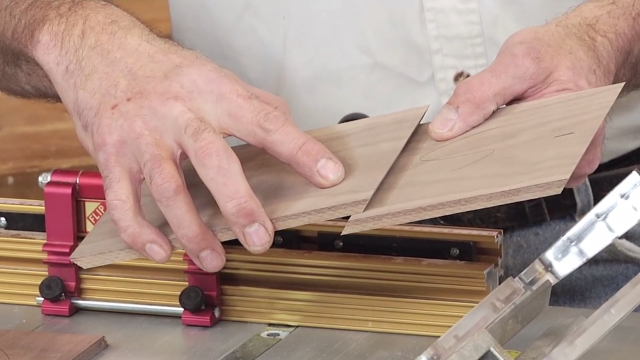
There's our re-saw. Now, this is cool. It's got some pretty grainy red oak I'm looking at here, and notice that the grain pattern is a perfect mirror image from board to board. It's one of the reasons why we choose to re-saw so that we can create what's then called a bookmatch with those grain patterns. Now, the downside of this is, like I said, every board we wanna cut using this method, you gotta mark out.

As you're cutting, you have to follow that line. So what the single point's doing is it is helping you stay in line with the table, it's helping keep your board nice and vertical so it doesn't tip over as you're going through the cut. It does help with some guidance, but a lot of that guidance will come from you as well. So if I'm cutting one or two boards, that'll probably be a single point. If I'm cutting a lot of boards, I'm gonna go to my conventional re-saw setup to make that happen.

So single point, especially with these magnetic switches, real easy way to re-saw on your bandsaw. Our single point contact fence is pretty simple. It's just a right angle jig. You can certainly change these dimensions to match your saw. Here's what I've got.

I made the height of this six inches, and a couple of reasons for that. One is a lot of bandsaws have a six inch maximum capacity. So, that satisfies that. If you're gonna commonly do wider, taller stock, you should make this fence taller. Base of our jig, the piece I have here is five inches wide, 13 inches long.

Those dimensions are in the PDF that accompanies the class. Now, one of the things I did is I took this little 45 degree cut off of the corners. It's not imperative, I just think it makes our finished jig look a little bit nicer, but structurally, functionally, doesn't do anything at all for you. Similarly, I took 45 degree cuts off of those corners, and I took a 45 degree cut off of our gusset. So here's the rest of our pieces.

We talked about the base, we've got a vertical. Six inches by six inches with these upper corners clipped off. Then we've got our in between piece. We've got that gusset that's gonna go in between. If our base is five inches wide, I make that piece the same, five inches so they match up.

And then it's gotta be just sized to fit inside your riser here. So just a little bit shorter than the riser. The nose that's gonna go on the front to create the single point, we're gonna talk more about that later, so don't sweat that right now. These components, we're ready to put together. Pre-assembly.

If you're using the magnetic switches, you wanna have the holes in there to receive them. It'd be just a little bit more of a pain to do after assembly. So do that to the base while things are still disassembled. I located mine 1 1/2 inches in, 1 1/2 inches in with the hole sized to receive the switch, then a couple pan head screws will hold that in place. This'll be a case of gluing and screwing.

Fasteners primarily just doing the job of holding things together 'til the glue has a chance to grab. I'm working with MDF. With MDF and particle board products, it is pretty important to pre-drill because the screws can have a tendency to split the MDF, so make sure you do that. What I'm gonna do is I'm gonna get a couple of brads in here and to hold it in place, I'm looking at a line here that tells me when this is centered. Now we can do our pre-drill and get a couple of screws in there.

Now our support piece is gonna go that way, centered across the length of our material. And, I am going to use my square, so that I have a layout line to hit. Just like that. So far so good. Our magnetic switches are easy.

They're gonna get screwed in place just like that. But let's talk about this nose piece. I've got one that's already done. It's gonna go just like that. Now.

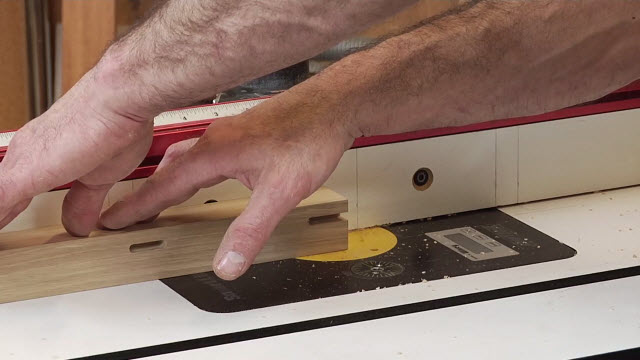
The profile of that, in order to get our single point contact concept going, what we really want here is a half round. And I produce this just by using a router bit. Let's look at the board I started with. Easiest way to make this kinda thing is to start with a wide board. And what I did then.

It's 3/4 inch thick, so I used a 3/8 inch round over and I cut it from this side and I cut it from this side. Because our round over is half the size of our board, 3/8 round over for 3/4 inch stock, that gives us a bullnose. Then I can go to the table saw and do a rip cut that allows me to cut this piece off, and notice how long my starting board was from which I only need the short piece that we're gonna put onto our jig. But it's safer to work with a large part and then just keep cutting down to size as you go until you get that small piece that you need. That, after the table saw work, gives us that small piece of bullnose that we need in order to make our nose for the jig.

I'm gonna center this and let me show you a lot of the way I do this pretty often is, put on the part that you're gonna fasten, then measure from there to the edge. In my case, that's 5 1/4 inches. Then the math is half of 5 1/4 which would be 2 5/8 is the distance from this edge to the edge of whatever it is I'm fastening on. Then if you wanna double check that, we should be able to measure this way and have the same dimension. So that's a little easier than measuring without it and doing a bunch of math in your head.

Incorporate the piece, do the calculation, and that'll show you where it goes. Little bit of glue. This isn't gonna need any screws, the brads will be plenty. Get it on the pencil line. We do wanna sure this nose goes on nice and square, otherwise it's not gonna make good contact with your material.

Brad and a brad. And once we have our magnetic switches screwed in place, that takes care of building our single point contact fence. You can scale that up or scale that down as needed and make sure it fits your bandsaw.

Get exclusive premium content! Sign up for a membership now!