
Quick Tip: How to Remove a Broken Nail
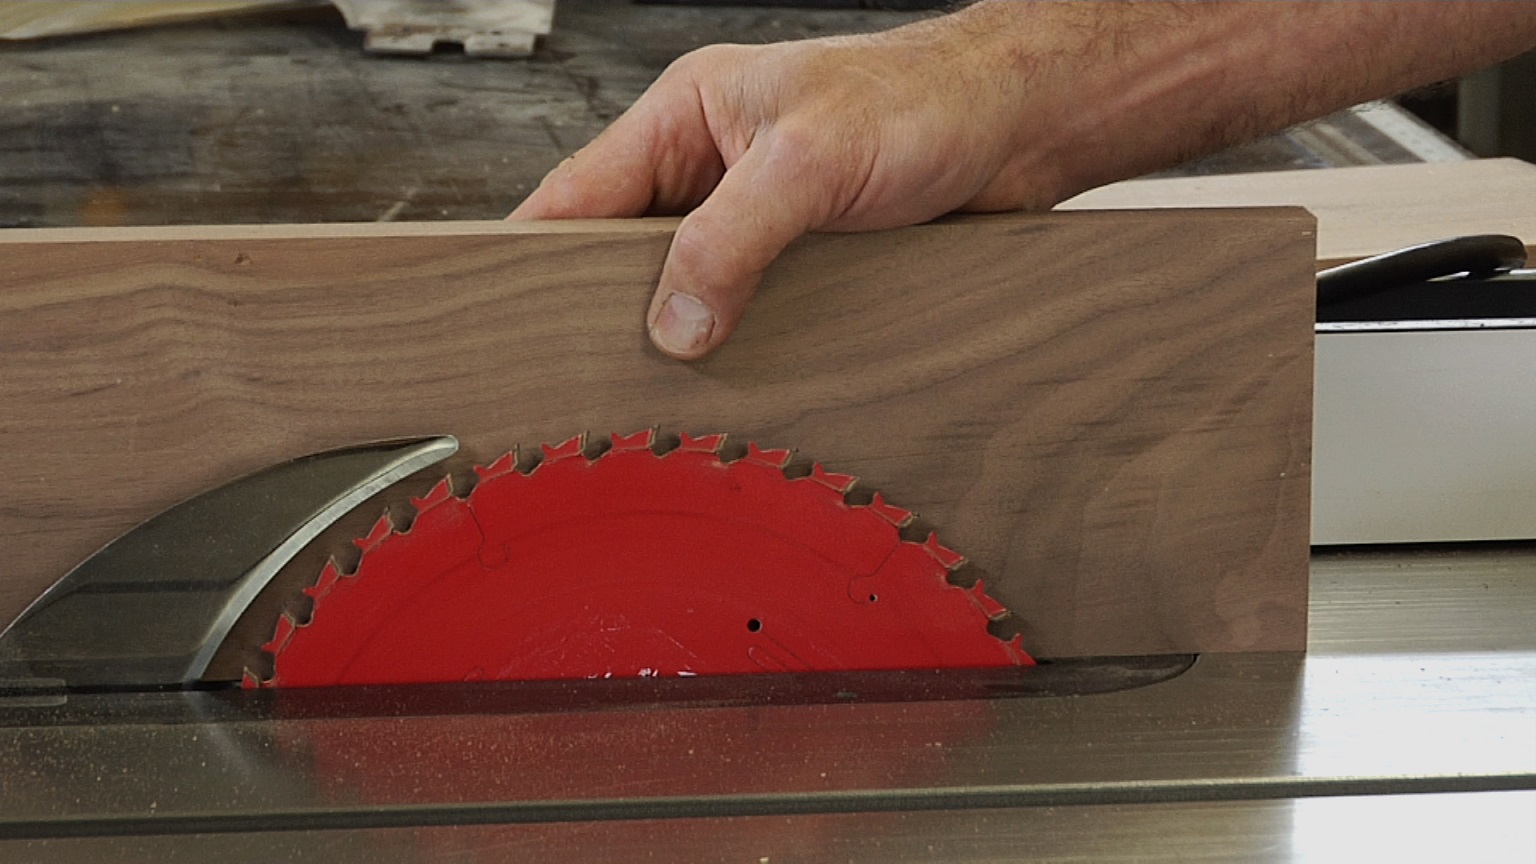
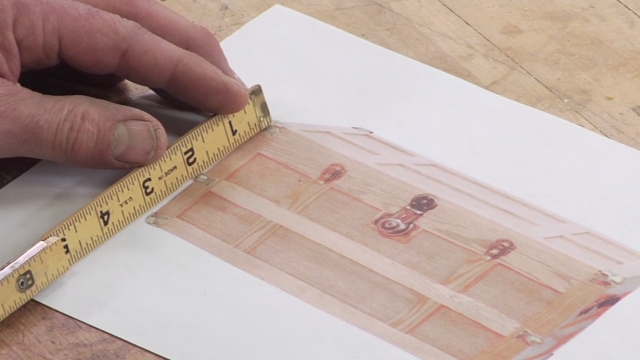
George VondriskaEveryone loves to score a good deal on lumber, and sometimes that involves investing some “sweat equity” into the material before you can use it. Pallets can be a great source of free lumber, and sometimes there are some very nice pieces of lumber lurking under the warehouse grit and road grime. The patina of a piece of pallet wood can be spectacular, and can be a great enhancement to any woodworking project. Unfortunately, pallet wood can have a lot of nails that will need to be removed before it can be used in a project because lots of bad things can happen to power tools that come into contact with nails. Planer and knives can get badly dinged, chisel and plane irons can get destroyed, and an expensive saw blade could be ruined instantly.
As you are dismantling pallets to harvest your free pallet wood, you’ll want to have a tool kit at your disposal to help you remove nails in a variety of situations. First you’ll need to be able to find the nails in your pallet wood. Sometimes the nails are embedded and invisible to the naked eye, so you’ll want a metal detector. You’ll also want to have some pliers, a hammer, a pry bar and some cheap chisels (not your dovetail set).
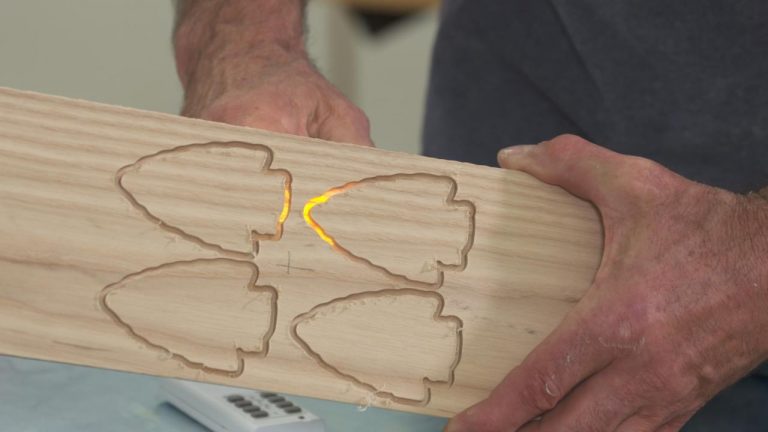
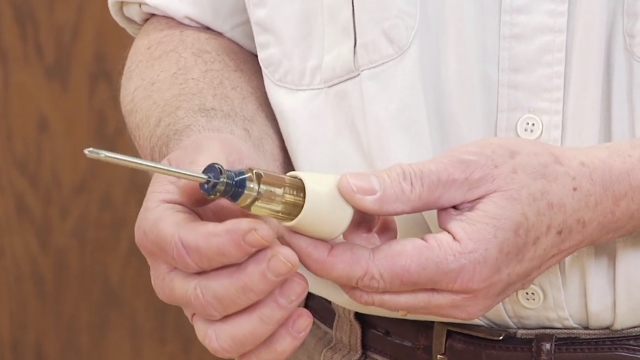
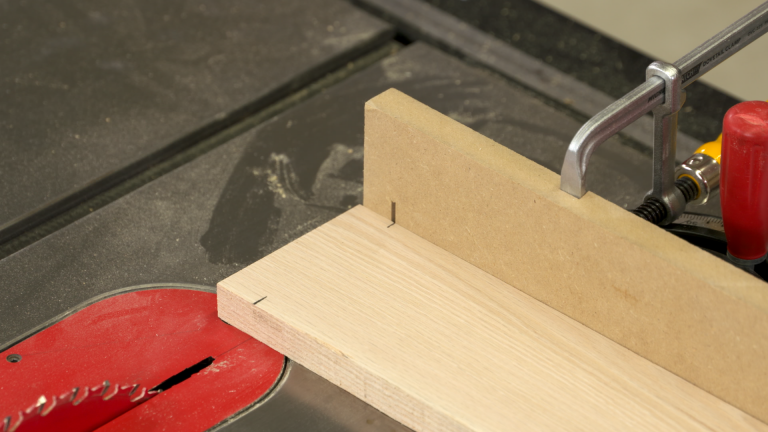
Sometimes when nail hunting in pallet wood, a nail is protruding but the head has been snapped off. If that’s the case, here’s what you can do:
Add a “nail head”
George will demonstrate a simple approach to adding a nail head to the clipped nail. This is quick and simple.
Use a prior bar
With the new “nail head” in place, you’ll simply remove with a hammer or pry bar.
If you find this helpful, check out our other great shop tips.
Explore videos by George Vondriska


You may be interested in


Premium Membership
Unlock exclusive member content from our industry experts.
- 24/7 Access to Premium Woodworking Videos, Projects, and Tips
- Step-by-Step Instructional Demos, Plans, and Tutorials
- 50% Off Video Downloads Purchased in the Woodworkers Guild of America Shop
- 2 Printable Woodworking Plans
Unlock exclusive member content from our industry experts.
- 24/7 Access to Premium Woodworking Videos, Projects, and Tips
- Step-by-Step Instructional Demos, Plans, and Tutorials
- 50% Off Video Downloads Purchased in the Woodworkers Guild of America Shop
- 2 Full-Length Video Downloads to Watch Offline
- 2 Printable Woodworking Plans
Gold Membership
$370 Value
Get everything included in Premium plus exclusive Gold Membership benefits.
- 24/7 Access to Premium Woodworking Videos, Projects, and Tips
- Step-by-Step Instructional Demos, Plans, and Tutorials
- 8 Full-Length Video Downloads to Watch Offline
- 3 Full-Length Woodworking Classes to Keep for Life
- 7 Printable Woodworking Plans
- Discounts on Purchase-to-Own Content in the Woodworkers Guild of America Shop
- Access to Ask the Expert Program
- Exclusive GOLD LIVE Streaming Events