
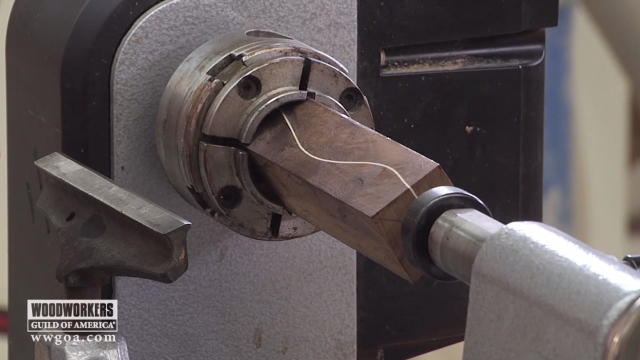
How to Turn a Cylinder with a Router
George VondriskaMaster woodworker George Vondriska demonstrates the process of turning a cylinder for your woodworking projects by using a router. A WoodWorkers Guild of America (WWGOA) original video.
Share tips, start a discussion or ask one of our experts or other students a question.
Already a member? Sign in
15 Responses to “How to Turn a Cylinder with a Router”
Explore videos by George Vondriska


You may be interested in


Premium Membership
Unlock exclusive member content from our industry experts.
- 24/7 Access to Premium Woodworking Videos, Projects, and Tips
- Step-by-Step Instructional Demos, Plans, and Tutorials
- 50% Off Video Downloads Purchased in the Woodworkers Guild of America Shop
- 2 Printable Woodworking Plans
Unlock exclusive member content from our industry experts.
- 24/7 Access to Premium Woodworking Videos, Projects, and Tips
- Step-by-Step Instructional Demos, Plans, and Tutorials
- 50% Off Video Downloads Purchased in the Woodworkers Guild of America Shop
- 2 Full-Length Video Downloads to Watch Offline
- 2 Printable Woodworking Plans
Gold Membership
$370 Value
Get everything included in Premium plus exclusive Gold Membership benefits.
- 24/7 Access to Premium Woodworking Videos, Projects, and Tips
- Step-by-Step Instructional Demos, Plans, and Tutorials
- 8 Full-Length Video Downloads to Watch Offline
- 3 Full-Length Woodworking Classes to Keep for Life
- 7 Printable Woodworking Plans
- Discounts on Purchase-to-Own Content in the Woodworkers Guild of America Shop
- Access to Ask the Expert Program
- Exclusive GOLD LIVE Streaming Events
With a bit more work a worm and gear with a small stain and you could crank and drive the router at the same time. bigjgoode’s idea tops it off.
By attaching a piece of plexiglass (removable) to the router sled, you could also maintain the suction in the box and decrease dust coming out the exposed rectangle at the top as you watch the progress of the cut.
Is there a plan for this jig?
Could you attach a variable speed drill to the drive end on some sort of bracket and lock in drill at a slow speed to turn the blank?
Great idea. I have already thought of a specific project. Thank you.
As you move the router, you'll have only one hand on the router to control it and it will be a a bit of a reach when the router is on the opposite side of the hand crank. If the post that is being turned is a lot shorter than the inside of the box, you will need to create some other method to secure the tail end in its center. Sears had a legacy device they called a "router crafter" that you can often find on eBay. It is adjustable and can handle a 3"x 36" work piece . The router sits on top as in your device, but is connected by a cable. As the crank is turned, the router is pulled across the work piece. You can create cylinders or spiral roping, coving, etc. The quality of the cuts is not as smooth as on the lathe, but doing roping on a conventional lathe isn't possible. I have one of those, used it for some impressive looking table legs, but otherwise seldom use it. Filing and sanding the rough edges on 4 spiralled legs can get quite tedious.
Nice, I enjoyed this newer to this so gives me some ideas... Thamks
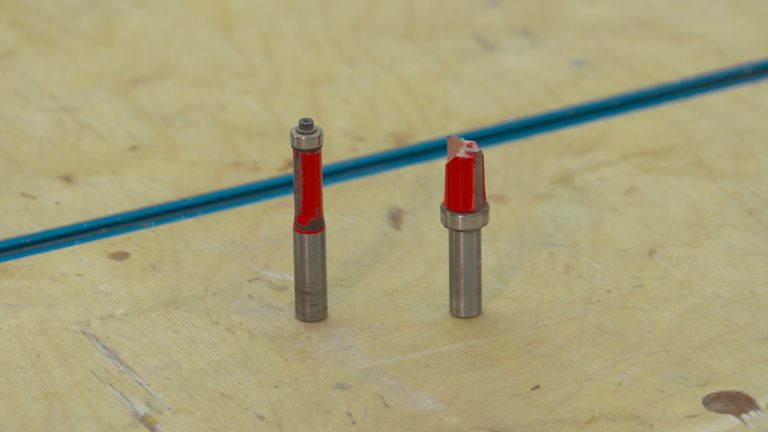
You mentioned a 3/4 router bit. What shape/ type of bit are you using?
This is a fantastic Jig! I don't know who came up with this, but they deserve a drink on me! How is it for making small diameter cylinders, such as dowel rods? Threaded T-Nuts at the Dead Center end with a jamb nut would make it a bit easier. Also, a removable crank so you can put the threaded rod into a drill would make sanding easier.
If you left the shaft protrude past the crank handle, you could chuck a variable speed drill on the shaft and have it turn the piece while you have two hands free to sand.