
Miter Saw Setup for Accurate Cuts
George VondriskaWhen I walk up to my miter saw and make a cut, I want to know for a fact that the cuts I’m making are accurate. Whether I’m making a 90-degree cut, an angled cut or a beveled cut, I put the same demands on the saw; do what I’m asking you to do. Accurately.
Setting up your miter saw
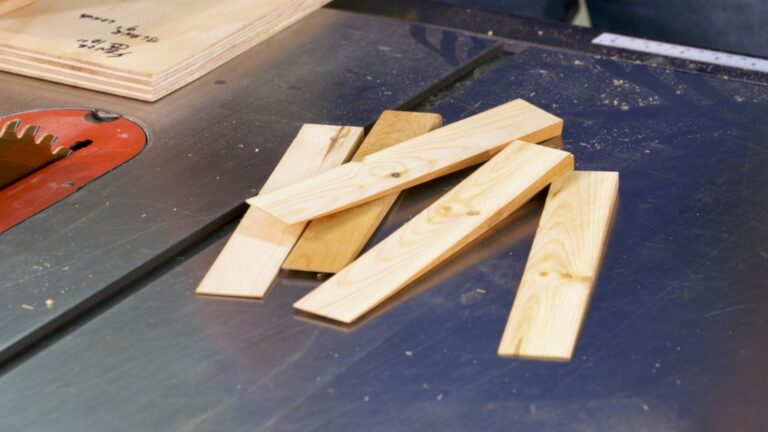
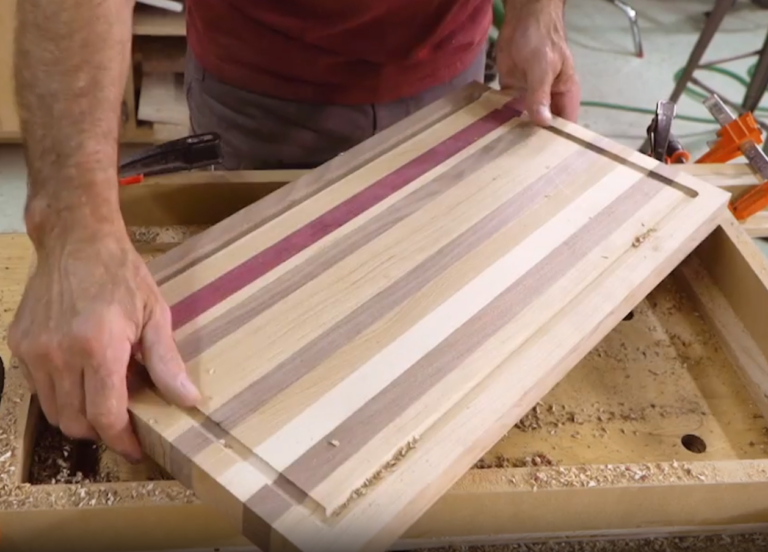
Miter saw setup isn’t hard, and it’s something that needs to be done, even to a brand new saw. You’ve got to double check and make sure the saw is making the cuts you need. Instead of trying to use a square between the blade and fence, try this approach for checking your saw. Make a pair of cuts, and compare them to each other. This is a very accurate way to that your miter saw setup is good. Here’s a tip; the wider the boards are that you cut, the more accurate this test will be.
Works for bevels and angles
The approach shown here for miter saw setup works whether you’re checking the angle of your miter saw, or the bevel of your miter saw. The only difference is that you’ll use narrower boards to check the bevel. In both cases, make sure that the edge of the board that’s against the fence or down on the table is perfectly straight.
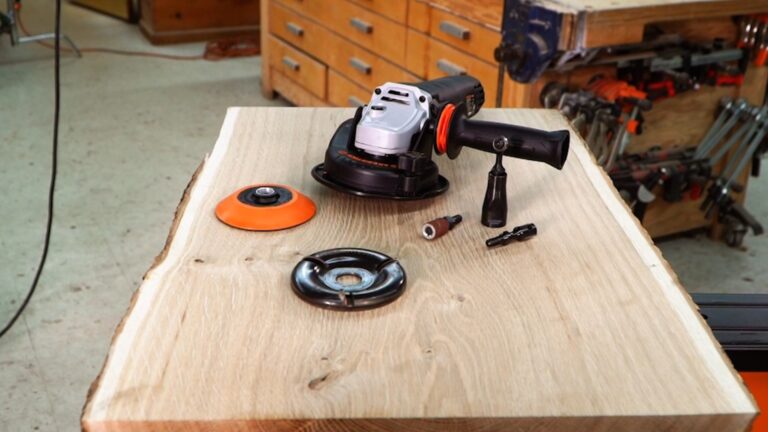
A much used tool…
If you’re like me, you’re using your miter saw all the time. Make sure that you’re using a miter saw correctly and, if you want to know more, but sure to have a close look at WWGOA.com because we’ve got even more miter saw videos available for you.
More info
For more information on the Delta Cruzer miter saw visit www.deltamachinery.com, or call (800) 223-7278.
Share tips, start a discussion or ask one of our experts or other students a question.
Already a member? Sign in
One Response to “Miter Saw Setup for Accurate Cuts”
Explore videos by George Vondriska


Premium Membership
Unlock exclusive member content from our industry experts.
- 24/7 Access to Premium Woodworking Videos, Projects, and Tips
- Step-by-Step Instructional Demos, Plans, and Tutorials
- 50% Off Video Downloads Purchased in the Woodworkers Guild of America Shop
- 2 Printable Woodworking Plans
Unlock exclusive member content from our industry experts.
- 24/7 Access to Premium Woodworking Videos, Projects, and Tips
- Step-by-Step Instructional Demos, Plans, and Tutorials
- 50% Off Video Downloads Purchased in the Woodworkers Guild of America Shop
- 2 Full-Length Video Downloads to Watch Offline
- 2 Printable Woodworking Plans
Gold Membership
$370 Value
Get everything included in Premium plus exclusive Gold Membership benefits.
- 24/7 Access to Premium Woodworking Videos, Projects, and Tips
- Step-by-Step Instructional Demos, Plans, and Tutorials
- 8 Full-Length Video Downloads to Watch Offline
- 3 Full-Length Woodworking Classes to Keep for Life
- 7 Printable Woodworking Plans
- Discounts on Purchase-to-Own Content in the Woodworkers Guild of America Shop
- Access to Ask the Expert Program
- Exclusive GOLD LIVE Streaming Events
Your test boards should be clamped down before cutting them when testing for accuracy, not just holding the boards with one hand. The blade flexes especially when trying to square an edge. Just because the 90 degree cut is square doesn't mean the 30, 45 and other indents on the miter saw will be accurate enough. With a Harbor Freight saw, all bets are off due to poor quality control. I had one such saw that had the fence not perpendicular to the base and each side of the fence slightly off, so that each side of the fence (on each side of the blade) was not in the same plane! A digital protractor and combination square can help determining accuracy. I watched you do that cross cut with the board standing up on edge! The saw could have done a hazardous climb-cut on that. You are very limited to the height of such a cut, maybe 4 inches. When doing long cuts, such as when making table leaves (you can't cut over 14" or so with a miter saw), a slightly off 90 degrees cut will result in severe lack of square. Just a 1/2 degree error results in an angled cut of 0.35 inches over a length of 40 inches (40 x the tangent of 0.5 degrees), so that the leaf is a now a parallelogram! When super-accurate cuts are needed in multiple pieces, remember that your router table can be your best tool with a trim router bit with top and bottom bearings. You first make a "perfect" template using the miter or table saw. Using 3M foam double-stick tape, you apply the template to the pieces to be cut, flipping the top and bottom sides to prevent cutting into the grain, which is a dangerous situation for your workpiece and your hands.