Video Download
Trimming Dovetails with Your Router
$0.00
Item:
D1G26U
Description
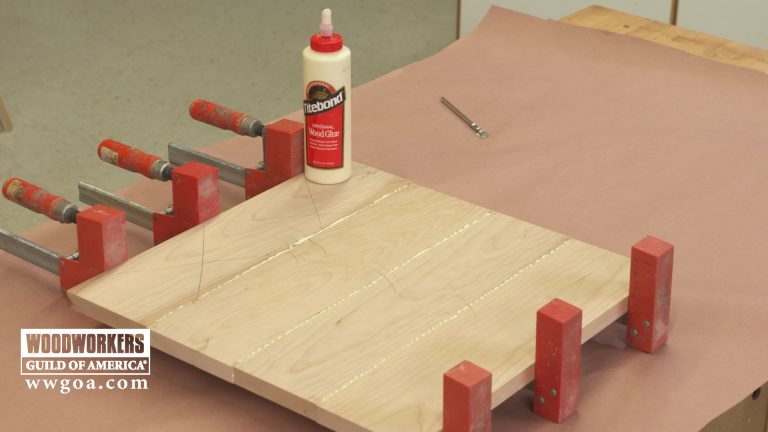
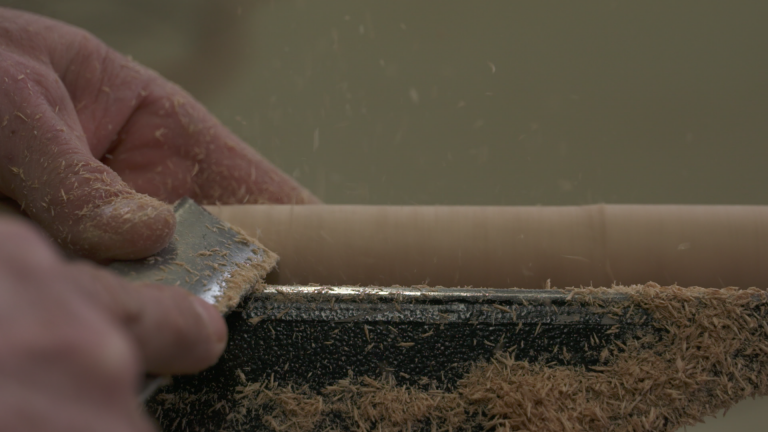
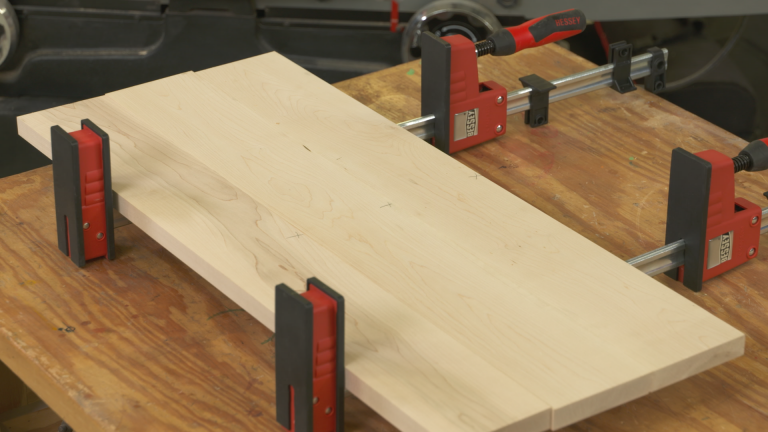
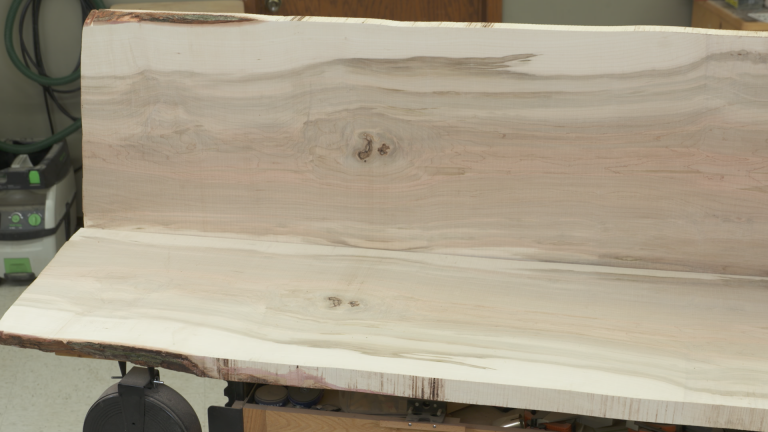
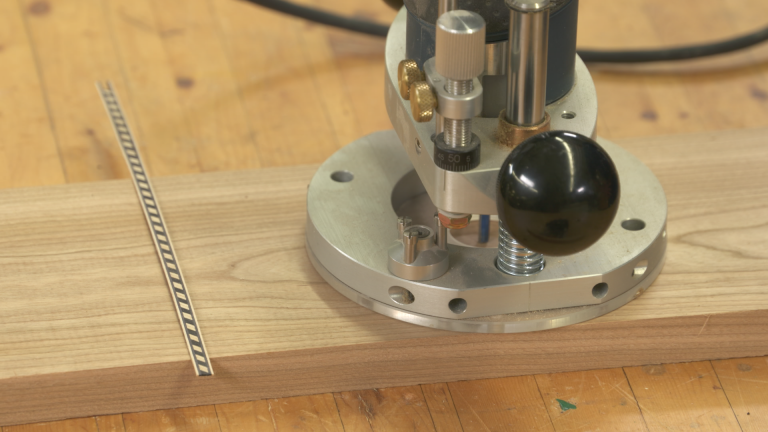
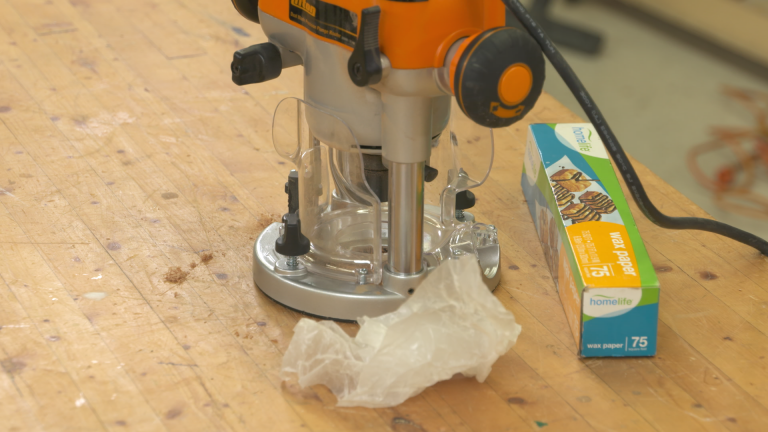
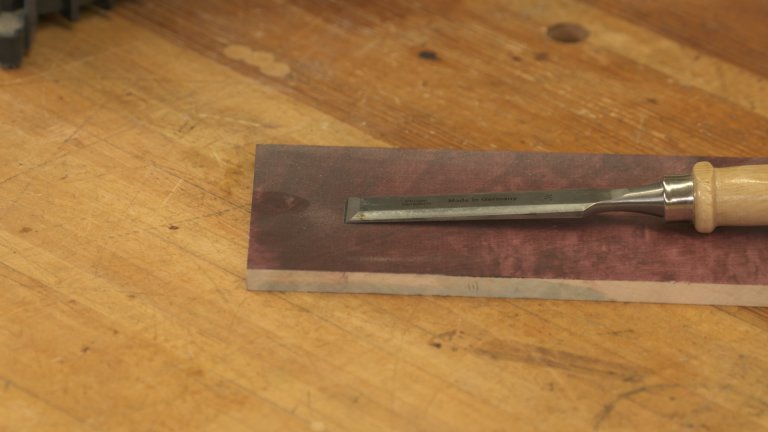
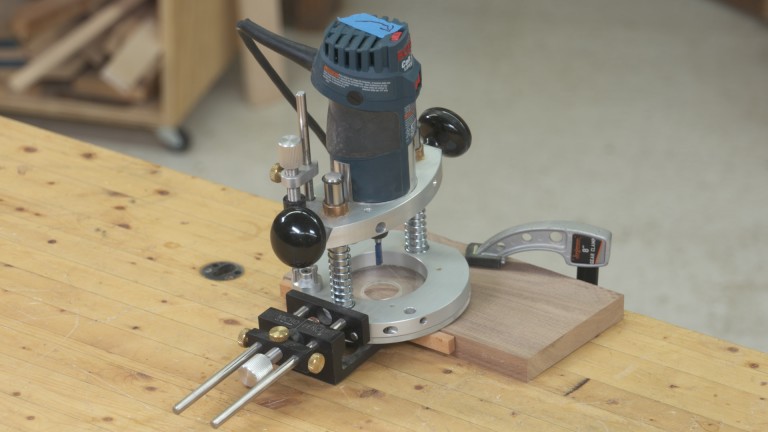
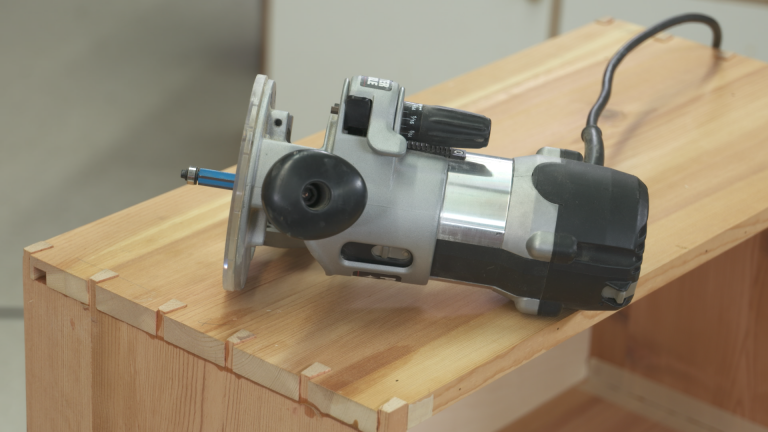
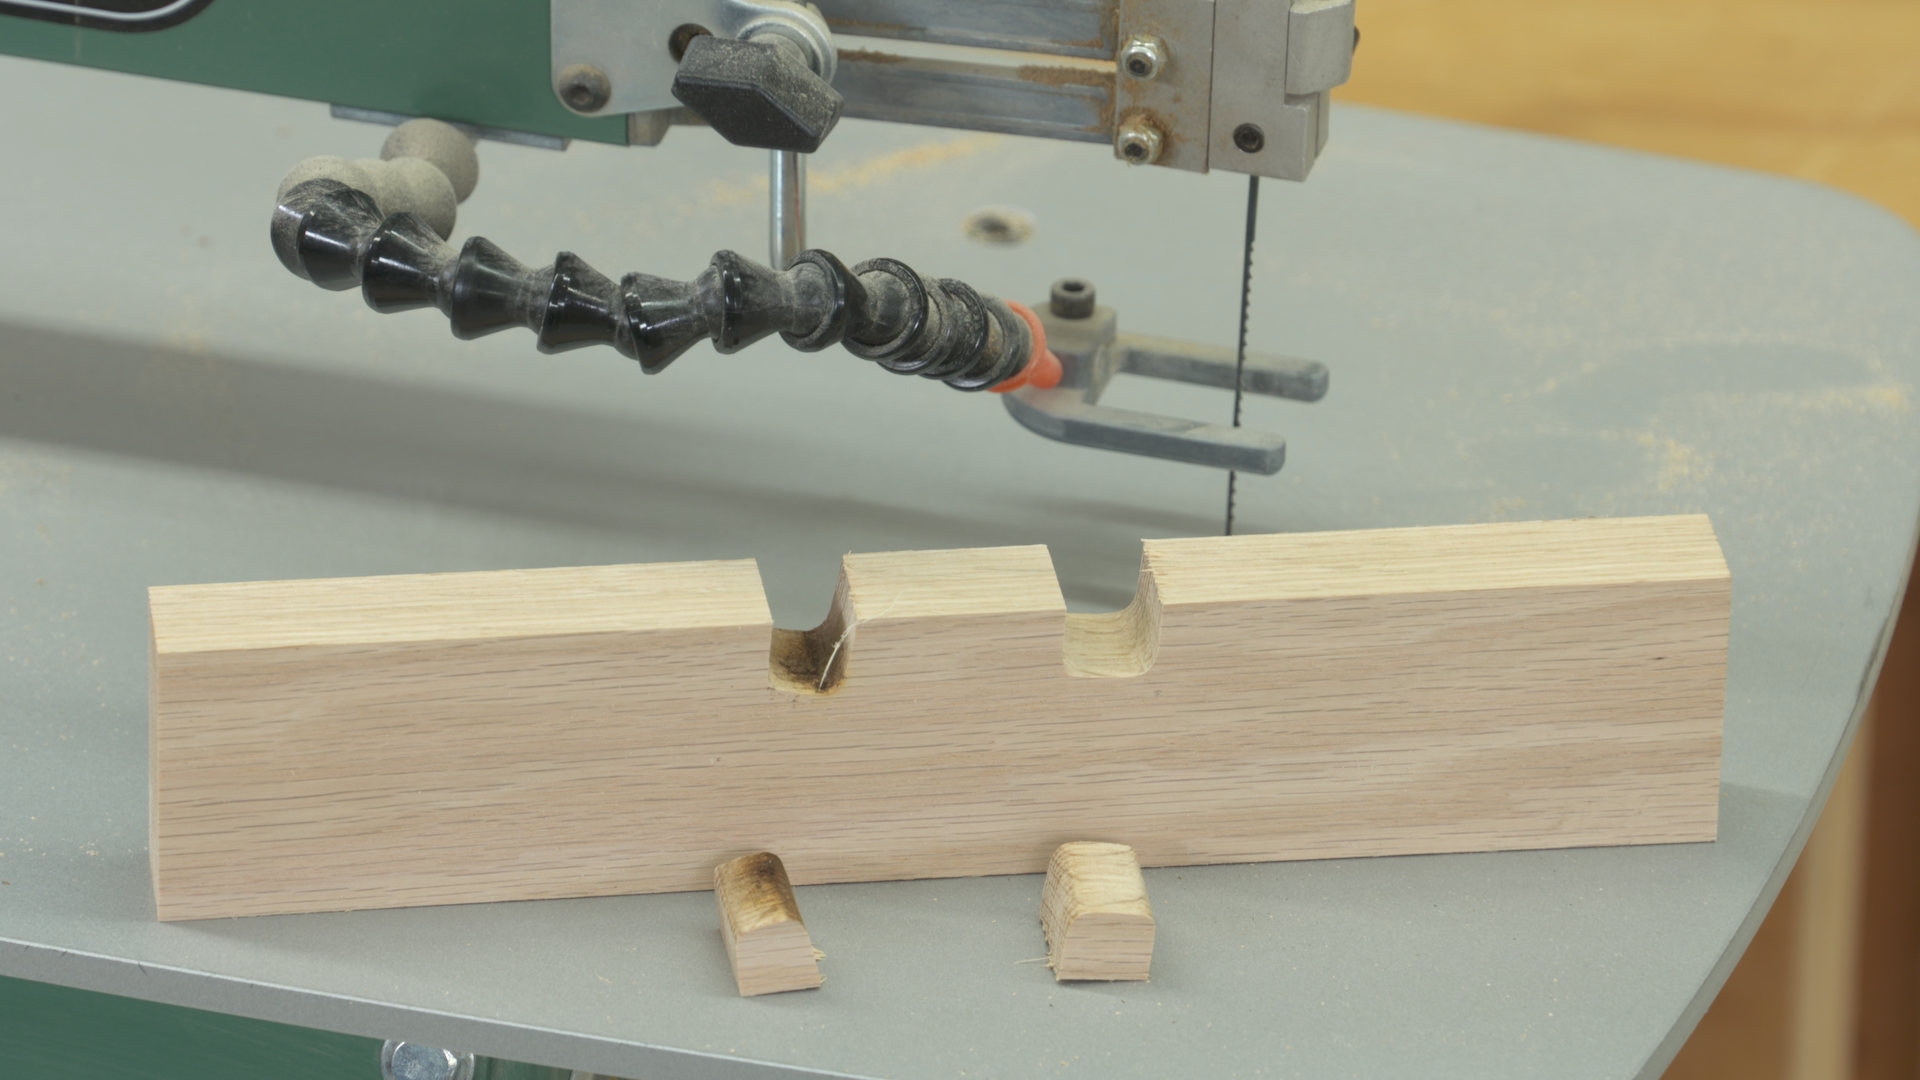
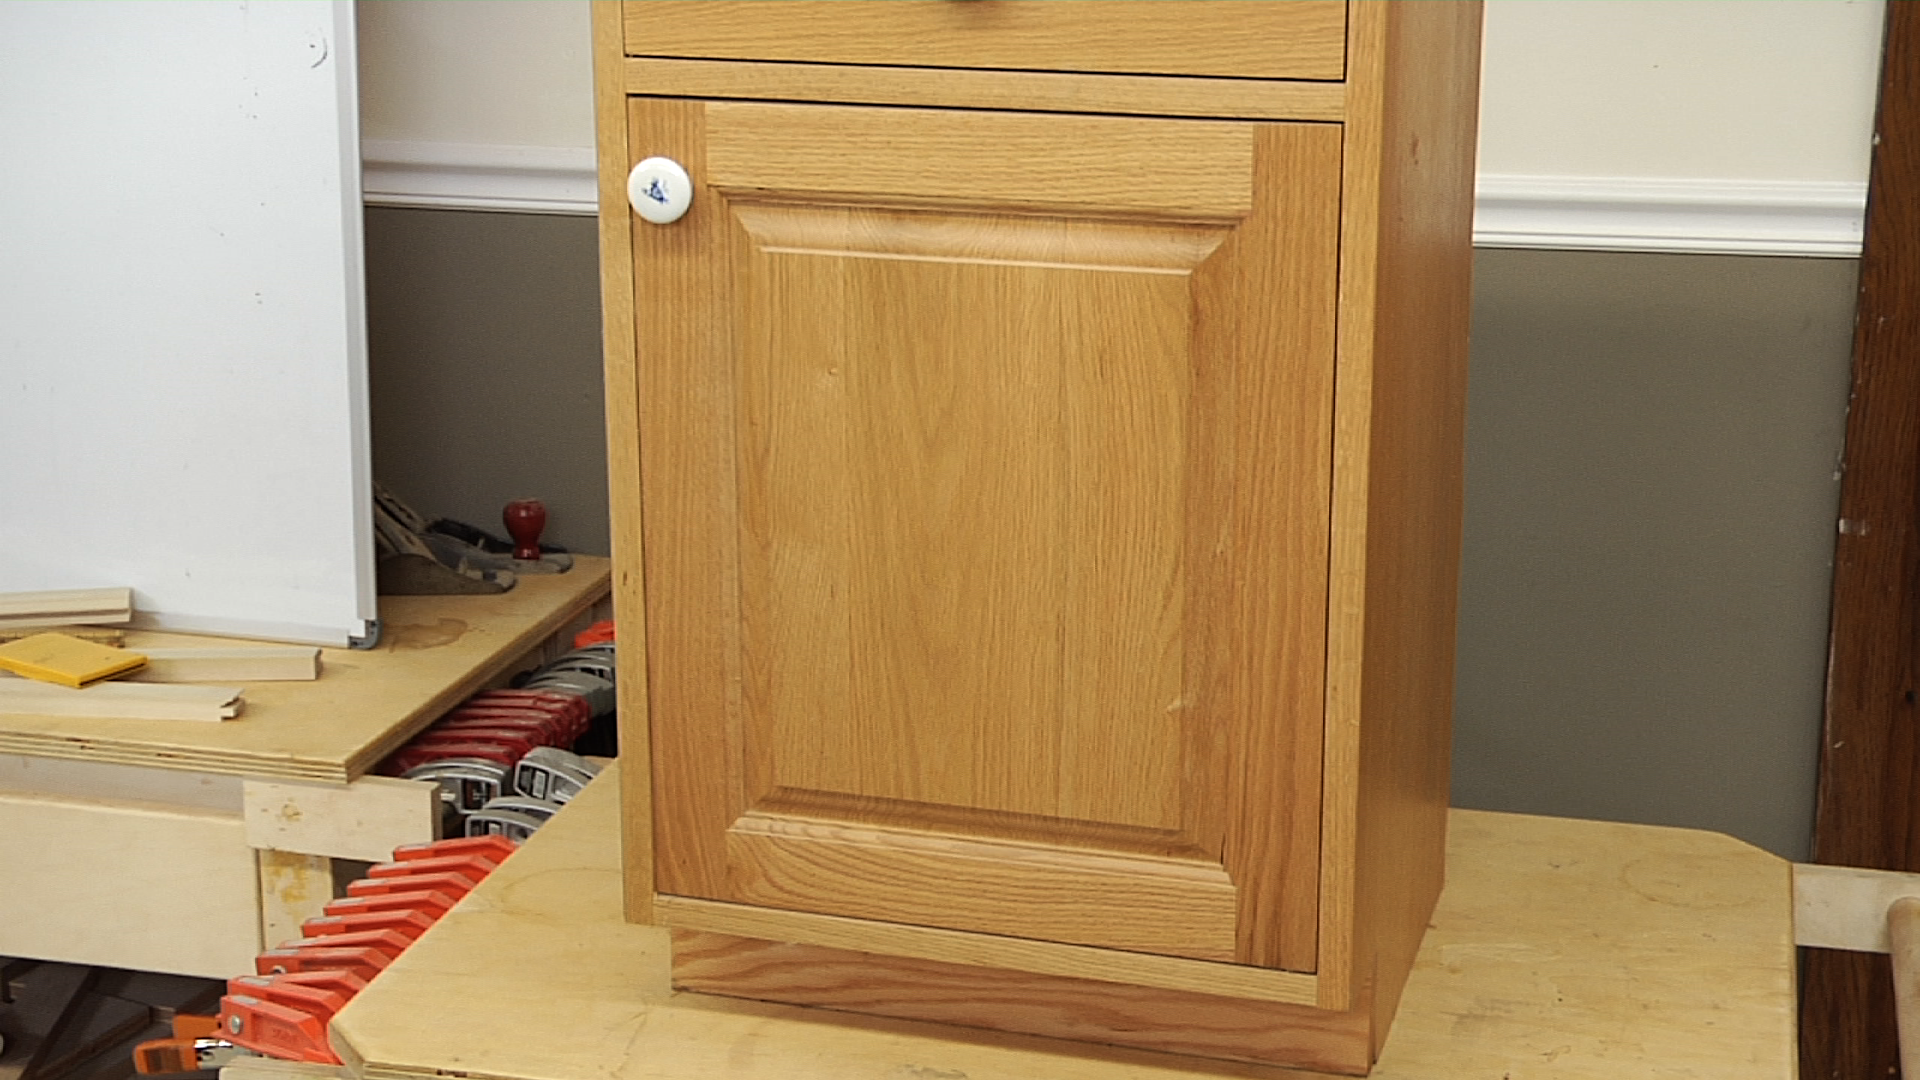
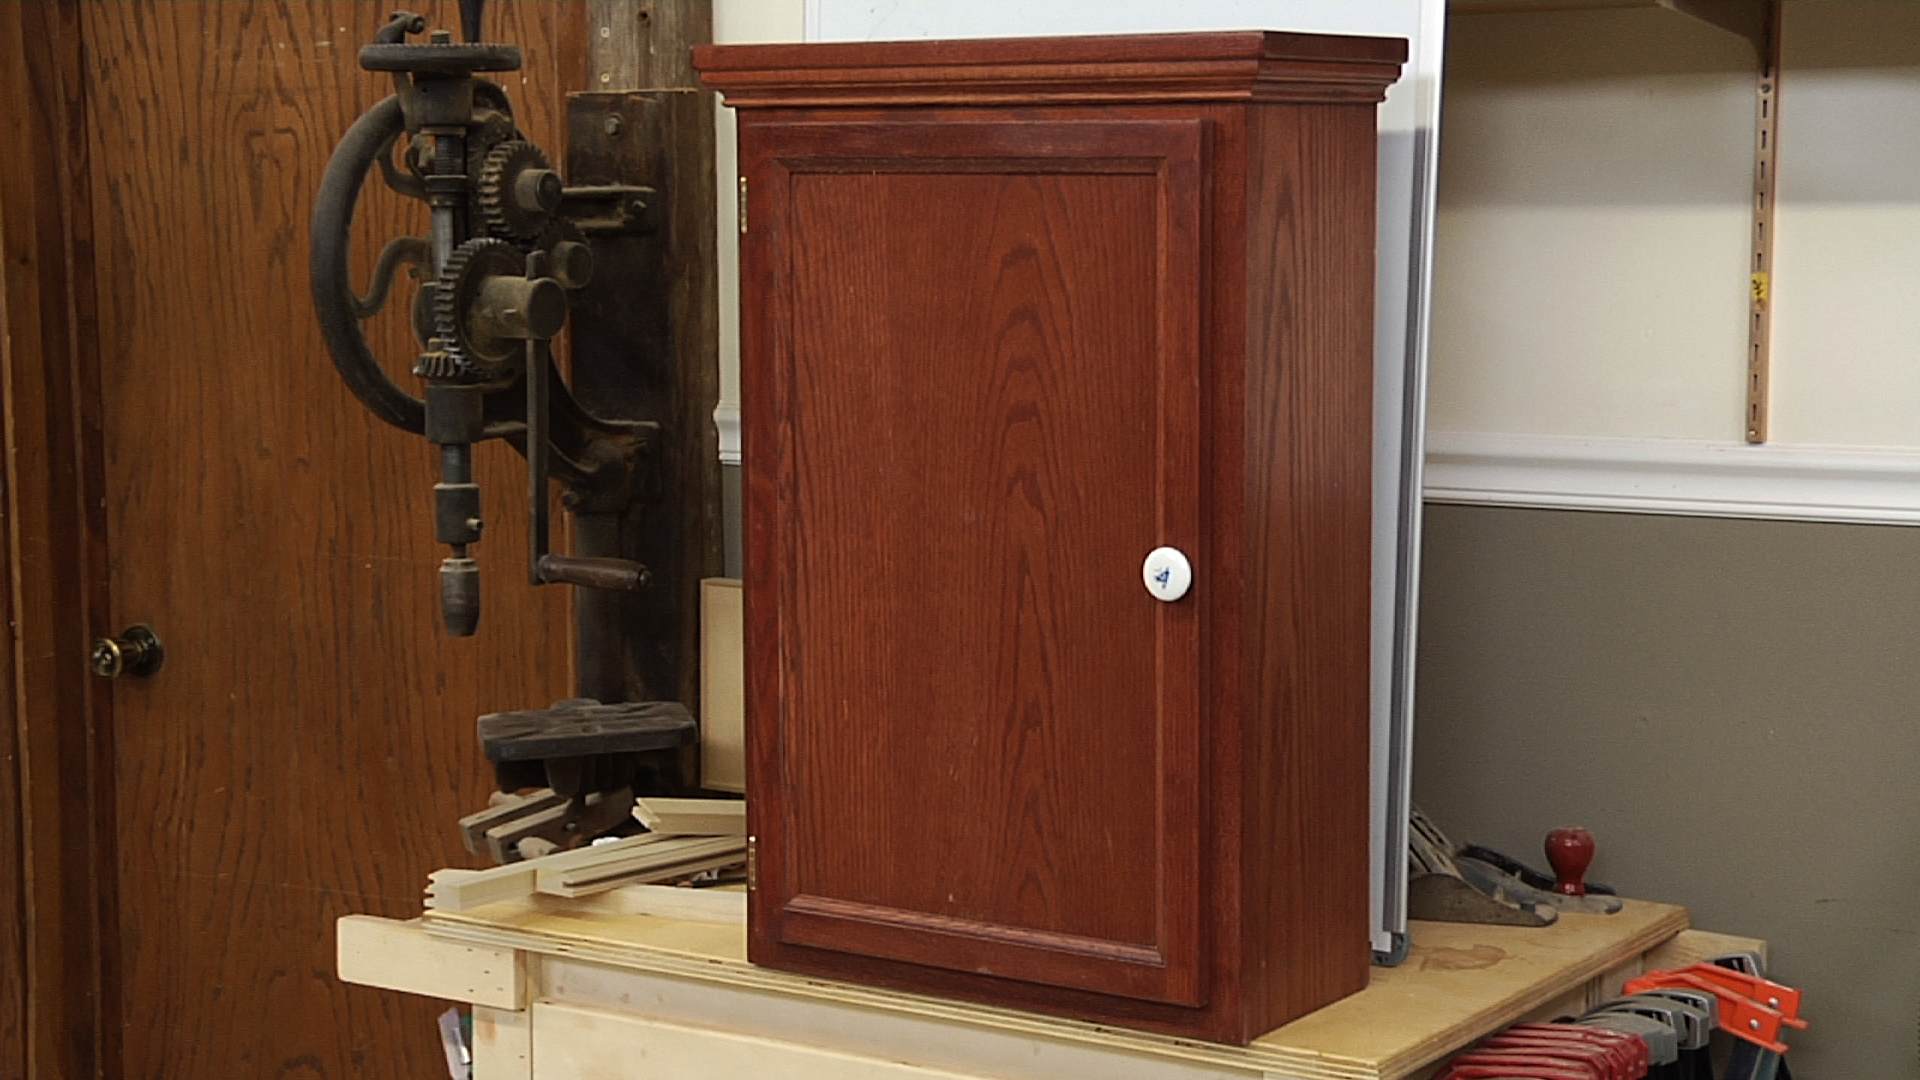
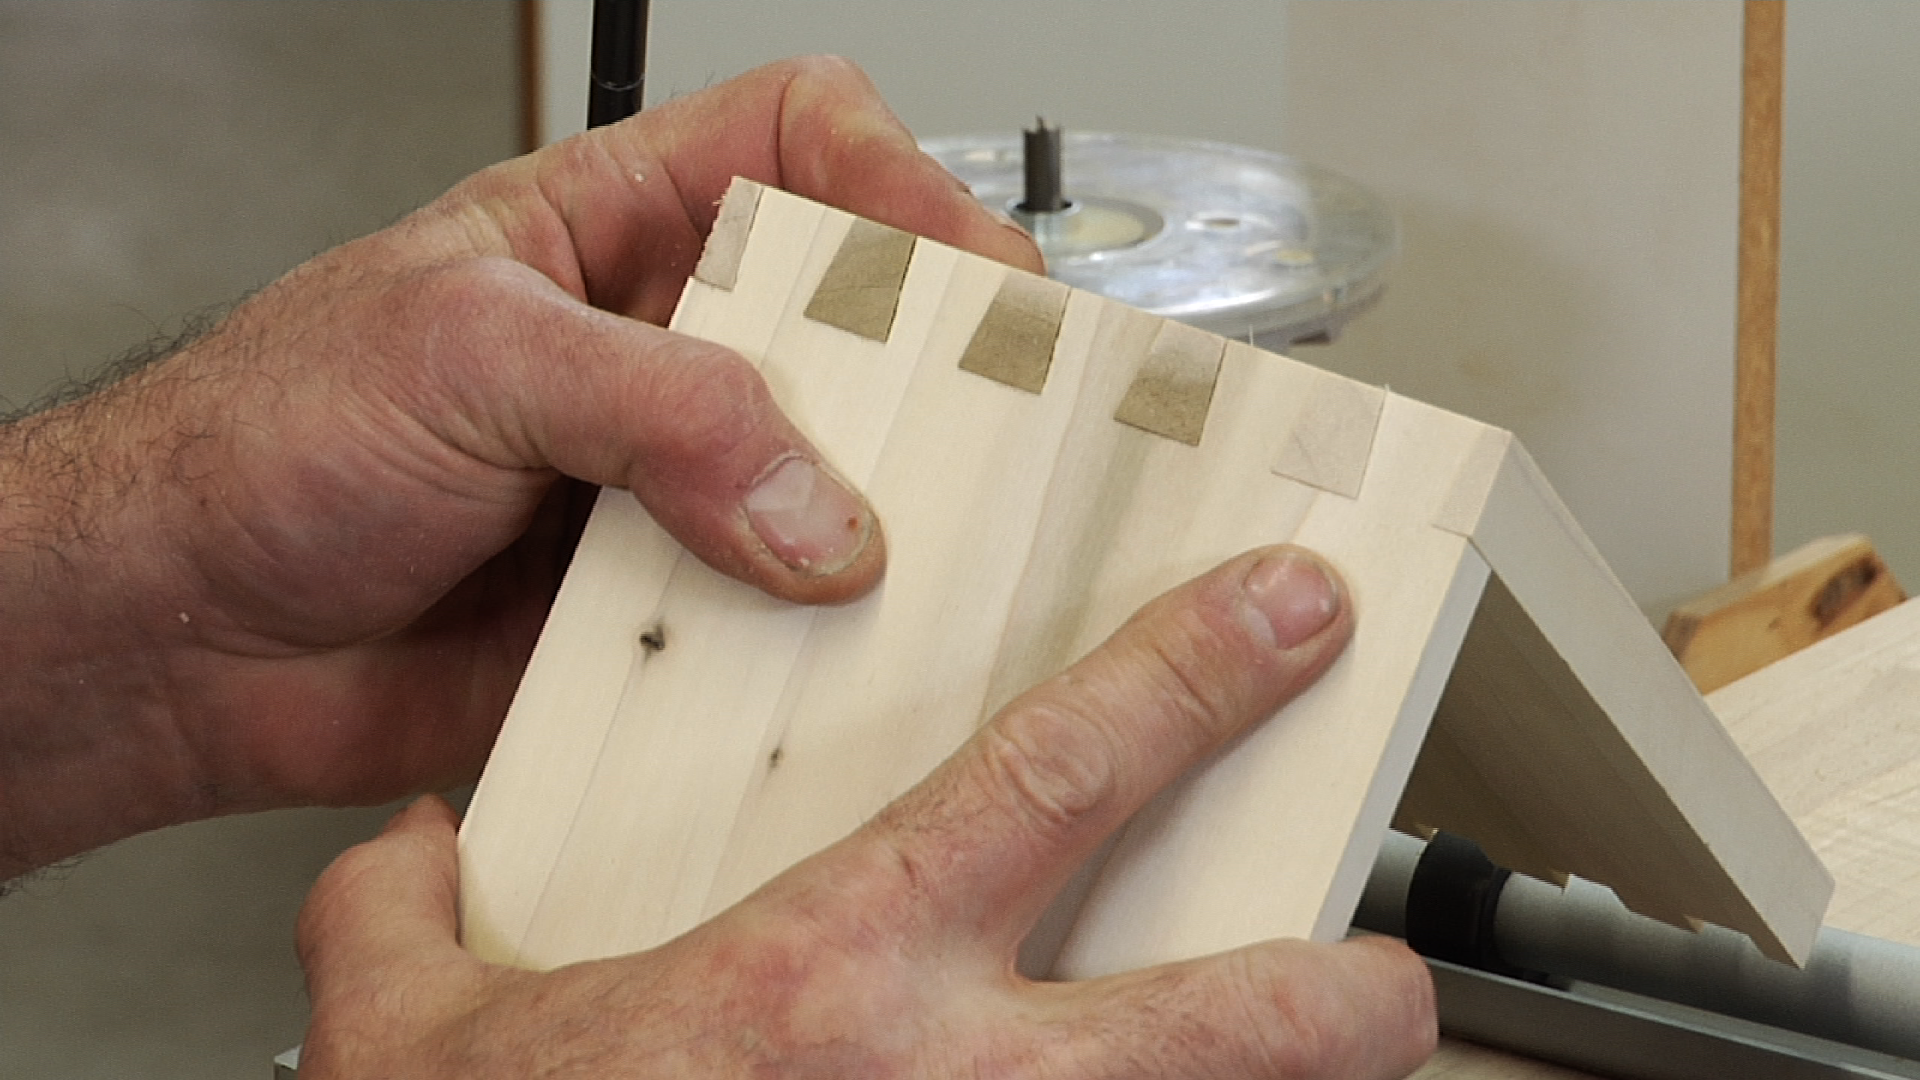
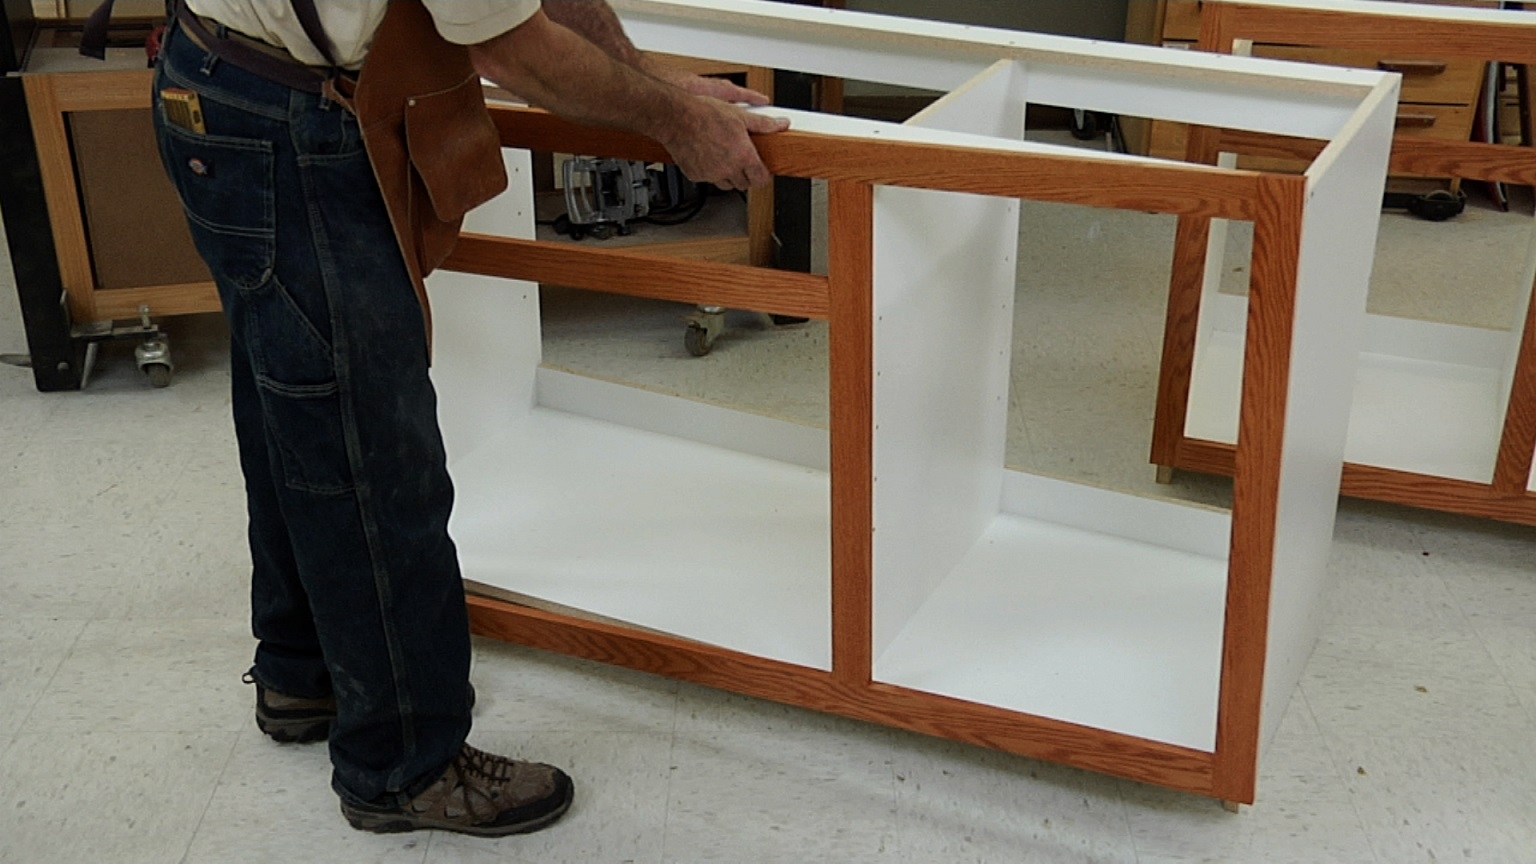
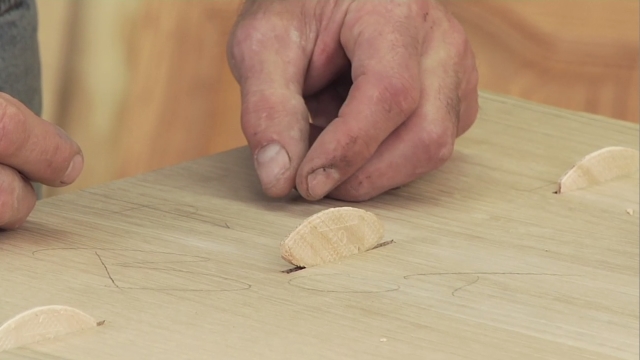
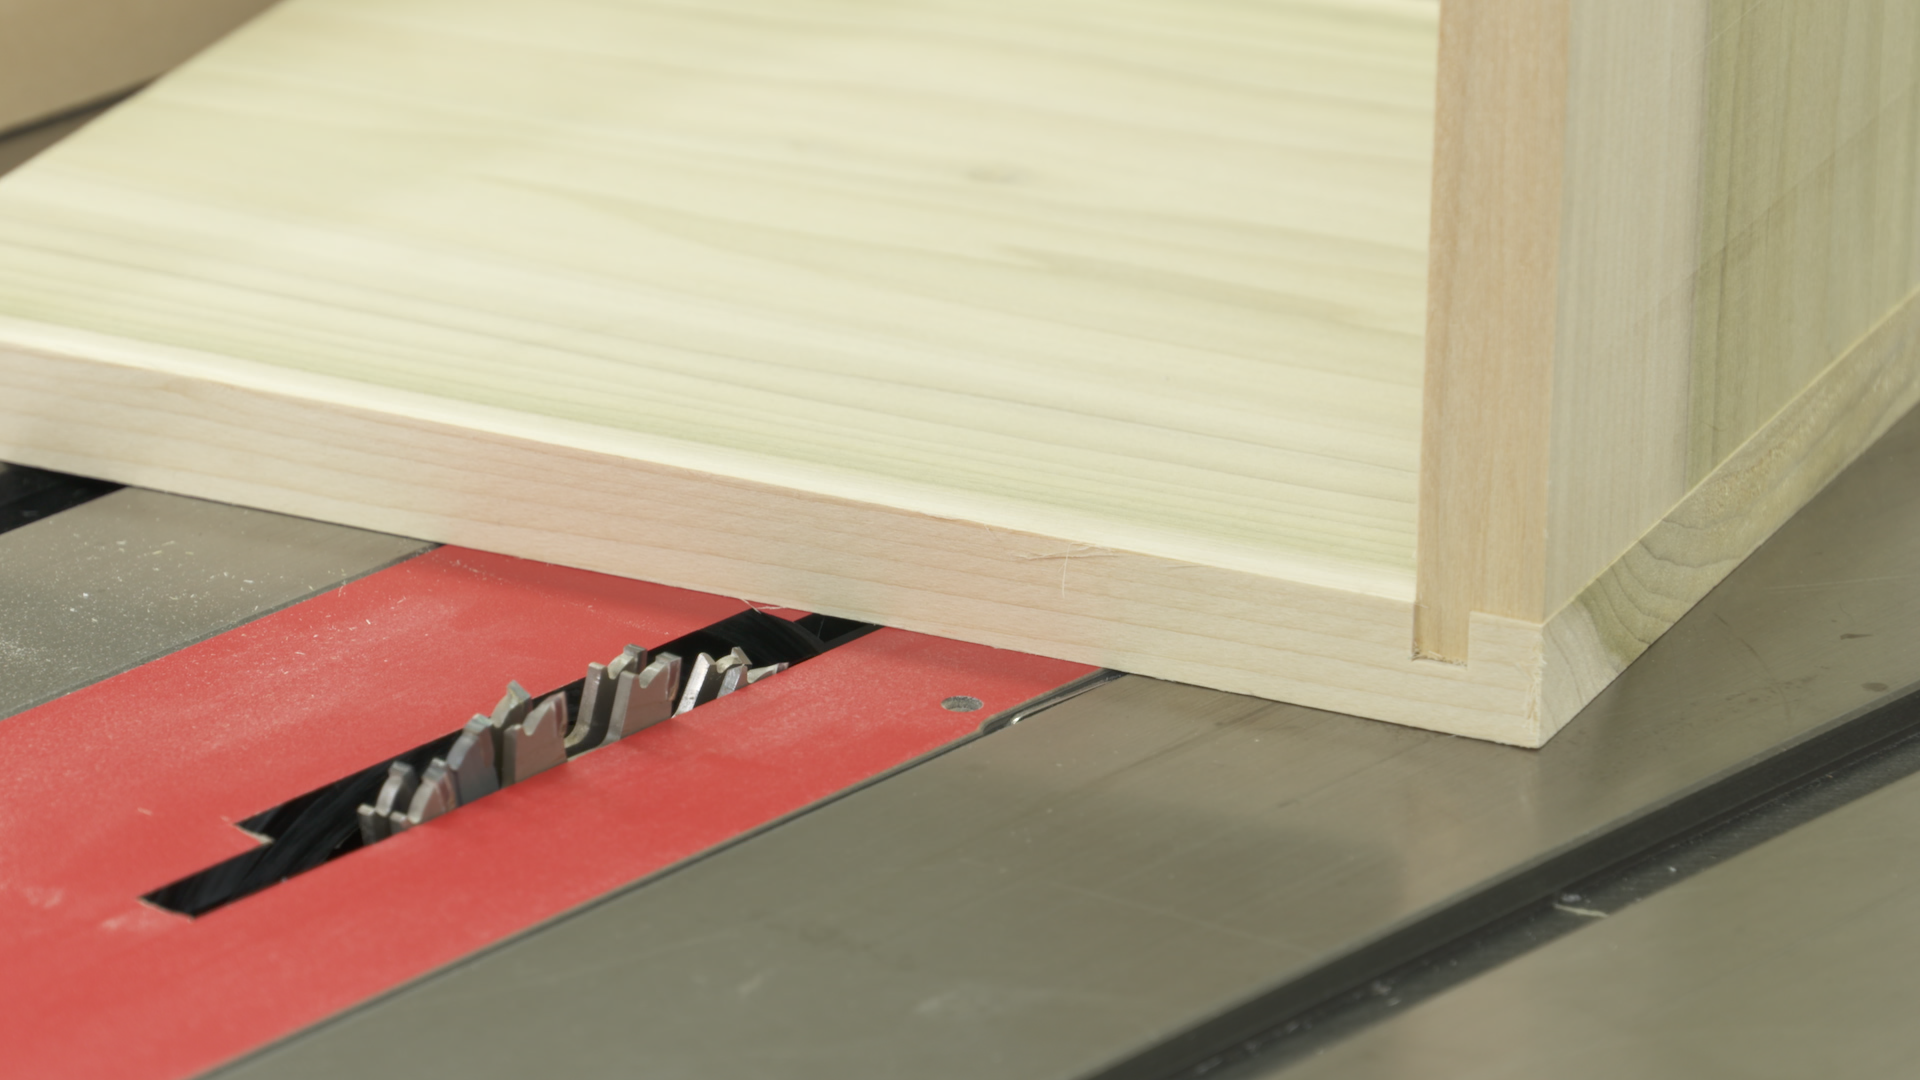
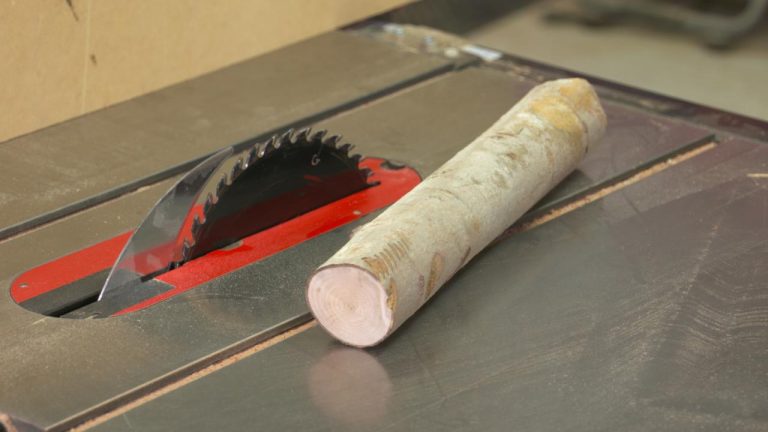
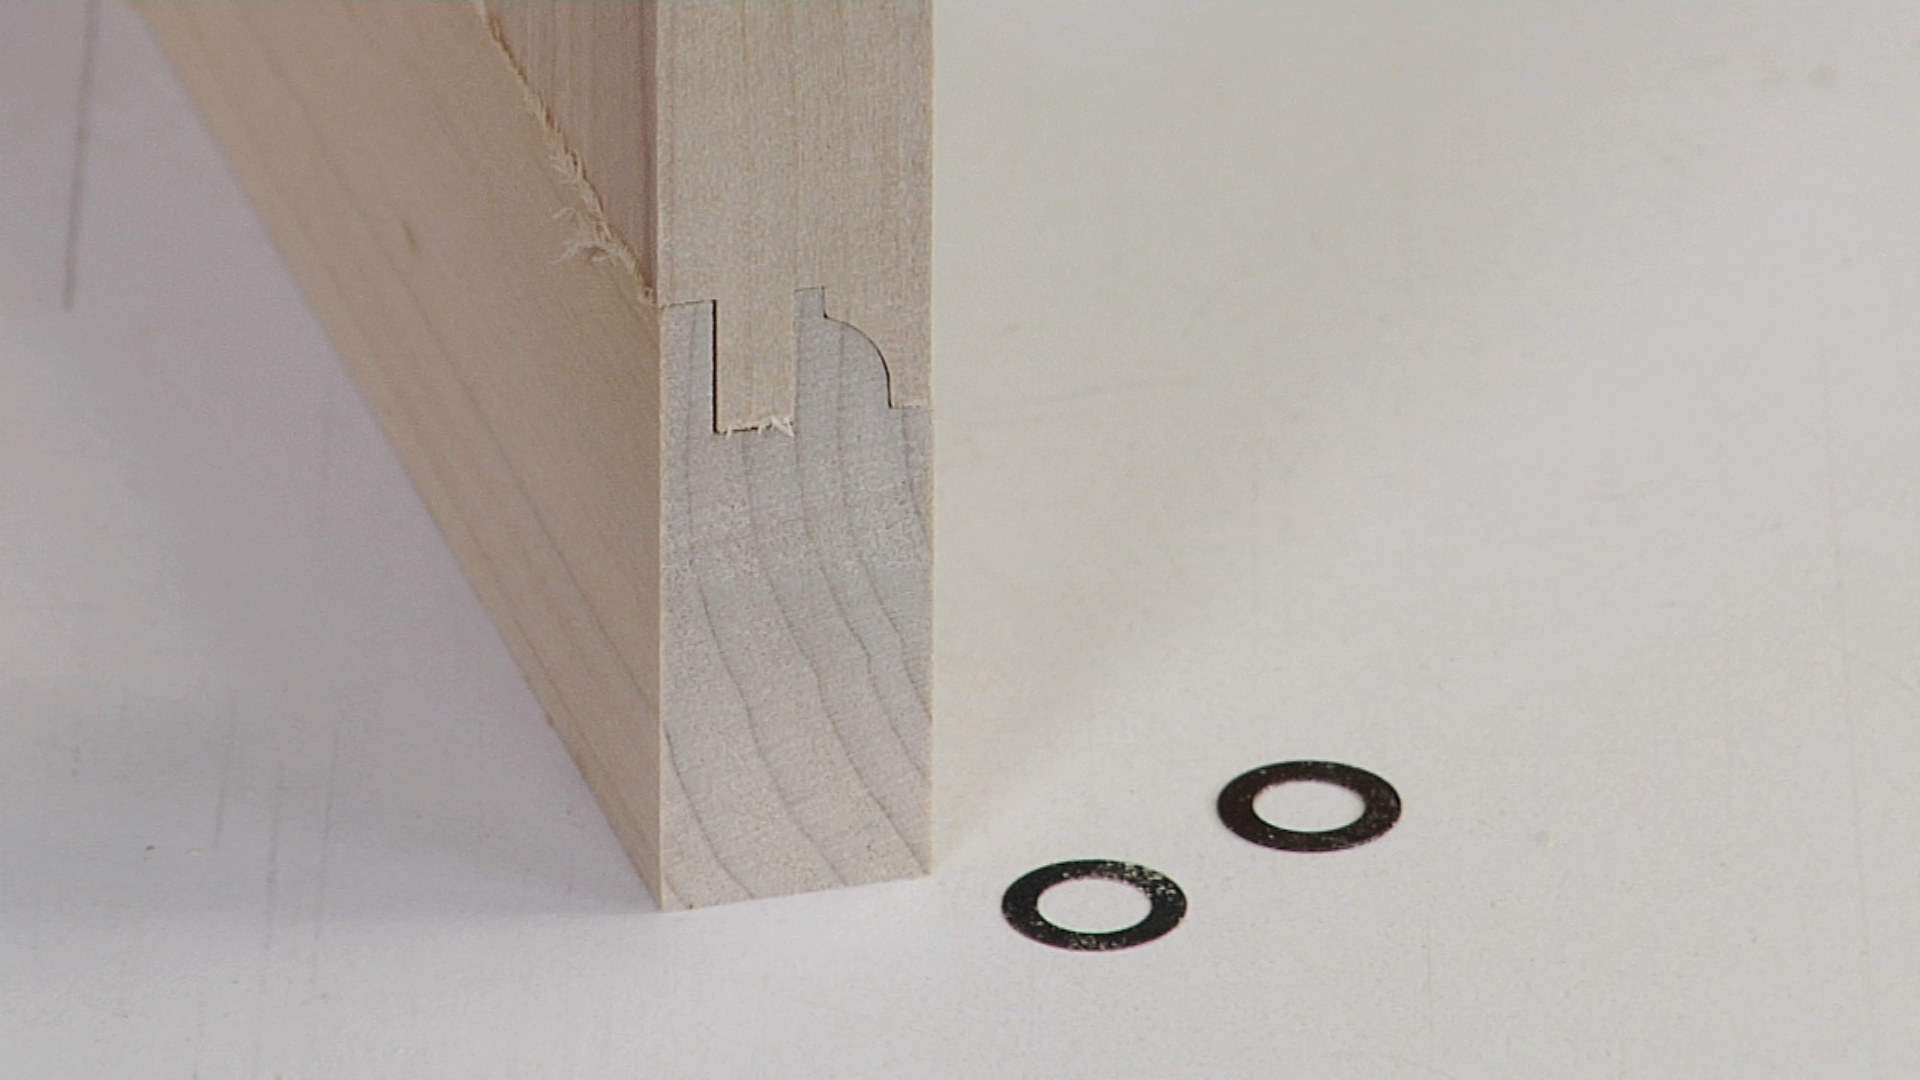
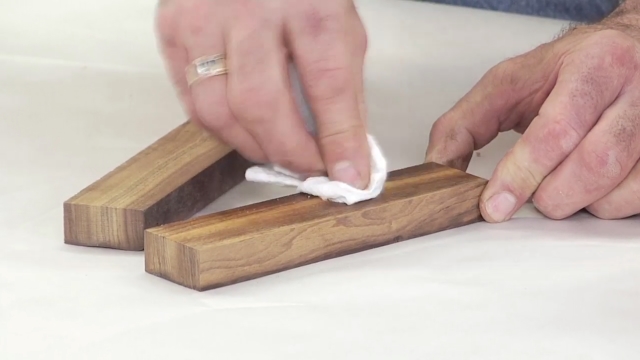
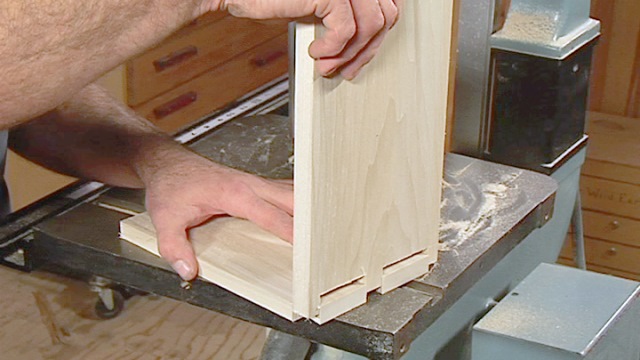
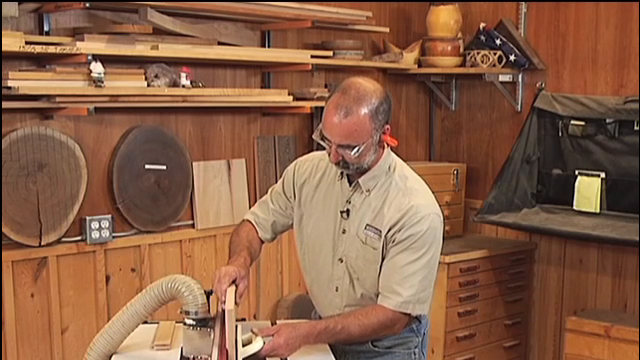
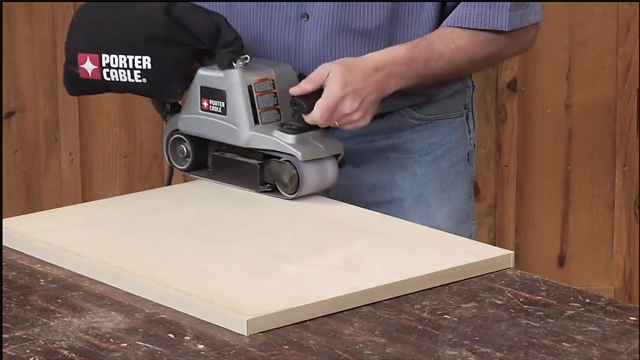
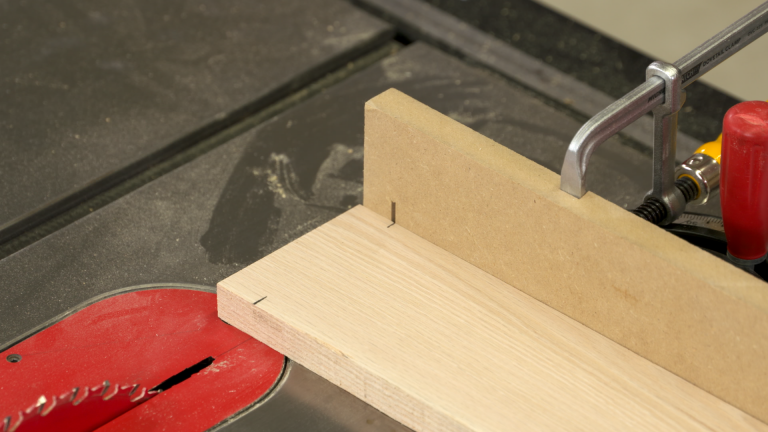
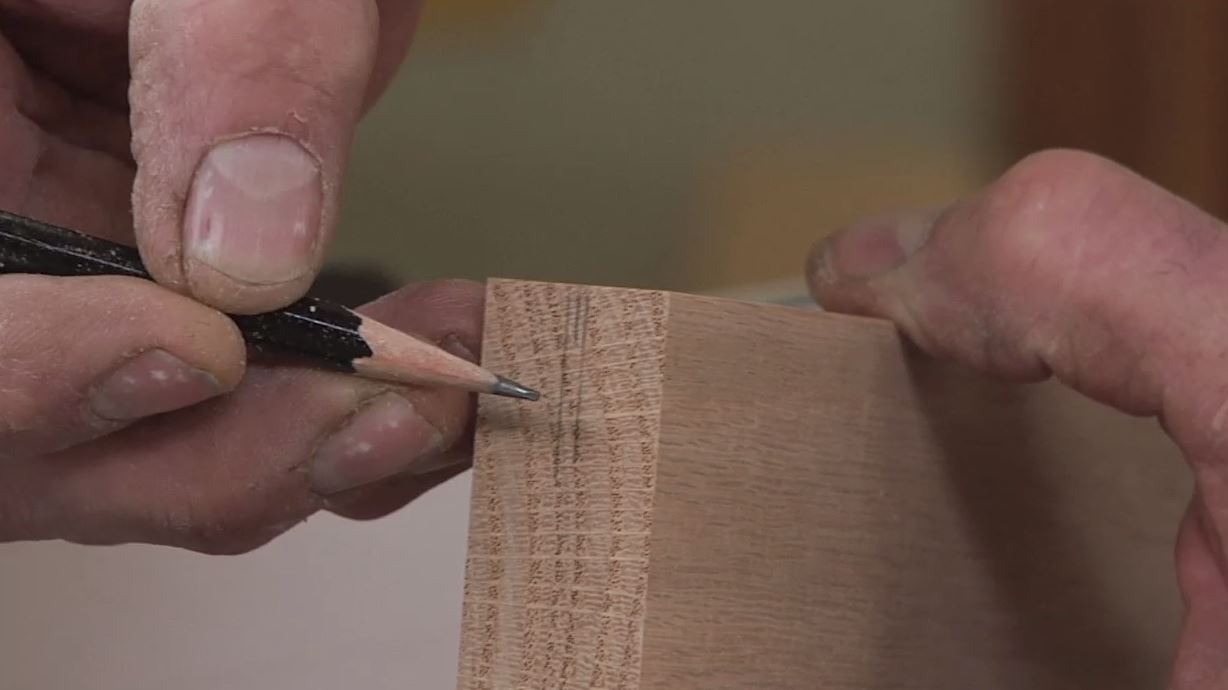
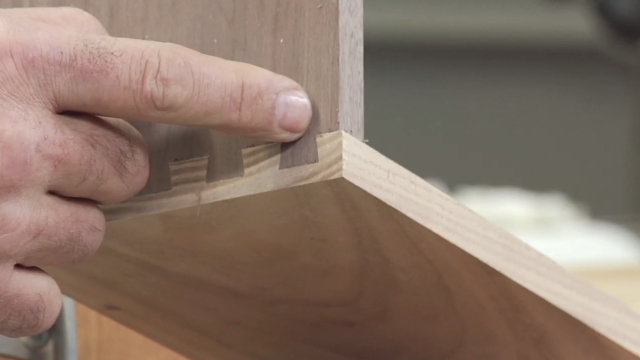
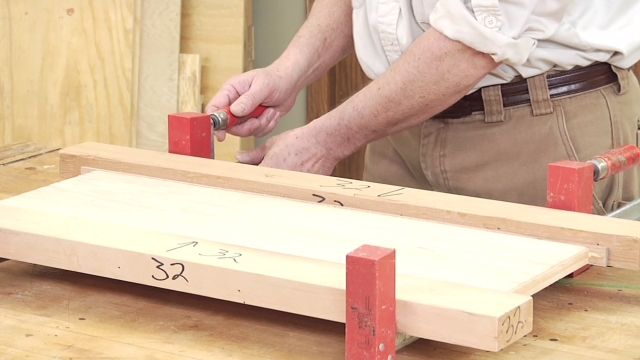
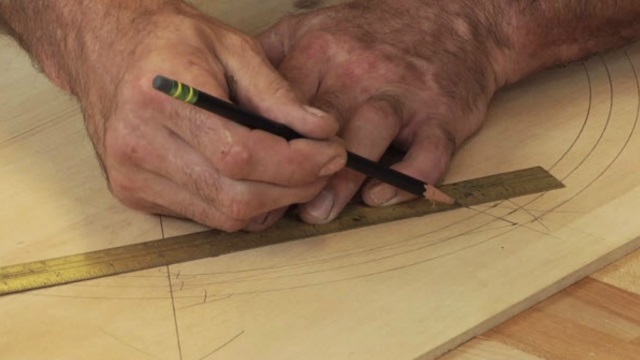
After assembling a dovetail joint and allowing the glue to cure, the next step will be to trim the pins and tails so that they are flush with the sides of the box. There are many ways to accomplish this task. Some woodworkers tackle this with a belt sander or random orbital sander, which can work, but has the potential to round over the corner giving the box an undesirable softened appearance. George has demonstrated how to trim dovetails using a block plane as well, which is a great option if you are comfortable with shearing end grain with this tool. For those of us who prefer a power tool approach, there is another great option to consider, which is to use a flush-trim bit mounted in a hand-held router.
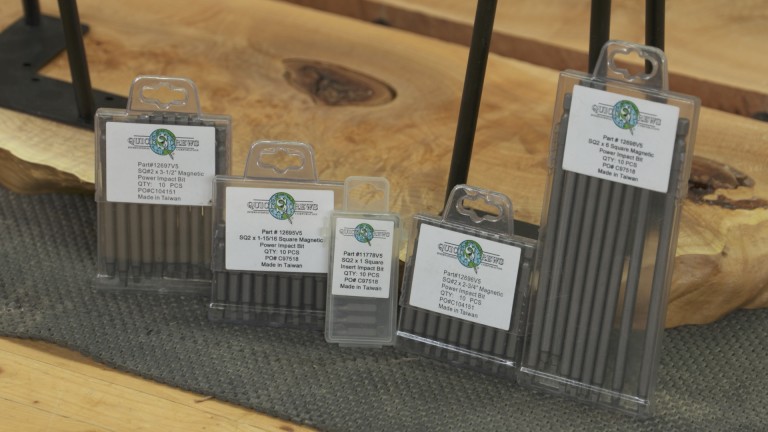
The flush trimming approach to finishing a dovetail joint has a great advantage in the consistency that it delivers, and it provides a quick and relatively simple way to achieve professional looking results without spending a lot of money (Chances are that you probably already have a flush trim bit in your collection).
Precision
A router brings a level of precision and repeatability to this task that is difficult to match with other approaches, as long as you know how to use a router. The flush trim bit ensures that the surfaces are perfectly aligned after the simple procedure is complete.
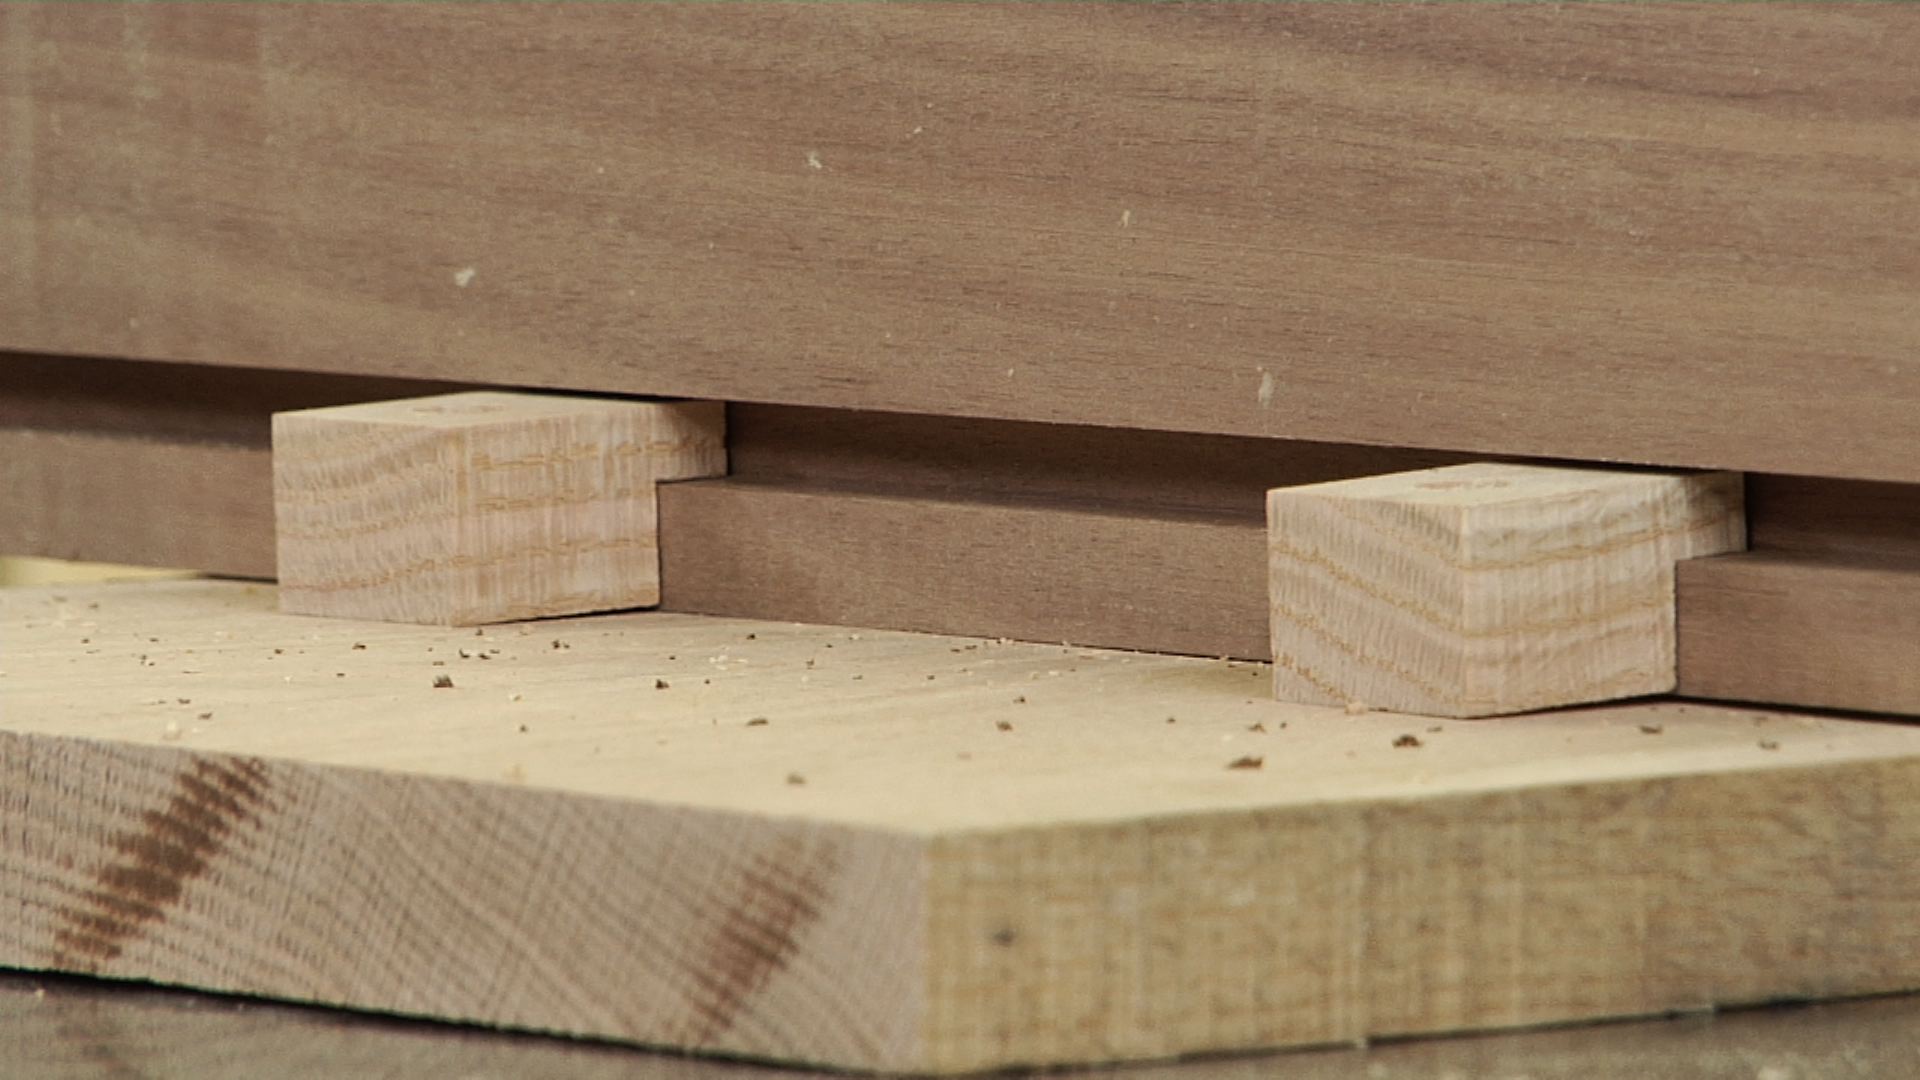
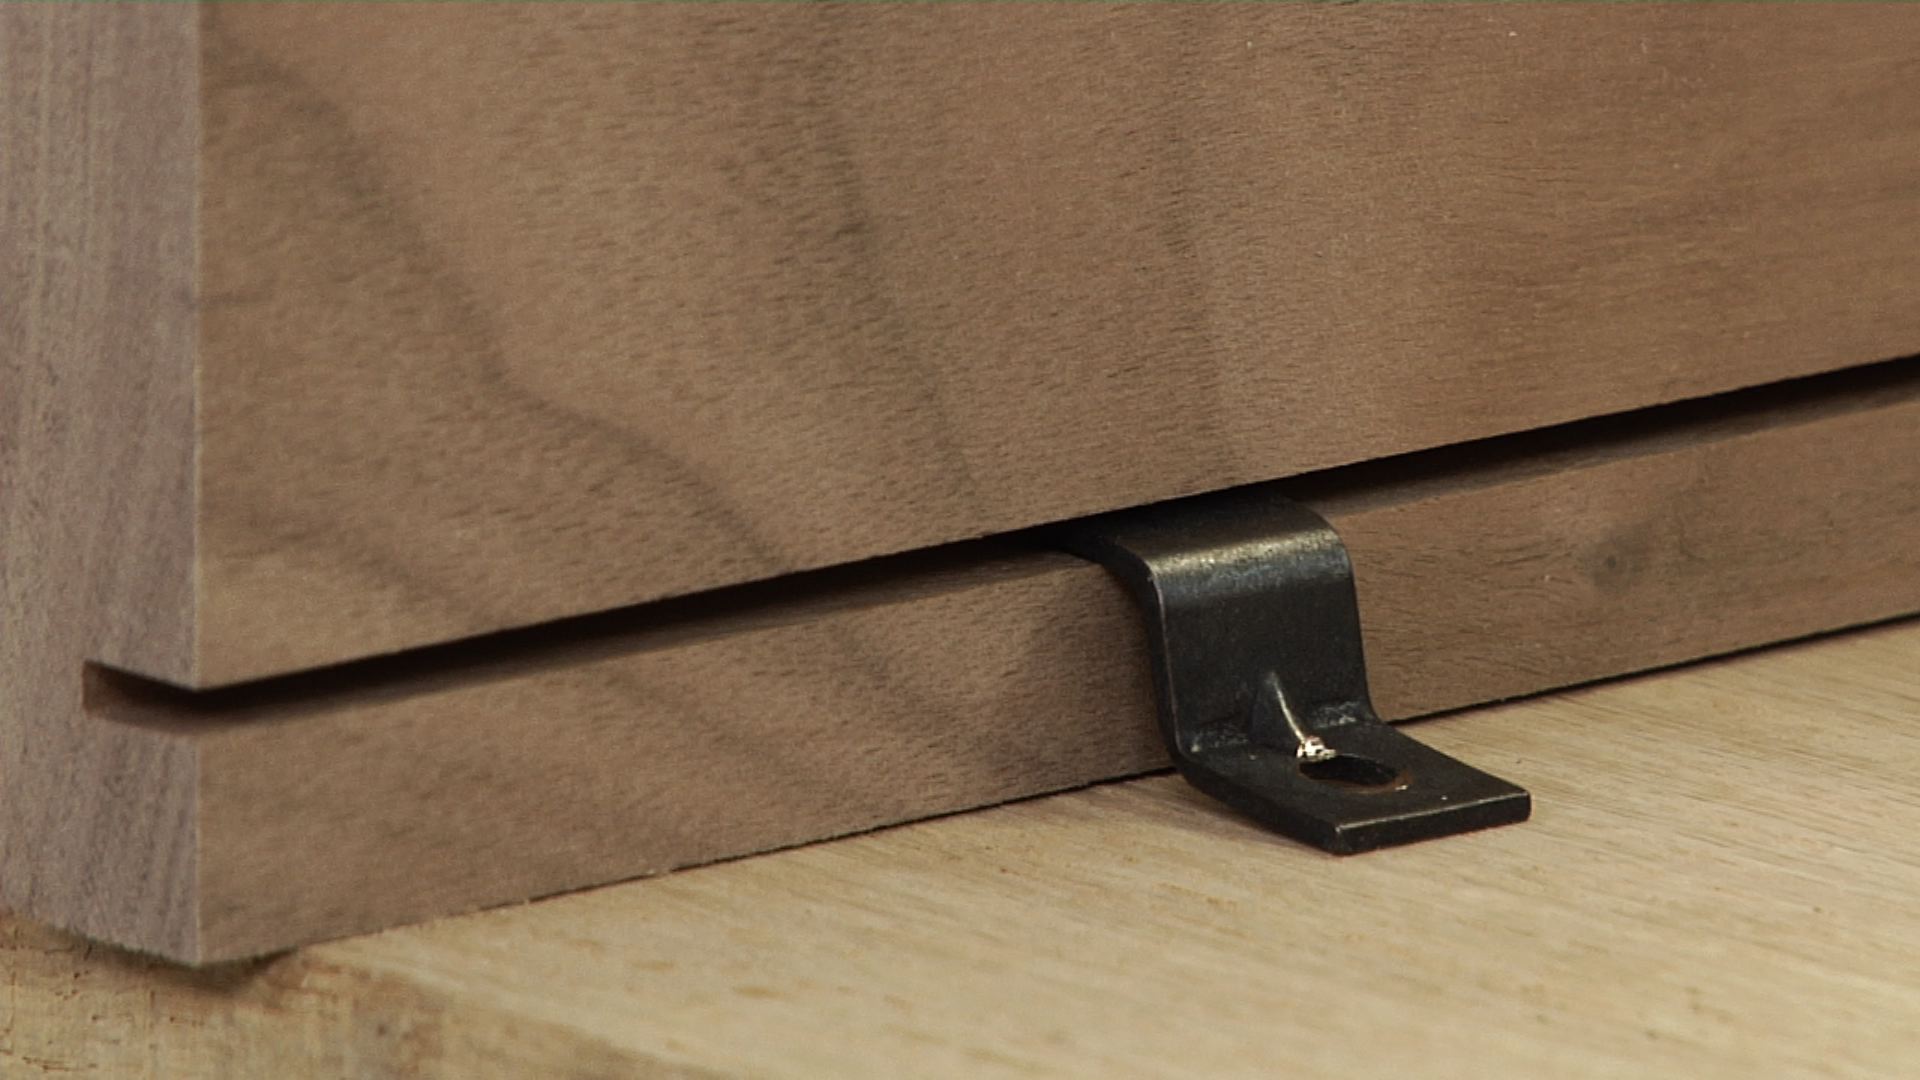
The Challenge
There is one challenge that needs to be overcome;the protruding pins and tails of a through dovetail joint make it difficult to guide the router smoothly along the surface to complete the flush trim operation. George provides instruction on a simple jig and technique that will make this process go smoothly and deliver great results every time. You’ll want to try this.