Video Download
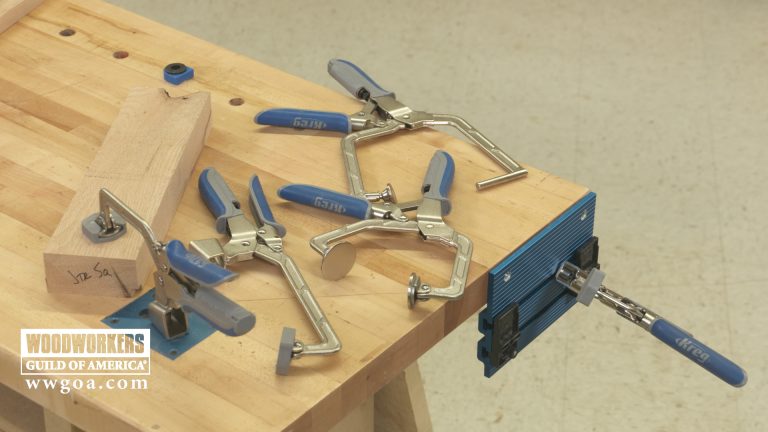
Edge to Edge Glue Up: Locating Clamps
$0.00
Item:
D1H90U
Description
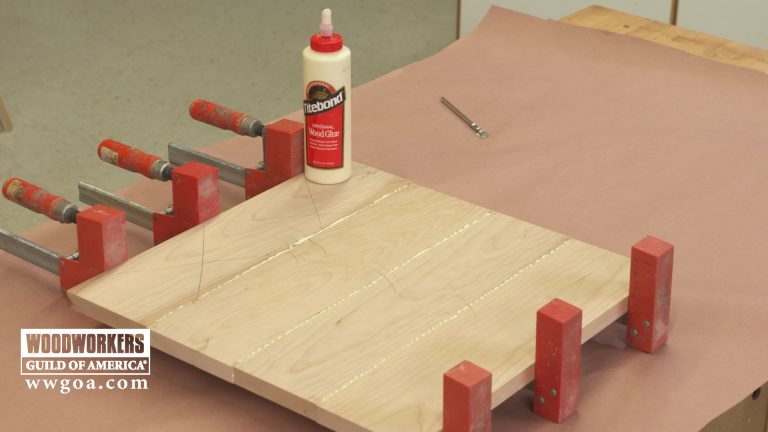
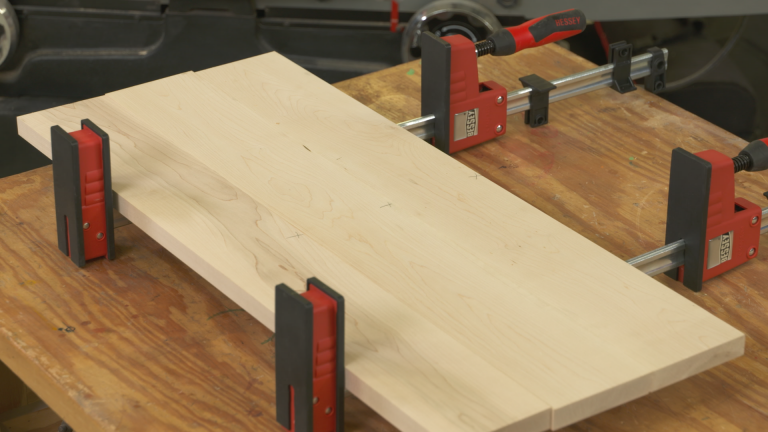
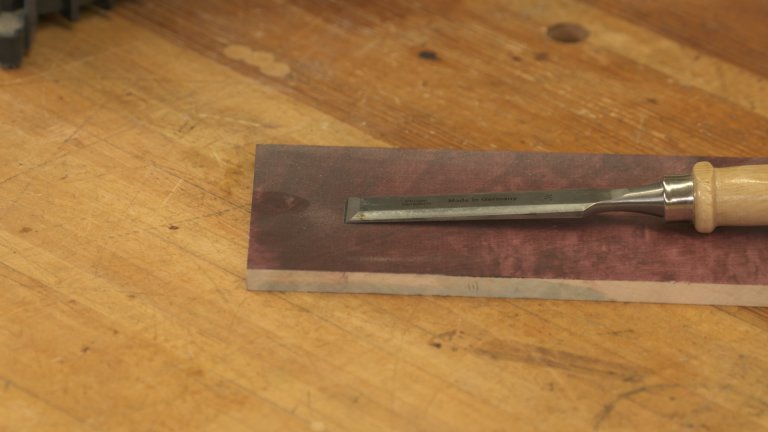
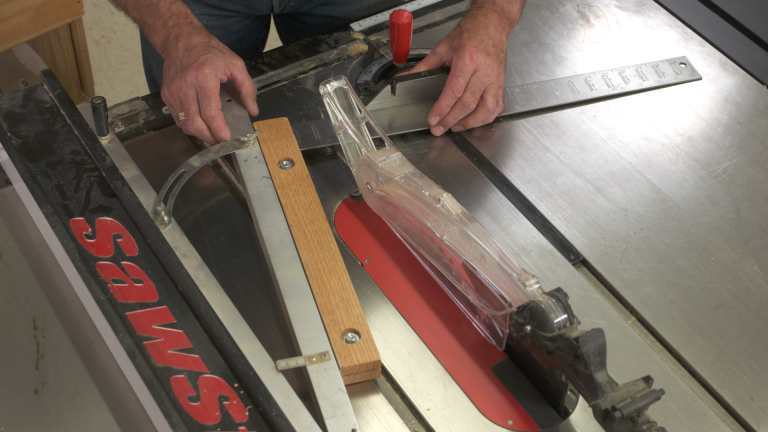
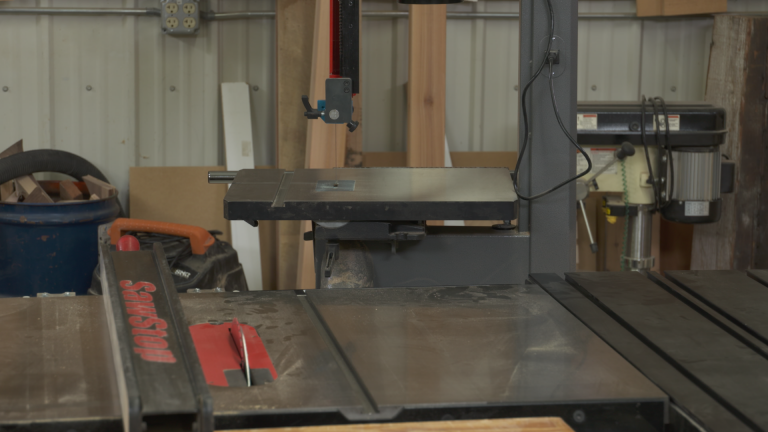
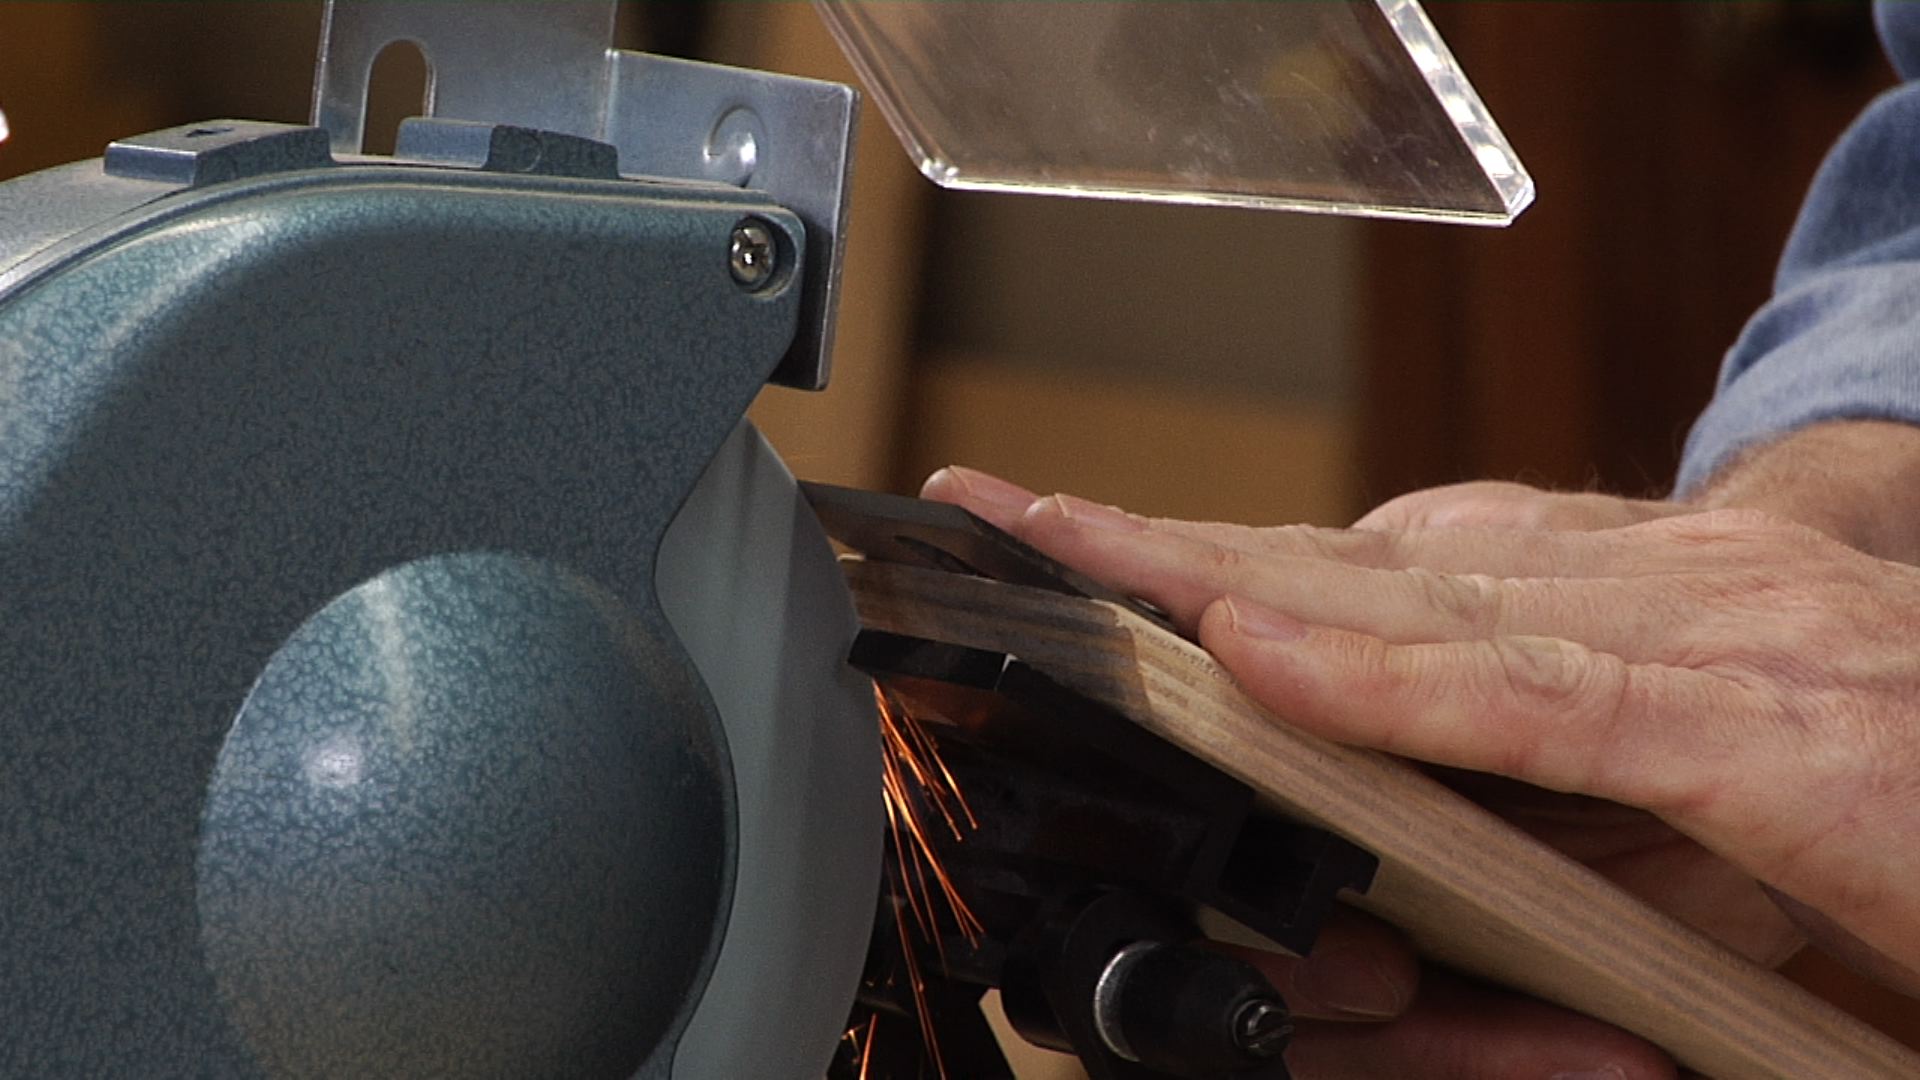
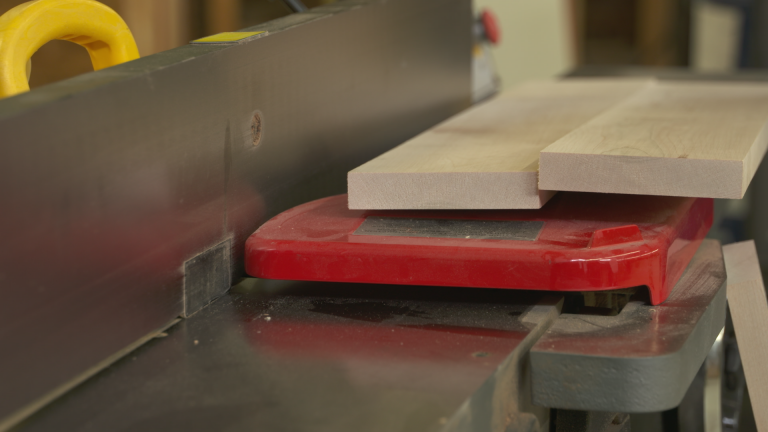
Gluing together boards in an edge-to-edge arrangement to form one large panel is an important skill that most woodworkers want to master. This requires careful planning to ensure that the right number of boards is used, and that those boards are cut to the ideal width to maximize yield for the project. It also demands precision accuracy from your cutting tools, whether the joints are cut using a table saw or jointer, so that an invisible glue line can be established. Jointer cuts on an edge to edge glue up are critical, so it is important to take the time to dial in the jointer so that the edges run straight and square. Once the perfectly square and straight joints are established, the next step to ensure a successful glue-up is to determine the correct number of clamps, and the ideal spacing that should be used between them.
This is a mysterious subject for woodworkers, but it can be demystified by understanding a couple of key points:
Cone of pressure
When you position your clamps on the glue-up, envision a pressure line radiating at a 45-degree angle from the pressure points on each clamp. That line indicates the approximate span of pressure that is applied by each clamp. The goal is to have those lines overlap so that any area along the joint is under the direct pressure of a clamp.
Width matters
By visualizing the cone of pressure concept, it will become apparent that the narrower the board, the more clamps that will be needed. If you skimp, you risk glue joint failure. The inverse is also true; wider boards require fewer clamps to apply adequate pressure for panel gluing.
Follow these rules and you’ll be gluing up flawless panels with invisible glue lines in no time!