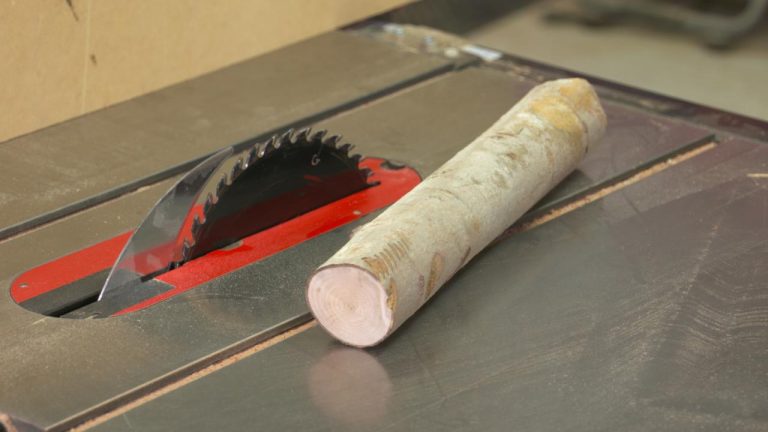
Cutting Circles on a Table Saw
Jimmy DiRestaDid you know that you can cut circles on your table saw? While the bandsaw is better known as a stationary shop tool that is best suited for cutting circles, not everyone has the luxury of owning a large bandsaw. If you don’t have a bandsaw, don’t despair, as Jimmy DiResta will show you how to cut circles on your table saw. If properly executed, the table saw can produce perfect, consistently sized circles.
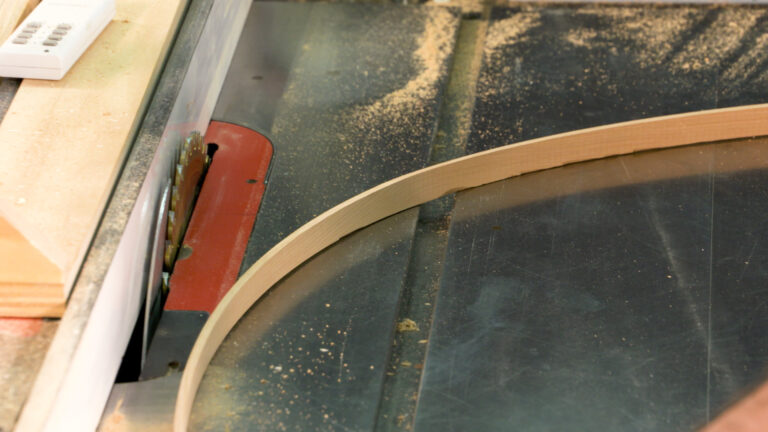
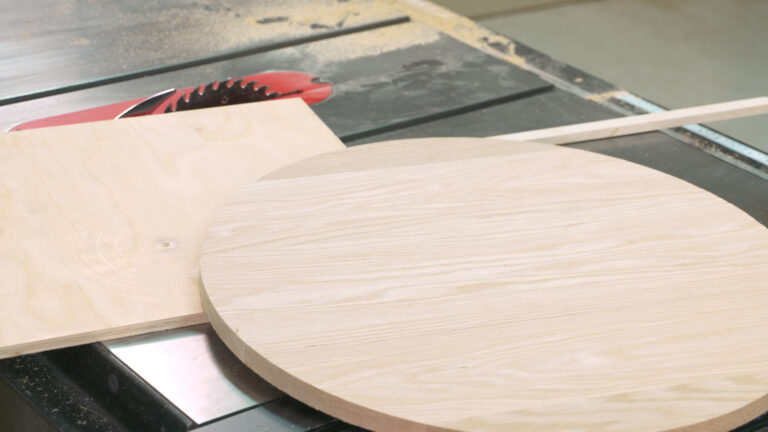
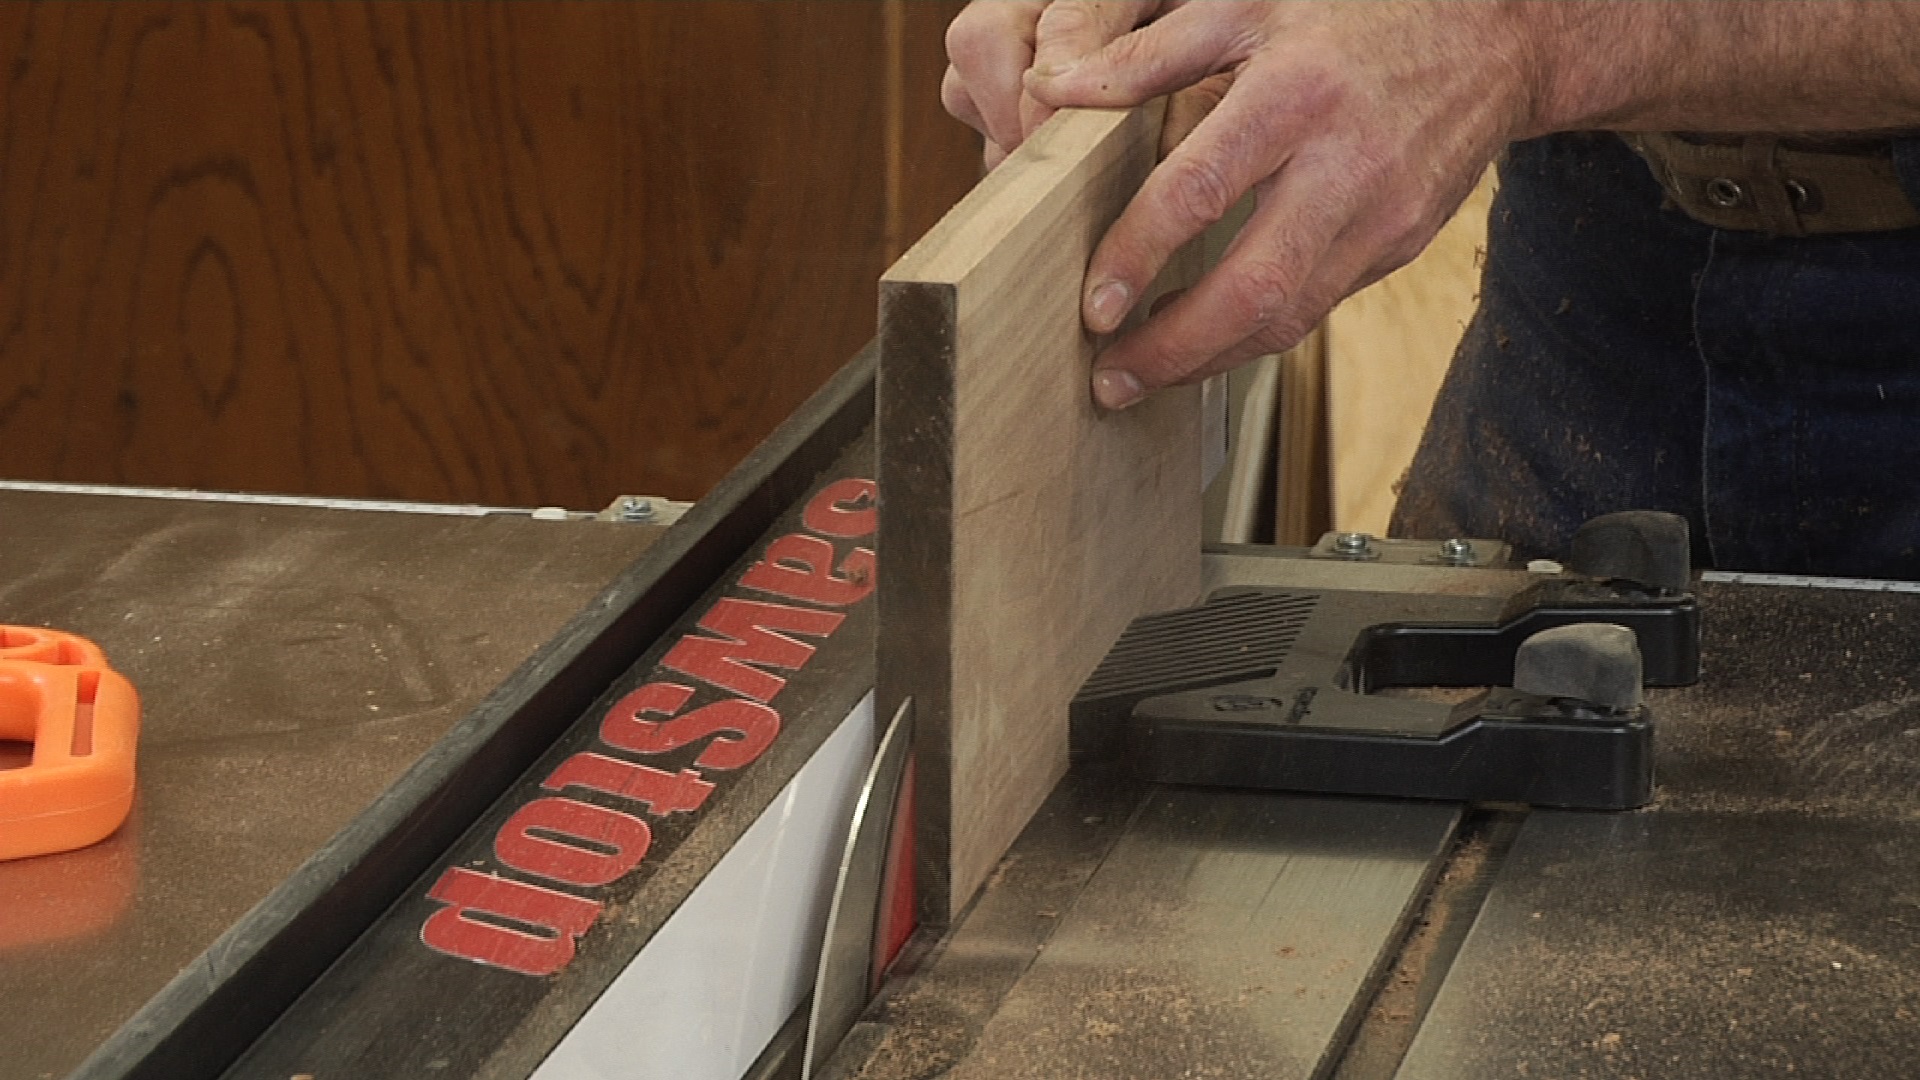
It starts with making a jig. Do not attempt to cut circles on your table saw without a jig. Freehand cutting of any type is extremely dangerous on a table saw, so first start by making the jig as Jimmy demonstrates.
Take your time and don’t skip steps. Cutting circles on your table saw takes patience and careful execution of the cuts. Watch how Jimmy proceeds through the process, making a number of carefully placed cuts around the perimeter of the circle. You will see a careful finishing cut at the end of the process where Jimmy rotates the workpiece across the saw blade. You will want to complete all of the angled cuts first before proceeding with this step.
Safety is key. To achieve good-quality edges on your circle, and to perform the operation safely, it will be important to follow the sequence of steps that Jimmy demonstrates.
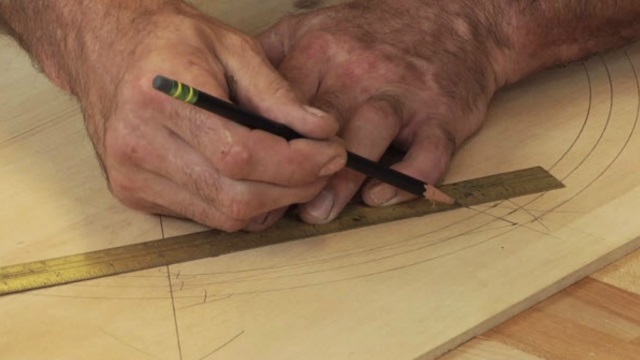
While you are thinking about cutting circles on your table saw, here is another helpful video that you might want to watch, demonstrating how to draw a perfect circle using a framing square.
Explore videos by Jimmy DiResta


You may be interested in


Premium Membership
Unlock exclusive member content from our industry experts.
- 24/7 Access to Premium Woodworking Videos, Projects, and Tips
- Step-by-Step Instructional Demos, Plans, and Tutorials
- 50% Off Video Downloads Purchased in the Woodworkers Guild of America Shop
- 2 Printable Woodworking Plans
Unlock exclusive member content from our industry experts.
- 24/7 Access to Premium Woodworking Videos, Projects, and Tips
- Step-by-Step Instructional Demos, Plans, and Tutorials
- 50% Off Video Downloads Purchased in the Woodworkers Guild of America Shop
- 2 Full-Length Video Downloads to Watch Offline
- 2 Printable Woodworking Plans
Gold Membership
$370 Value
Get everything included in Premium plus exclusive Gold Membership benefits.
- 24/7 Access to Premium Woodworking Videos, Projects, and Tips
- Step-by-Step Instructional Demos, Plans, and Tutorials
- 8 Full-Length Video Downloads to Watch Offline
- 3 Full-Length Woodworking Classes to Keep for Life
- 7 Printable Woodworking Plans
- Discounts on Purchase-to-Own Content in the Woodworkers Guild of America Shop
- Access to Ask the Expert Program
- Exclusive GOLD LIVE Streaming Events