
Why We Think You Need a Sprayer
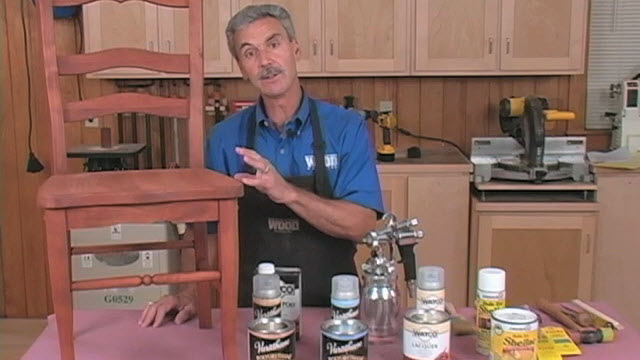
Elisha AlbretsenElisha and I love our spray systems. Here’s why:
No such thing as a free lunch
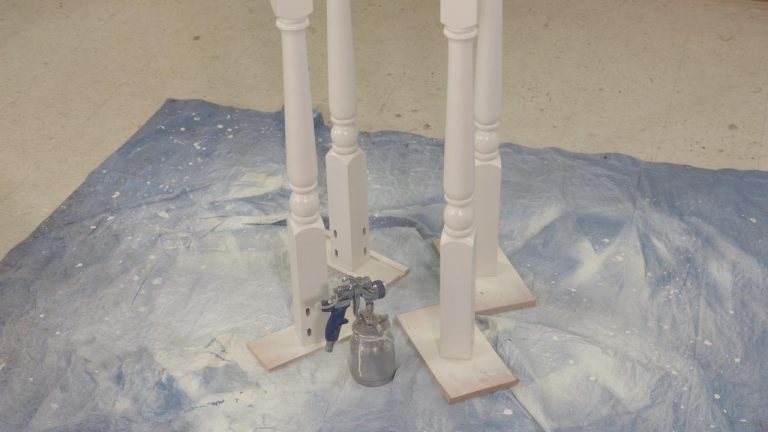
Spraying your finish does have some downsides. You have to create a spot in your shop where you can spray. You may have overspray, and you’ll need to protect your area from that. When you’re done, you’ll need to clean the spray gun. But, overall, the benefits of using a spray system outweigh the negatives.
Choosing a system
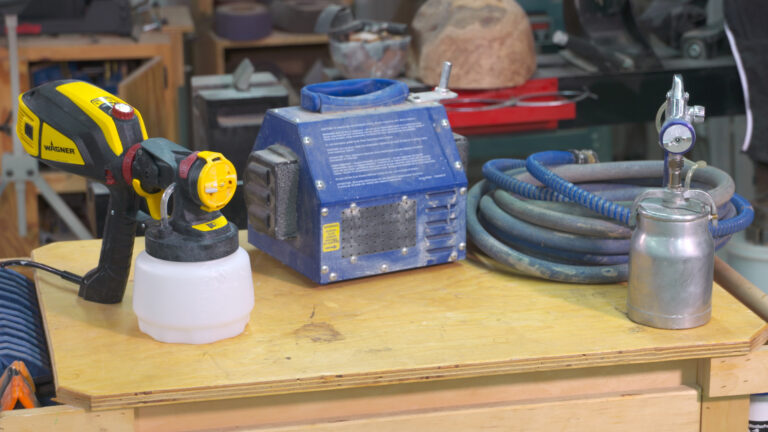
Airless systems are self-contained. No compressor or turbine required. That provides a lot of mobility, but for the most part, airless systems don’t provide the finishing detail you’ll want on your woodworking projects. Many HVLP (high volume, low pressure) systems use a turbine, meaning you don’t need an air compressor for the gun. A good HVLP gun will handle paint just as well as it will handle clear-coat finishes.
Compressor, but HVLP
It’s possible to get HVLP guns that work with a compressor. Keep in mind that spray guns have a very high CFM (cubic feet per minute) consumption rate. So if you want to spray using your compressor, make sure your compressor provides the CFM an HVLP gun requires.
Why we like turbines
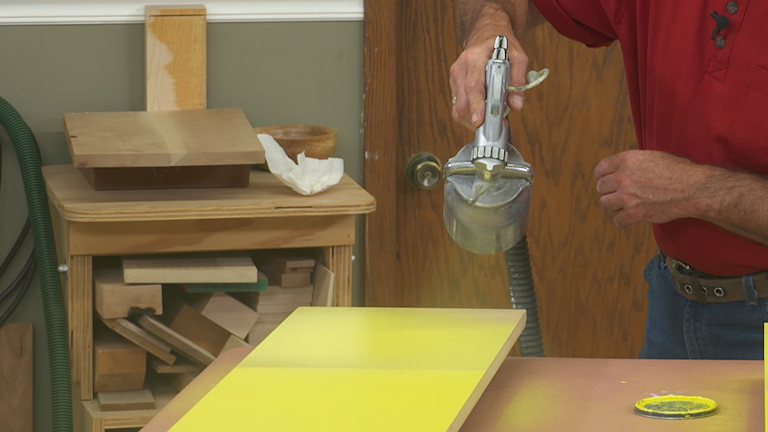
The systems we use have HVLP guns, and airflow is provided by a turbine. This provides portability and cleaner air. Compressed air often has water in it, which will ruin your finish. Turbines don’t have that problem.
If you’re spraying…
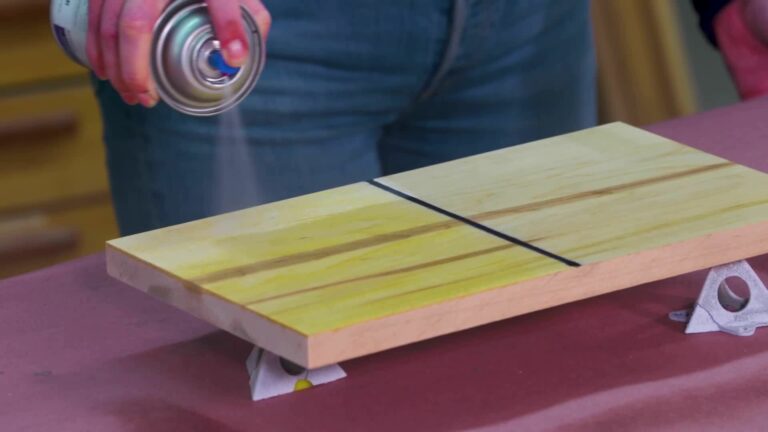
…you’re getting your finish airborne. That means you need to take extra care with your PPE. Make sure you have good ventilation and wear a respirator.
Mastering your system
Like any tool, spray-finish systems have a learning curve. This video will help you learn how to set up and use an HVLP gun and turbine.
Share tips, start a discussion or ask one of our experts or other students a question.
Already a member? Sign in
3 Responses to “Why We Think You Need a Sprayer”
Explore videos by Elisha Albretsen
You may be interested in
Premium Membership
Unlock exclusive member content from our industry experts.
- 24/7 Access to Premium Woodworking Videos, Projects, and Tips
- Step-by-Step Instructional Demos, Plans, and Tutorials
- 50% Off Video Downloads Purchased in the Woodworkers Guild of America Shop
- 2 Printable Woodworking Plans
Unlock exclusive member content from our industry experts.
- 24/7 Access to Premium Woodworking Videos, Projects, and Tips
- Step-by-Step Instructional Demos, Plans, and Tutorials
- 50% Off Video Downloads Purchased in the Woodworkers Guild of America Shop
- 2 Full-Length Video Downloads to Watch Offline
- 2 Printable Woodworking Plans
Gold Membership
$370 Value
Get everything included in Premium plus exclusive Gold Membership benefits.
- 24/7 Access to Premium Woodworking Videos, Projects, and Tips
- Step-by-Step Instructional Demos, Plans, and Tutorials
- 8 Full-Length Video Downloads to Watch Offline
- 3 Full-Length Woodworking Classes to Keep for Life
- 7 Printable Woodworking Plans
- Discounts on Purchase-to-Own Content in the Woodworkers Guild of America Shop
- Access to Ask the Expert Program
- Exclusive GOLD LIVE Streaming Events
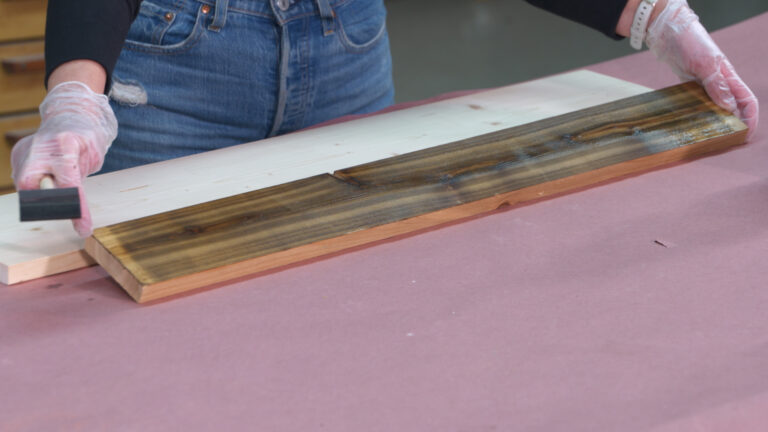
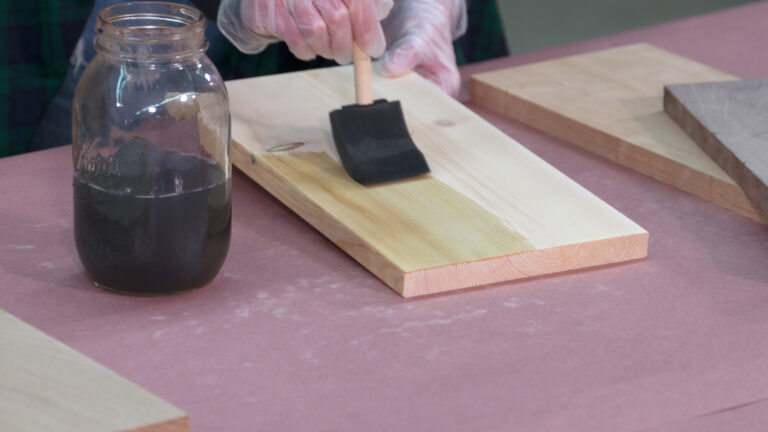
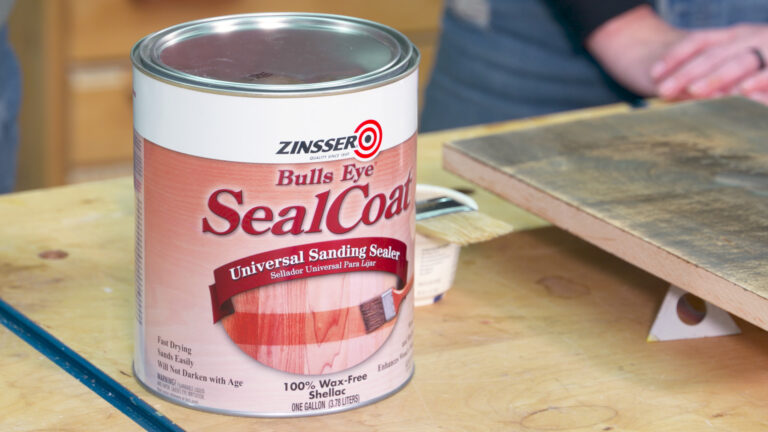
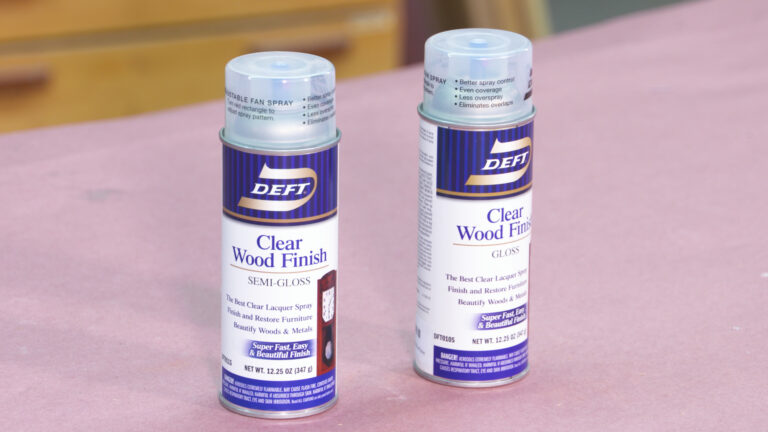

I am lucky to have a spraying room. I always wear a respirator (3M). I use a Sears 10 gallon compressor with a 60 foot hose with the pressure set at 45 PSI. I use an inline desiccator/filter, which will reduce the pressure somewhat. I have sprayers like yours but use them only for paint. They are difficult to clean as you need to spray solvent through them to clean them and the gaskets deteriorate. These siphon types can get clogged and it can be very difficult to clear it. The gravity feed sprayers are less expensive. I use about 5 of them: 2 for shellac, 2 for polyurethane (or rarely lacquer) and one for acrylic (so-called water-based polyurethane, which isn't polyurethane). The Zinsser shellac is sprayed without any dilution, cleaned with a small amount of denatured alcohol (DNA) that runs through without any air pressure and then with soaking in a closed jar of the DNA for the sprayer tip and internal filter. You can't soak it for more than a day or 2 due to corrosion. For polyurethane, I dilute it with mineral spirits (MS) 50:50. Clean-up is with MS and it also runs through into a waste container (not down the drain) without air pressure. I then soak the tip and internal filter in paint thinner (costs less than MS) inside a small cup. Acrylic is thinned usually 2:1 or 3:1 with acrylic:water. Clean-up is with water. I don't use soap as it's hard to remove it with our soft water, but I completely fill up the dispensing cup with water after rinsing it out of residual acrylic and then disassemble the spray gun after blowing it out because the insides can rust. The next time I spray the same substance, I use the 2nd sprayer, which allows the first to get completely dry. The acrylic sprayer doesn't need a back-up because it is disassembled and the minuscule amount of water residual will mix with the next batch that goes inside the sprayer. Before each spraying event, I "calibrate" the drip rate without air pressure back into the can, usually about 1 drip/second. With spraying, you want to avoid drips and puddles, which means you want to aim for slightly more than misting the work piece. Vertical and unlevel surfaces can be tricky. Results can depend on your spraying conditions (temperature and humidity). I often find that the shellac can form a clog on the tip requiring wiping it off with a high quality paper towel. A bad spray may not be fixable and you then will be left with the annoying option of waiting until the finish has fully dried and then sanding it off. Removing it without getting into the stained or shellac layers is more difficult and you might need to sand it down to bare wood and start over. Of all of the finishes, the acrylic is the easiest to apply due to its surface tension and dries within a day. Lacquer is the most difficult to apply. It is very toxic and off-gasses for days. You cannot spray it successfully above room temperature because it will dry between coming out of the gun and hitting the work piece. Clean-up is with lacquer thinner. Lacquer is very brittle when it dries and will crack (called "crazing") with temperature and humidity changes. It dries in 20 minutes and the professionals like using it for that reason. Polyurethane cures, doesn't dry. It feels dry after 24 hours, can be sanded after 48 and it doesn't craze. Polyurethane drips are a problem but they can be sliced off with a single edge razor blade or very sharp chisel. The acrylics do not tolerate alcohol or hot substances places on them. Therefore, they are not the best to use for table tops. You can place shellac over most stains, then acrylic and/or polyurethane on top of the shellac layer. A combination of layers of shellac, acrylic and top-coats of polyurethane work very well. Lacquer is very finicky to apply. Some shellacs can cause problems with fish-eye. It CANNOT be applied over polyurethane. Furniture polishes that contain silicone, like Pledge, will produce very bad results when attempting touch-up spraying with anything. You have to wash off the polish first. Acrylics and polyurethane will tolerate water and mineral spirits. You wouldn't want to use paint thinner because it dries too slowly and is oily. Lacquer thinner will destroy the acrylics and polyurethane. It can be used to clean spray guns as a last resort. The thinner is also toxic. Residual polyurethane cleaned with lacquer thinner turns into fine flakes on and in the sprayer and can be difficult to remove and lacquer thinner is expensive. Over time, any sprayer will eventually get more difficult to use no matter how well cleaned and then it's time for a new one.
You should have a look at, and maybe do a short video on the Wagner Spraytech C900038.M Large Spray Shelter with Built-In Floor & Screen. It's relatively inexpensive, easy to set up, and very effective at controlling the over-spray from any spray painting project. Here is a link to the product available at Amazon.com: https://www.amazon.com/gp/product/B011L3DVVO/ref=ppx_yo_dt_b_asin_title_o01_s00?ie=UTF8&psc=1
I hoped to see how the paint sprayer worked, but that didn't happen.