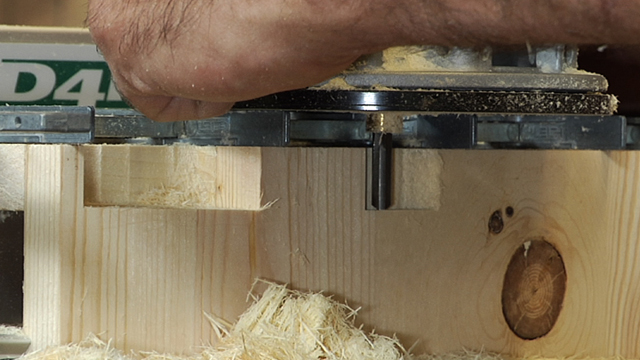
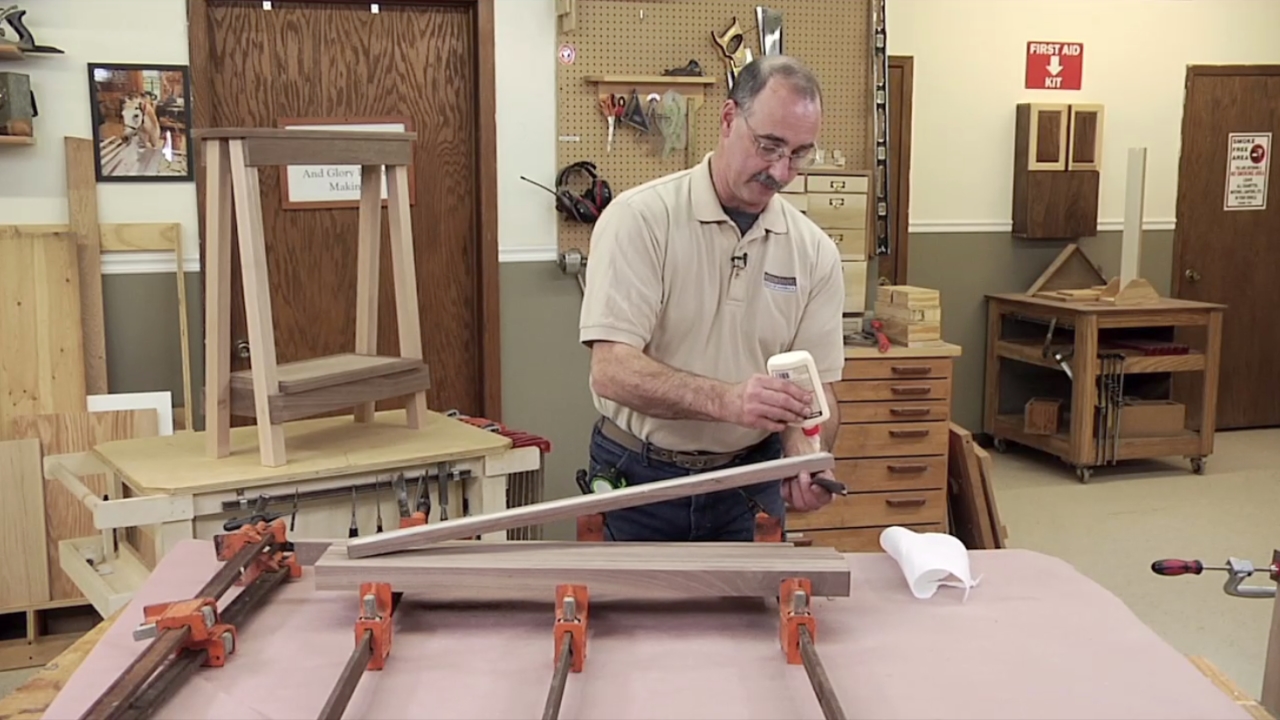
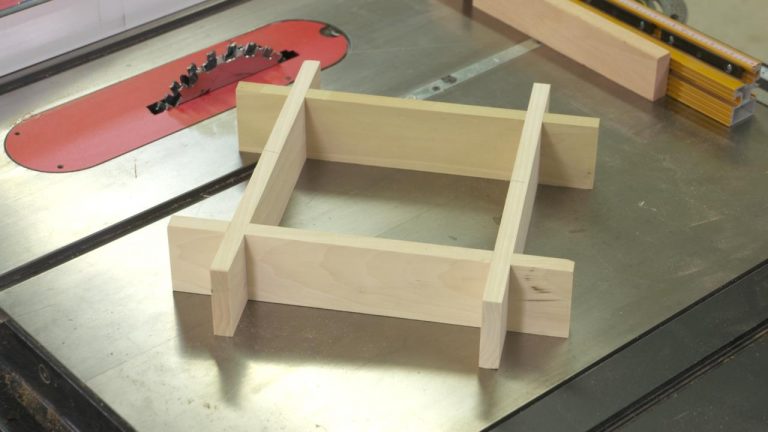
How to Apply Mitered Edge Banding
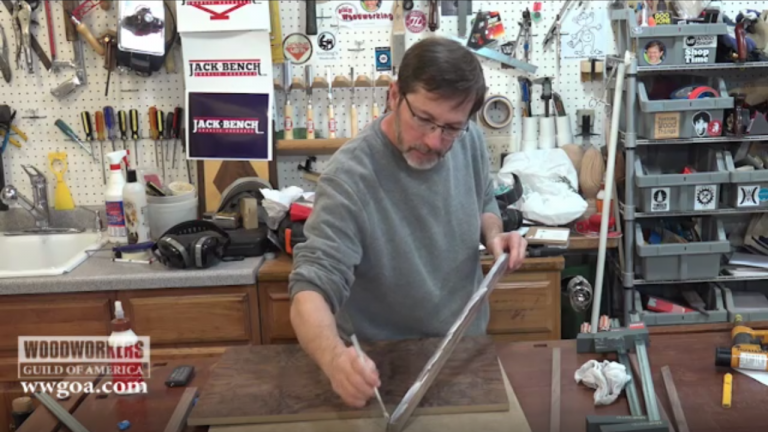
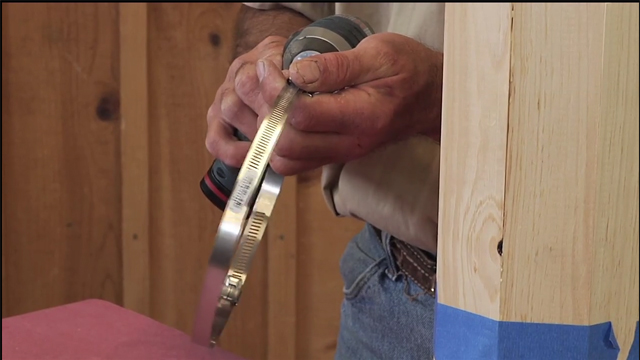
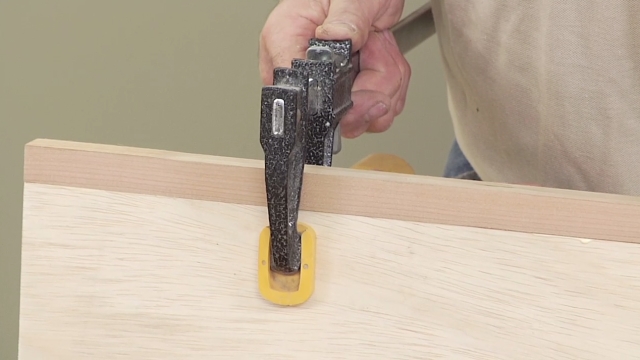
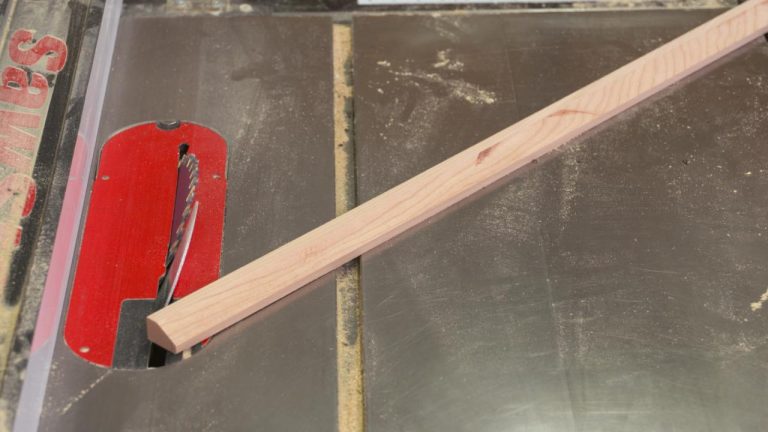
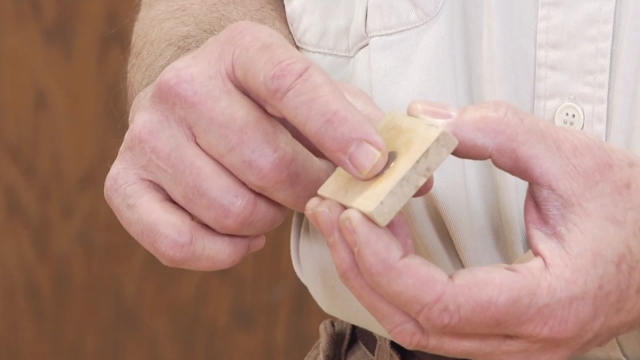
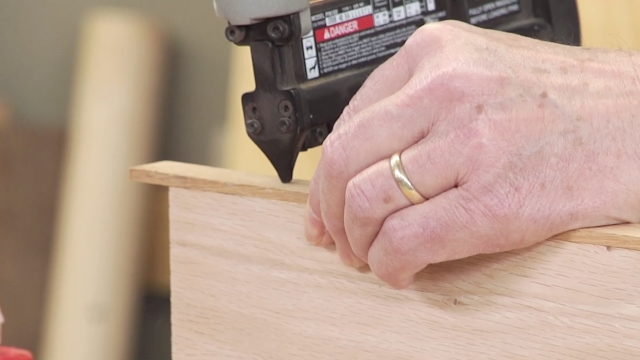
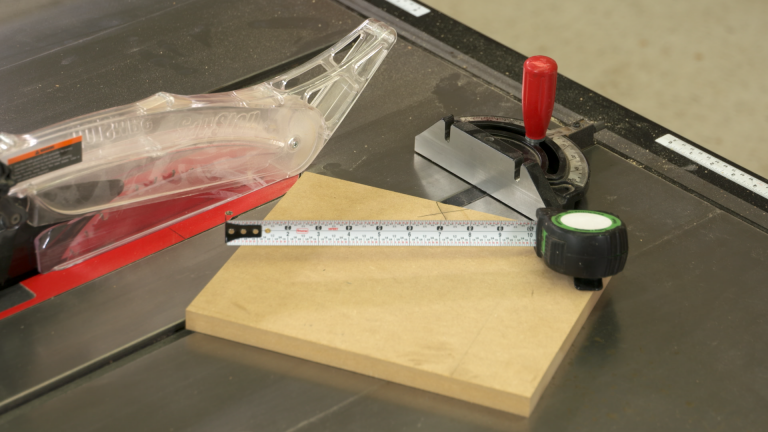
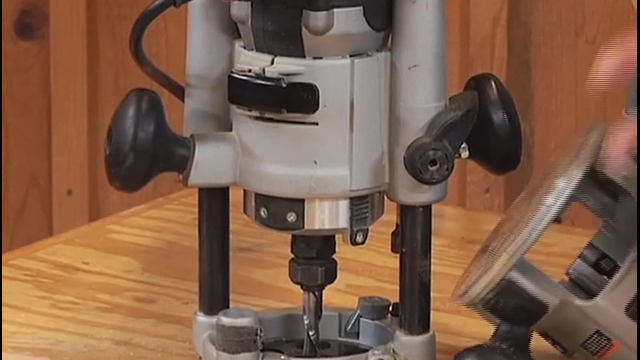
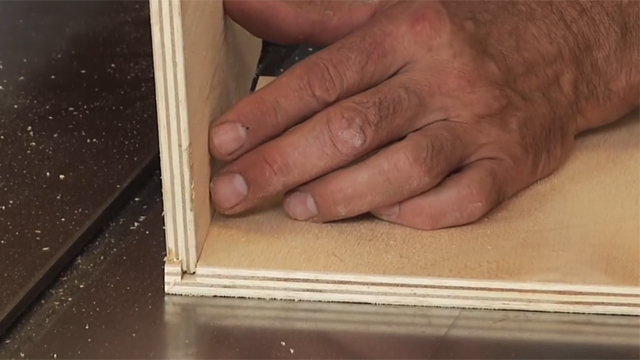
Charlie KocourekMitering the corners on banding that’s being applied to all four edges of a table top can be extremely frustrating. The length of each piece has to be perfect, and each angle needs to be just right. This process calls for a methodical approach, and Charlie Kocourek has that technique nailed down. Follow his recipe, and the banding on each of your projects will be dead on. For a more detailed look at this process, check out Charlie’s related article on the topic.
Share tips, start a discussion or ask one of our experts or other students a question.
Already a member? Sign in
7 Responses to “How to Apply Mitered Edge Banding”
Explore videos by Charlie Kocourek
You may be interested in


Premium Membership
Unlock exclusive member content from our industry experts.
- 24/7 Access to Premium Woodworking Videos, Projects, and Tips
- Step-by-Step Instructional Demos, Plans, and Tutorials
- 50% Off Video Downloads Purchased in the Woodworkers Guild of America Shop
- 2 Printable Woodworking Plans
Unlock exclusive member content from our industry experts.
- 24/7 Access to Premium Woodworking Videos, Projects, and Tips
- Step-by-Step Instructional Demos, Plans, and Tutorials
- 50% Off Video Downloads Purchased in the Woodworkers Guild of America Shop
- 2 Full-Length Video Downloads to Watch Offline
- 2 Printable Woodworking Plans
Gold Membership
$370 Value
Get everything included in Premium plus exclusive Gold Membership benefits.
- 24/7 Access to Premium Woodworking Videos, Projects, and Tips
- Step-by-Step Instructional Demos, Plans, and Tutorials
- 8 Full-Length Video Downloads to Watch Offline
- 3 Full-Length Woodworking Classes to Keep for Life
- 7 Printable Woodworking Plans
- Discounts on Purchase-to-Own Content in the Woodworkers Guild of America Shop
- Access to Ask the Expert Program
- Exclusive GOLD LIVE Streaming Events
For the 4th piece would it not make more sense to make the first cut (to join to the first piece that was attached) before you attach the 3rd piece? That saves time and a piece of edge banding.
Great tips with block plane and scraper! I started marking the outer edge, then flip it over. I leave the line and although it won't fit you can actually see if the angle is off before final cut.
I've done this many times and it is always frustrating. In my mind the last piece is the easiest. This is especially true if your have installed the other 3 pieces perfectly which is really the issue. The trick is in determining the exact length of the first piece. It is difficult to see if the corner of the piece is truely aligned with the mitre. Any error are all here will result in a gap (or whatever the opposite of a gap is) when you add the second and third pieces.. This is what I do. Before you install the first piece, mitre 2 dummy pieces and clamp them to the opposite sides where you will add the first piece. This makes it possible to be perfect with the first joint by adjusting the dummy piece. Do the same thing with a 3rd dummy piece for the other end of the first piece. Now you can sneak up on the first piece length for a perfect fit. If you make it too short, start again. Only now should you glue the first piece in place. Move a dummy piece to the next side and adjust the dummy until perfect. Then the third side. This essentially makes you add the last piece 4 times instead of once. And as I said the last piece is the easiest. darwin.witzel@gmail.com
Hello Just curious, when you go to mark and attach the 2nd piece, are you waiting until the glue dries on the first piece? You show that to make the final cuts the first set of clamps are no longer in place. I know that you could take the clamps off for a short time without creating a problem with the glue joint. Is that the approach that you use here? Thanks
If you are having to tweak your miter saw cuts on the last two cuts, it's an indication your saw is not cutting accurately to begin with, or that your panel wasn't square. I would first look to dialing in the miter saw before making any of the cuts and making sure my panel had square corners. The technique presented is a good way to compensate though if you're not cutting accurate 45 degree angles.
Excellent Technique .
Thank you. Good information.