Applying hardwood edge banding is a great way to finish the edges on a veneered piece. However, it can be difficult to get nice miter joints because the length of the edge banding pieces and every angle must be perfect. Here is an easy way to get perfect miters every time. And you can do it with just a regular miter saw and no special tools. You can watch a video of the entire process.
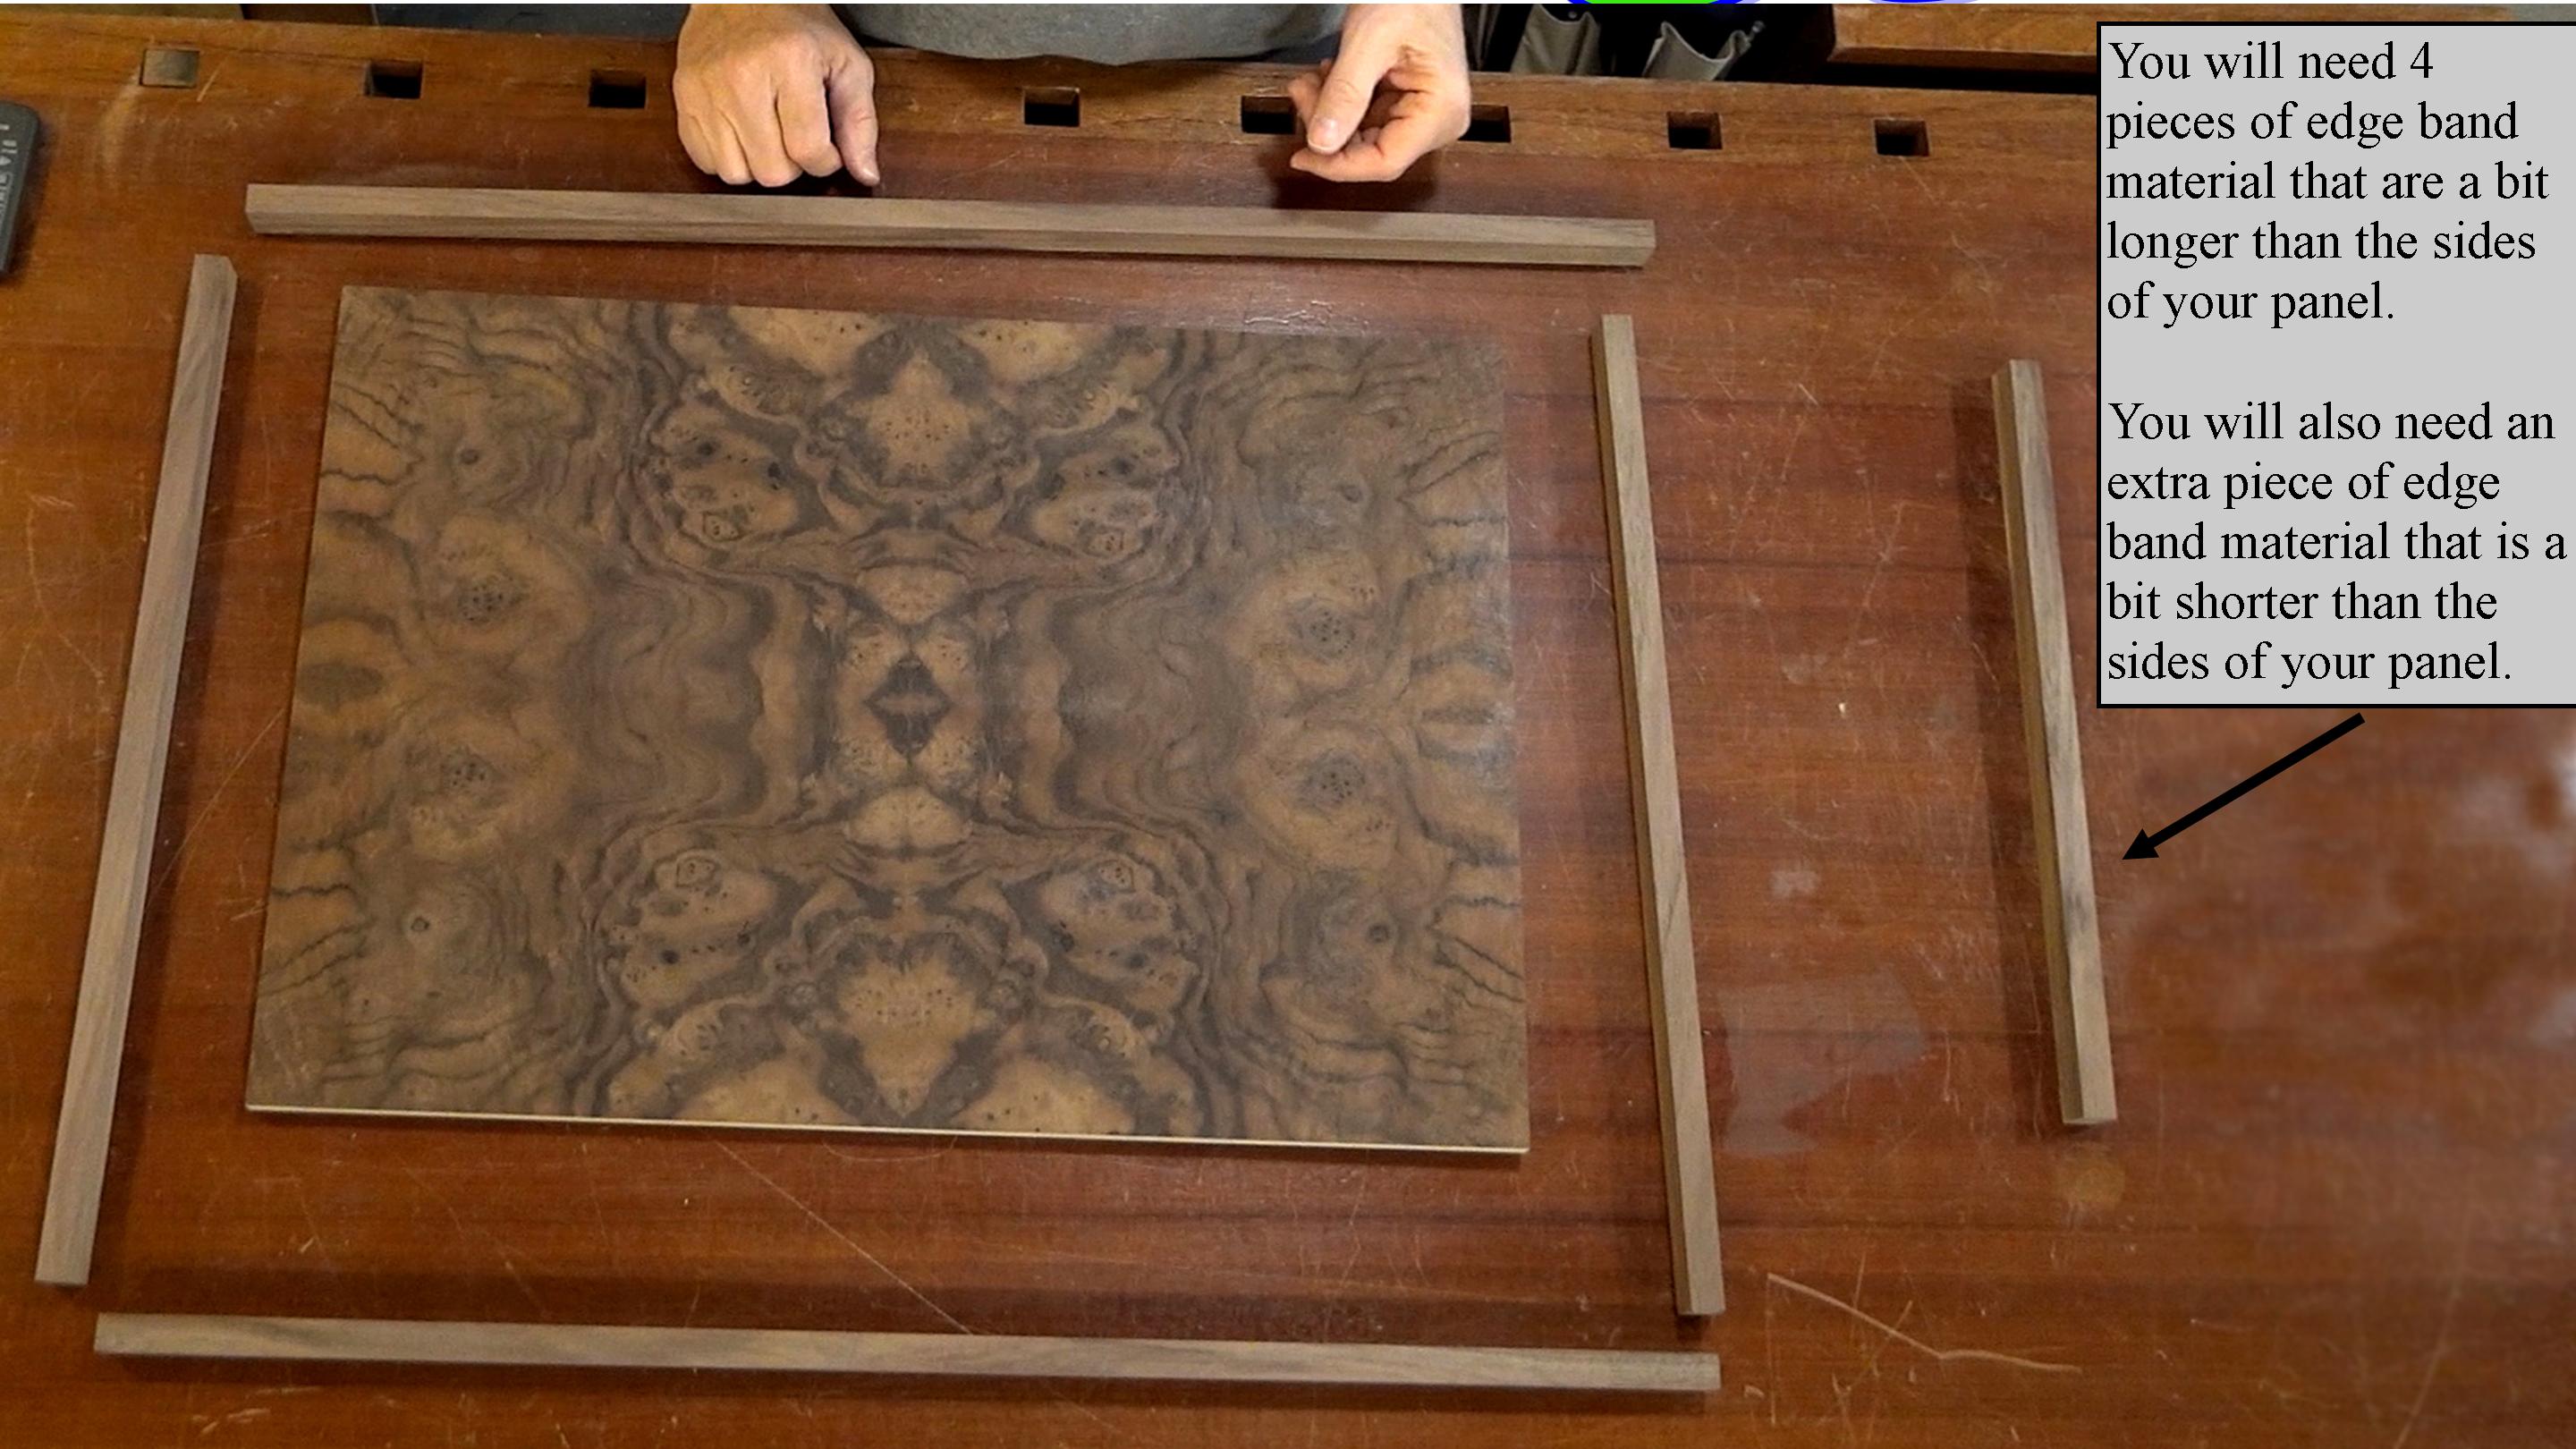
For this project I started out with a walnut veneered panel of MDF that was 16"x24". I then added strips of walnut that were 5/8" wide and 3/4" thick. For this technique, you will also need at least 6" more edge band material than is required to cover the edges of the panel.
Step 1: Cut and Glue the First Piece of Edge Banding
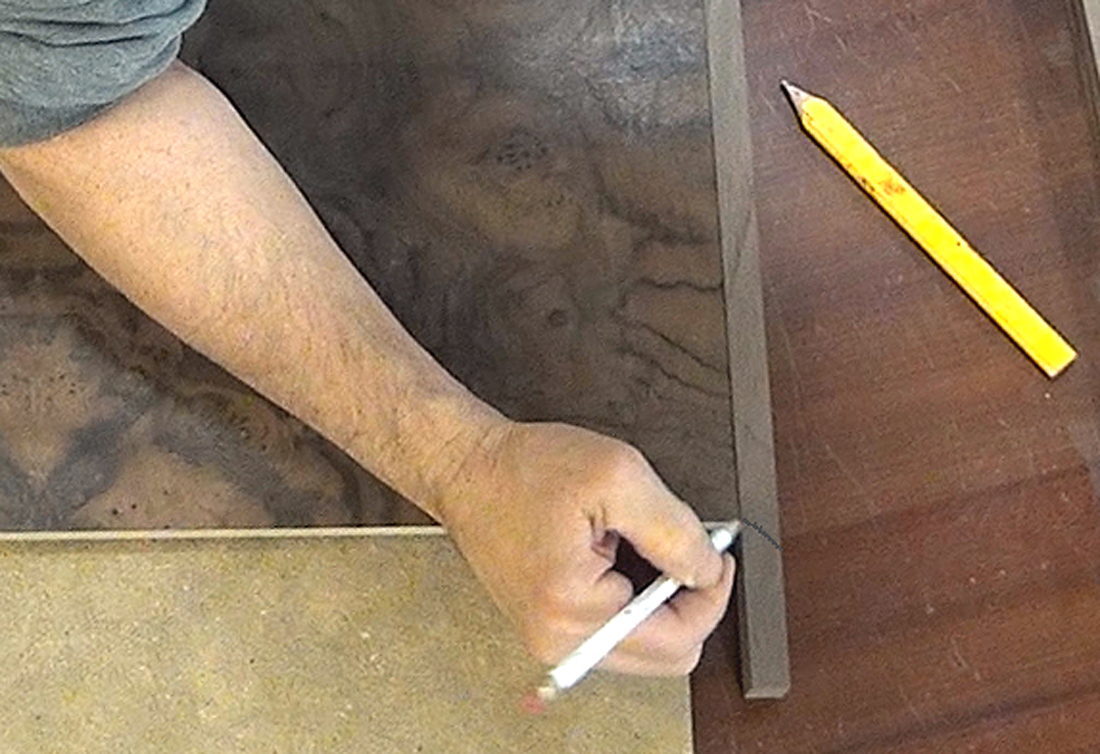
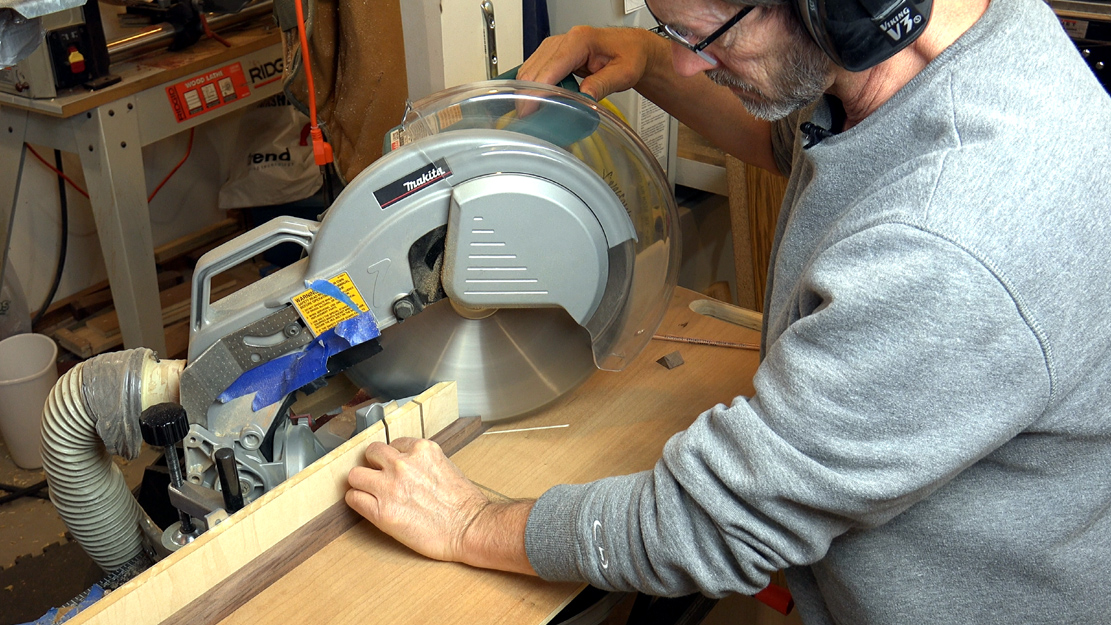
Start with a piece of edge band material that is about 3" longer than the side of the panel and cut a 45-degree miter on one end. Then hold it up against the panel and mark the length required. Use an extremely sharp pencil or marking knife to get an accurate lay out line.
Cut this to length on the miter saw being careful not to cut it too short. If anything err on the side of it being too long. Hold it against the panel and check the length.
If it is too long, then cut a tiny amount off and keep checking until the length is exactly perfect. Now glue this first piece in place. Let the edge banding project 1/32" above the surface of the panel. It is easy to flush the edge banding to the surface after everything is glued in place.
Step 2: Test, Cut, and Glue the Second Piece
Cut a 45-degree miter on the next piece of stock, and hold that against the piece that you just glued on to check the fit. If the angle is off, adjust your miter saw and check it again until your first miter fits perfectly.
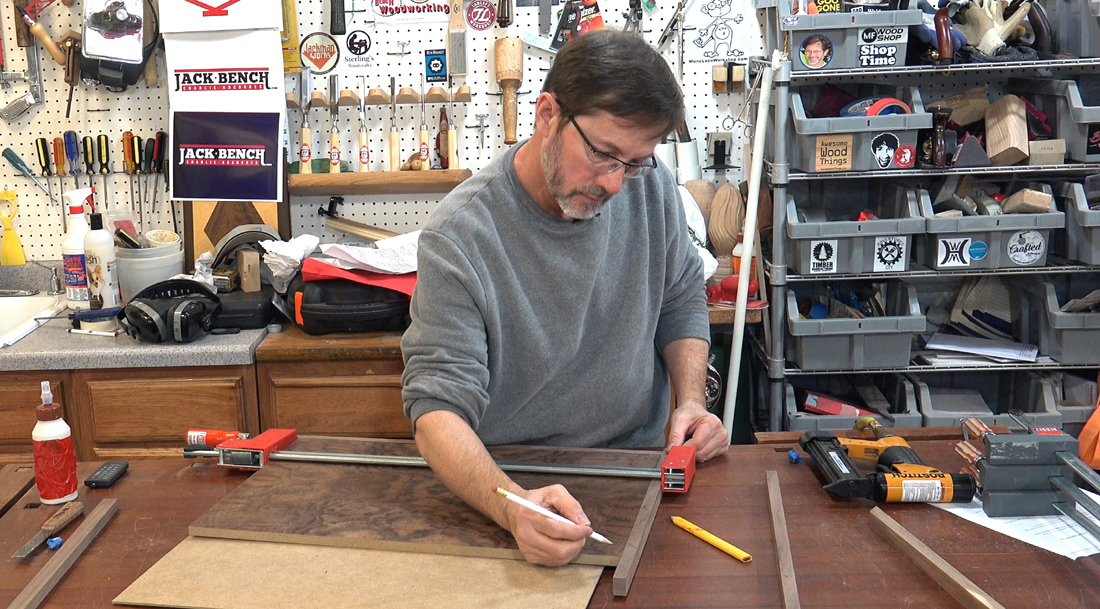
It is easier to temporarily hold the piece in place with a clamp or some masking tape before marking the length. Now mark and cut the second piece to length just as you did with the first piece.
Once the length is right, glue the second piece in place.
Step 3: Test, Cut, and Glue the Third Piece
Cut, fit, and glue the third piece of edge banding in place the same way you did the second piece.
Step 4: Cut, Fit, and Glue the Fourth Piece
After the first three sides are glued in place cut a 45-degree miter on one end of a scrap of edge banding that is shorter than the last side of the panel.
Test fit the scrap piece against one of the miters on the panel and adjust the angle on the saw until you get a perfect fit, then leave the miter saw set to that position.
Cut a miter on one end of the actual piece of edge banding while the saw is still set to the previous position. Now that you have a perfect fit on that miter be sure to mark which ones go together.
Reset your miter saw to 45-degrees and make another cut on the scrap piece. Test that cut against the final miter on the panel. Adjust the cut until you have a perfect fit, just like you did on the other end.
Now hold the actual piece of edge banding in place and mark the length required. Cut a miter on the remaining end while the miter saw is still set to the previous position. If it is still a bit too long, cut tiny amounts off until you have a perfect fit.
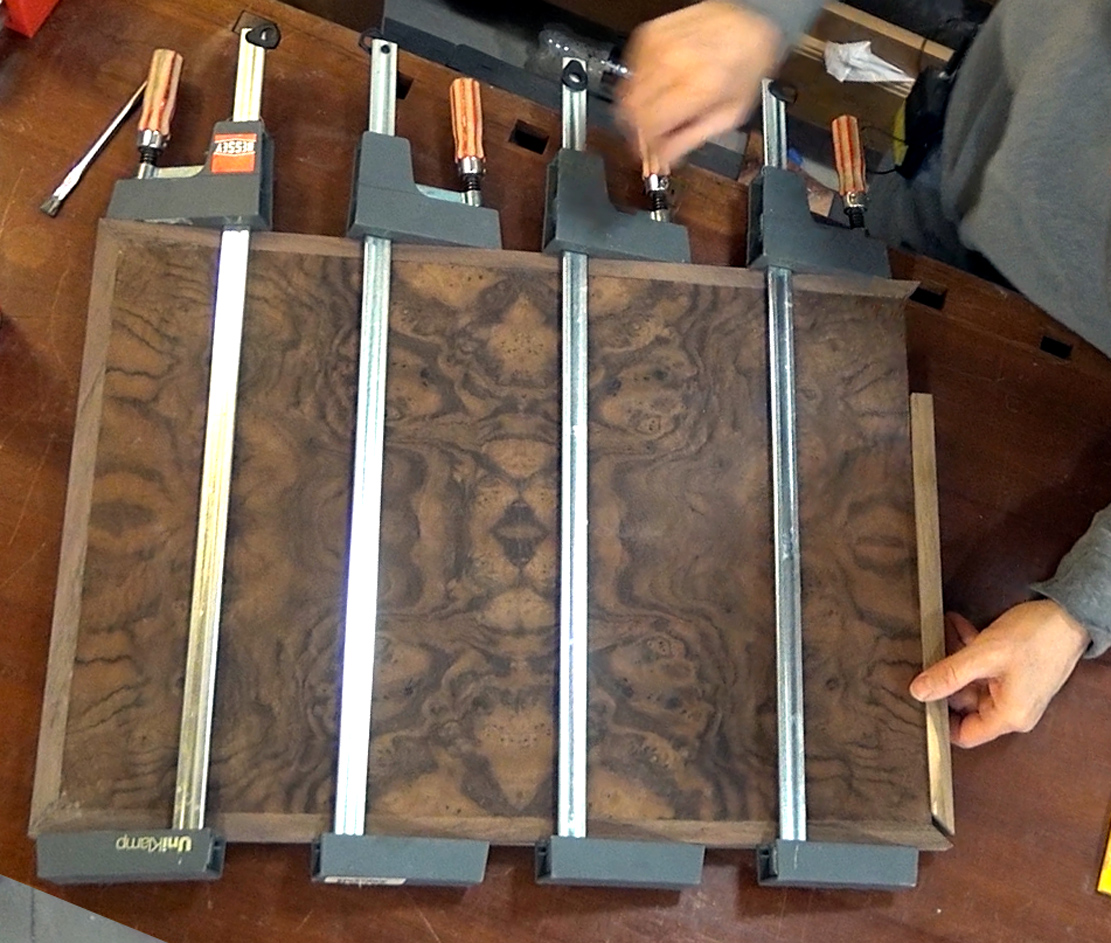
Now you are ready glue and clamp the last piece in place.
Step 5: Flush the Edge Banding to the Surface of the Panel

I used a hand plane and a card scraper to get the edge banding level with the surface of the panel. Once I got it level with the surface I carefully sanded the whole panel with a random orbit sander.
If you would rather use a router to flush the edge banding then check George's video on flushing edge banding with a router table.
Knowing how to use veneer and how to edge band veneered panels opens you up to a lot of really cool projects! WWGOA has a whole series of articles on veneering if you want to learn more.
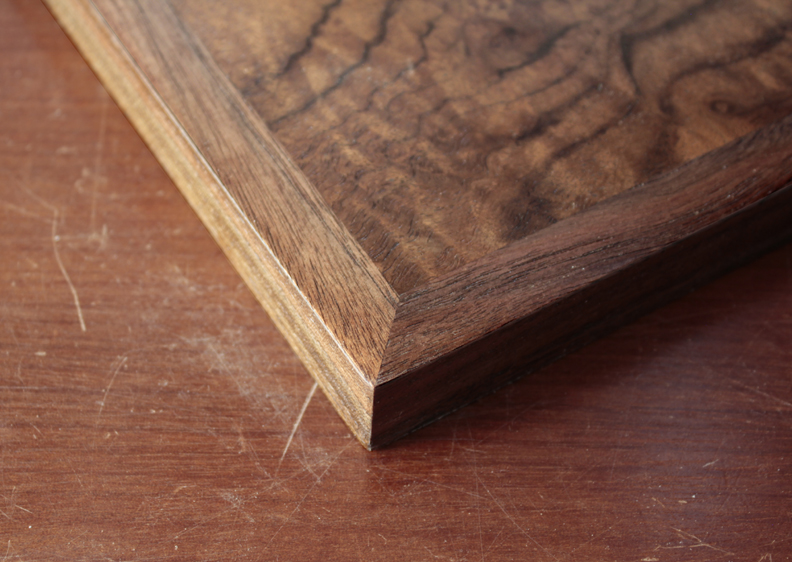
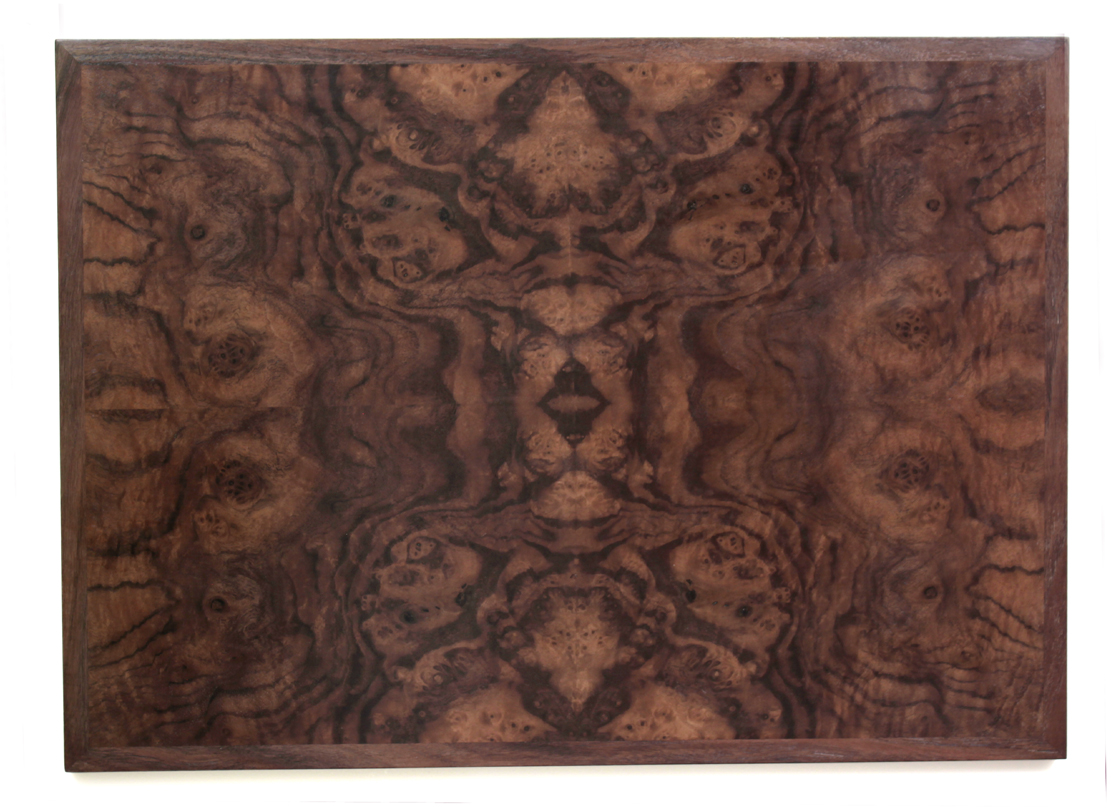
Here is how the completed panel looked after I put some finish on it.

I wan to know more about Charlie's Miter saw backstop/table. I have a 10" saw & really like the look of that assembly.
how do you get a perfect fit when you are putting two different angles together
Hi Charlie, that is a great technique! I'm just starting to do some of those, so I'm glad I found your video. Just a couple questions: (1) What grit did you use for the random orbit sander? and (2) Where the two 45 degree miters joins up is a sharp edged 90 degree corner. Is this sharpness customarily relieved somehow, perhaps by sanding?
Do you have any experience gluing the edges to the panel before veneering? I see this a lot on commercially made furniture, at least on one side. However I am not sure what would happen if done to all four sides. I am mostly worried about the sides where the veneer grain and the edge grain would run perpendicular to each other. Thank you.
Good technique, except before gluing on the third piece, I would cut the exact fit miter on the fourth piece where it meets the first piece using the actual trim piece. Then go back and glue on the third piece. That allows you to only use the scrap piece test cut technique on the corner where the third and fourth pieces meet.
Absolutely Gorgeous!
Do You do the same thing if you are making just picture frames for sale. I hope to start making picture to sell at craft shows, along with my 3 D scroll saw work. Do you have any advice or tips that you have for selling them at shows, and any pricing advice
Like to learn more