
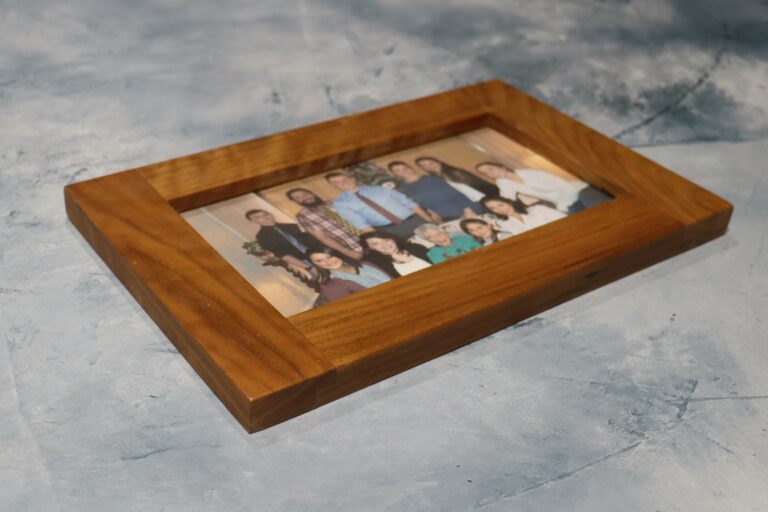
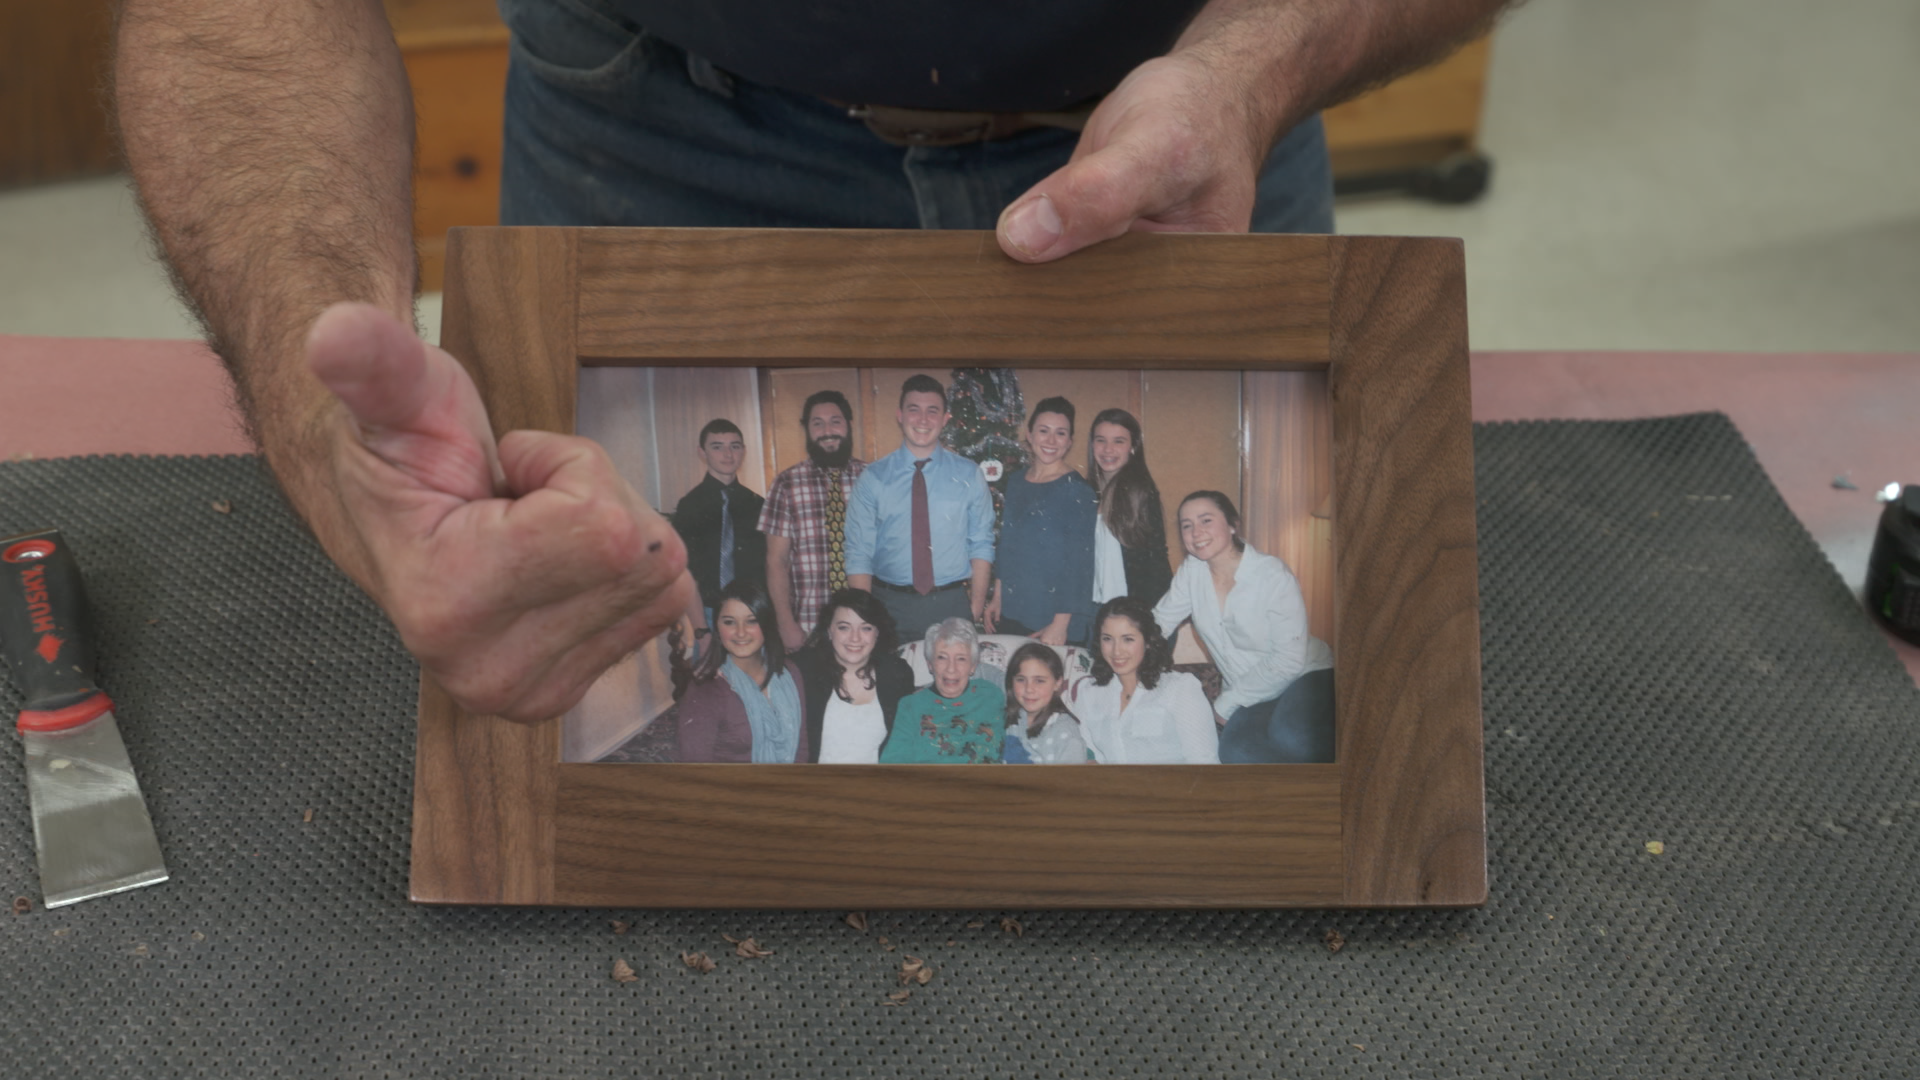
Post-Haste Project: No-Miter Picture Frame
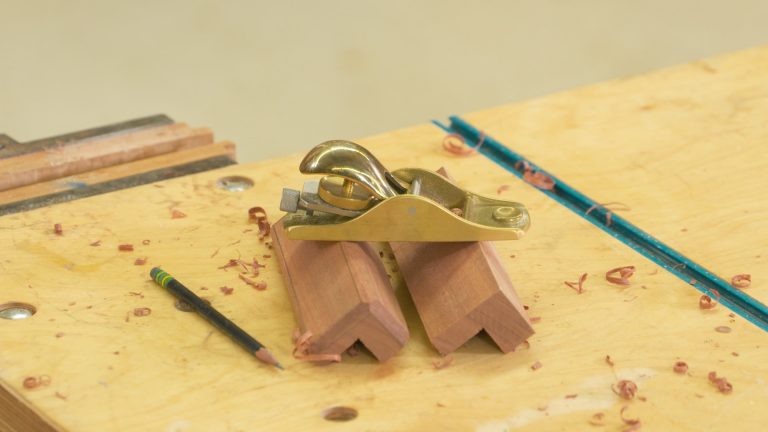
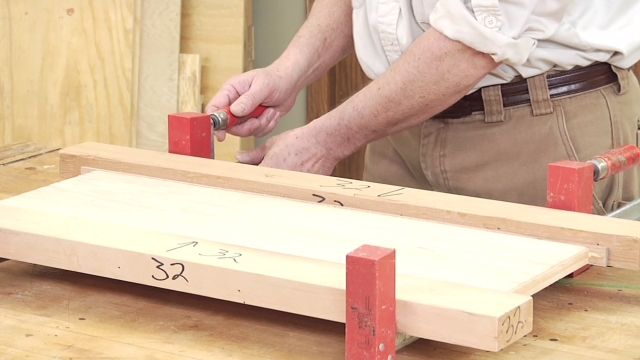
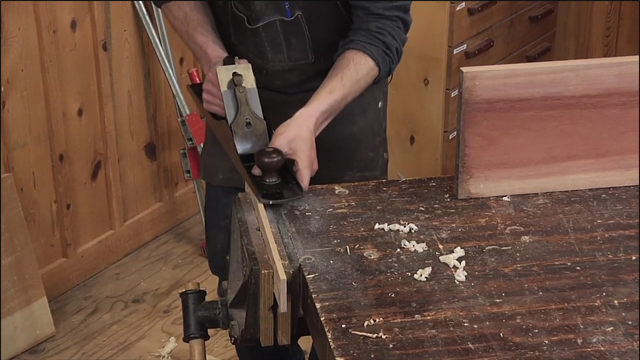
WWGOA EditorsThis might be the fastest, easiest way on earth to make a picture frame. And it’s especially handy for woodworkers who don’t like cutting miters. One set up on the router table and you’re ready to cut the rabbet that receives the glass, picture and backer board, AND cut the corner joint. Making picture frames with a router is very simple using this technique.
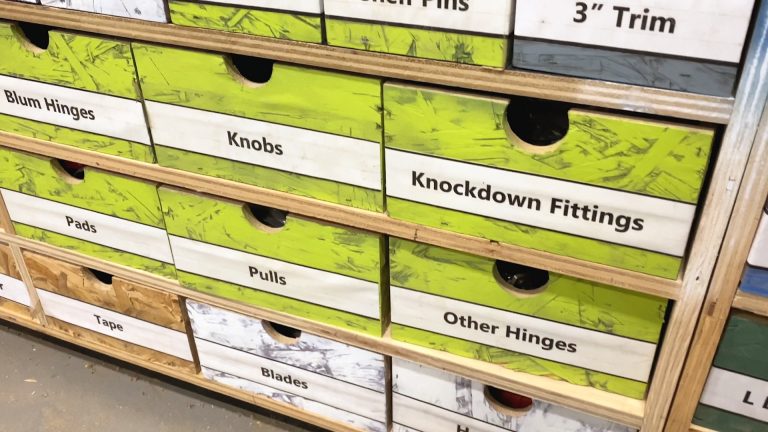
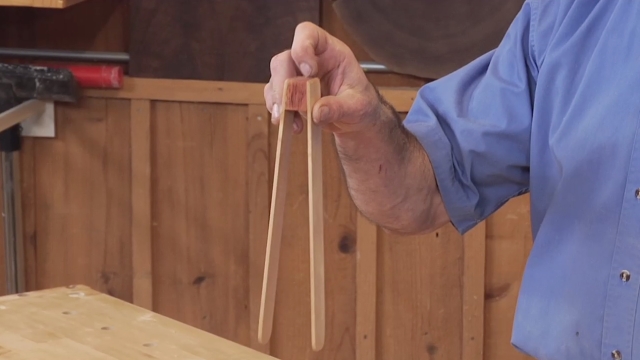
at you need
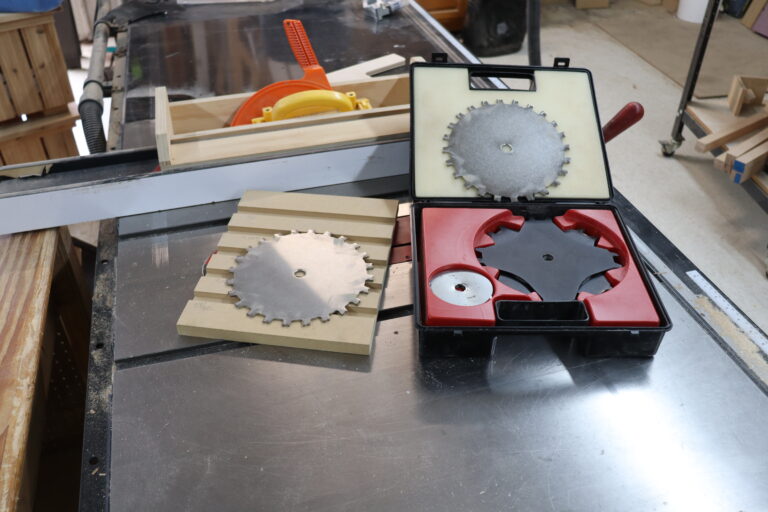
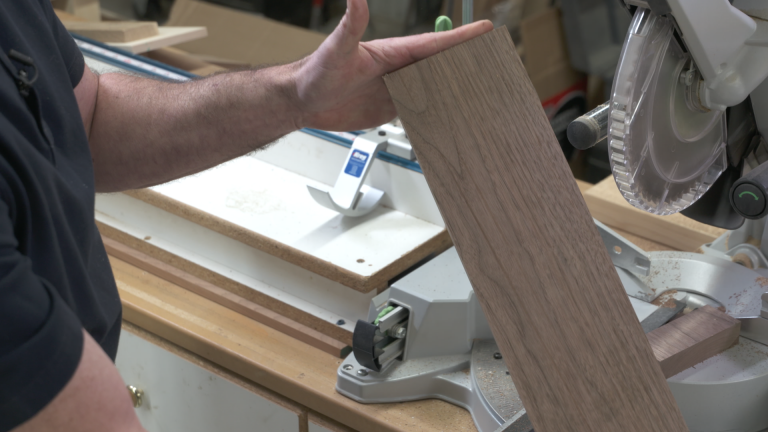
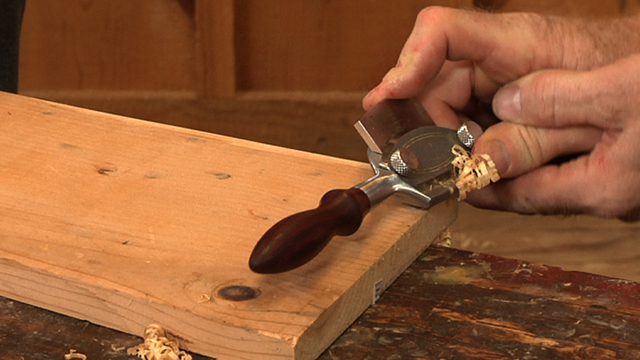
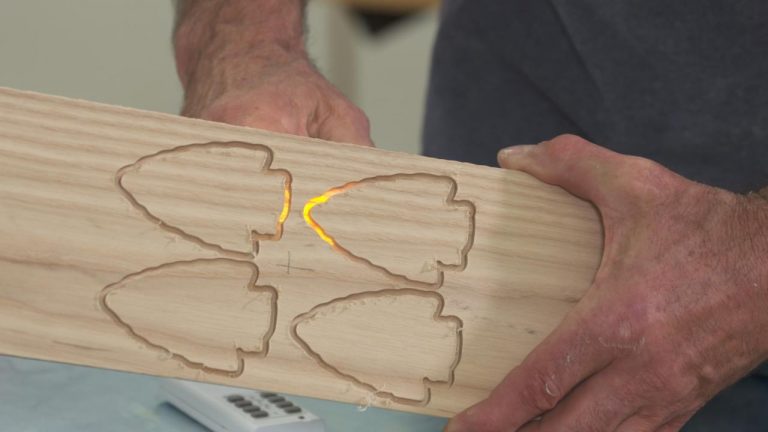
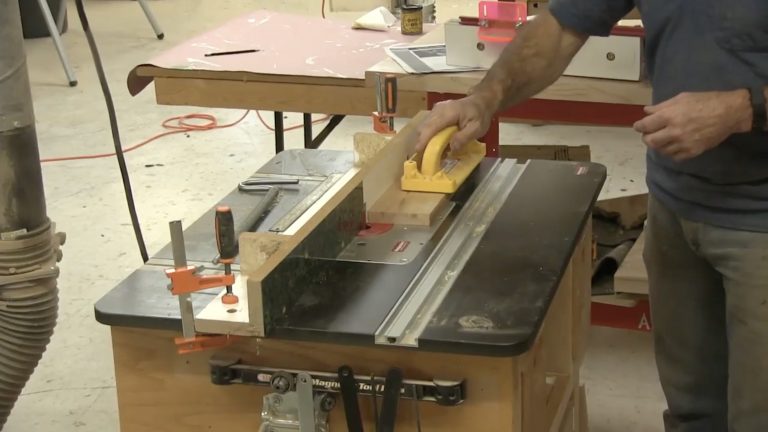
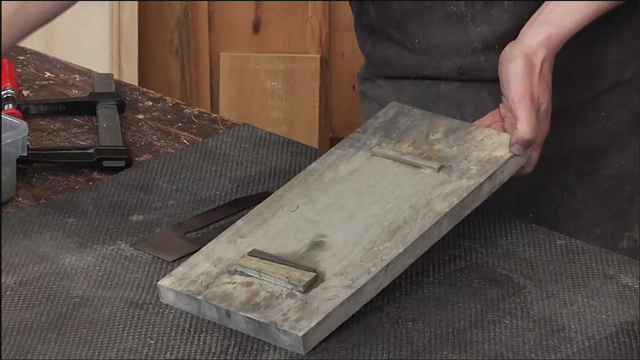
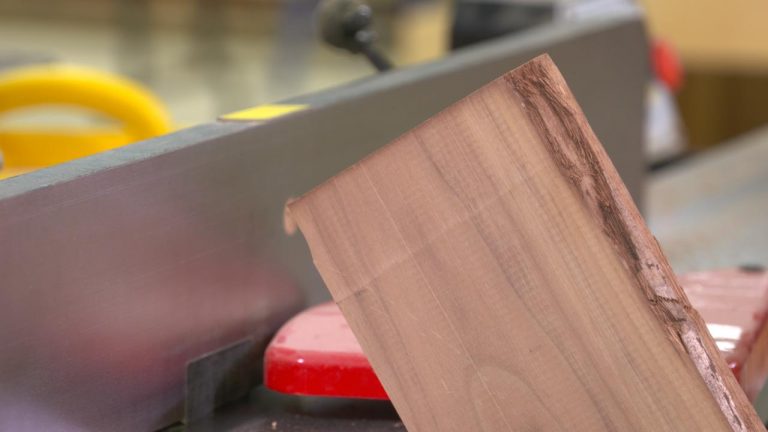
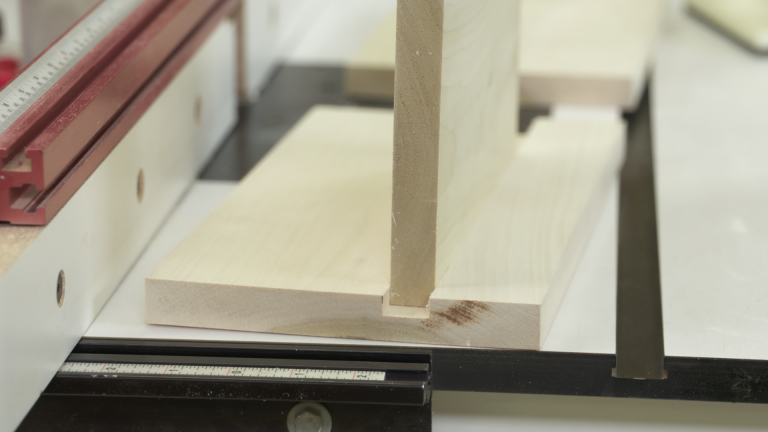
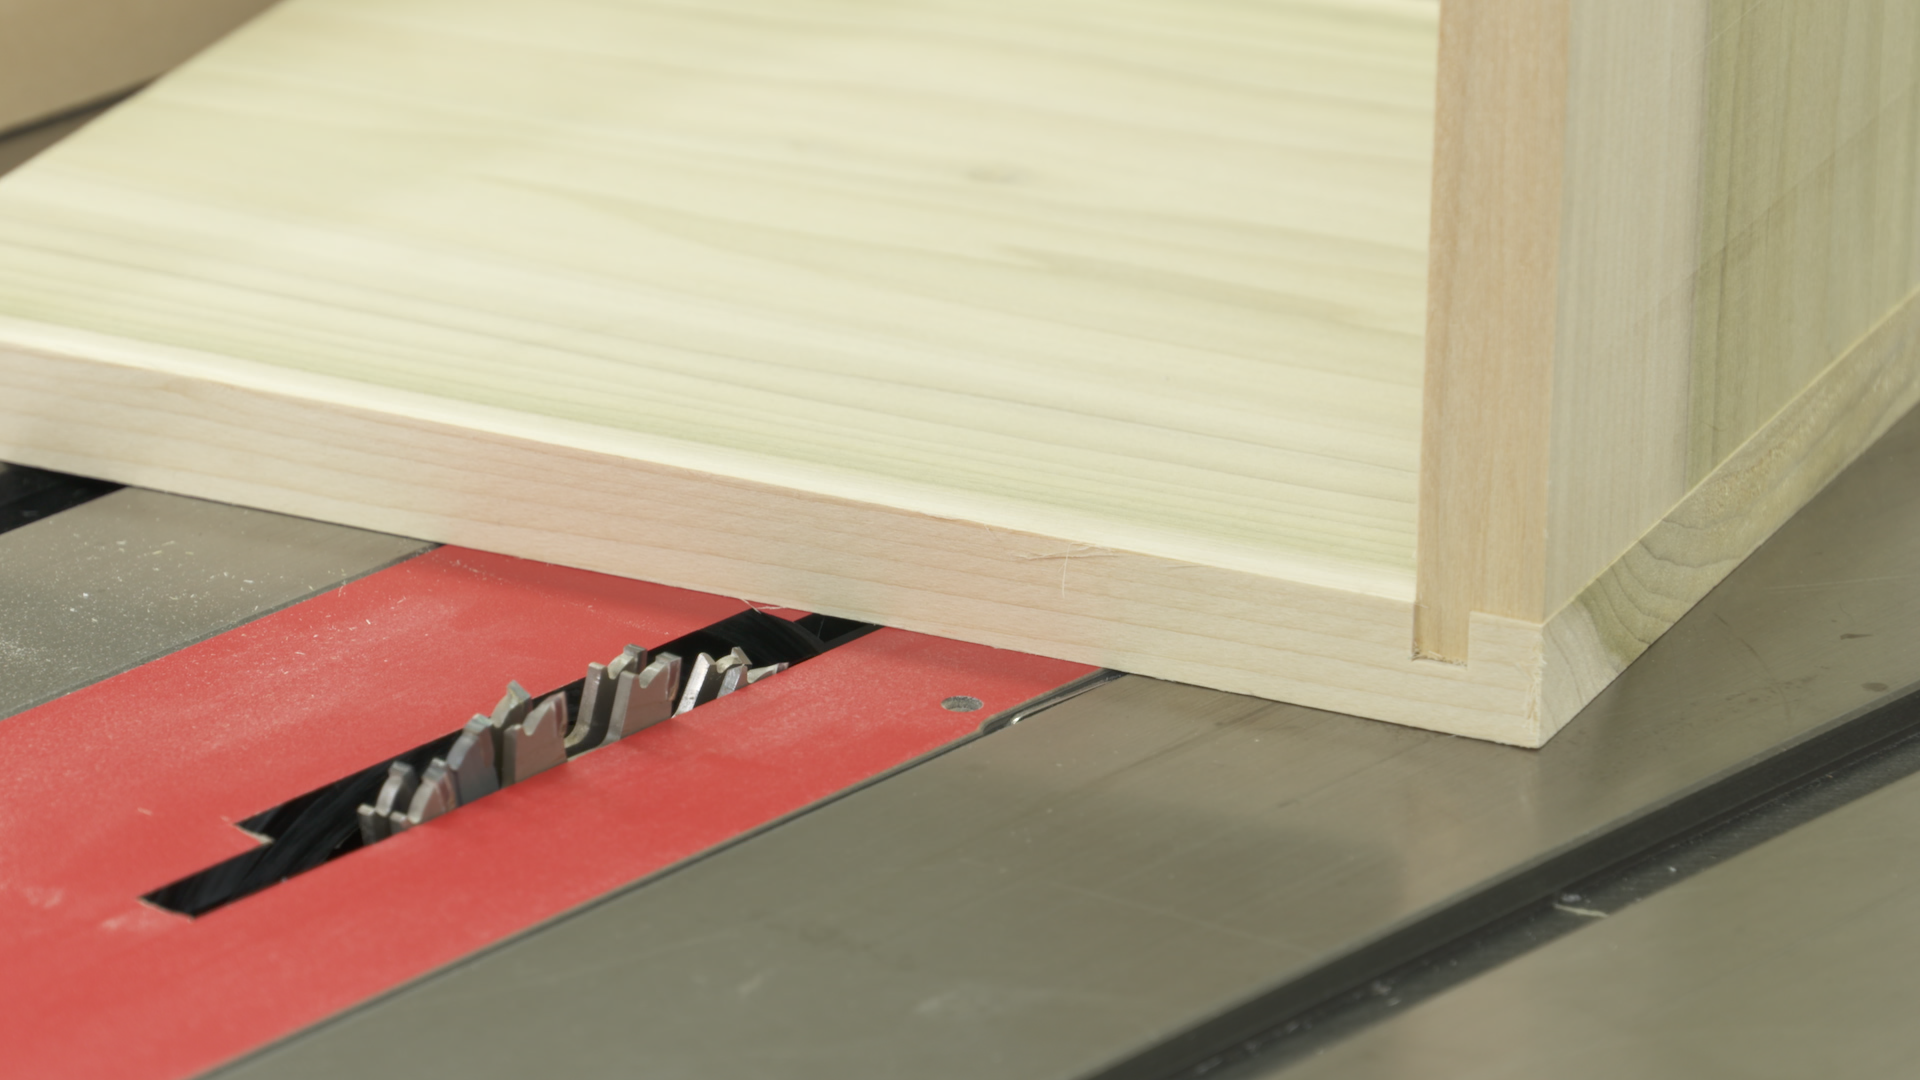
The frame is made on a router table using a ⅜” rabbet bit. You could also do the work using a ⅜” or larger straight bit. The most important part is getting the height of the bit exactly right. Once you take care of that, you’re ready to make all the cuts you need. This picture frame is a great example of how versatile routers can be. For more router how-to, check out all the How to Use a Router instructional videos from WoodWorkers Guild of America.
Make a bunch
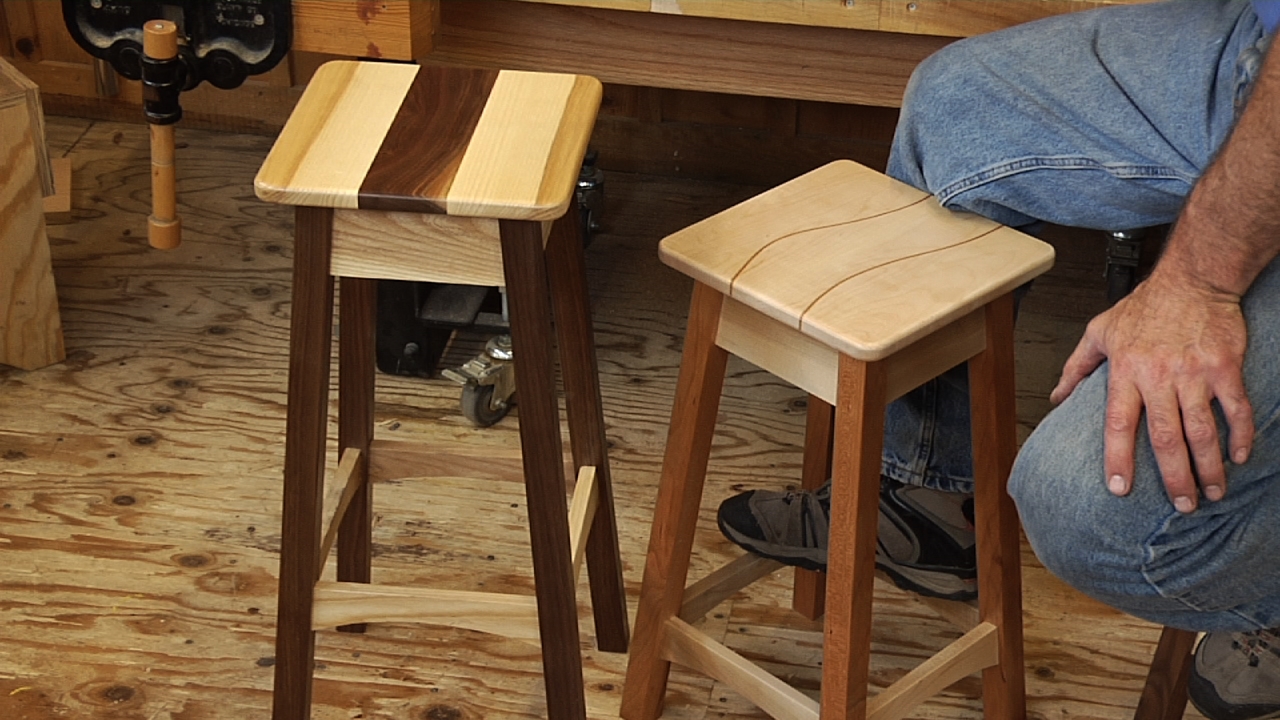
Once you’re set up it’s easy-peezy to make a boatload of picture frames. So when you’re prepping your material, be sure and make extra. This is only one of several woodworking projects designed by WoodWorkers Guild of America that would make a great gift. Once you start making picture frames with a router, you may never cut a miter again.

Share tips, start a discussion or ask one of our experts or other students a question.
Already a member? Sign in
3 Responses to “Post-Haste Project: No-Miter Picture Frame”
Explore videos by WWGOA Editors


You may be interested in

Premium Membership
Unlock exclusive member content from our industry experts.
- 24/7 Access to Premium Woodworking Videos, Projects, and Tips
- Step-by-Step Instructional Demos, Plans, and Tutorials
- 50% Off Video Downloads Purchased in the Woodworkers Guild of America Shop
- 2 Printable Woodworking Plans
Unlock exclusive member content from our industry experts.
- 24/7 Access to Premium Woodworking Videos, Projects, and Tips
- Step-by-Step Instructional Demos, Plans, and Tutorials
- 50% Off Video Downloads Purchased in the Woodworkers Guild of America Shop
- 2 Full-Length Video Downloads to Watch Offline
- 2 Printable Woodworking Plans
Gold Membership
$370 Value
Get everything included in Premium plus exclusive Gold Membership benefits.
- 24/7 Access to Premium Woodworking Videos, Projects, and Tips
- Step-by-Step Instructional Demos, Plans, and Tutorials
- 8 Full-Length Video Downloads to Watch Offline
- 3 Full-Length Woodworking Classes to Keep for Life
- 7 Printable Woodworking Plans
- Discounts on Purchase-to-Own Content in the Woodworkers Guild of America Shop
- Access to Ask the Expert Program
- Exclusive GOLD LIVE Streaming Events
Can you tell us how you measured your pieces to fit a 8x10 picture?
Would be interested in a book on measurements on the frame ,
Like the video clip - ditch the music