
Posthaste Project: How to Square a Board
WWGOA EditorsSquaring a board is one of the most basic skills a woodworker must have. If you’re not starting with a board that’s square on all six sides, it’s hard to make a woodworking project that’s square. Check out this posthaste video to learn, in just over a minute, how to square a board.
Tools used
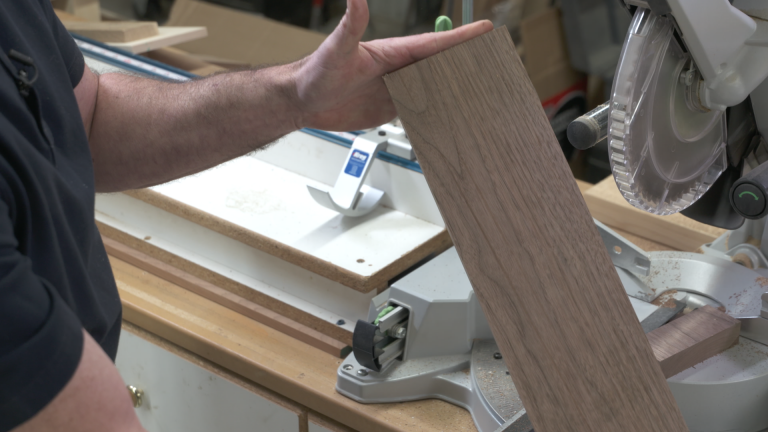
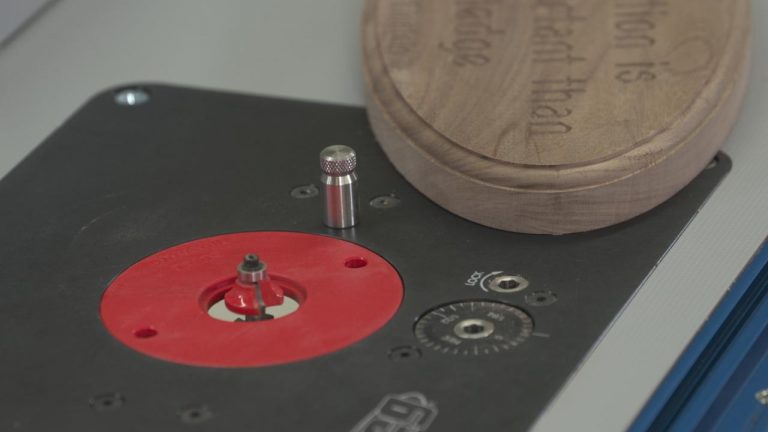
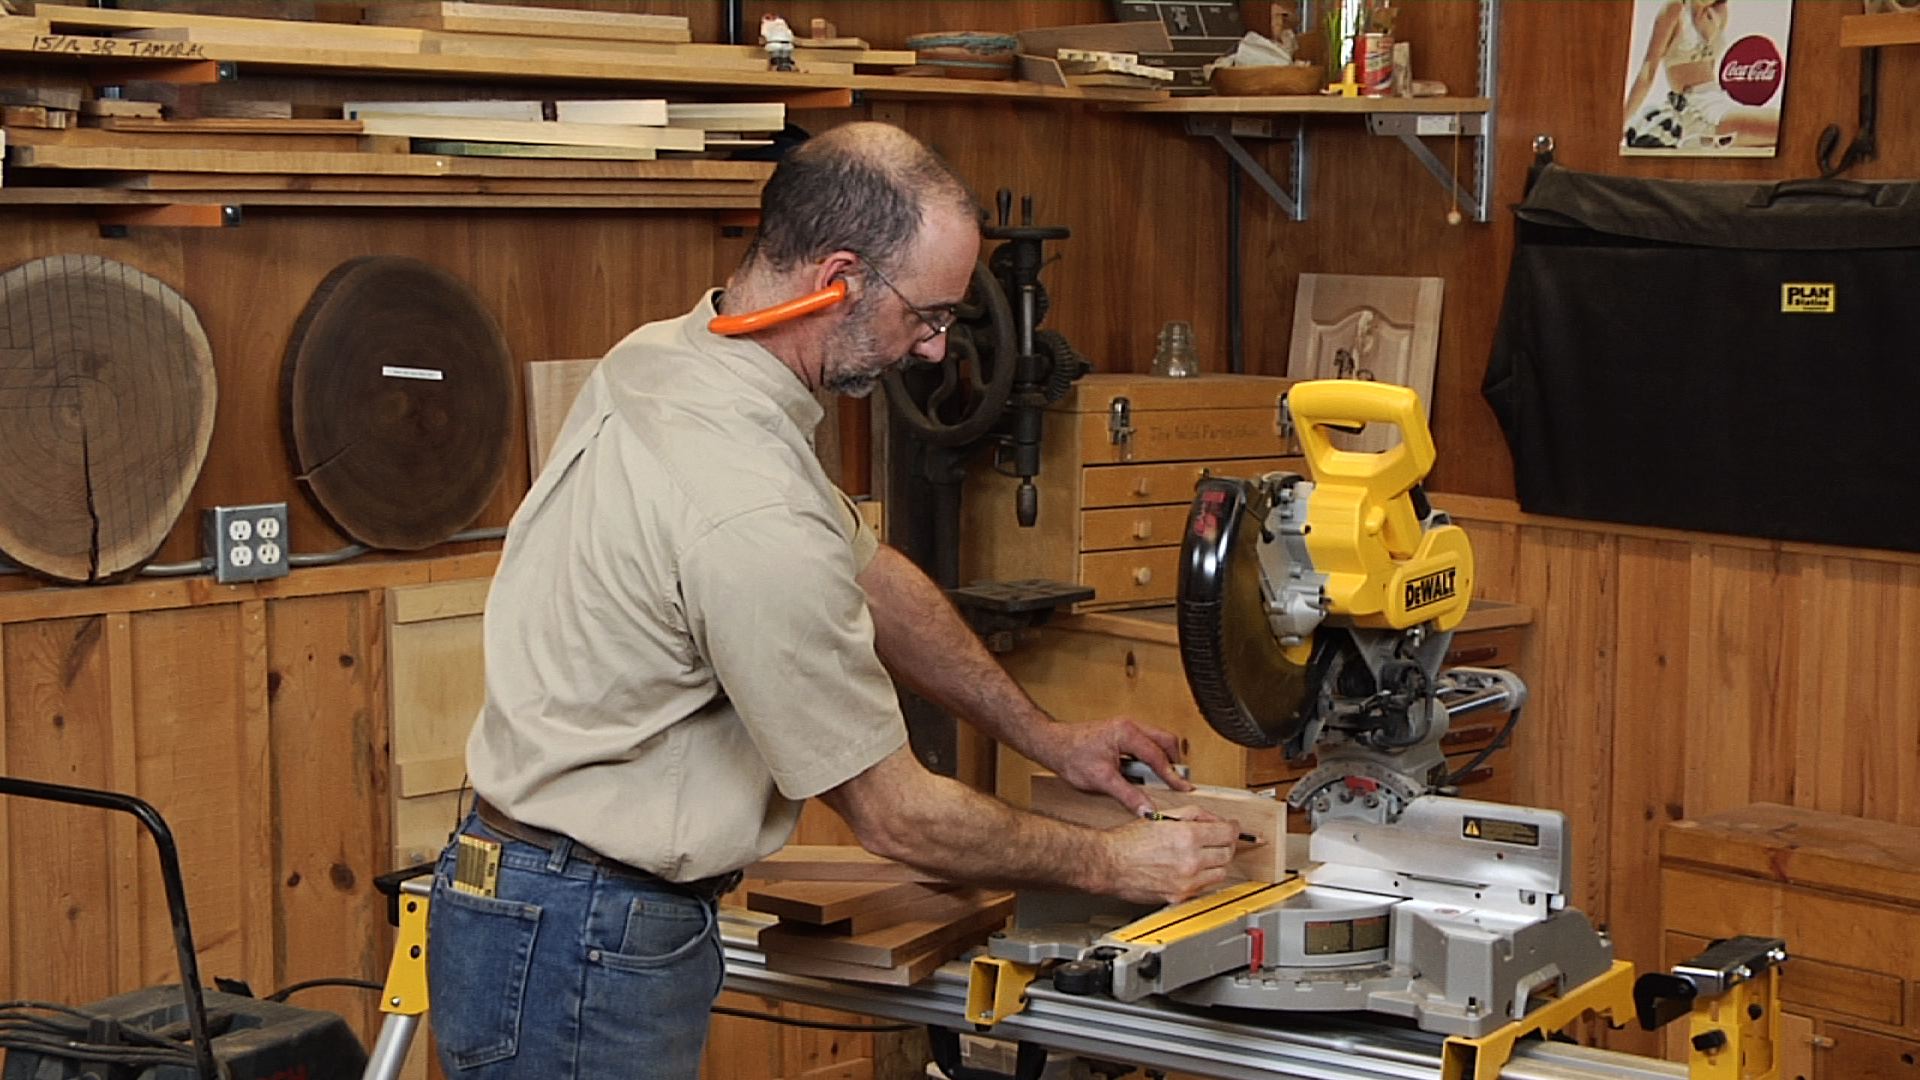
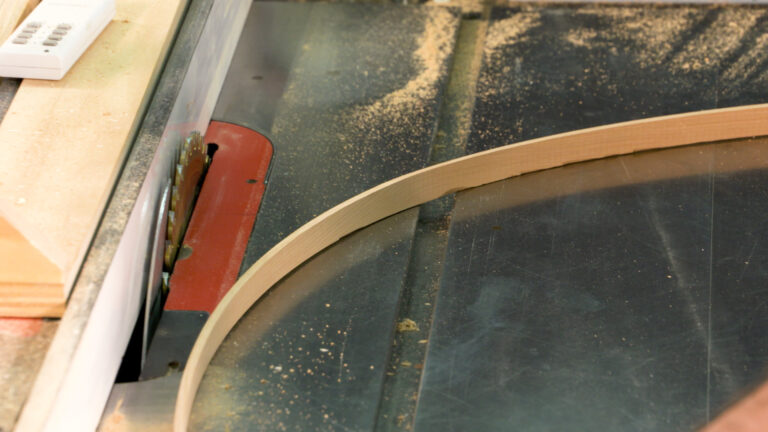
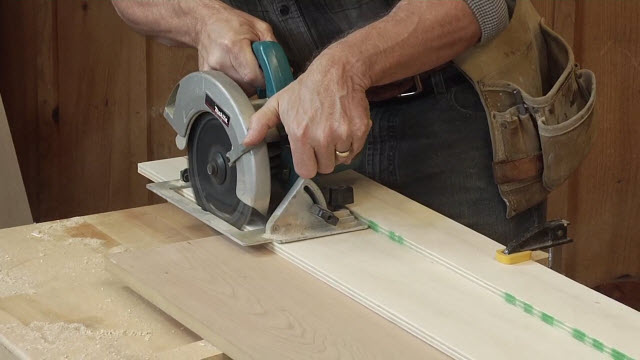
You’ll see a variety of tools used as you learn how to square a board; jointer, planer, table saw, and miter saw. The video will also help you understand how these tools work together to result in a perfectly square board that’s precisely dimensioned. Once you have this sequence down, you’ll wonder how you got by without it.
The cornerstone
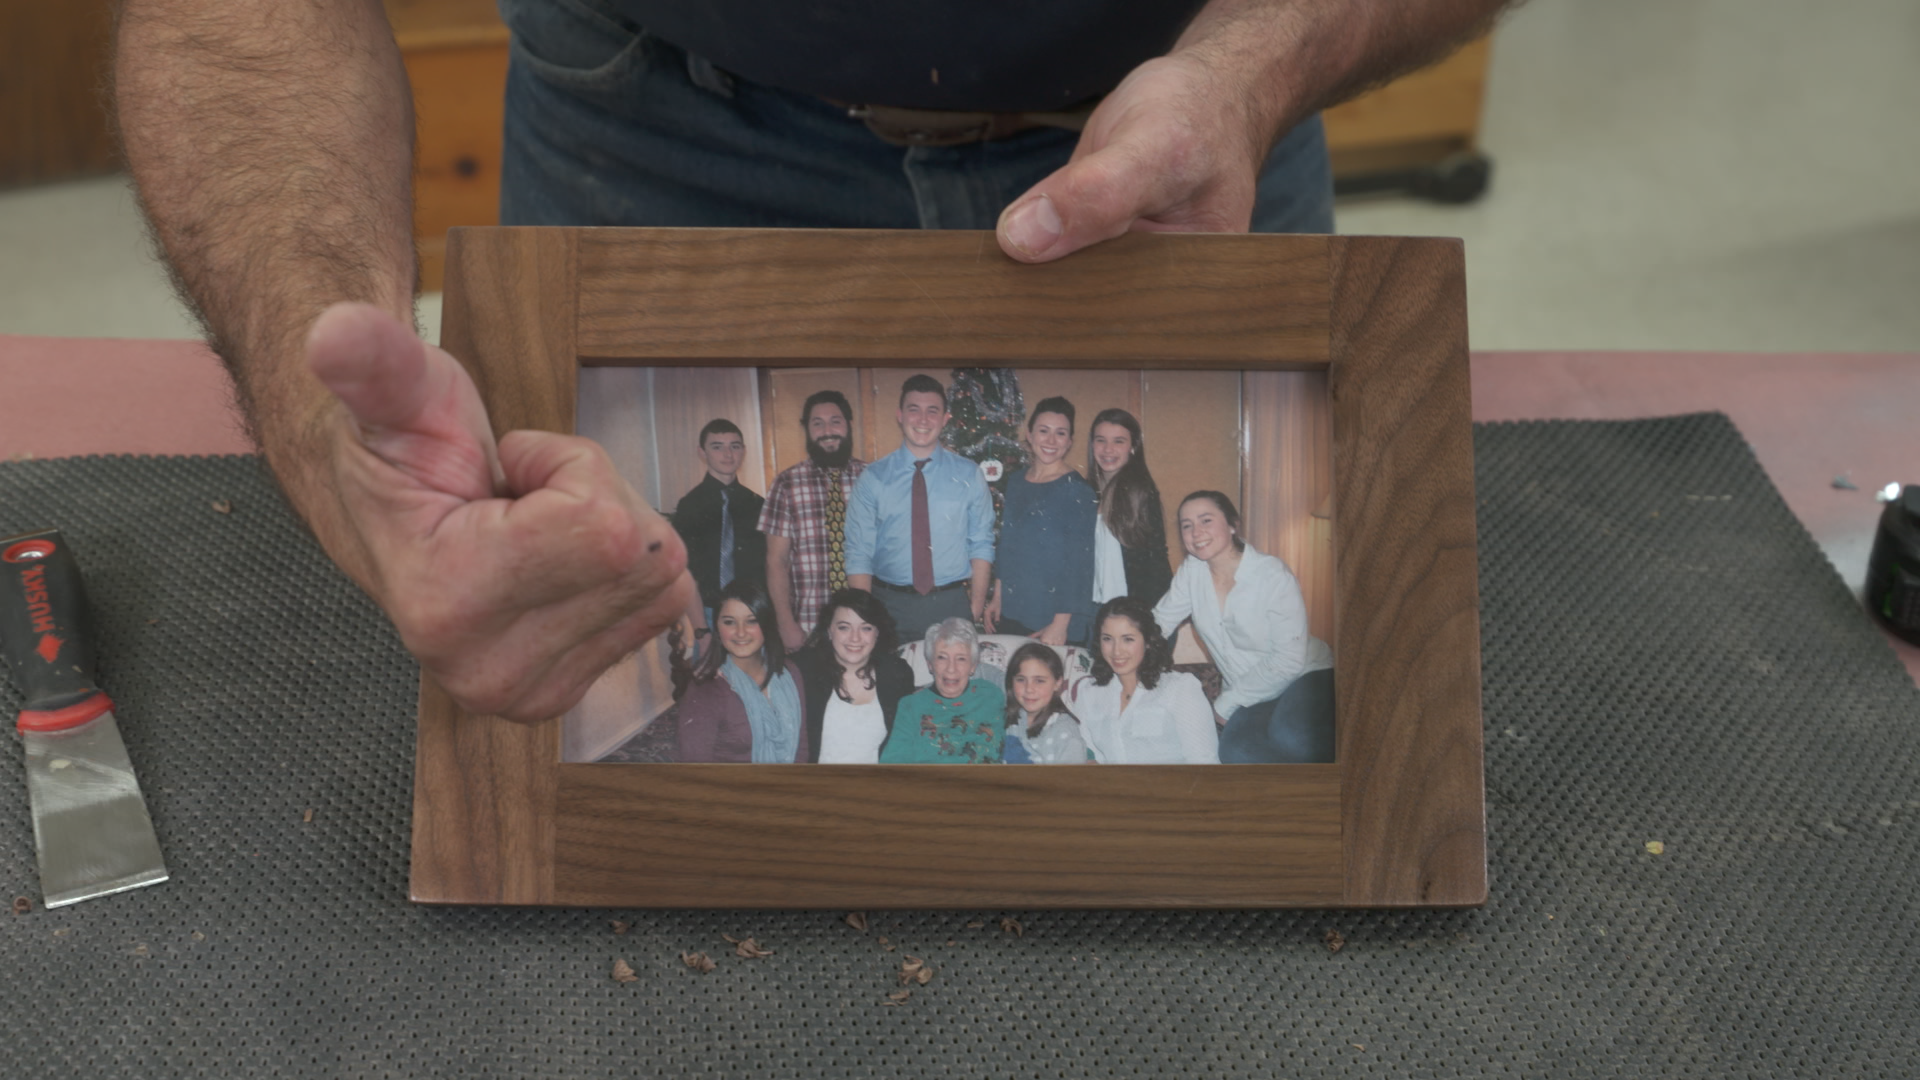
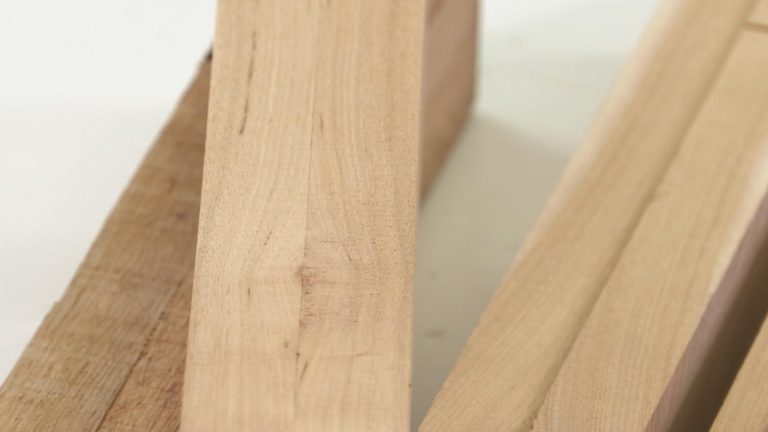
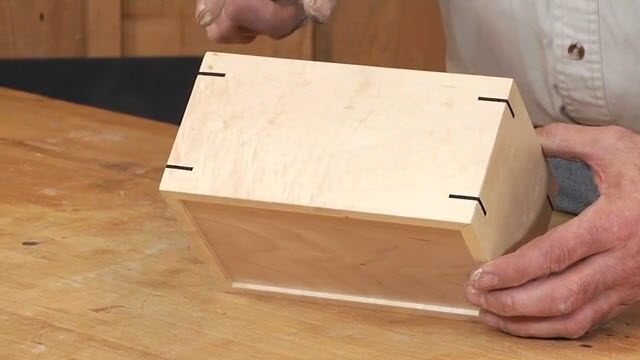
Working with square stock is the cornerstone of any project. Nothing is more frustrating than getting to the assembly step and finding that your parts won’t quite go together or, no matter what you do, you can’t quite get things to come together squarely. This is especially critical any time you make a woodworking project that includes moving parts like doors and drawers.
Start with setting up tools
You’ll have a very hard time getting your board square if your tools aren’t set up well. In addition to learning to square a board, you may want to have a look at making certain that your table saw set up is correct, and you should also have a look at setting up a miter saw.
Share tips, start a discussion or ask one of our experts or other students a question.
Already a member? Sign in
11 Responses to “Posthaste Project: How to Square a Board”
Explore videos by WWGOA Editors


You may be interested in


Premium Membership
Unlock exclusive member content from our industry experts.
- 24/7 Access to Premium Woodworking Videos, Projects, and Tips
- Step-by-Step Instructional Demos, Plans, and Tutorials
- 50% Off Video Downloads Purchased in the Woodworkers Guild of America Shop
- 2 Printable Woodworking Plans
Unlock exclusive member content from our industry experts.
- 24/7 Access to Premium Woodworking Videos, Projects, and Tips
- Step-by-Step Instructional Demos, Plans, and Tutorials
- 50% Off Video Downloads Purchased in the Woodworkers Guild of America Shop
- 2 Full-Length Video Downloads to Watch Offline
- 2 Printable Woodworking Plans
Gold Membership
$370 Value
Get everything included in Premium plus exclusive Gold Membership benefits.
- 24/7 Access to Premium Woodworking Videos, Projects, and Tips
- Step-by-Step Instructional Demos, Plans, and Tutorials
- 8 Full-Length Video Downloads to Watch Offline
- 3 Full-Length Woodworking Classes to Keep for Life
- 7 Printable Woodworking Plans
- Discounts on Purchase-to-Own Content in the Woodworkers Guild of America Shop
- Access to Ask the Expert Program
- Exclusive GOLD LIVE Streaming Events
what do you do if you don't have a jointer or space for one? Now we need another tool and still don’t have enough space?
At around the 1:03 mark it says "Joint freshly cut side down on the planer"...isn't he using the jointer?
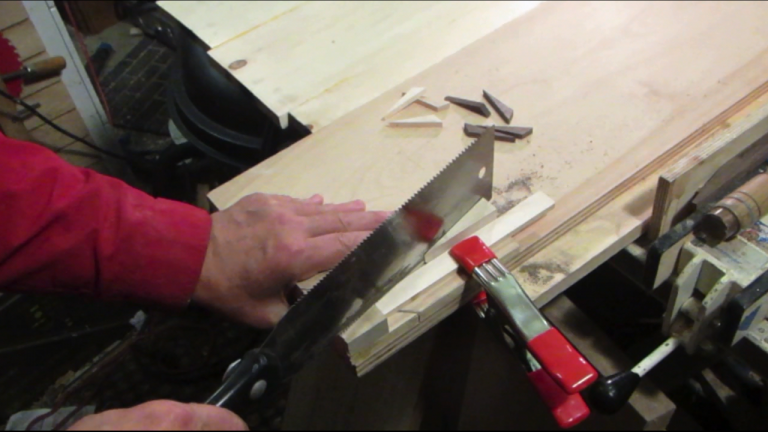
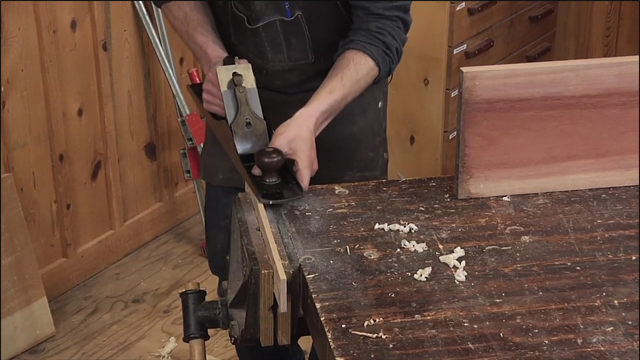
This can all be done with handplanes. Less expensive, shavings not dust, and just as timely with sharp plane irons. All basic jointing and surfacing can be done this way. Crafts Men and women have done it this way for centuries.
I agree. Power tools to expensive.
Agree totally with Terry and eggsngrits. And the answer to jarrell presupposes the possession of a bandsaw!
when I was serving my apprenticeship as a Joiner I got taught to face and edge the boards first and then the thickness the material 2 reasons 1) the machines where in use all the time and you could face and edge the boards 1setup use another machine or if you where on the planer thicknesser you would then set up the thicknesser part another setup Not changing for each piece of timber. 2) by doing it the way stated you are double handling the material but you save time in not having to ghange the setups of the machines each time.
So what if I don’t own, nor can afford a jointer?
It sure is nice to have all expensive equipment and wood to square it up with. Try buying the crap from Lowe’s or Home Depot.
No talk just music , Possibly need to specify grain direction, after jointing one side , specify which side is facing cutters in planer... Thanks David Kennedy
Cool! Now all I need to do is buy $6,000 worth of equipment and I can use this video. Easy-Peezy.