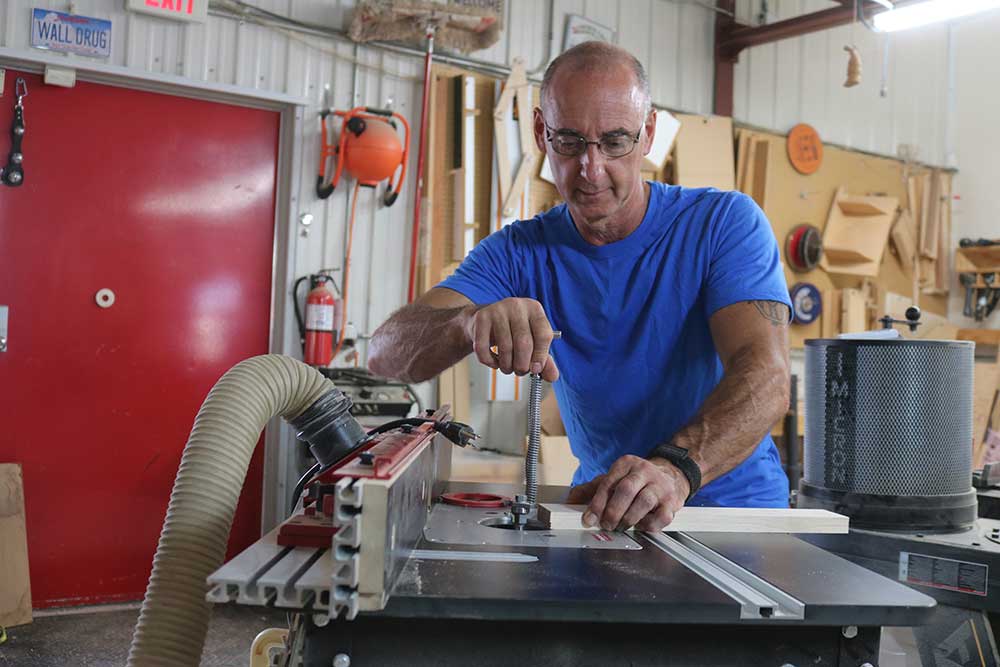
CNC Sign: Texture the Background
George VondriskaCreating a sign with raised letters on your CNC is a GREAT way to take advantage of what CNC routers offer. There is a downside; the background behind the letters often has machine marks in it from the relief cuts. Those machine marks don't look great, and they're a pain to sand. No problem, your CNC has a solution.
Design and toolpath
I do all my CNC design and toolpathing using VCarve Pro from Vectric software. The raised letters come from using the VCarve toolpath. Check out this video, V-Carving Artwork and Letters with a CNC Router, for complete instructions on making a sign, including the use of artwork in your signs.
A no-sanding sign
How do we rout a raised letter sign and make it so the background doesn't require lots of sanding? Use the texture toolpath. This is an amazing cheat on this type of work. Not only does it eliminate finish sanding the background, it also adds a great look that can add value to your finished sign.
Using the Texturing Toolpath
Be sure to practice with the Texturing Toolpath before using it on a project. There are LOTS of options within this toolpath. Changing any of those options, including your choice of router bits, will affect the final look. It's best to set up a handful of toolpaths with different parameters on a piece of scrap before launching into a project.
There will be some sanding
Having a textured background eliminates a lot of sanding, but not all the sanding. A flutter sander, also called a mop sander, does a great job of handling the texture. They're available from Klingspor Woodworking. Flutter sanders are a generally useful thing to have in your shop.
More to learn
We have a lot of CNC tutorials. Be sure to check them out to up your CNC game.
Pretty common way for me to do CNC signage is what you're seeing here, which is I have cut away the background, left the letters standing proud, the border standing proud, and some clearance tool, in this case, a quarter-inch bit, took away this waste back here. I like that look. It looks very hand-carved. What I don't always like about it is that I gotta clean up this background somehow. I'd really need to get in here and do some sanding in order to get these tool marks to go away.
Can I do that with a detail sander or a mop sander? Eh, maybe yes, but I also wanna be careful about if I take a sander in here, is there any chance I'm gonna soften the corners on the letters? I don't wanna do that. I like how crisp they are. So I've got an alternative to this.
The alternative is we can texture the background. Here's the exact same sign. Preliminary toolpath was the same. Added the texturing toolpath. What I like about this is, lazy guy that I am, I don't have to rework the background at all 'cause the texturing did that for me.
Also, when you look at that, it really adds a detail to it that if I'm making a sign I'm selling, I can probably sell it for more than I otherwise would have because now it's got a textured background. So looking at what we're doing here in VCarve Pro, that's the software I use, we've got a few things going on. Opening my toolpath. What I'm gonna do is use the VCarve toolpath initially, select my letters, select that border, come to VCarve. I'm gonna go 1/8 inch deep, use a 45-degree V bit in order to do the detailing, a quarter-inch end mill to do most of the waste removal, clearance tool.
Come down here, calculate that. This will give us what we were just looking at in that walnut sign. That's where we're at so far. What we wanna do is look at what do we need to do to add texturing to this. So I'm gonna close out of preview, and this icon right there And of course, if you just hover over the icons, it tells you what the icon is.
So that icon is the texturing toolpath. So notice over here the letters and the border are still selected. I come to the toolpath. This is really cool. You have to mess with this.
You have to experiment to see what this texturing is all about, what looks do you like, what looks do you not like. It's exactly what it sounds like, which is it's gonna apply the texture that we saw on that wooden sign. One of the things that's different about this is that we have to tell it where to start. So remember in the VCarve toolpath, I used a flat depth. I told it to cut in 1/8 of an inch.
If I leave this at zero, the bit is gonna come in and it's gonna cut from the top surface down. That wood is already gone. So because on the first toolpath I cut to 1/8 of an inch, here I have to start at 1/8 of an inch. Instead of that relatively large quarter-inch ball nose, I am going to grab an 1/8 inch ball nose. That just has to do with the scale of the sign.
Pretty small sign, smaller ball nose. It doesn't have to be a ball nose. We could do this with a ball nose, a V bit. Any option you have for that engraving type process we could use here for texturing. Now, here is where this gets interesting and fun.
As you change these parameters right here, it will change the final look. And of course, this is where preview toolpath in VCarve really pays off because we can see what we're gonna get before we cut the first stick of wood. So for instance, when I come down here, I'm gonna change this 45-degree angle to zero. I'm gonna leave all the rest of this stuff alone. This texturing is gonna be done with a 1/8 inch ball nose.
So I'm gonna calculate, preview toolpaths. Now, we've got a couple problems here. One is my letters are gone. Two, not really a problem but a question, do I like the look of this? So again, in this case, that toolpath was running straight across.
For me, one, I don't want my letters washed out. Two, I like it better when the toolpath is at an angle. That's my aesthetic. Doesn't have to be your aesthetic. So let's close out of this, open up that texturing toolpath, and we need to do a couple things here.
Right off the bat, I'm gonna come out here to the bottom and I am gonna change this to 45 degrees. That's gonna tell the bit to run at an angle instead of straight across. The other thing we have to do is we have to protect our letters and protect our boundary. So what's happening within the software when you say the bit is this diameter, the software is actually working from the center point on the bit, not from the edge of the bit.So when I tell it it's an 1/8-inch ball nose, it kinda doesn't care about that diameter. It's thinking about the center point.
So that's why when you look at this, you can still see some letters. It didn't just completely cut across the top of them, but it got so close that the 1/16 of an inch from the middle of the bit to the edge of the ball is what caused this to all get soft and washed out. So here, boundary vector, that's where we wanna put a number in there that's at least the radius of the cutter you're using. .06 is about 1/16 of an inch, .07 gives me a little bit of wiggle room there. So now I'm gonna calculate this toolpath, reset my preview, preview all toolpaths.
That's not just better, that's way more better, in that I didn't wash my letters out because now I told the software to stand back. That's that offset. I told the software to stay away from that by a little bit more than the radius of the cutter. So you're gonna have to manually control that offset based on the size of the bit you're using. Now, in the world of experimenting, when I come back to this texturing toolpath, these are all variables, so minimum depth, cut length, maximum depth.
What I would suggest is go through, mess with these sliders, and remember that we can do a screen capture of this. We can save this image. So first set of settings, you could save this image. Now you know what that looks like. Just to even change it more, I'm gonna change that angle to 60, so keep in mind what I'm looking at right there.
Gonna leave the offset alone, 'cause we still need that. Let's calculate this toolpath, reset, preview. There's the new look. So it significantly changed what the background is gonna look like. Then you could come back in here.
Don't do this with a ball-nosed bit, do it with a V bit and see what that looks like. So there's so much stuff that you can do here, and at the end of the day, what I really like is the way that it changes the resulting sign or object you're creating. Doesn't have to be a sign, but it changes the look of that so much, and it gives it a unique background that I think actually adds to the look, adds to the value of what you're doing, and lazy woodworker that I am, I don't have to worry on a sign like this about sanding the work that the clearance tool did, because I know I'm gonna texture that background. So a couple things, big takeaways. One, start depth.
Whatever we told it to cut to at this step, in this case 1/8 inch, that's where we have to tell it to start for this toolpath so that you can see it when you're done. Also, don't forget to put in that offset so that the bit stands off of the edges of those letters and leaves the letters and the border intact. You're gonna know right away when you preview toolpath if you forget to do that, 'cause it'll look like mine did. Everything will just kinda be gone. Texturing is hugely valuable.
It's a really cool aspect of VCarve Pro. I use it all the time on this kinda work.
Share tips, start a discussion or ask other students a question. If you have a question for an expert, please click here.
Already a member?
No Responses to “CNC Sign: Texture the Background”