
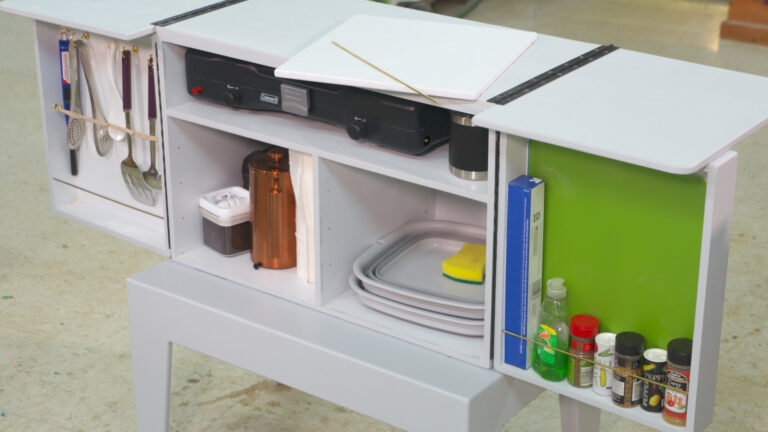
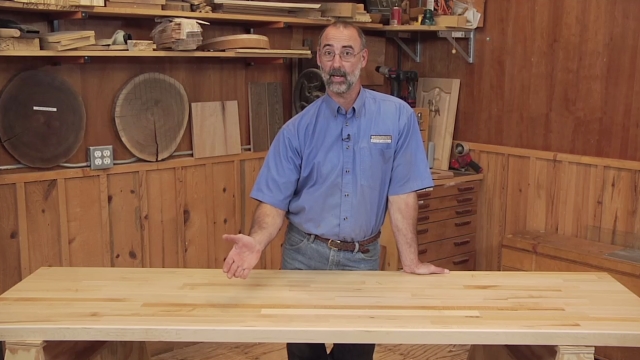
Camp Kitchen
George Vondriska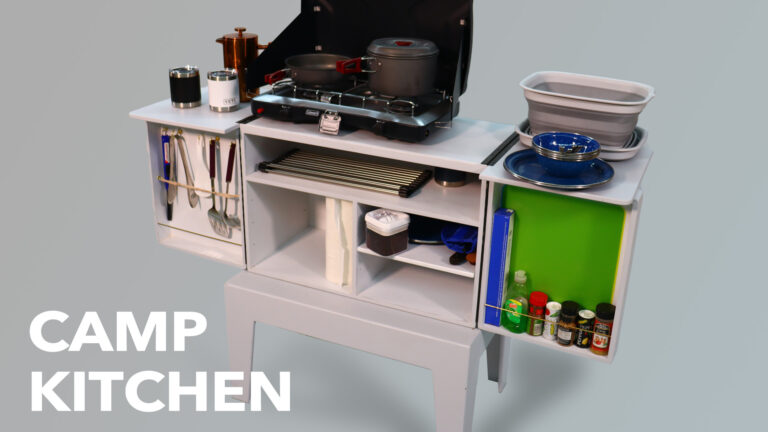
Class Preview
- In-depth Instruction; over 105 mins
- On-demand video access anytime
- Bonus downloadable PDF resources
- Access to class Q&A
- Available for purchase: $19.99
Why a Camp Kitchen
2:26
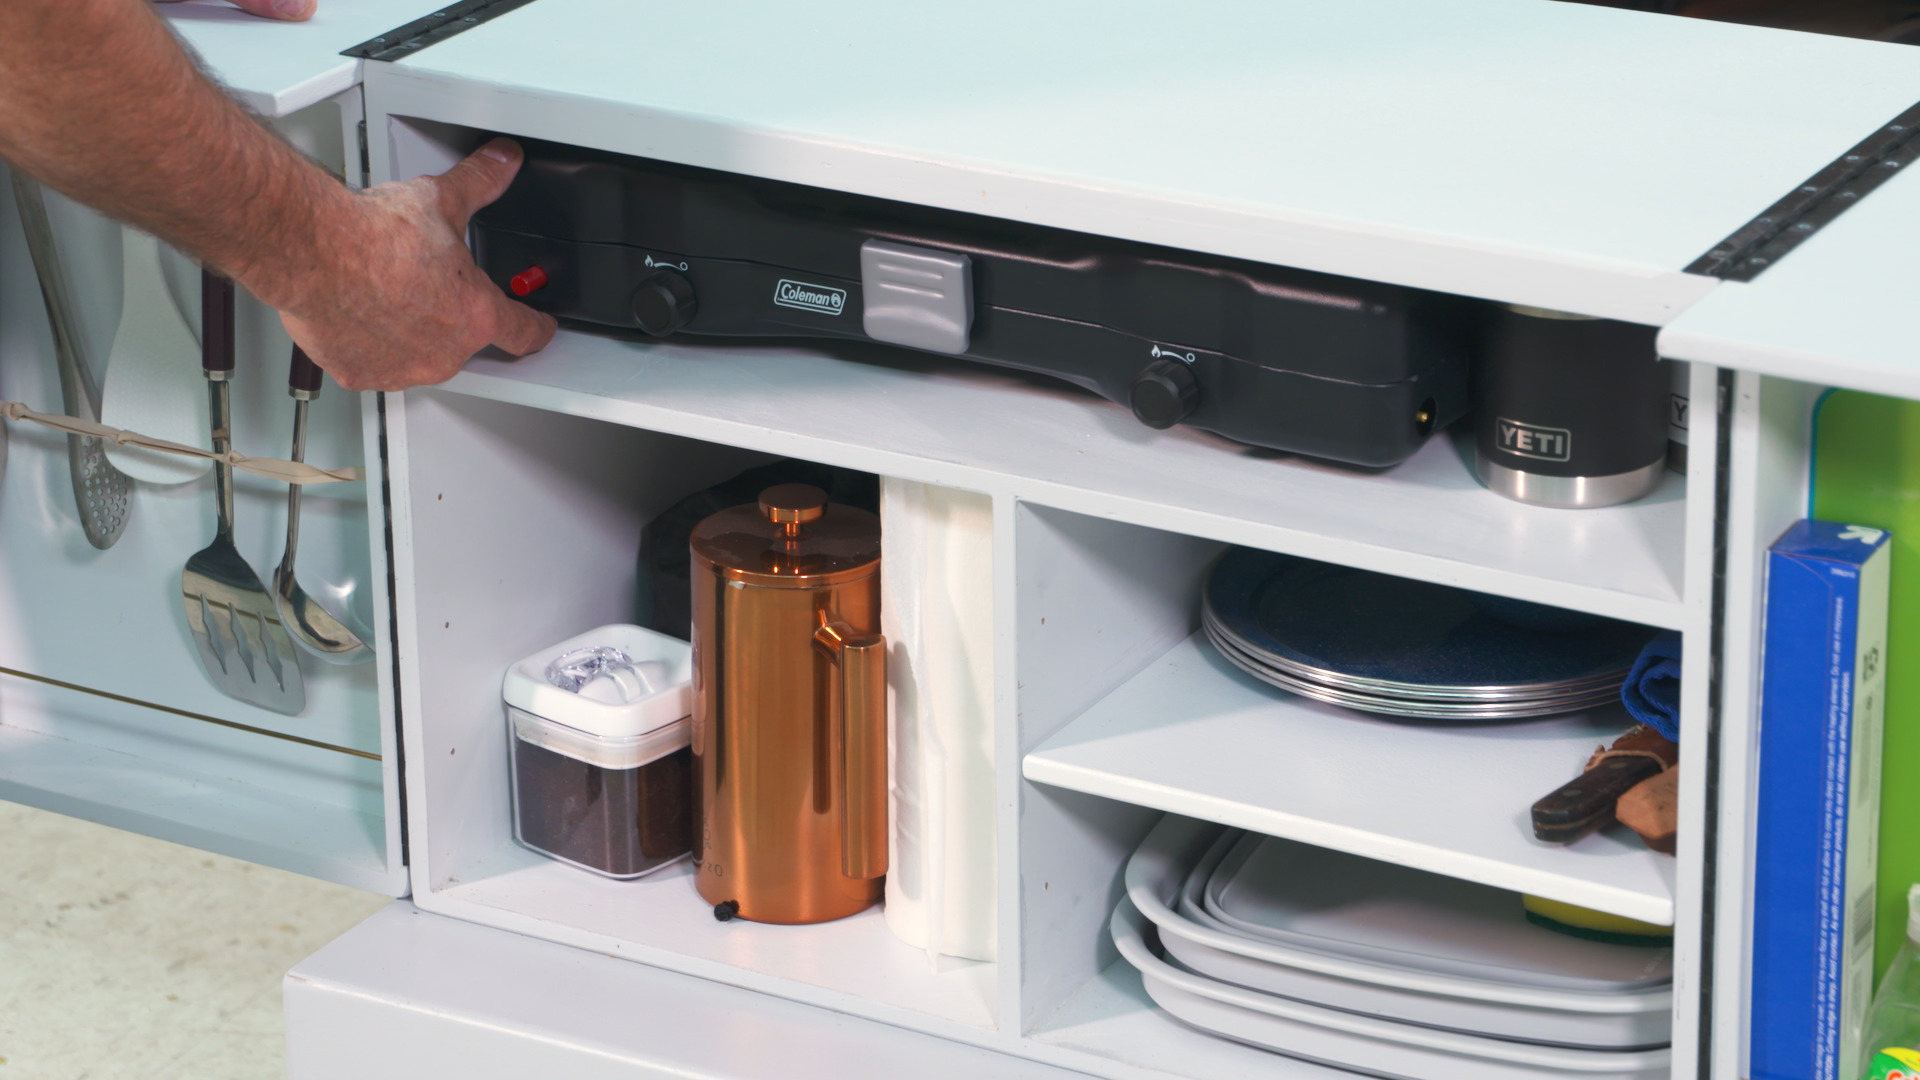
I like my camping gear to be grab and go. I don’t want to scrounge around looking for a frying pan, spatula, wash basins… I know that everything I need for cooking is in this kitchen so, when I’m ready to hit the woods, I can grab my camp kitchen and head out. Without forgetting forks and spoons.
Project Overview
5:59
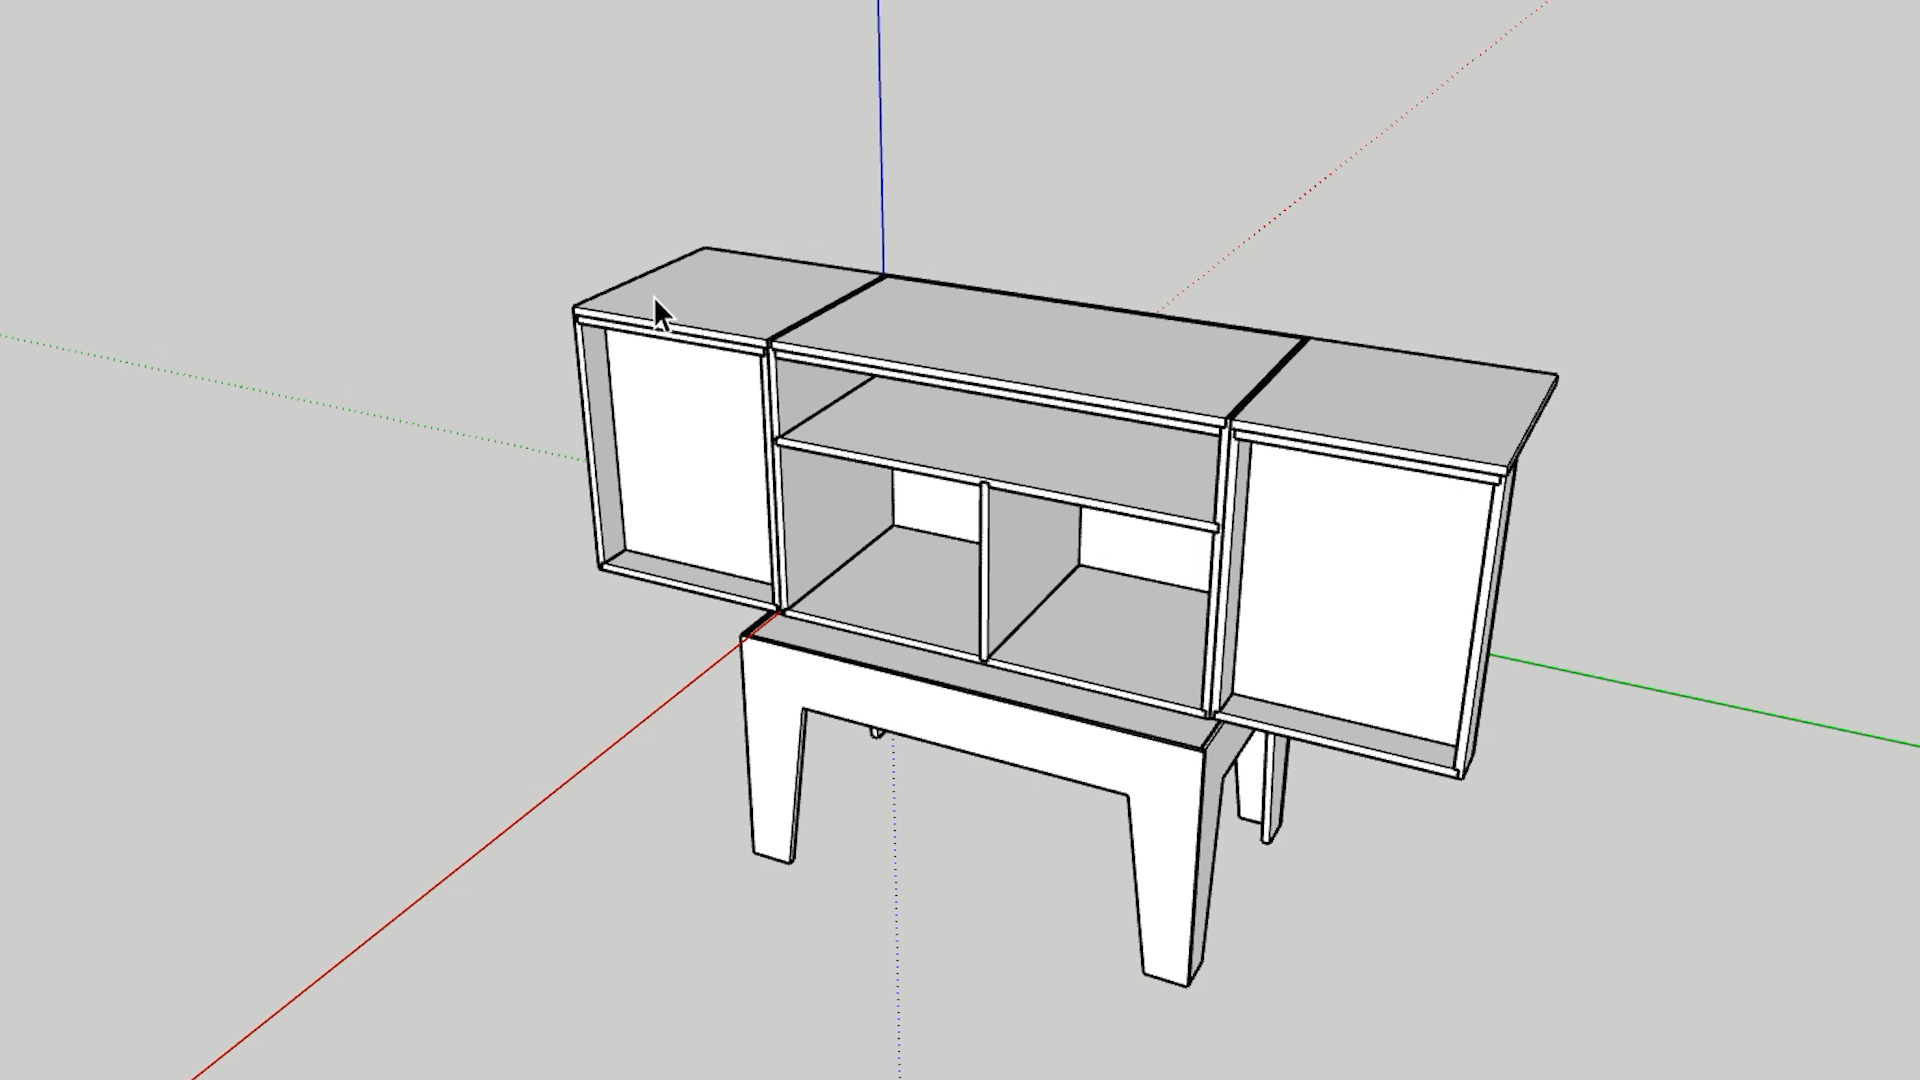
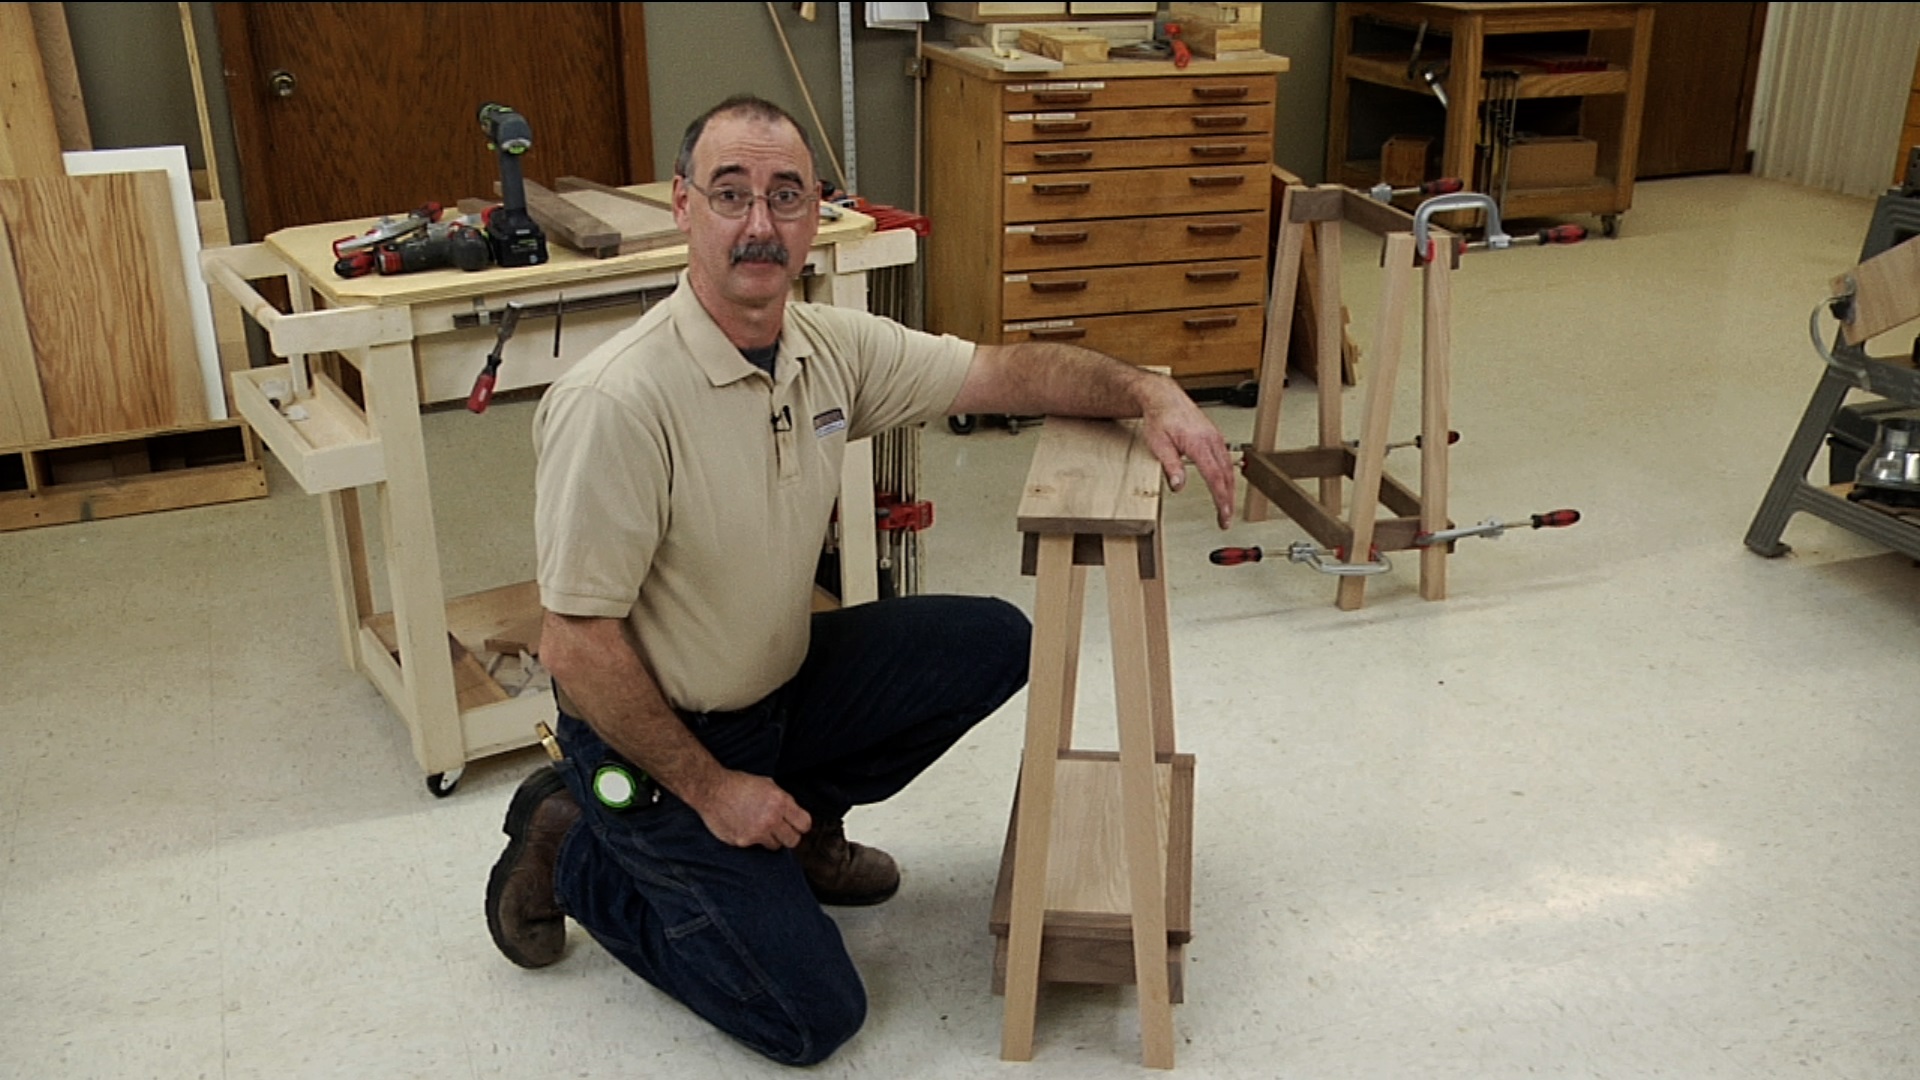
This is a pretty typical cabinet carcase, joined by dadoes and rabbets. Knowing that the kitchen will bounce in and out of vehicles and spend lots of time outside, a few extra steps are taken with this project to make sure it’s rock solid.
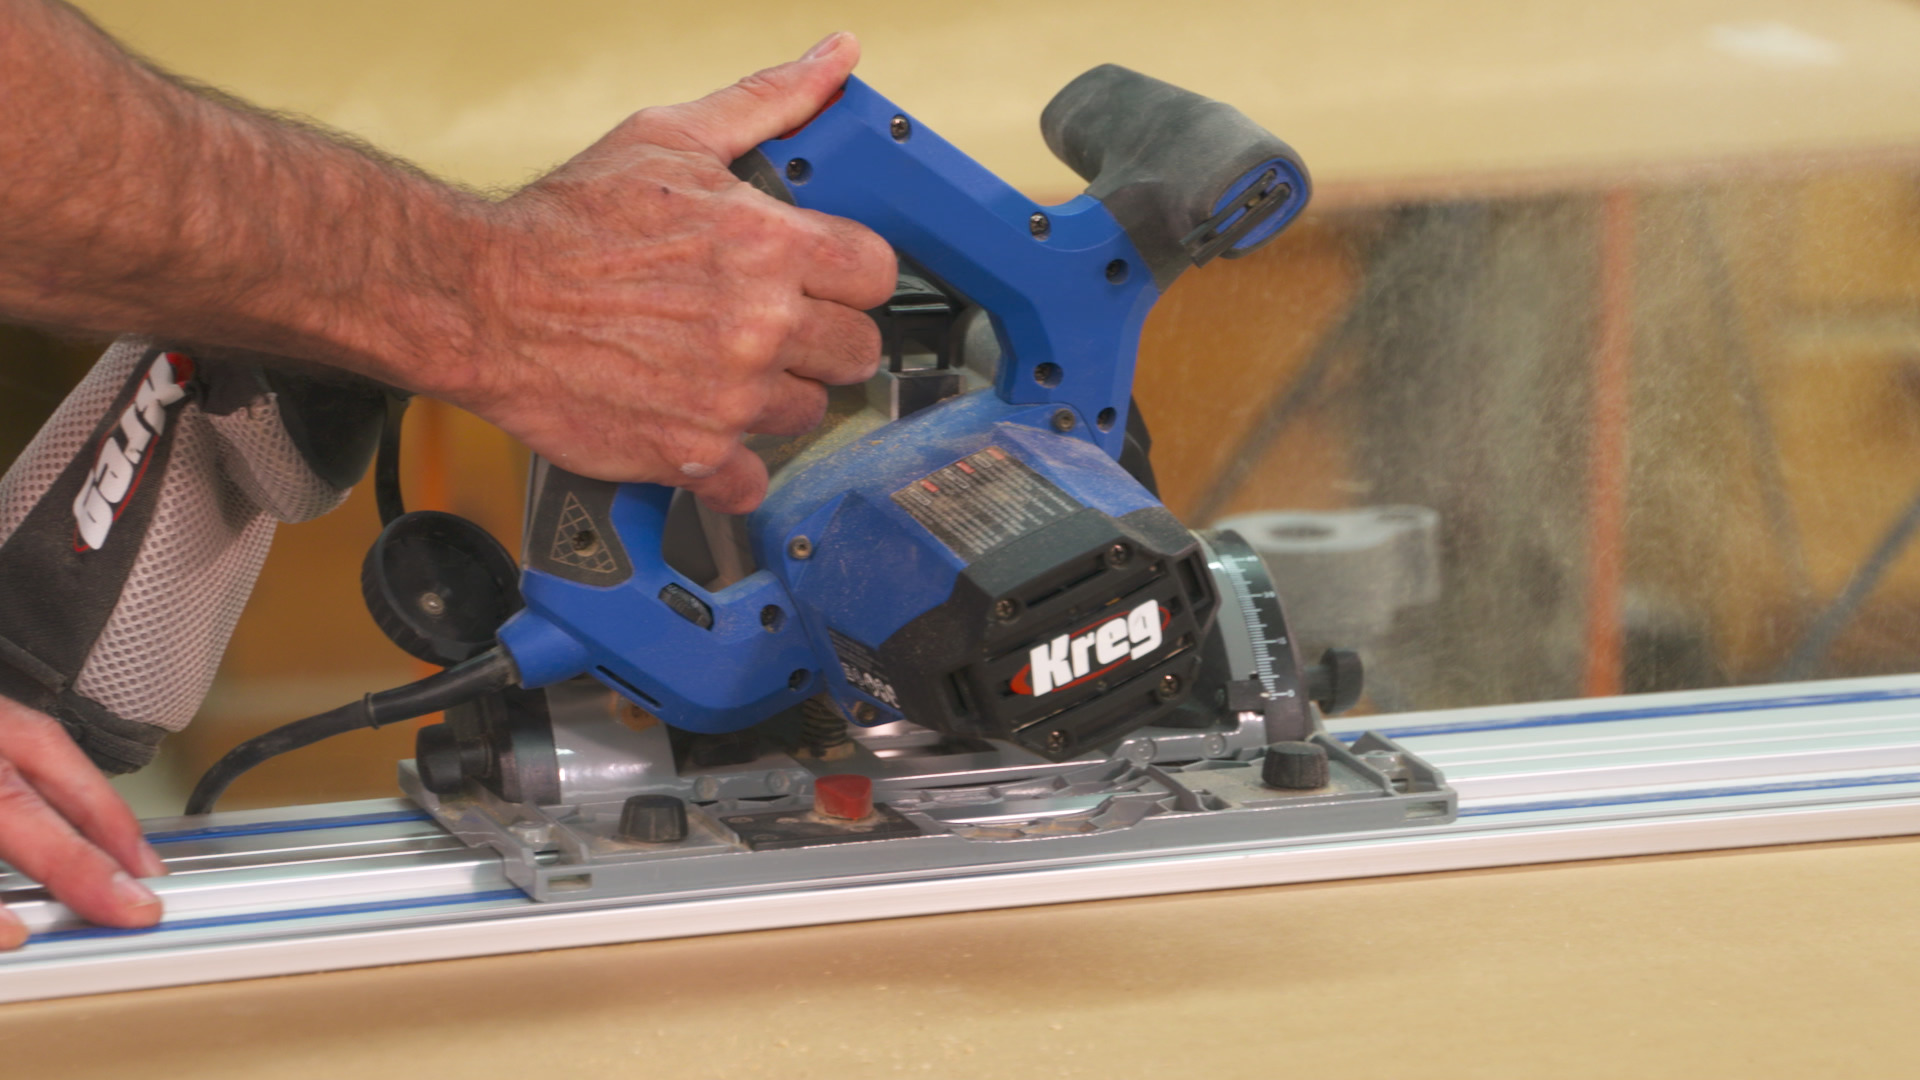
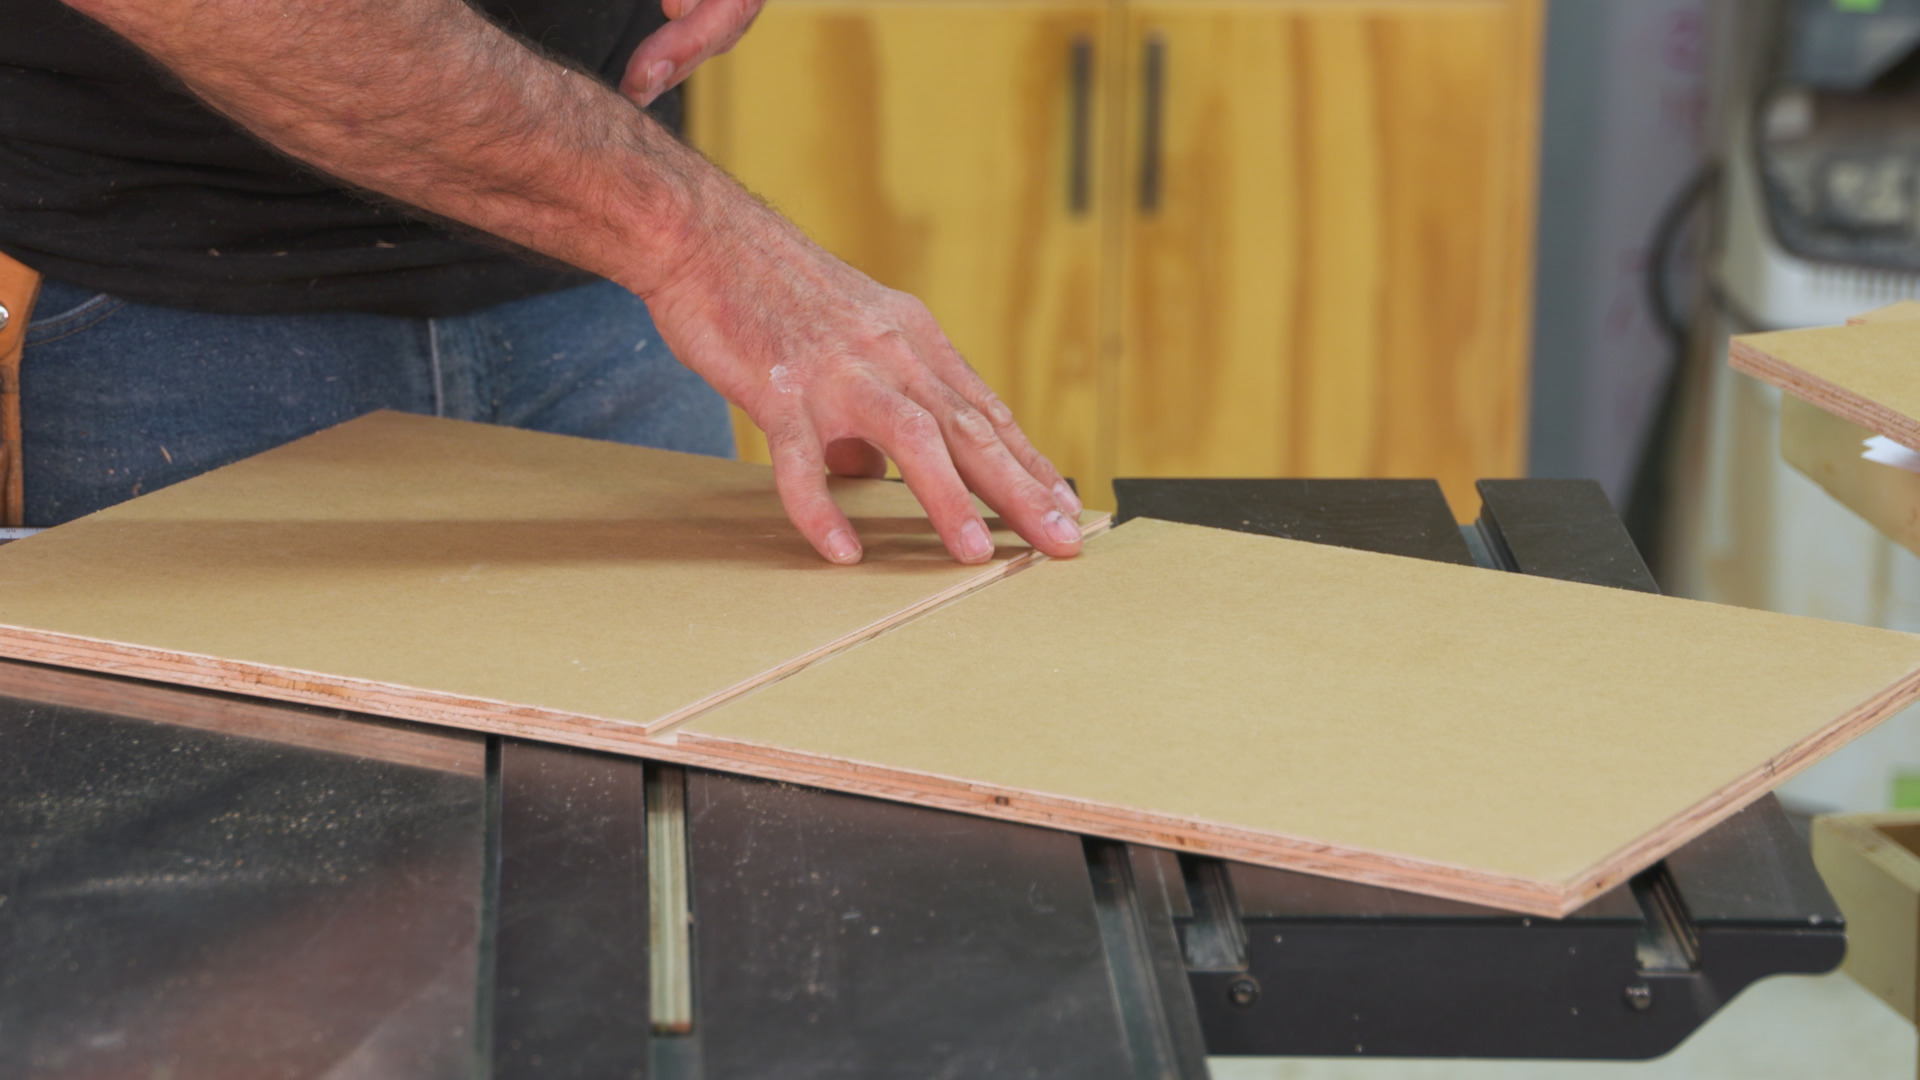
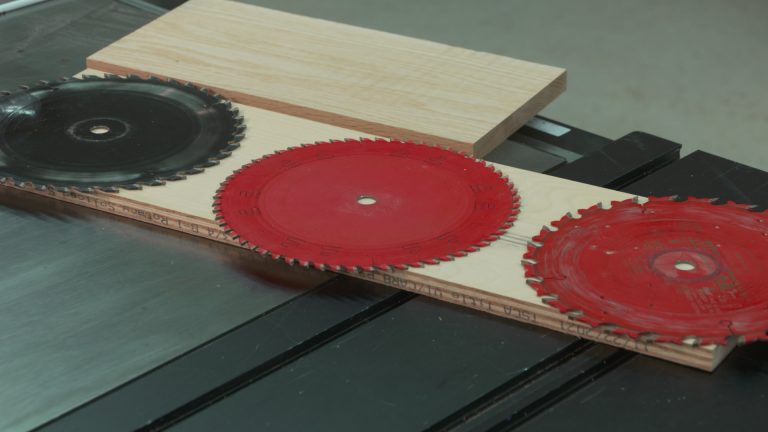
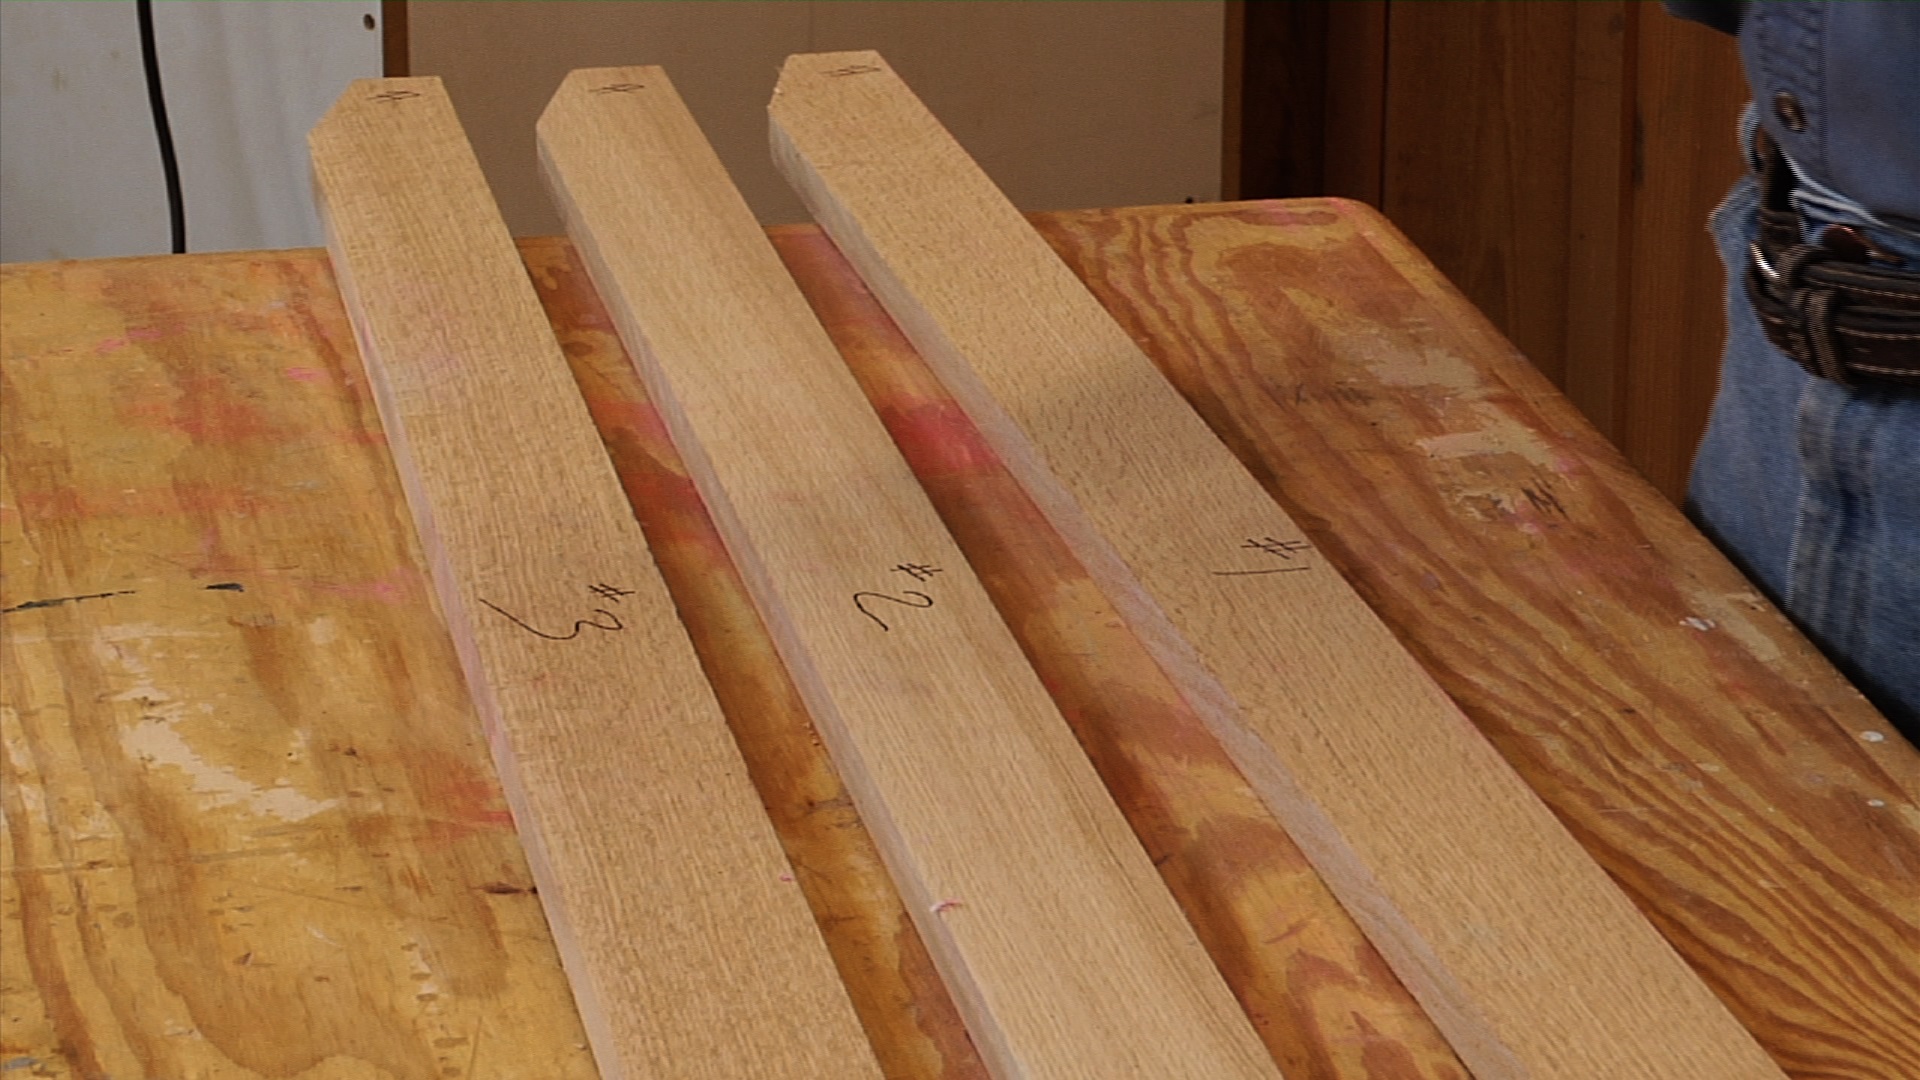
Cut the Parts
8:05
The cutting sequence is important and is laid out in detail in the video. You can also take advantage of the complete cut list and sheet stock layout diagrams to make sure you’re optimizing your sheet stock. From rough cutting your sheet stock to manageable size to finessing and fitting parts, we’ve got you covered.
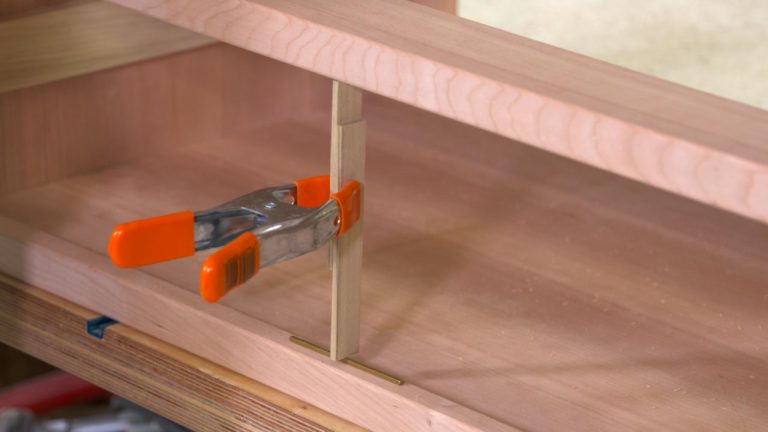
Case Joinery
5:48
There are lots of dadoes and rabbets on this project, so you’ll sharpen your joinery skills. The way the joints are used is important. You’ll see that joints cut in the kitchen back lock against the shelf and sides, adding lots of rigidity to the box.
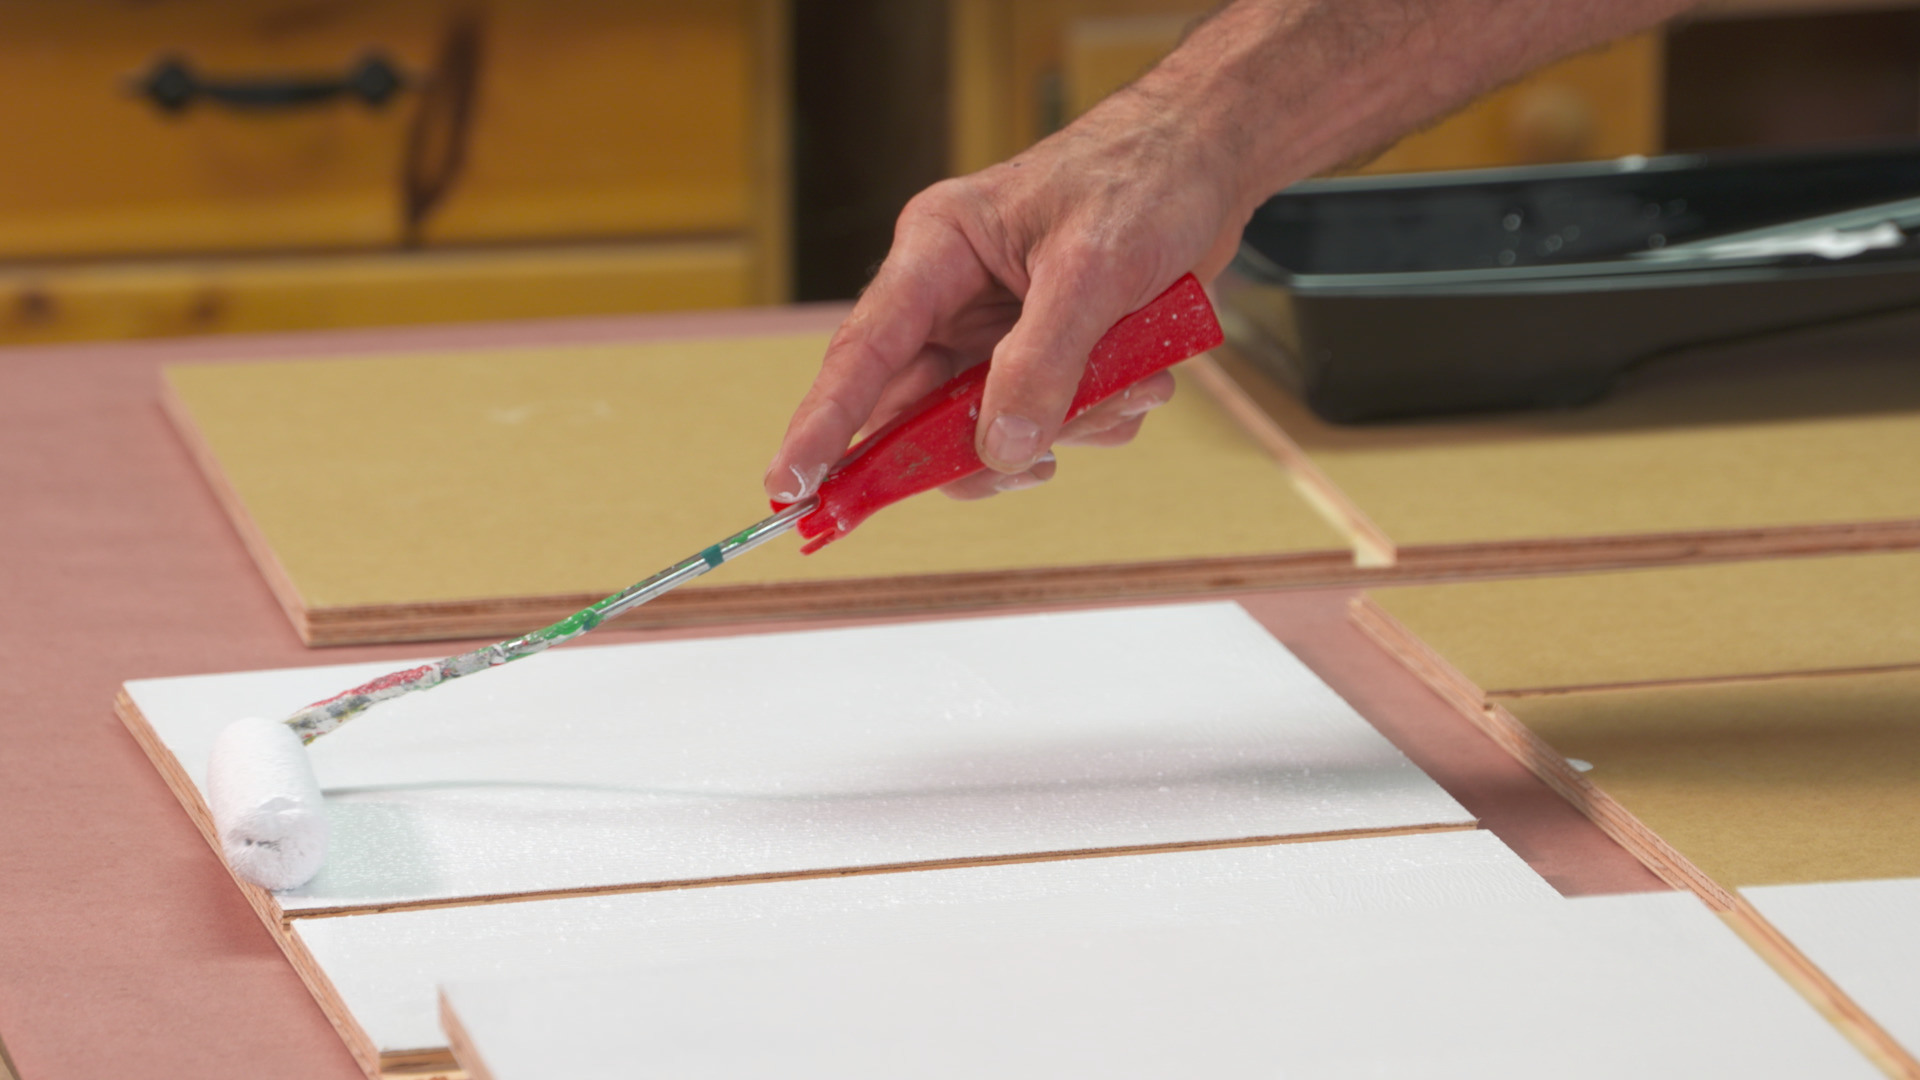
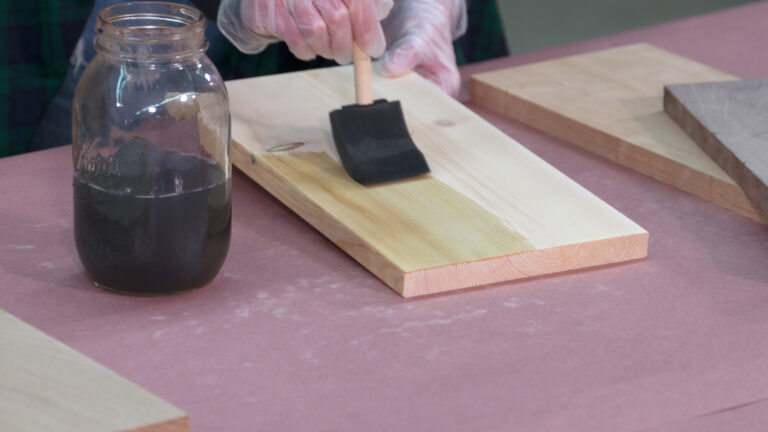
Pre-finish the Pieces
2:19
This project virtually SCREAMS pre-finish. It’s much easier to get a coat of finish on the interior surfaces before assembly. If you plan on painting your kitchen, like I did, we’ve also got roller and application recommendations for you.
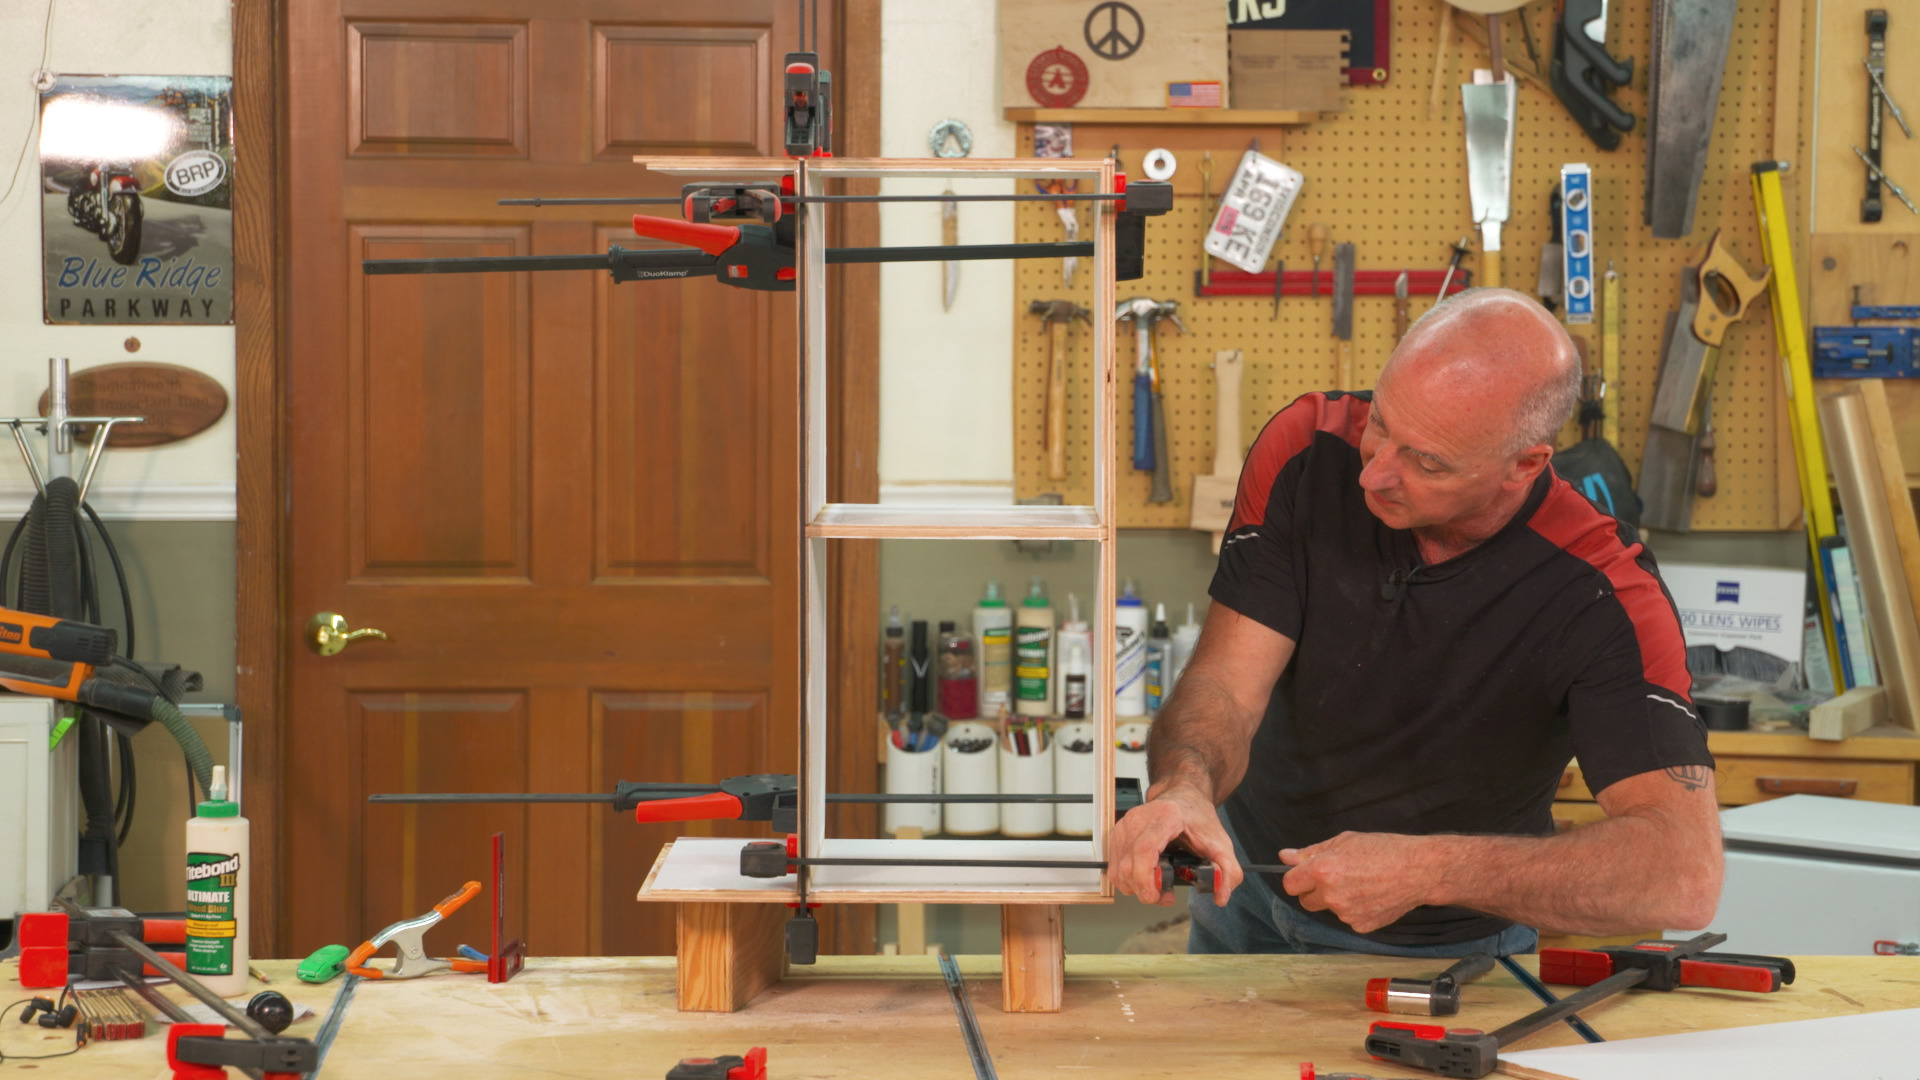
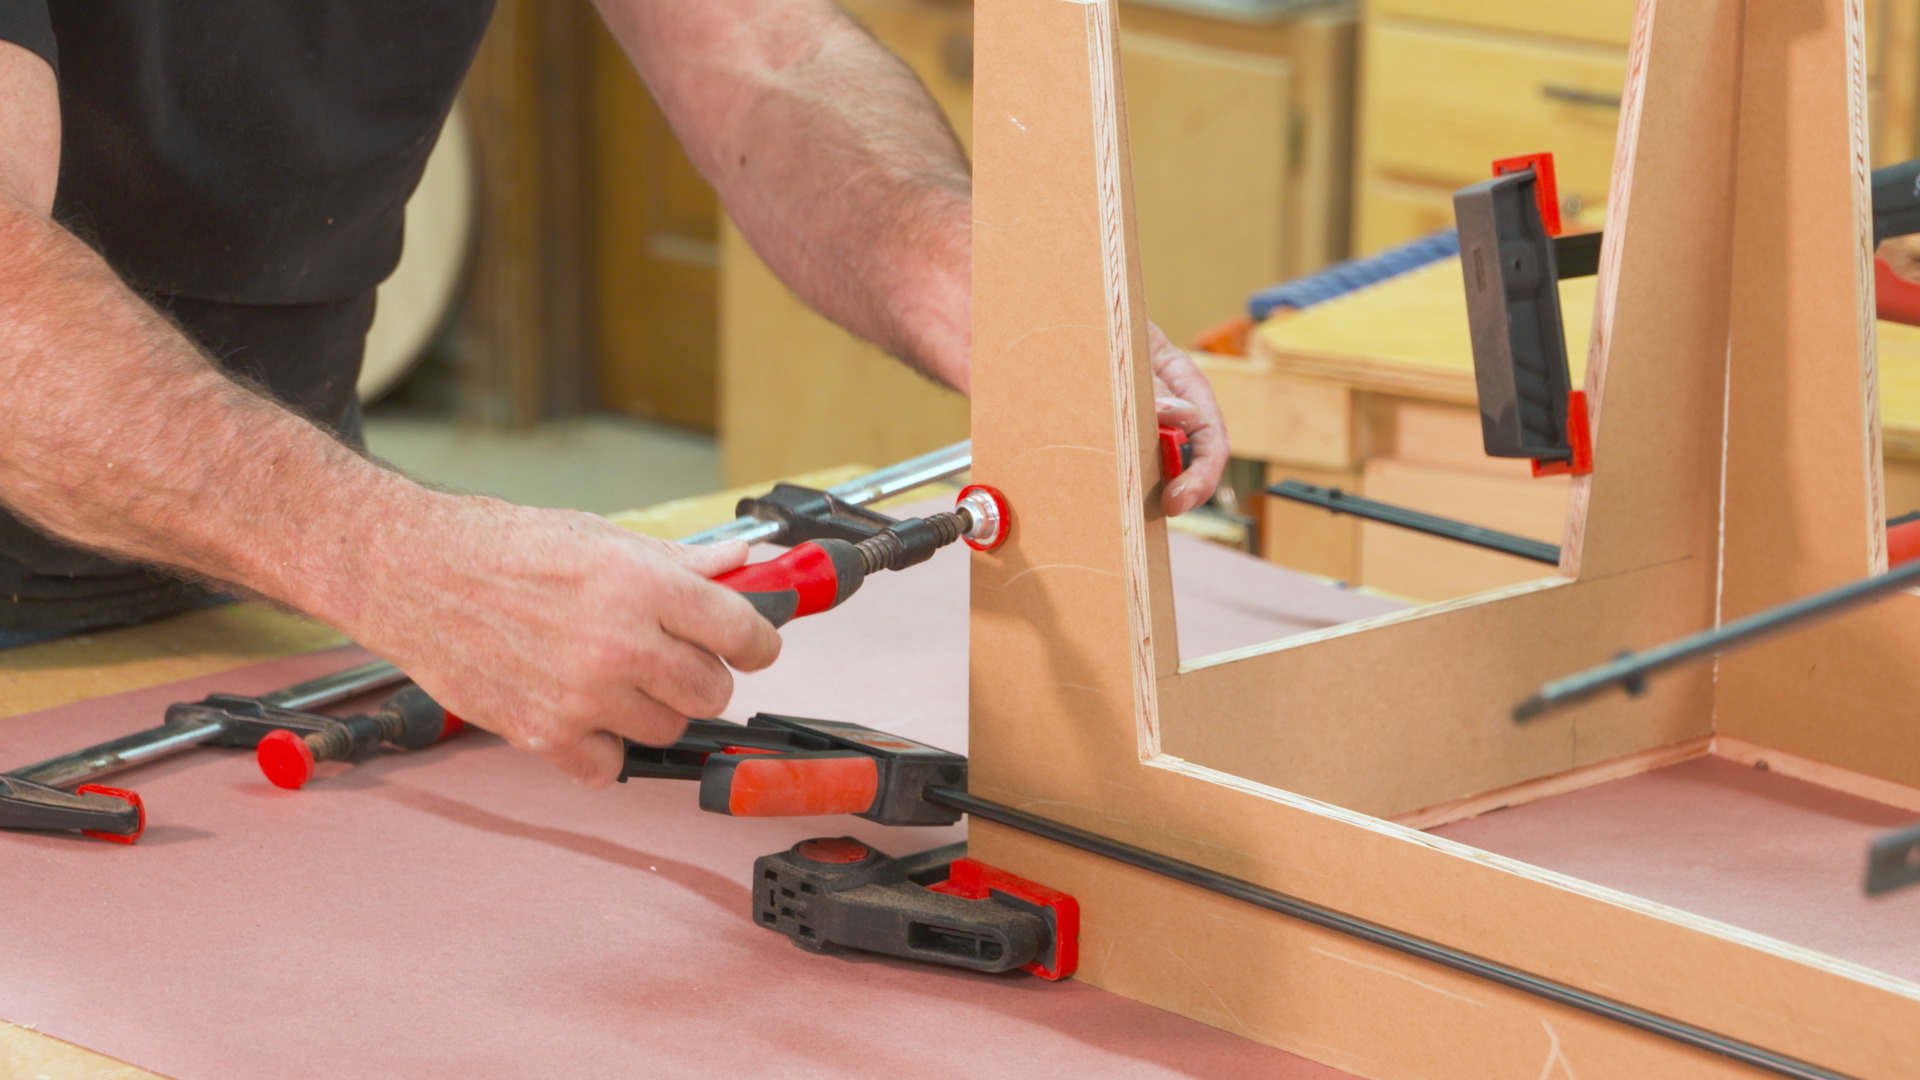
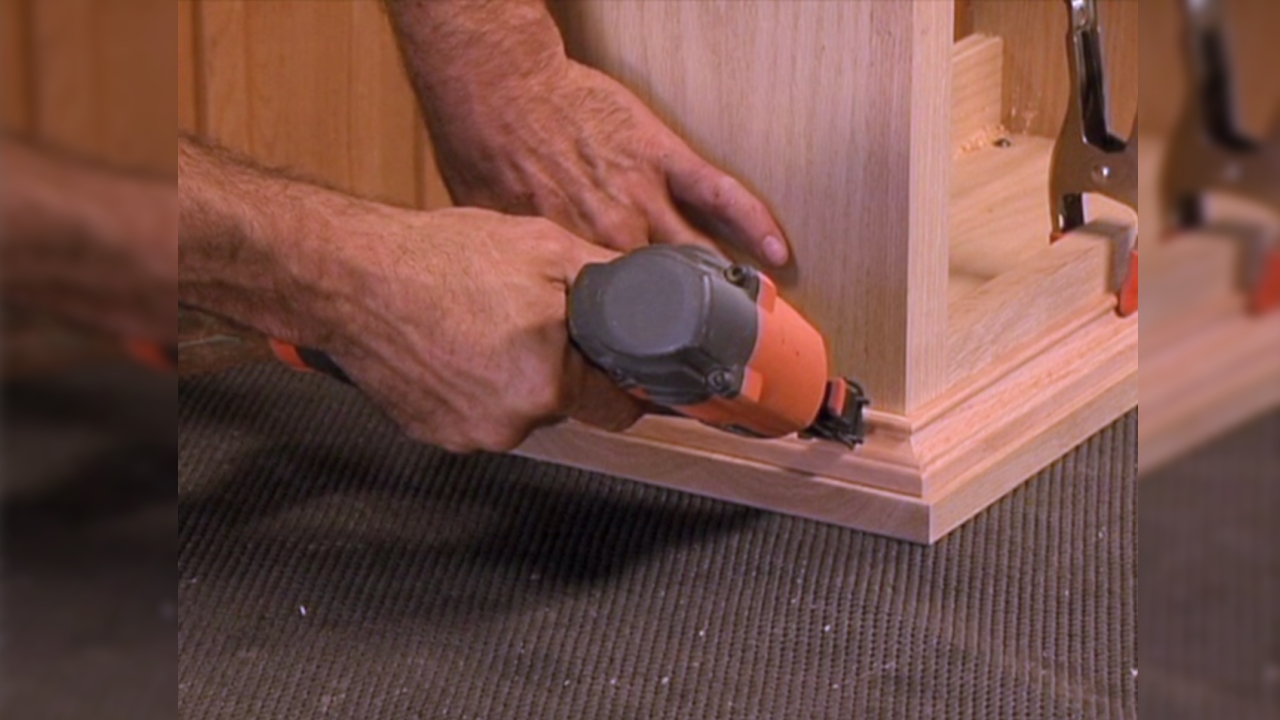
Assemble the Case
25:17
There are lots of parts to this project. The easiest way to get everything to come together is by doing it in stages. That’ll make life lots easier than trying to do everything at once. Since it’ll spend time outside, glue selection is important. We’ve got you covered.
Make the Back
6:08
The back is a critical component of the kitchen, adding lots of strength and rigidity. It’s not difficult to make, you just need to follow the sequence we provide to make everything work together. The back really becomes the keystone that solidifies the case.

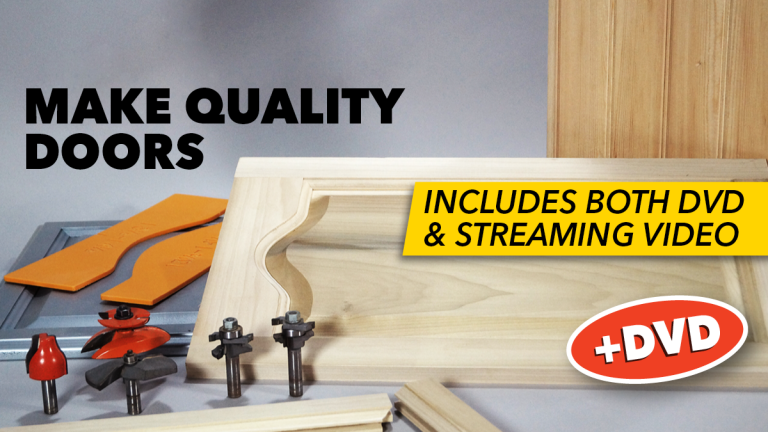
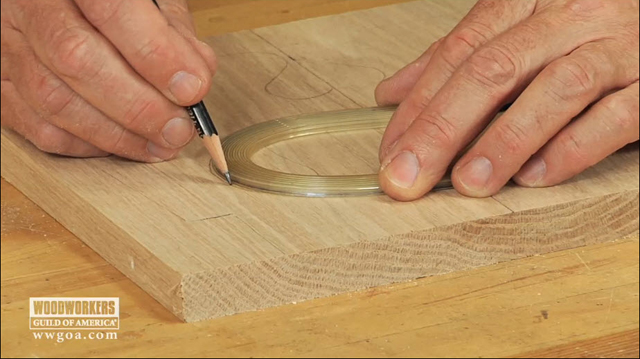
Make the Doors
3:31
The kitchen’s doors are unusual. They’re deep so you can hang stuff inside the doors. More rabbet joinery here, plus accurate dimensioning to make sure the doors will fit your kitchen.
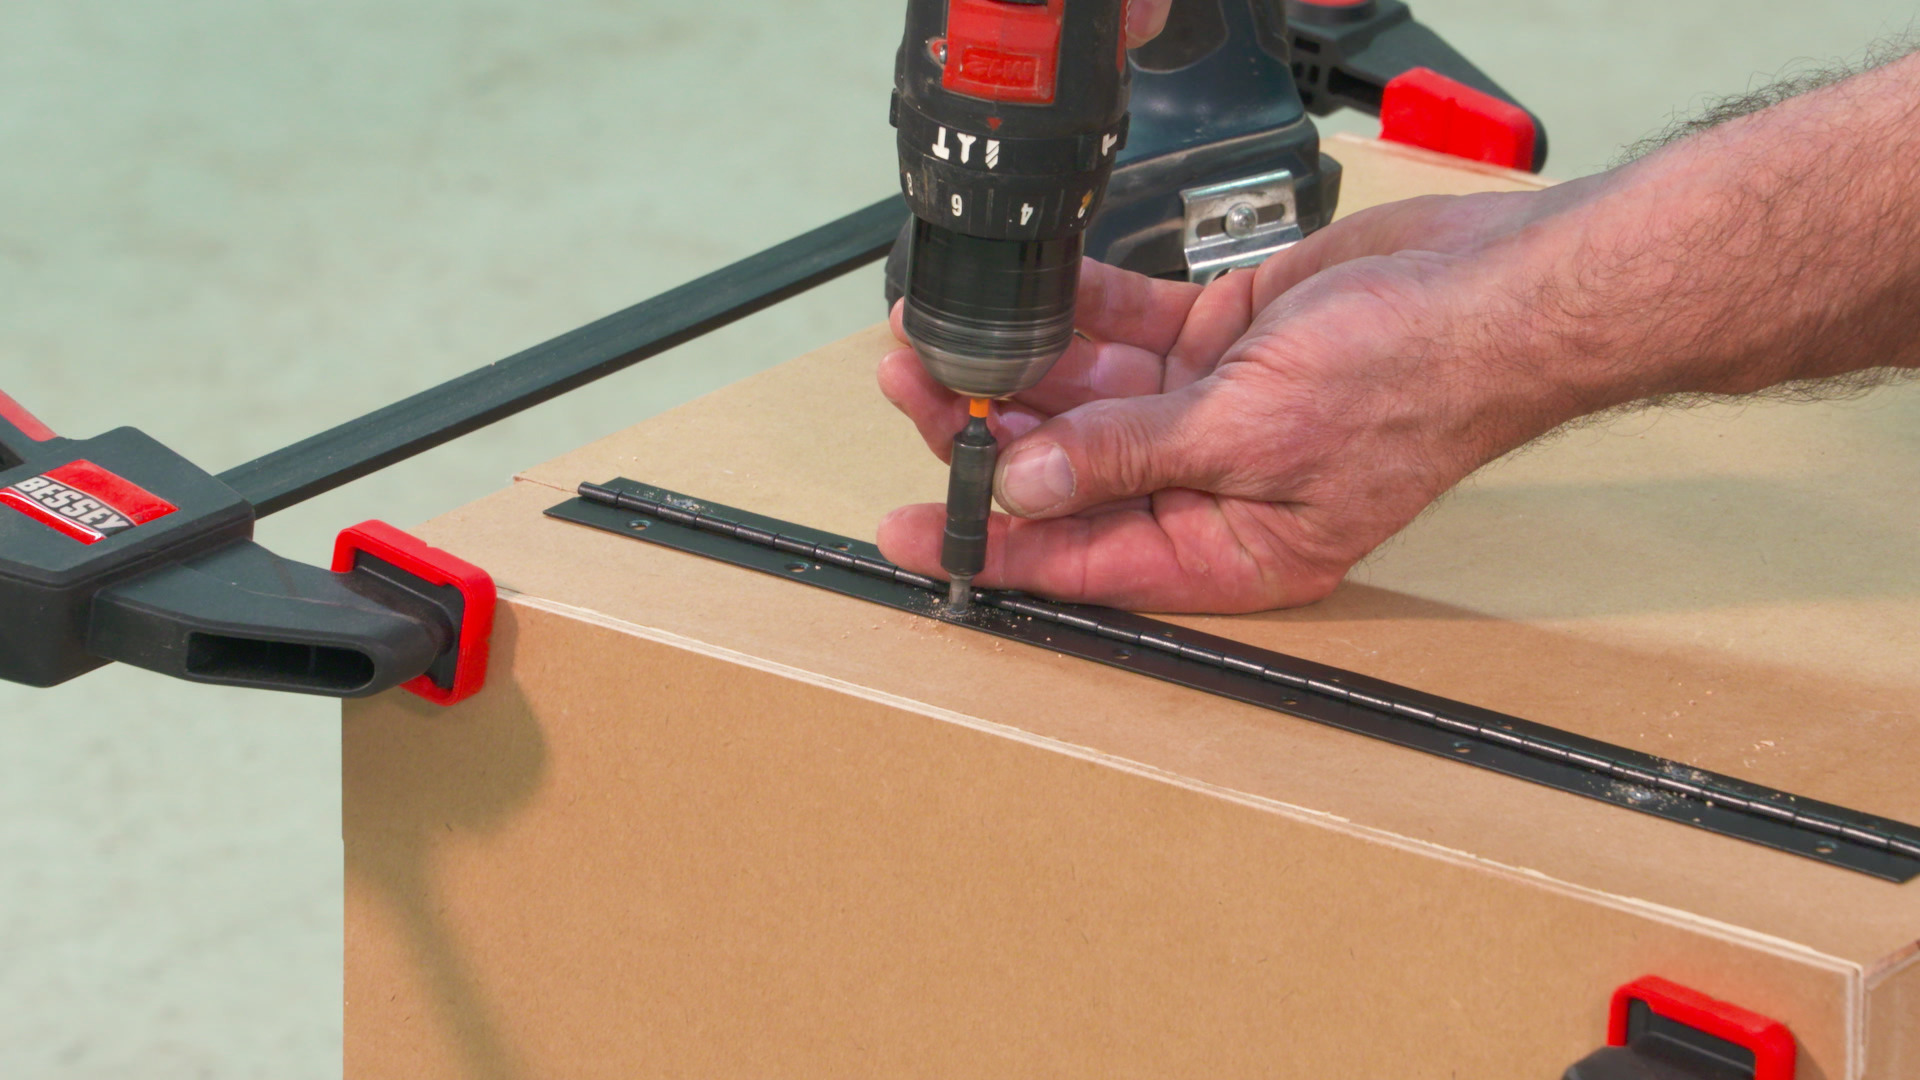
Install Wings and Doors
11:58
Everything comes together as we install the doors and wings. Piano hinges, also called continuous hinges, work really well for this project, providing the support the doors and wings need to remain stable and solid.
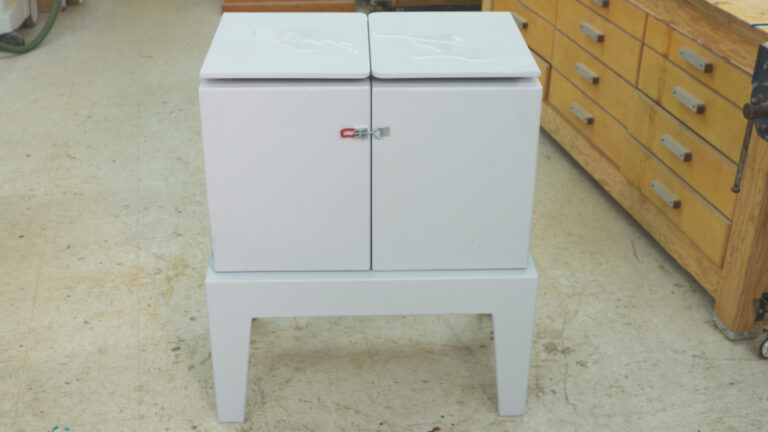
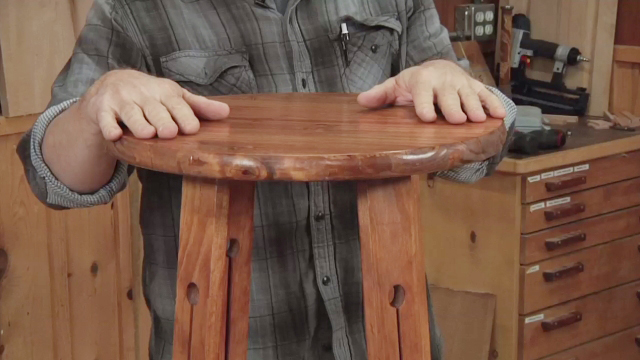
Make the Base
10:57
Making the base is a little tricky because the components have to be cut in a given sequence. It’s a mix of table saw, and jig saw work, and is laid out in the video and on the cutting diagram to make it simple for you.
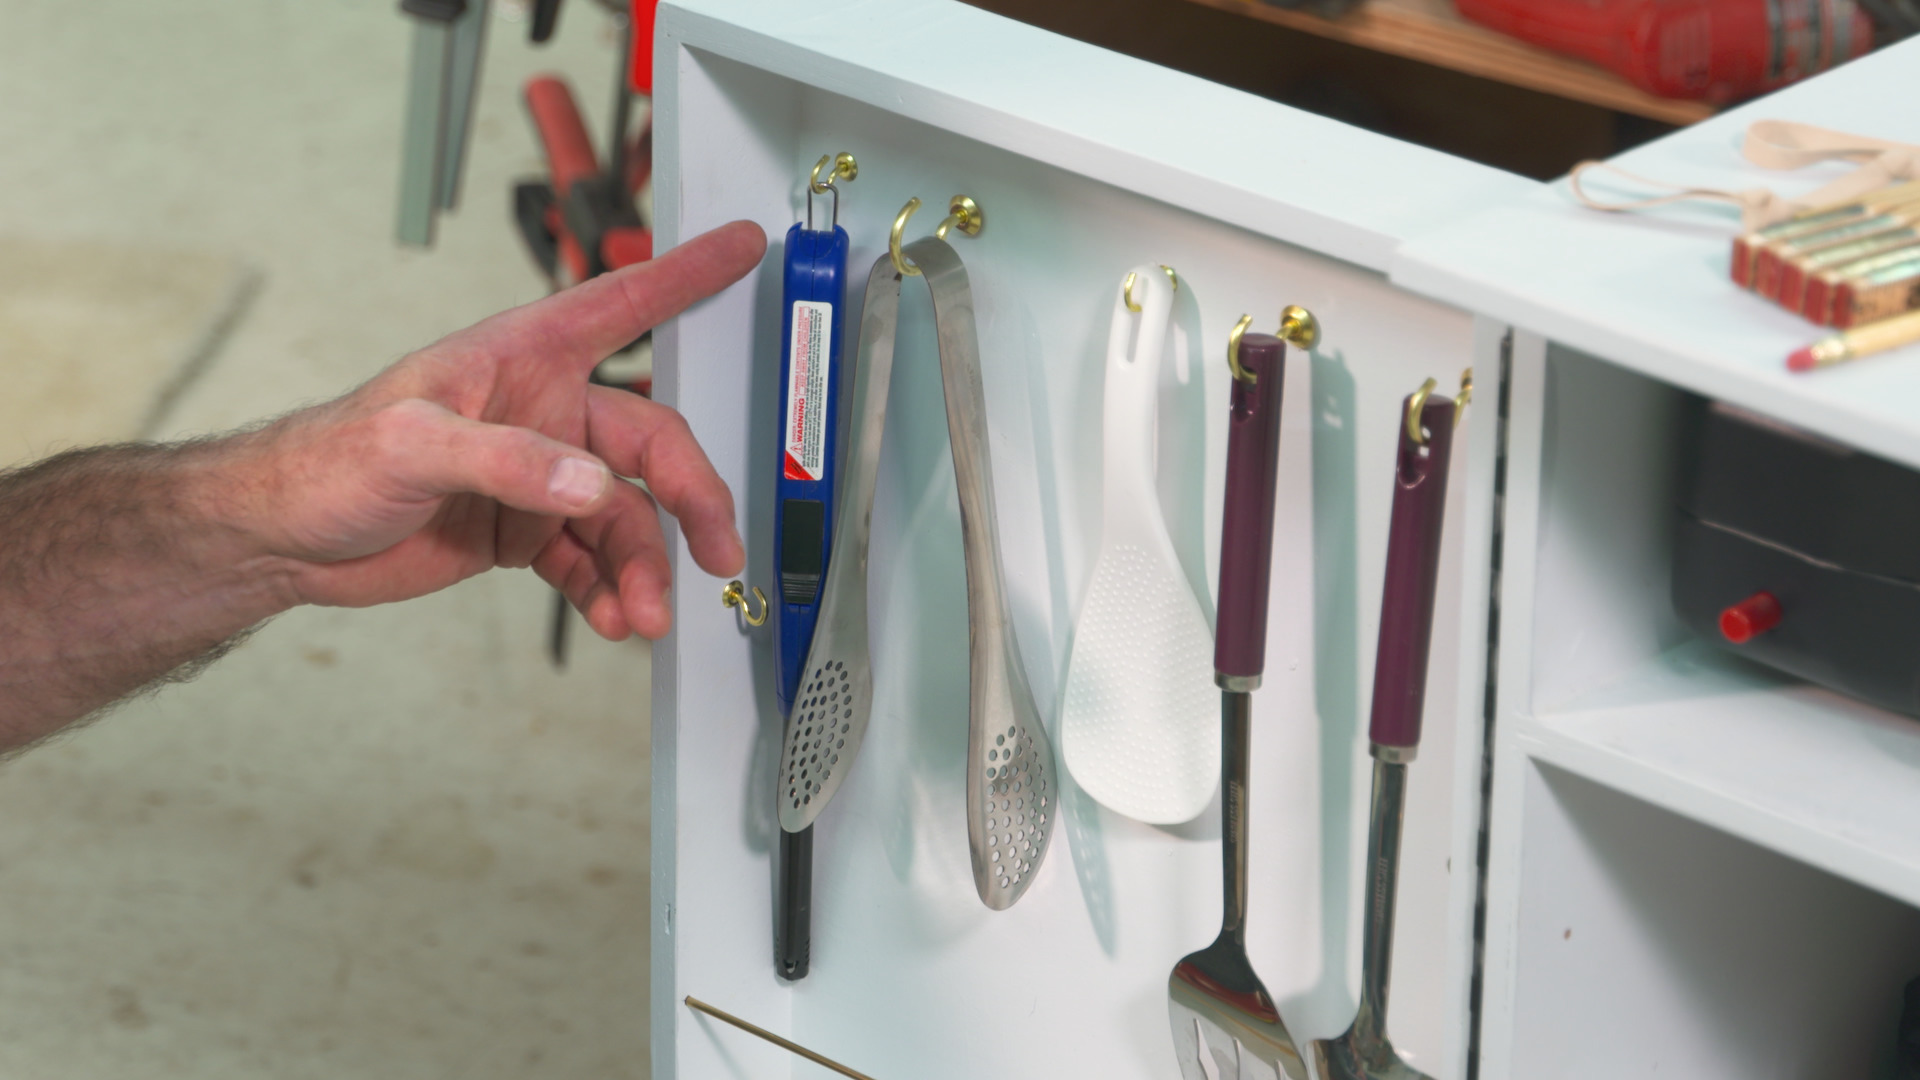
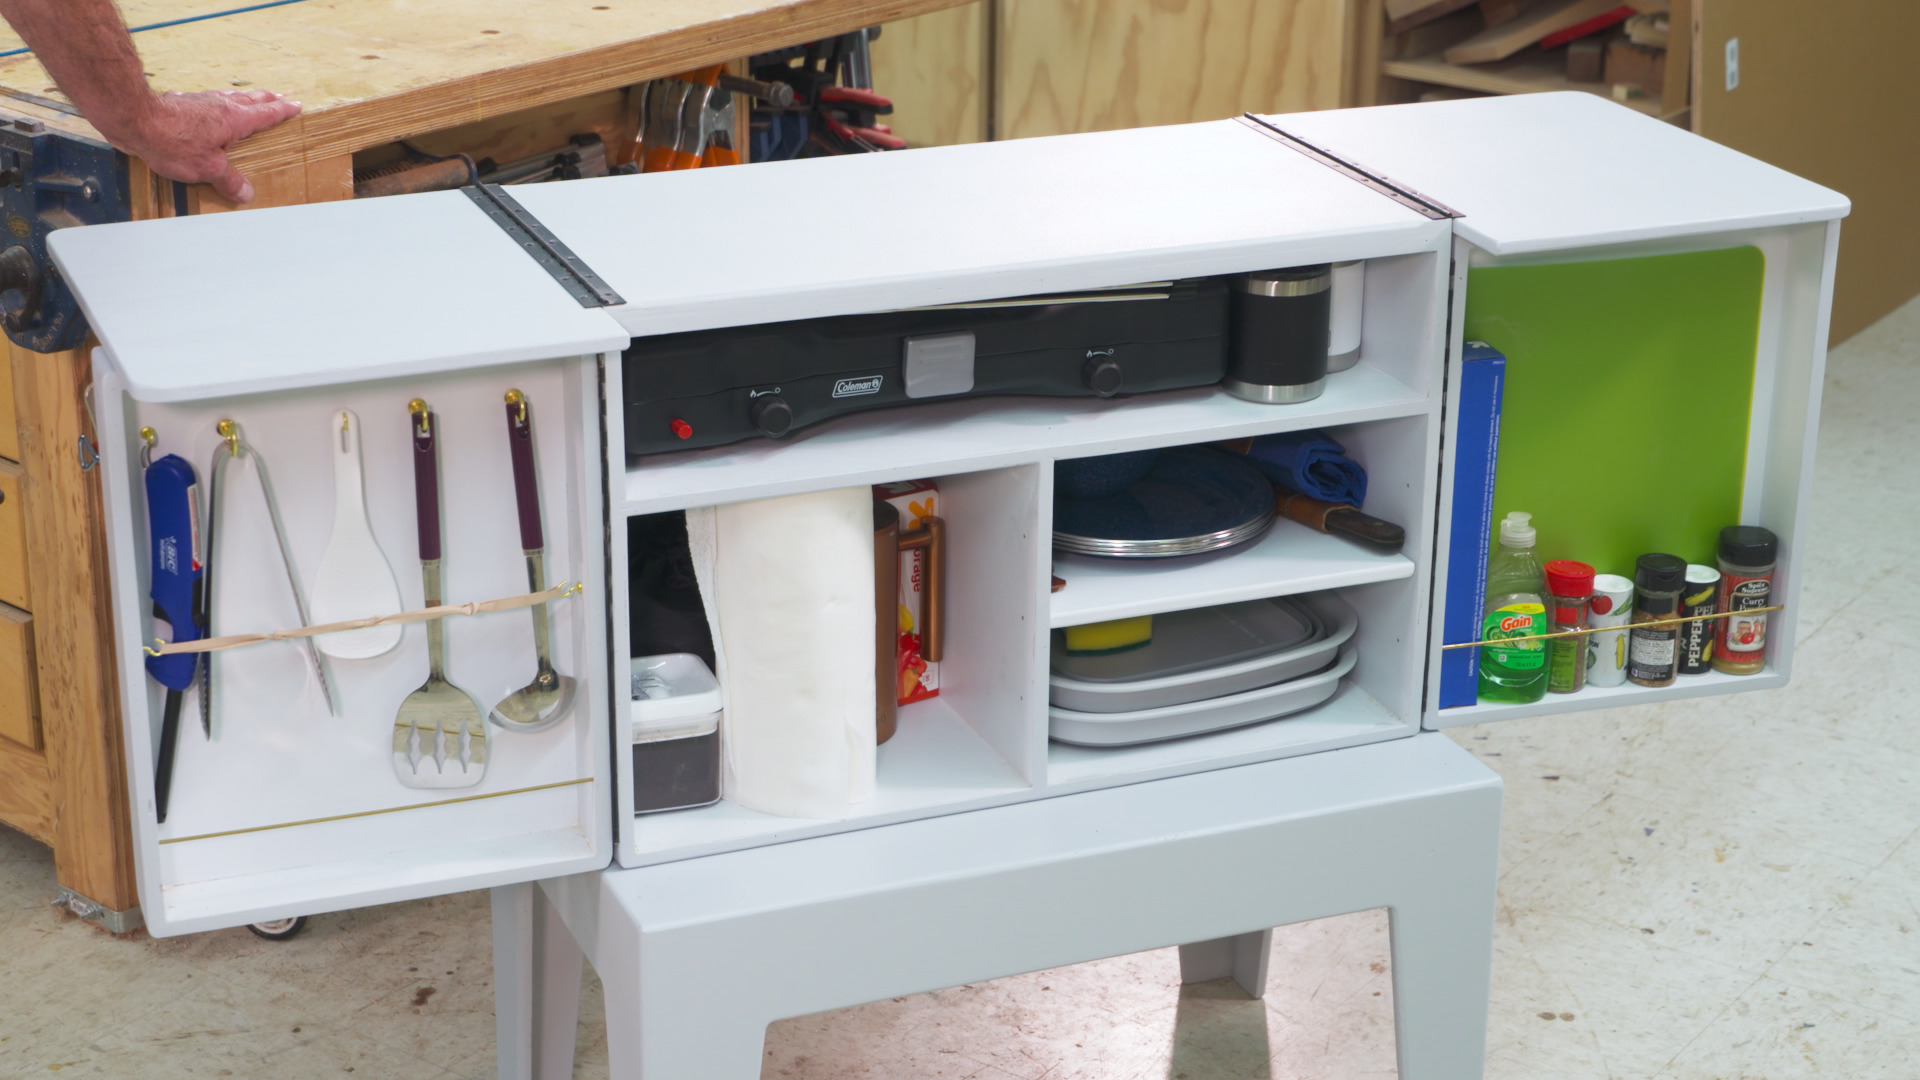
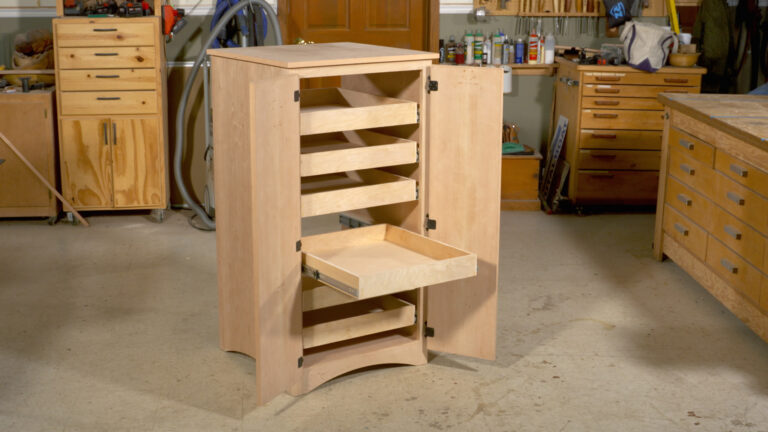
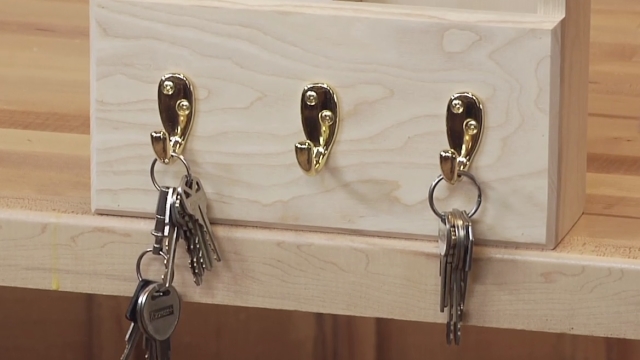
Adjustable shelves, Retainers, and Hooks
8:25
Unlike other cabinets, this cabinet is going to get moved around. A lot. So the adjustable shelves get a little different treatment to make sure they can’t fall out. We also have to add retainers that’ll help keep your utensils, spices and cutting boards in place in the doors.
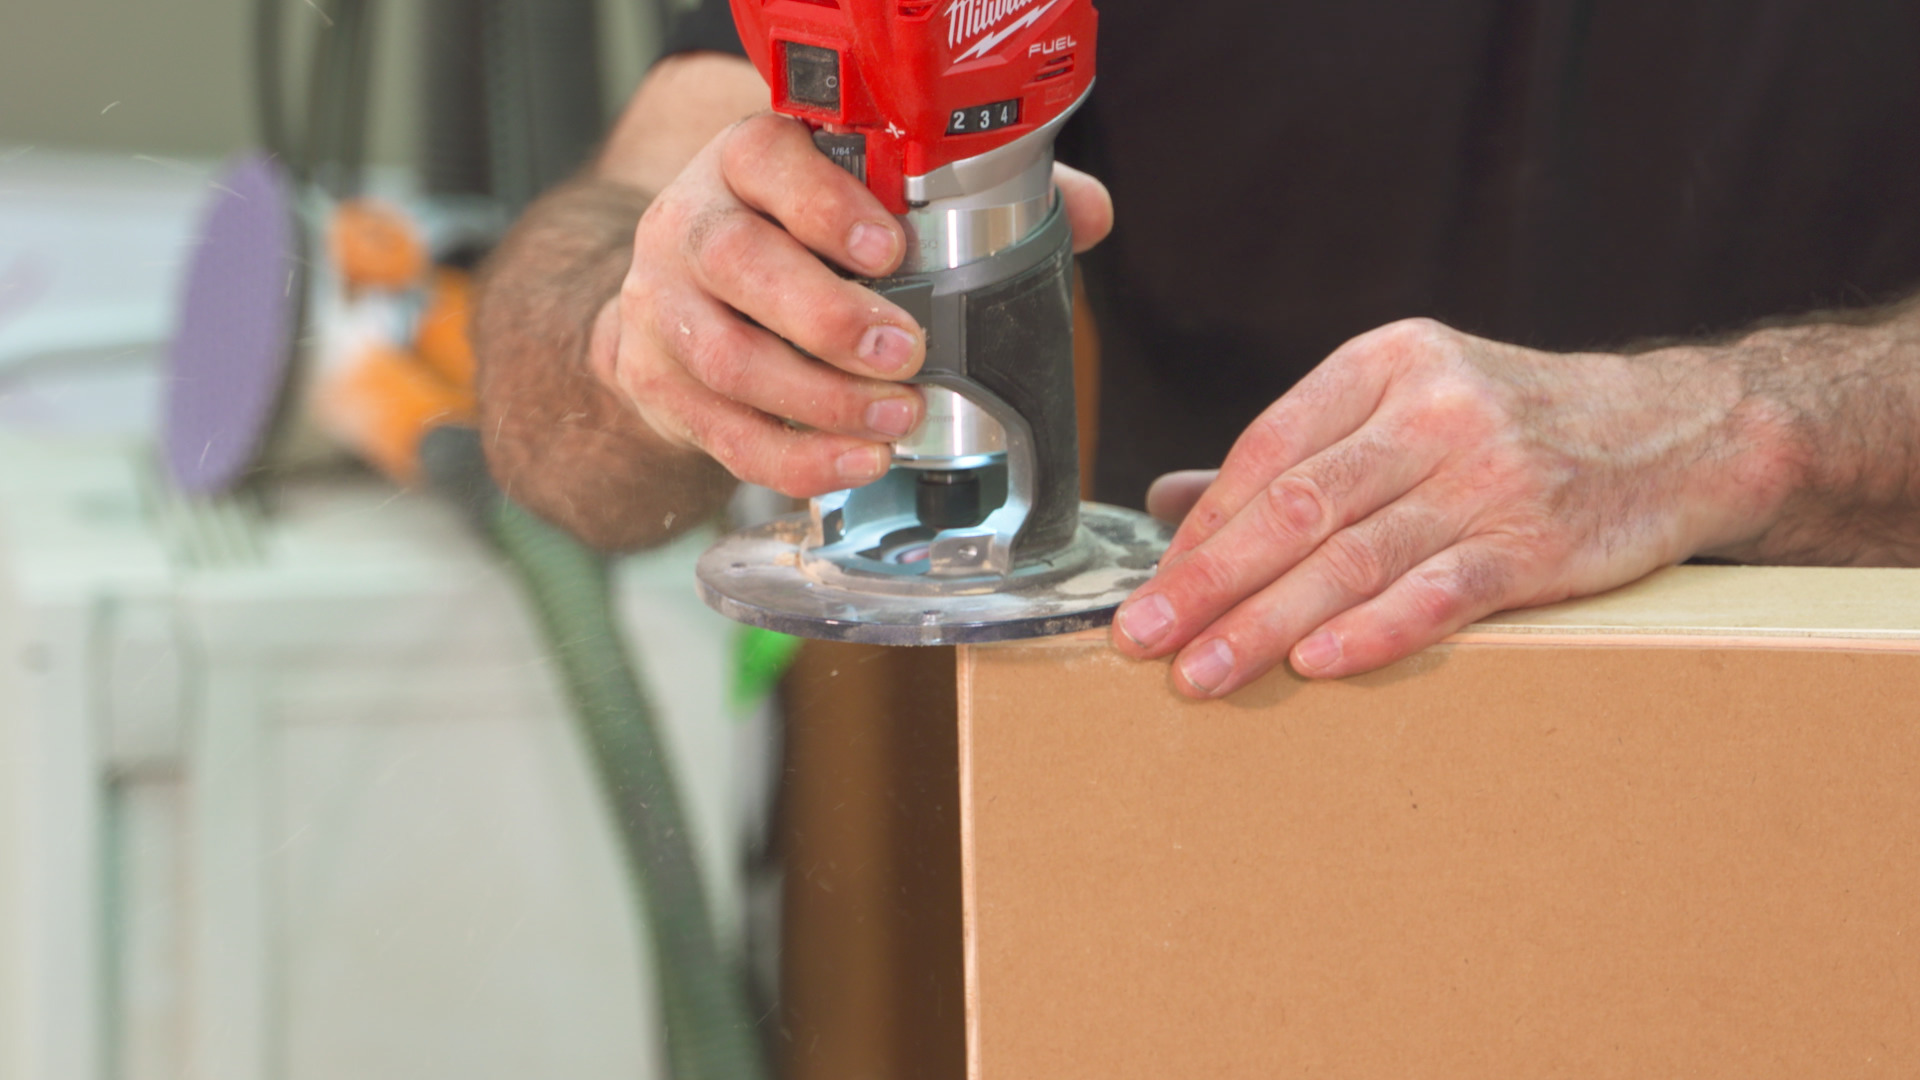
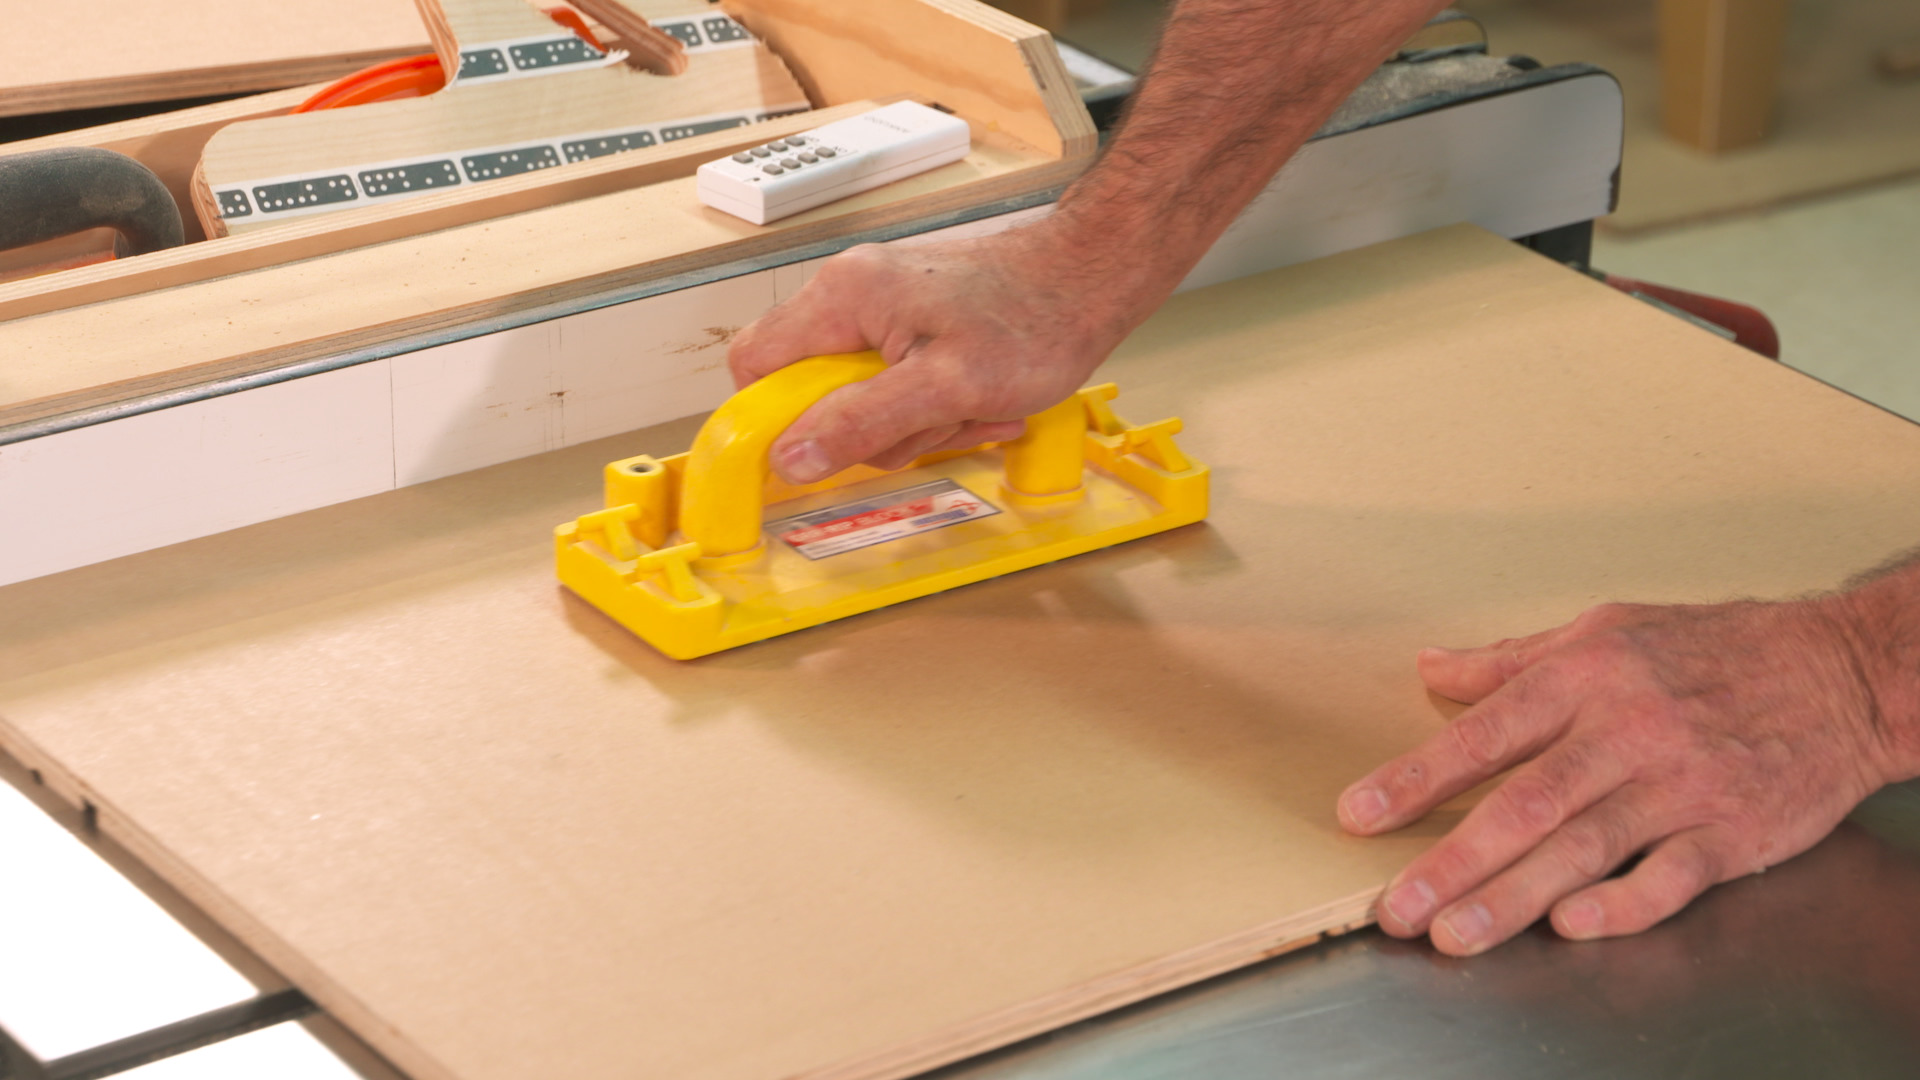
Roundovers, Sanding, and Painting
10:36
The devil is in the details. Round over the corners, check for spots on the kitchen that need a little wood dough (if you have any), sand and do the final painting. A couple coats of paint, and the kitchen is ready to head for the woods.
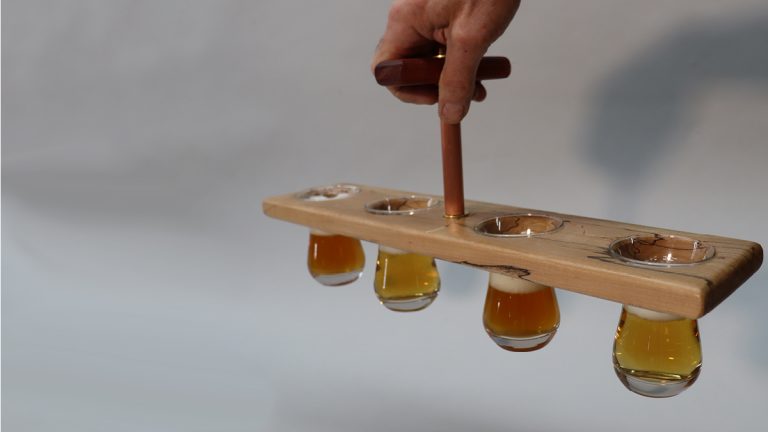
Go camping!
2:56
The fun part!! Load your gear in the camp kitchen, grab your tent, fill the cooler with steaks and you’re ready to head for the woods. You’re gonna love knowing that everything you need to prep, cook, eat and cleanup is under one roof.
I was in Boy Scouts for many years as a kid, and a number of years as an adult leader when my son was in the troop. One of the things that always drove me nuts was the patrol boxes we used on long term camping trips. They were cumbersome, inefficient, hard to carry… Lots of issues. I decided to make new patrol boxes for our troop, which was the inception of this design. Instead of gear for eight or ten Scouts, I winnowed it down to gear for two to four people for this project. The base nests over the box when you’re transporting it, and all the gear you need to prep, cook, eat and clean up lives in the kitchen. Whether you call this a chuck box, camp kitchen or camping kitchen, my camp kitchen design provides a great way to take your kitchen on the road.
Working with the Design
There are a few ways you can approach this project. If you already own camping gear; stove, pots and pans, plates, wash basins; you can check the dimensions of your stuff against the dimensions of my kitchen and make sure they’ll play nice together. If you want to be 100% certain everything will fit, head for Sources. I’ve sourced my gear for you. If you get the same stuff I use, you know it’ll fit.
We’ve also provided the project’s SketchUp file for you. If necessary, you can open, manipulate, and edit the file, adapting it to your needs.
Have fun!
This is a fun project, and an opportunity to get your family involved with something everyone will use on camping trips. Enjoy the journey of building this camp kitchen as much as you enjoy your camping journeys.
George Vondriska
George Vondriska is the Editor in Chief here at Woodworkers Guild of America and has been sharing his woodworking expertise since 1986. Apart from conducting classes at his renowned Vondriska Woodworks School, George's passion for teaching has taken him to woodworking shows nationwide and has led him to teach woodworking for prestigious organizations such as Peace Corps/Swaziland, Andersen Window, Northwest Airlines, and the Pentagon. With a wealth of published magazine articles under his belt, encompassing tool reviews and shop improvement projects, George's knowledge and skills continue to inspire woodworkers every day. To discover more about him and his school, visit georgevondriska.com.
Bonus materials available after purchase
How do I know what the Class covers?
Do I have to be a Member of Woodworkers Guild of America to purchase a Class?
How do I purchase a Class?
How do I access/view my Class?
Do I have to take the Class right away?
Is there a limit on the times I can view my Class?
Can I view a Class on my tablet device or mobile phone?
How do I get access to the Bonus Materials for the Class?
How does the Class Q&A Resource benefit work?
Can I print out Class details?
What are PDF downloads?
Are there any system requirements to view the Class video content?
Why do you need my email?
Can I get a refund if I don’t like the Class?
How do I contact WWGOA Academy?
Explore classes by George Vondriska


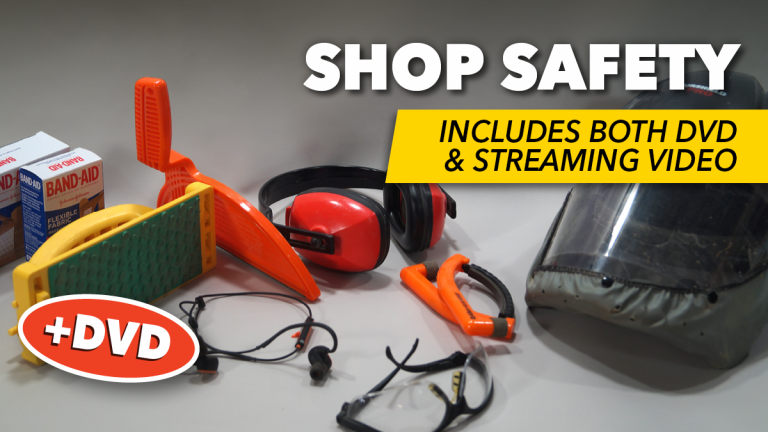
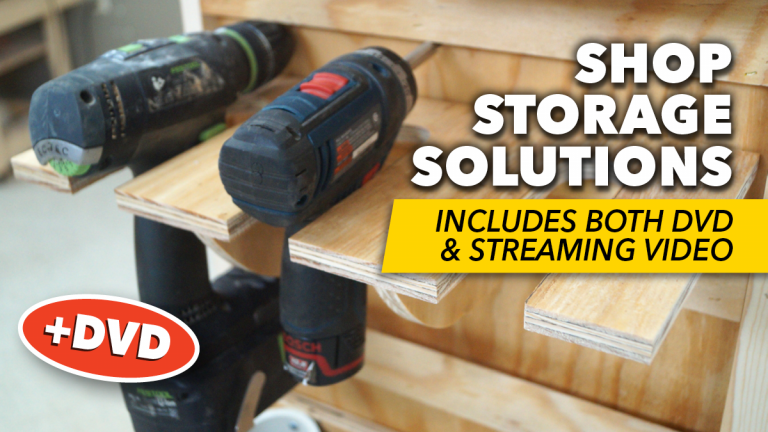
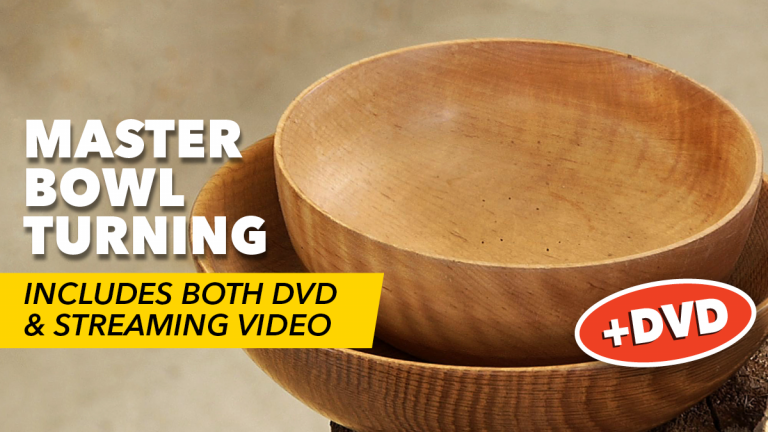
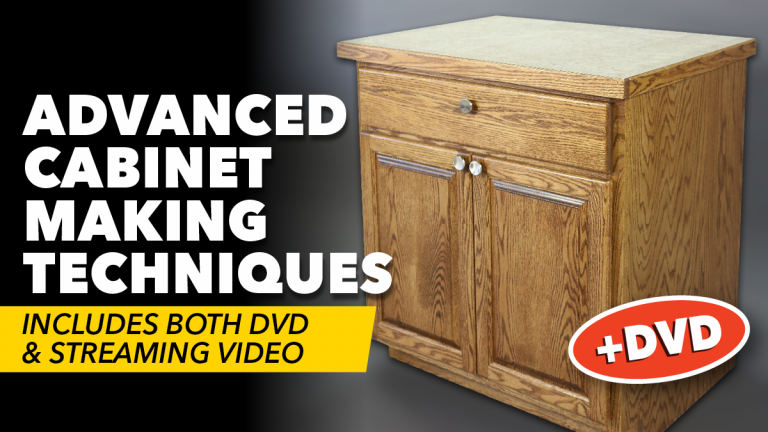


You may be interested in
Purchase Class
Purchase class and add to your personal library with on-demand video access.
- Enjoy on-demand video access to this content anytime, anywhere for the one-time cost below.
- You won’t lose access, with or without an active current Membership
Camp Kitchen
with George Vondriska