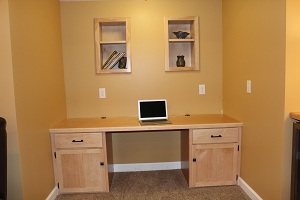
Time to wrap this office project up by finishing and installing the components.
Finish and cabinet assembly:
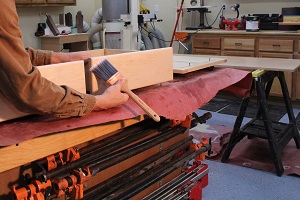
Apply finish to all components.
I used a water based poly acrylic product to provide a nice looking durable finish.

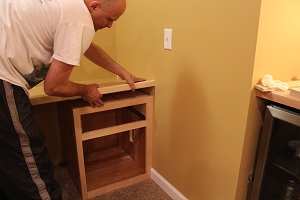
Set cabinets in place.
Be sure they are level, and use shims if necessary. Scribe your face frame to the wall for a custom fit.
Secure cabinets to walls with long screws.
Pre-drill a hole larger than the screw into the plywood so that the screw does not bind in the cabinet side. Use a good stud finder to be sure you are anchoring the cabinet solidly.
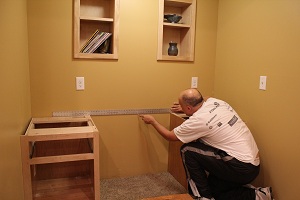
Extend a line between the cabinets.
Place a straight edge across the two base cabinets, and draw a line between the two cabinets. Alternatively this could be done with a chalk line.
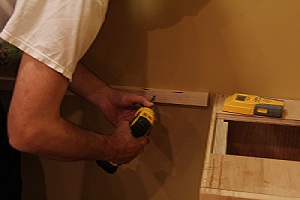
Attach support cleat to wall.
This will provide good support along the rear of the desktop to prevent sagging, and will accommodate a fastener to lock the top into place near the center. Be sure to screw it to the wall studs.
Set top into position. Don’t force it if it is too tight.
Pull it out and use a block plane to tune the fit. Don’t be too aggressive here. Sneak up on the fit because if you over compensate you will have a bad fit.
Attach the top from underneath.
From inside the cabinet, run 1-1/4″ drywall screws through the cabinets’ top braces and into the desk top.
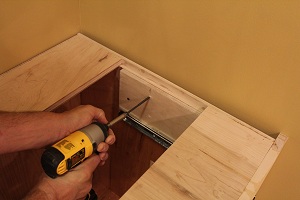
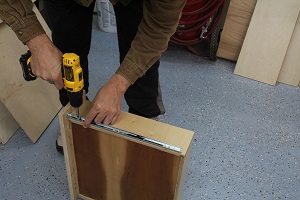
Hardware time. Install all hardware components, including drawer guides, hinges, and pulls.
 Tidy up the installation. I like to run clear, paintable caulk around the perimeter, and then use a small art paint brush with some of your wall paint to tie everything together nicely.
Variations.
There are many different ways that you could personalize this. Obviously, the size itself will vary depending upon your specific space. Also, you might consider adding a pencil drawer in the middle. As I said in the beginning of the article, I like having the leg room more than I would like this feature, but you might feel differently. Also, if you use a lot of file folders, consider adding a file drawer on one side rather than the shelf that I configured.
A couple things that I added:
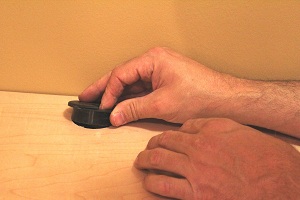
Grommets.
I dropped in two grommets on the top to assist with cable management. I ran one into each base cabinet where I will have a printer, outlets for chargers, etc., which helps to keep the cables under control and not cluttering up the desktop.
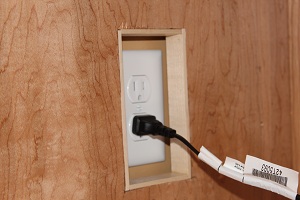
Outlet access.
I had outlets on each side wall that would have been covered by the base cabinets. To retain access to these, I cut access holes through the side walls of each base cabinet, and lined with thin strips of maple to edge the plywood.
Final thoughts.
It will be difficult to build this project exactly how it is laid out in this plan, so it is a good opportunity to “make it your own”. If you have a decent sized closet, you can do this, and you will reap the benefits of your ingenuity for years.
Do you have a spot for this project? Thinking about building something along these lines? I would love to hear about it, and I would be happy to answer any questions that you have. Please share some pictures with us on the WWGOA forum when you have completed the project!
Photos By Author
More is this project:
Office in a Closet Part 1: Built-In Desk
Office in a Closet Part 2: Drawers and Doors
Office in a Closet Part 3: Build and Install the Desktop

Hi, where is the link to part 3?