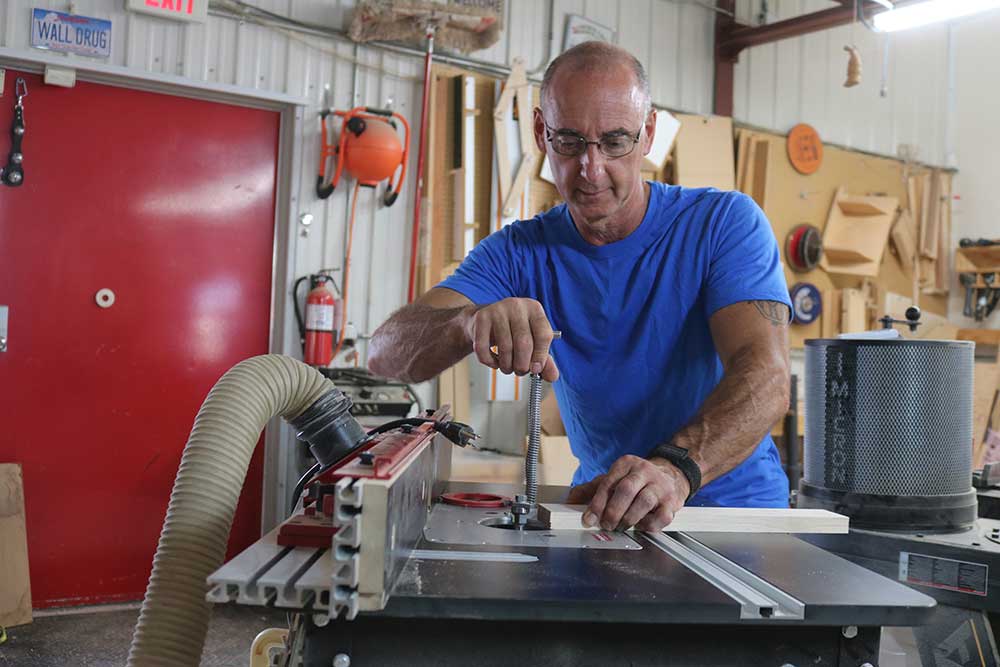
Make a Tongue and Groove Dado Head
George VondriskaOne of the essential joints that is commonly used in woodworking is a tongue and groove joint. This time-proven joint can be used in cabinet doors, breadboard ends, cabinet backs, and numerous other applications, which means that it’s worthwhile to invest some time in gaining proficiency on it.
All of the milling operations here are done on a table saw with a dado stack mounted, making this one of the simpler options in our arsenal of joinery. There are several ways that a woodworker can create a poorly fitting joint, so this video provides a few tips to keep in mind to make it easier to achieve a perfect joint:
Groove first. The width of the groove will be defined by the thickness of your dado stack. The width can be finely adjusted by using shims or other means of making micro adjustments, but it’s a lot easier to just use a standard width and run the grooves first. That means that you will have to do the fine tuning of the fit on the tongue side of the joint, which is much easier than on the groove side.
Reduce chipping. When using a dado stack, it’s common to get some chipping at the tail end of a cut. George shares a tip to minimize that.
Friction fit. The perfect fit for a tongue and groove joint is not so tight that you need a mallet to bang the pieces together, and not so loose that they can’t hold themselves together at all when the pieces are assembled dry. The ideal fit is referred to as a “friction fit”, which means that the pieces will go together with just hand pressure, and there will be some slight friction as the pieces are pulled apart.
Once you’ve mastered this technique, perhaps it’s time to expand your skills arsenal by watching some of the WWGOA videos on joinery.