
Table Saw Accessory Cabinet
George Vondriska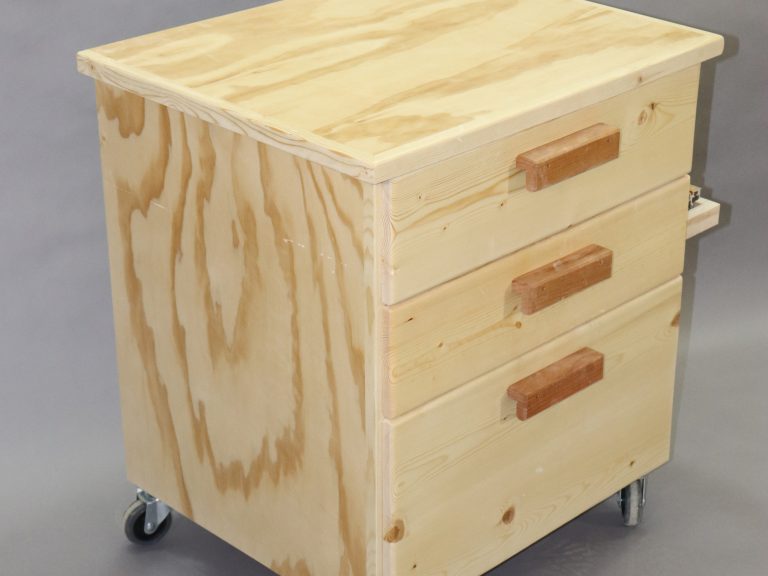

- In-depth Instruction; over 181 mins
- On-demand video access anytime
- Bonus downloadable PDF resources
- Access to class Q&A
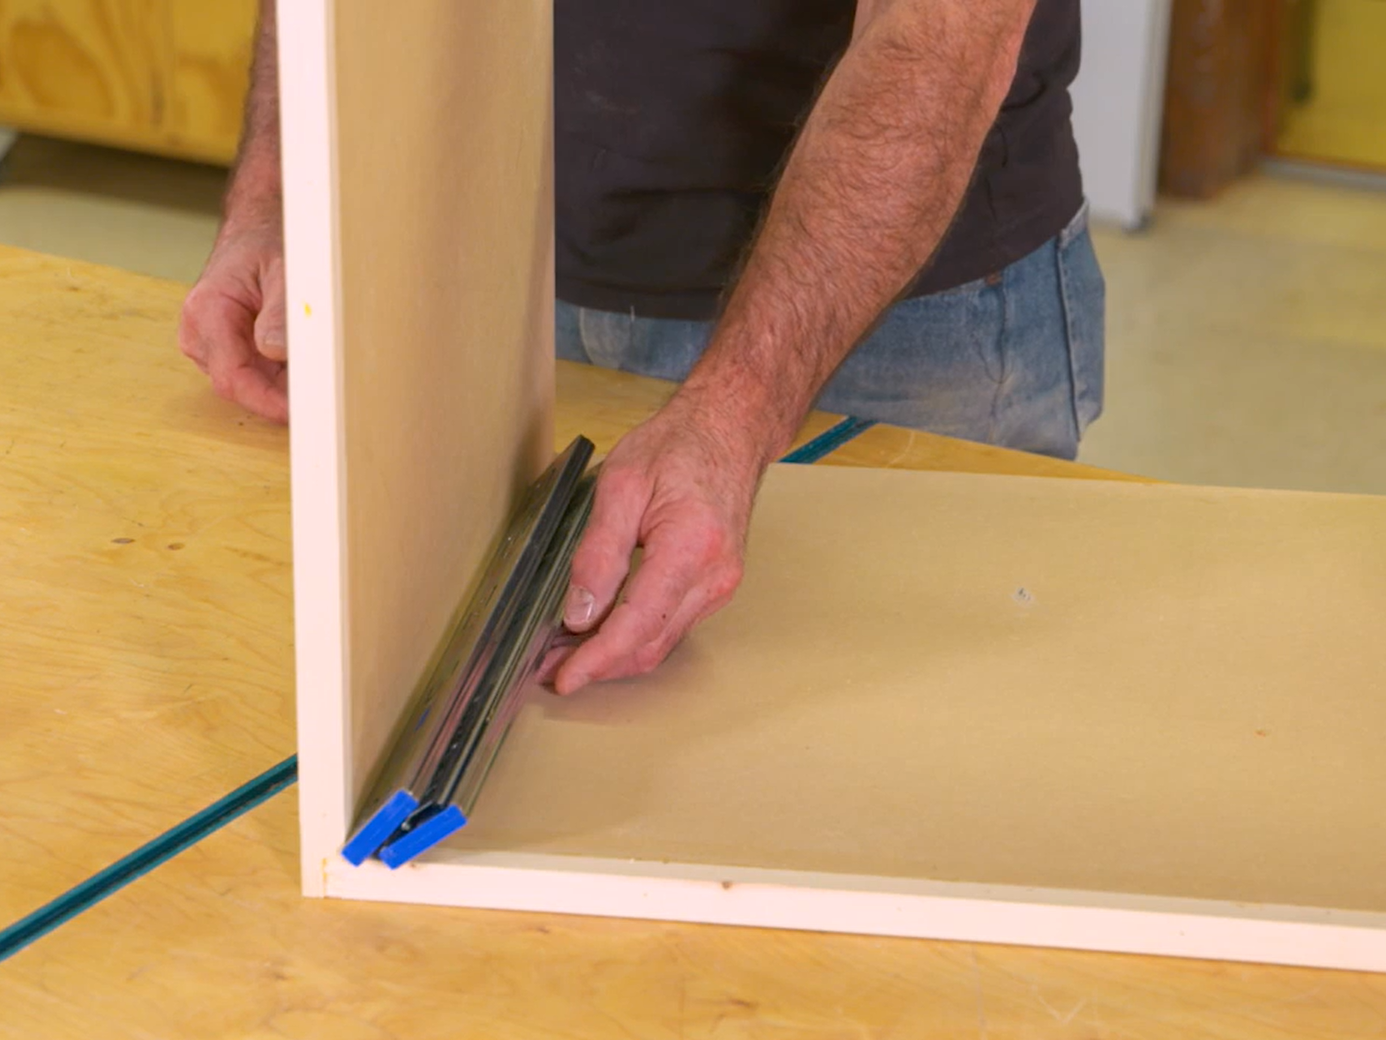
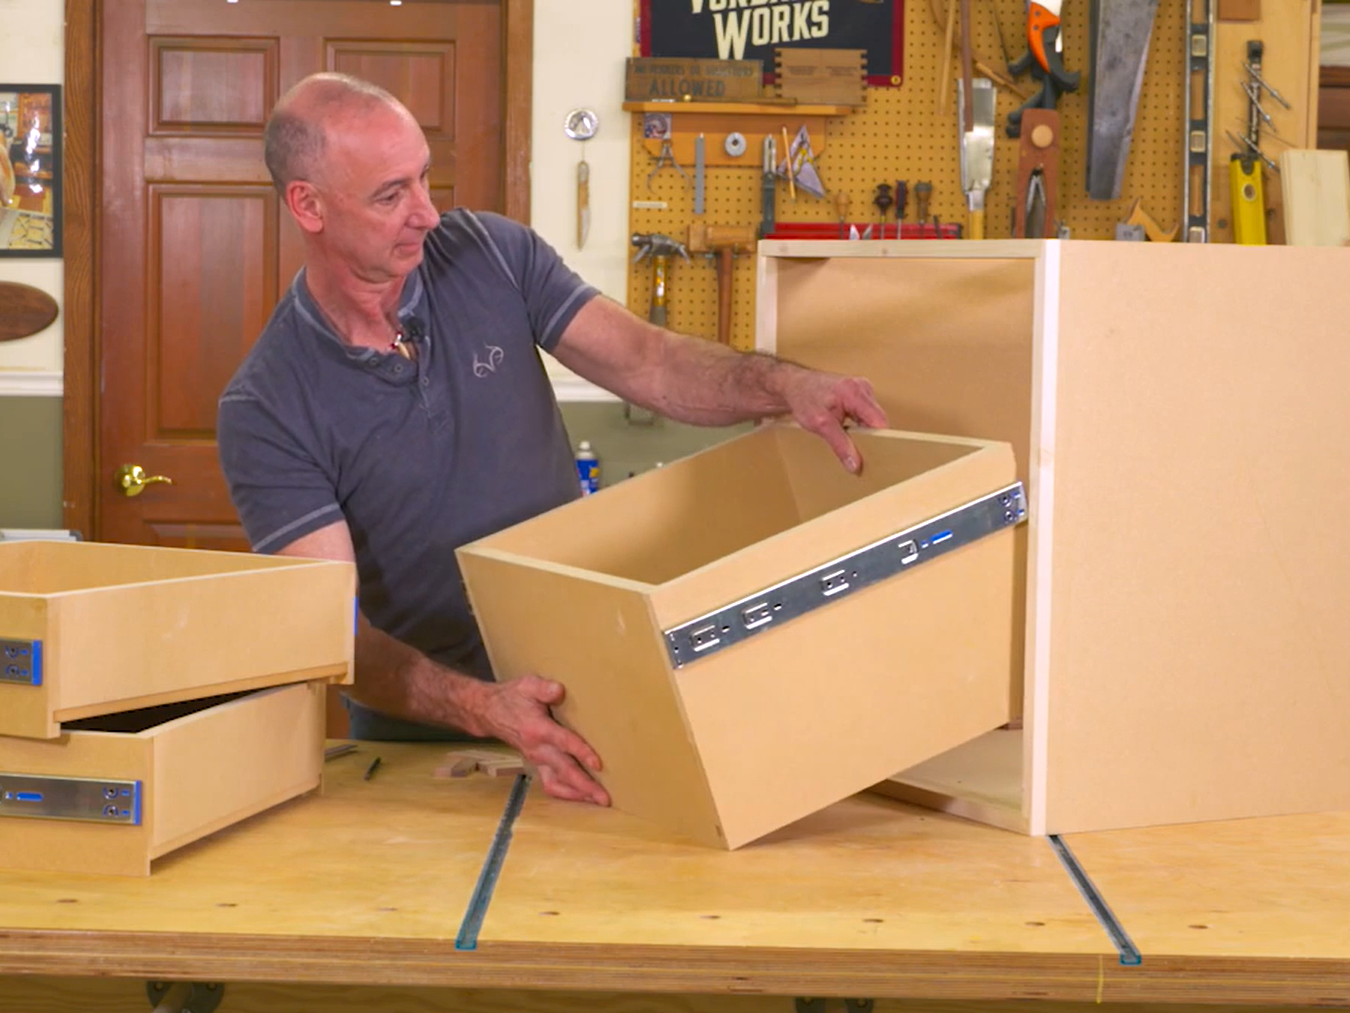
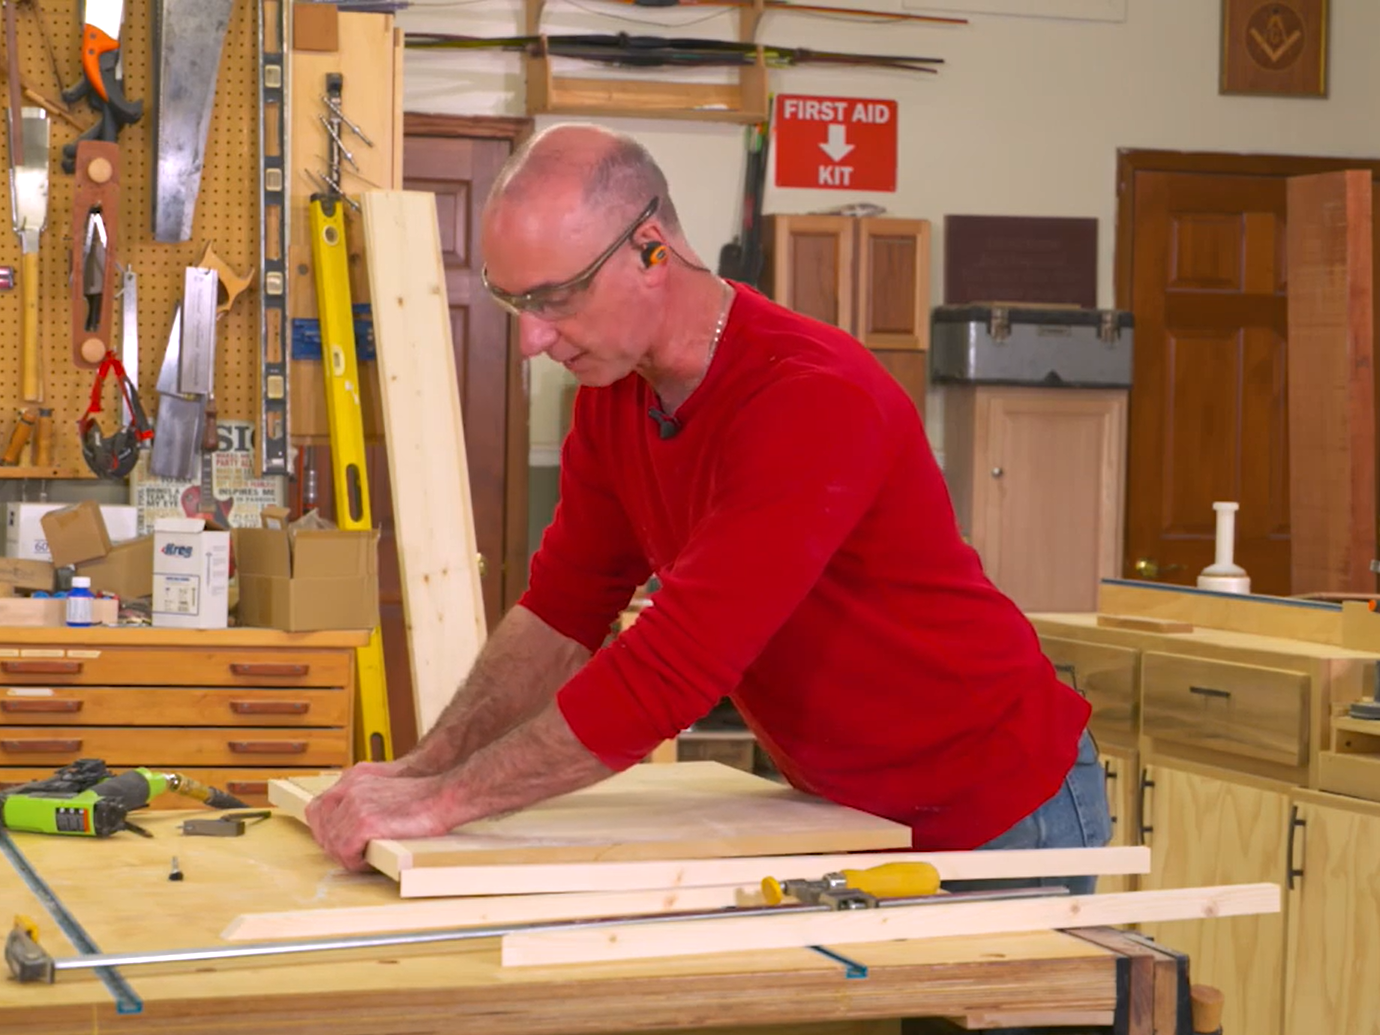

There are lots of things that go along with your table saw; dado inserts, arbor wrenches, measuring devices, saw blades… It’s handy to have a place near your saw to store these things, and this cabinet will take care of that. It’s designed to fit under the right side of your table saw. This project consists of rabbets on the case, lock rabbets on the drawers, full extension drawer slides, overlay drawer fronts and mitered banding on the top. The case is Euro style, with edge banding on the front edges. You can, of course, substitute other joinery methods for your project. You’ll receive a plan and cutting list prior to the start of the class.
George Vondriska
George Vondriska is the Editor in Chief here at Woodworkers Guild of America and has been sharing his woodworking expertise since 1986. Apart from conducting classes at his renowned Vondriska Woodworks School, George's passion for teaching has taken him to woodworking shows nationwide and has led him to teach woodworking for prestigious organizations such as Peace Corps/Swaziland, Andersen Window, Northwest Airlines, and the Pentagon. With a wealth of published magazine articles under his belt, encompassing tool reviews and shop improvement projects, George's knowledge and skills continue to inspire woodworkers every day. To discover more about him and his school, visit georgevondriska.com.

Bonus materials available after purchase
