
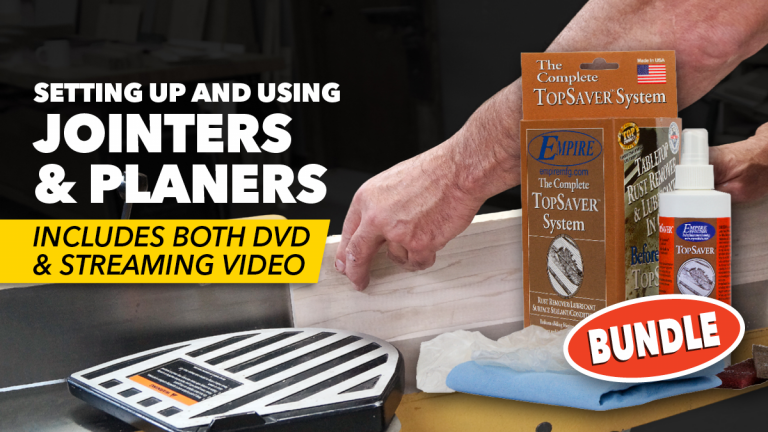
Setting Up and Using Jointers and Planers + DVD
George Vondriska
Class Preview
- In-depth Instruction; over 97 mins
- On-demand video access anytime
- Bonus downloadable PDF resources
- Access to class Q&A
- Available for purchase: $14.99

Session 1: Setting Jointer Knives
19:44
Once your jointer knives become dull they’ll need to be sharpened and replaced. When installing the new knives, they need to be set so they’re parallel to the outfeed table, and are all set at a consistent height. No fancy equipment is required for this; the work can be done with a good quality straight edge. We’ll show you how.
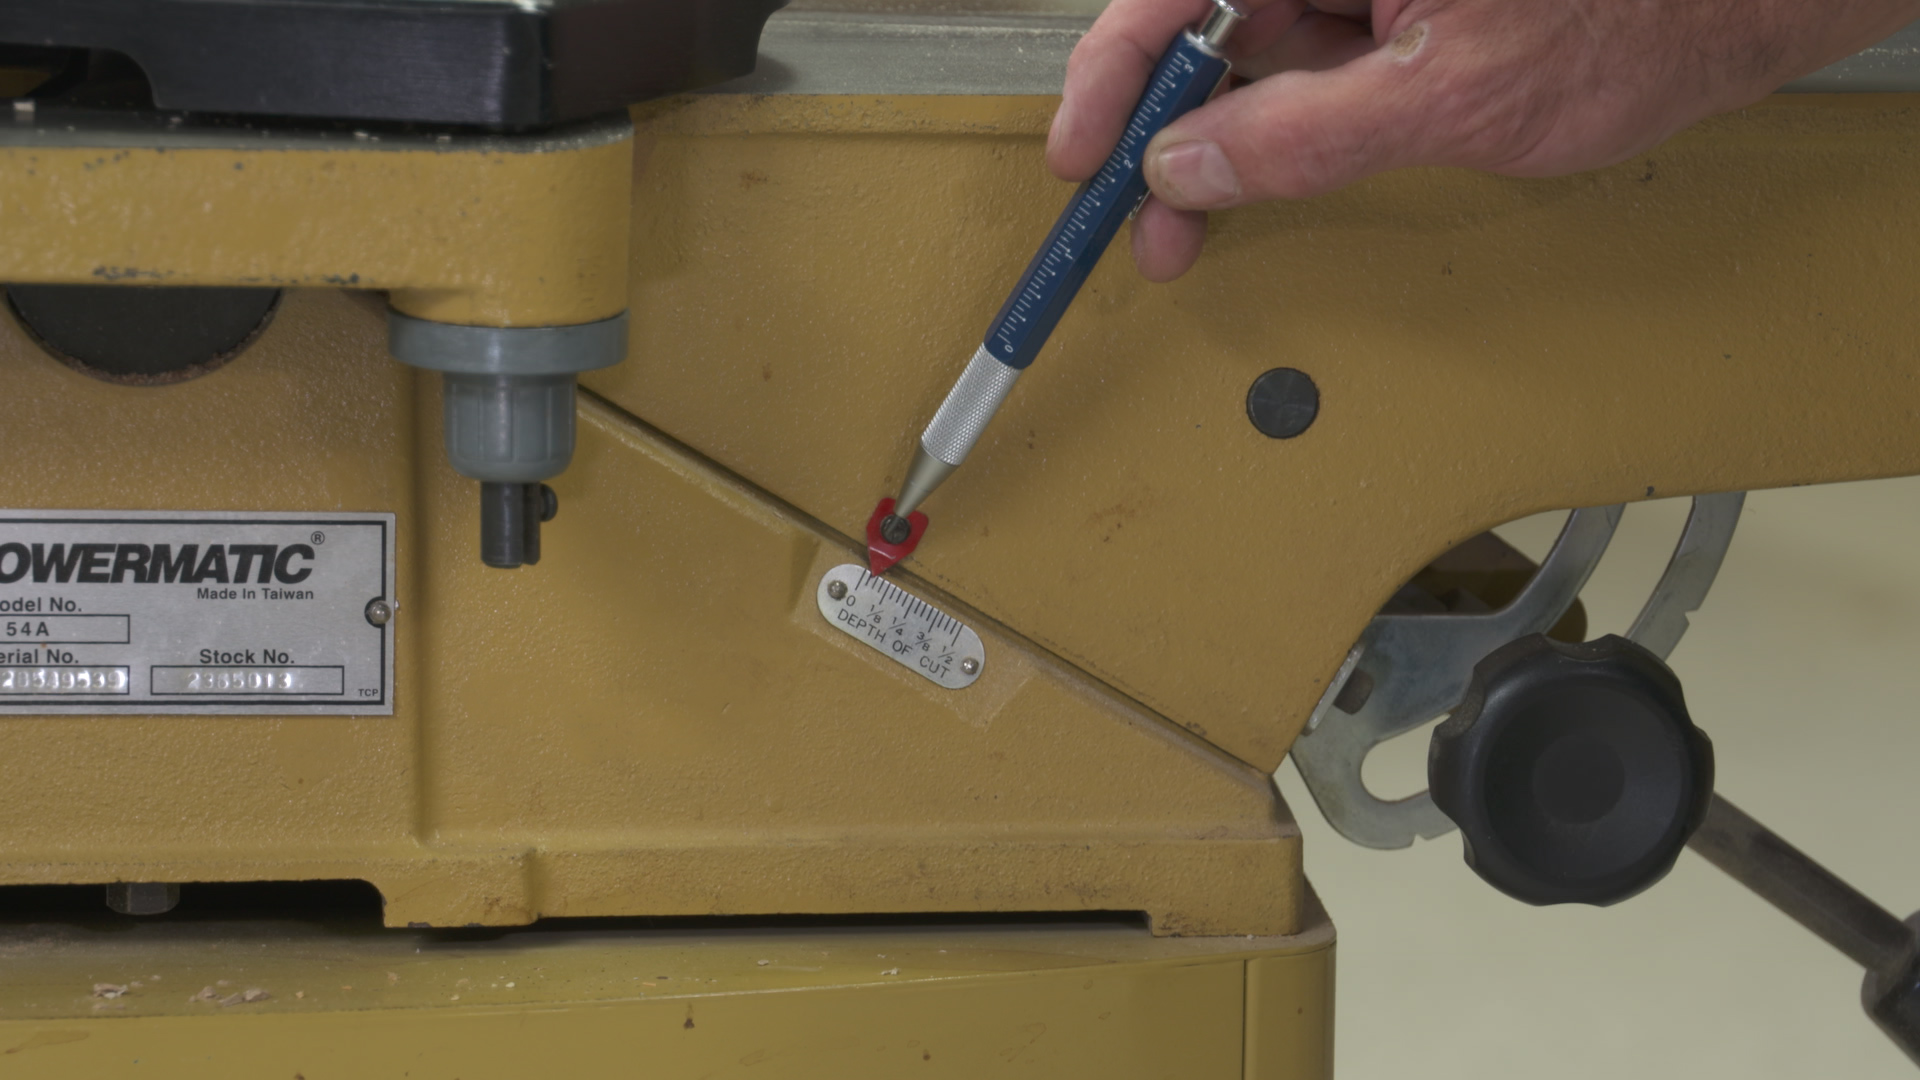
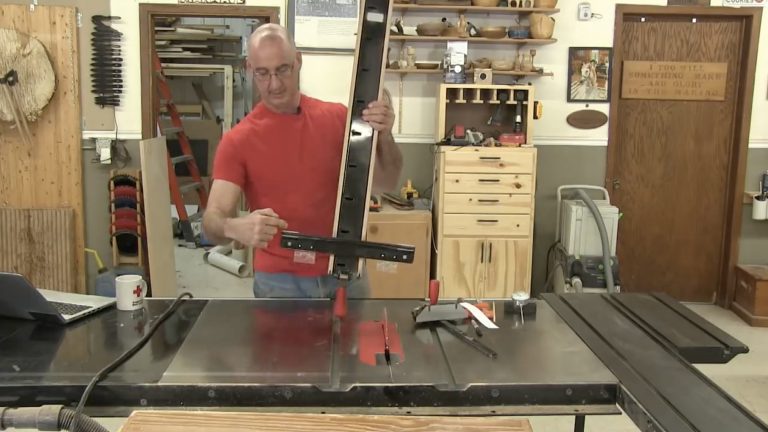
Session 2: Setting the Jointer Table
10:17
Since we’ll be setting the table using test cuts, we’ll start this session by providing you with proper jointer safety techniques. Next, you’ll learn how to perfectly set the outfeed table to eliminate snipe from your cuts, and how to calibrate the infeed table so you know exactly how much material is being removed with each pass.
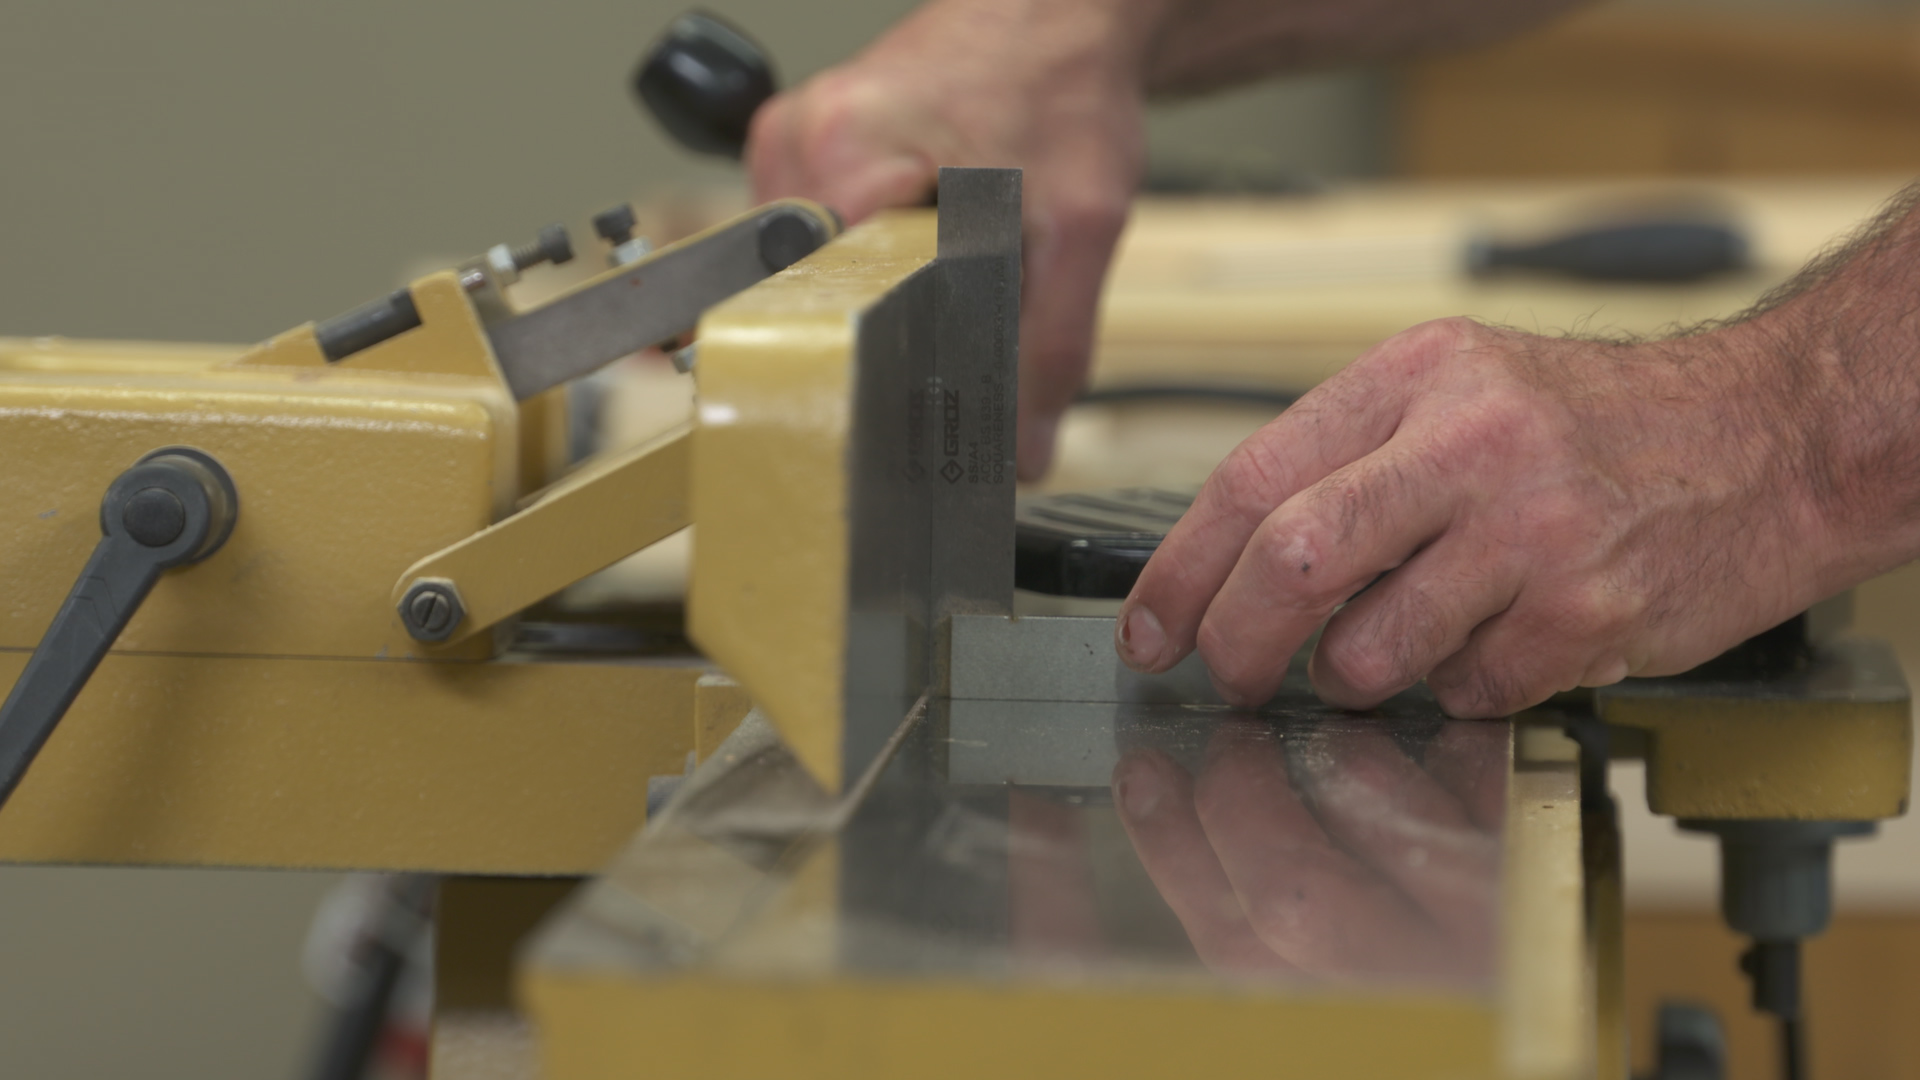
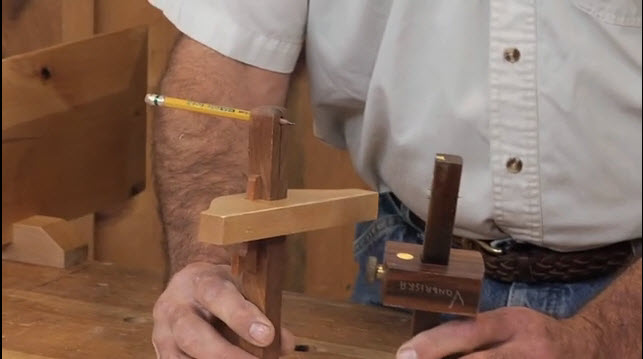
Session 3: Squaring the Fence
7:19
If you want square edges on your jointed material, you’ve got to have the fence set square. We’ll start the set-up process by using a common shop tool, and double check the results by making cuts. Choice of material used for the test cuts is critical; we’ll walk you through the best choices for this.

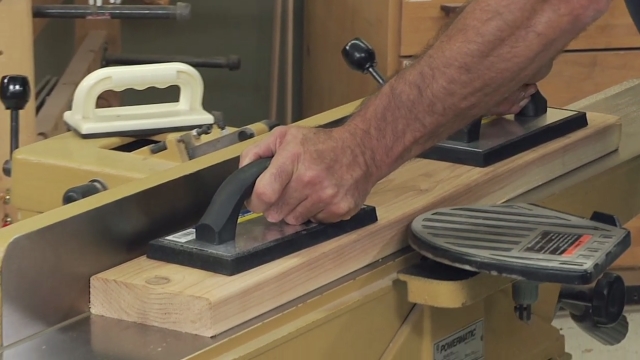
Session 4: Proper Jointer Techniques
21:59
You’ll get the best possible cuts on your jointer by feeding your material in the right direction, based on grain direction. In this session, you’ll learn to read the grain. We’ll also cover proper safety and techniques that should be used for:
- wide pieces
- narrow pieces
- face jointing
- cutting rabbets
- jointing tapers
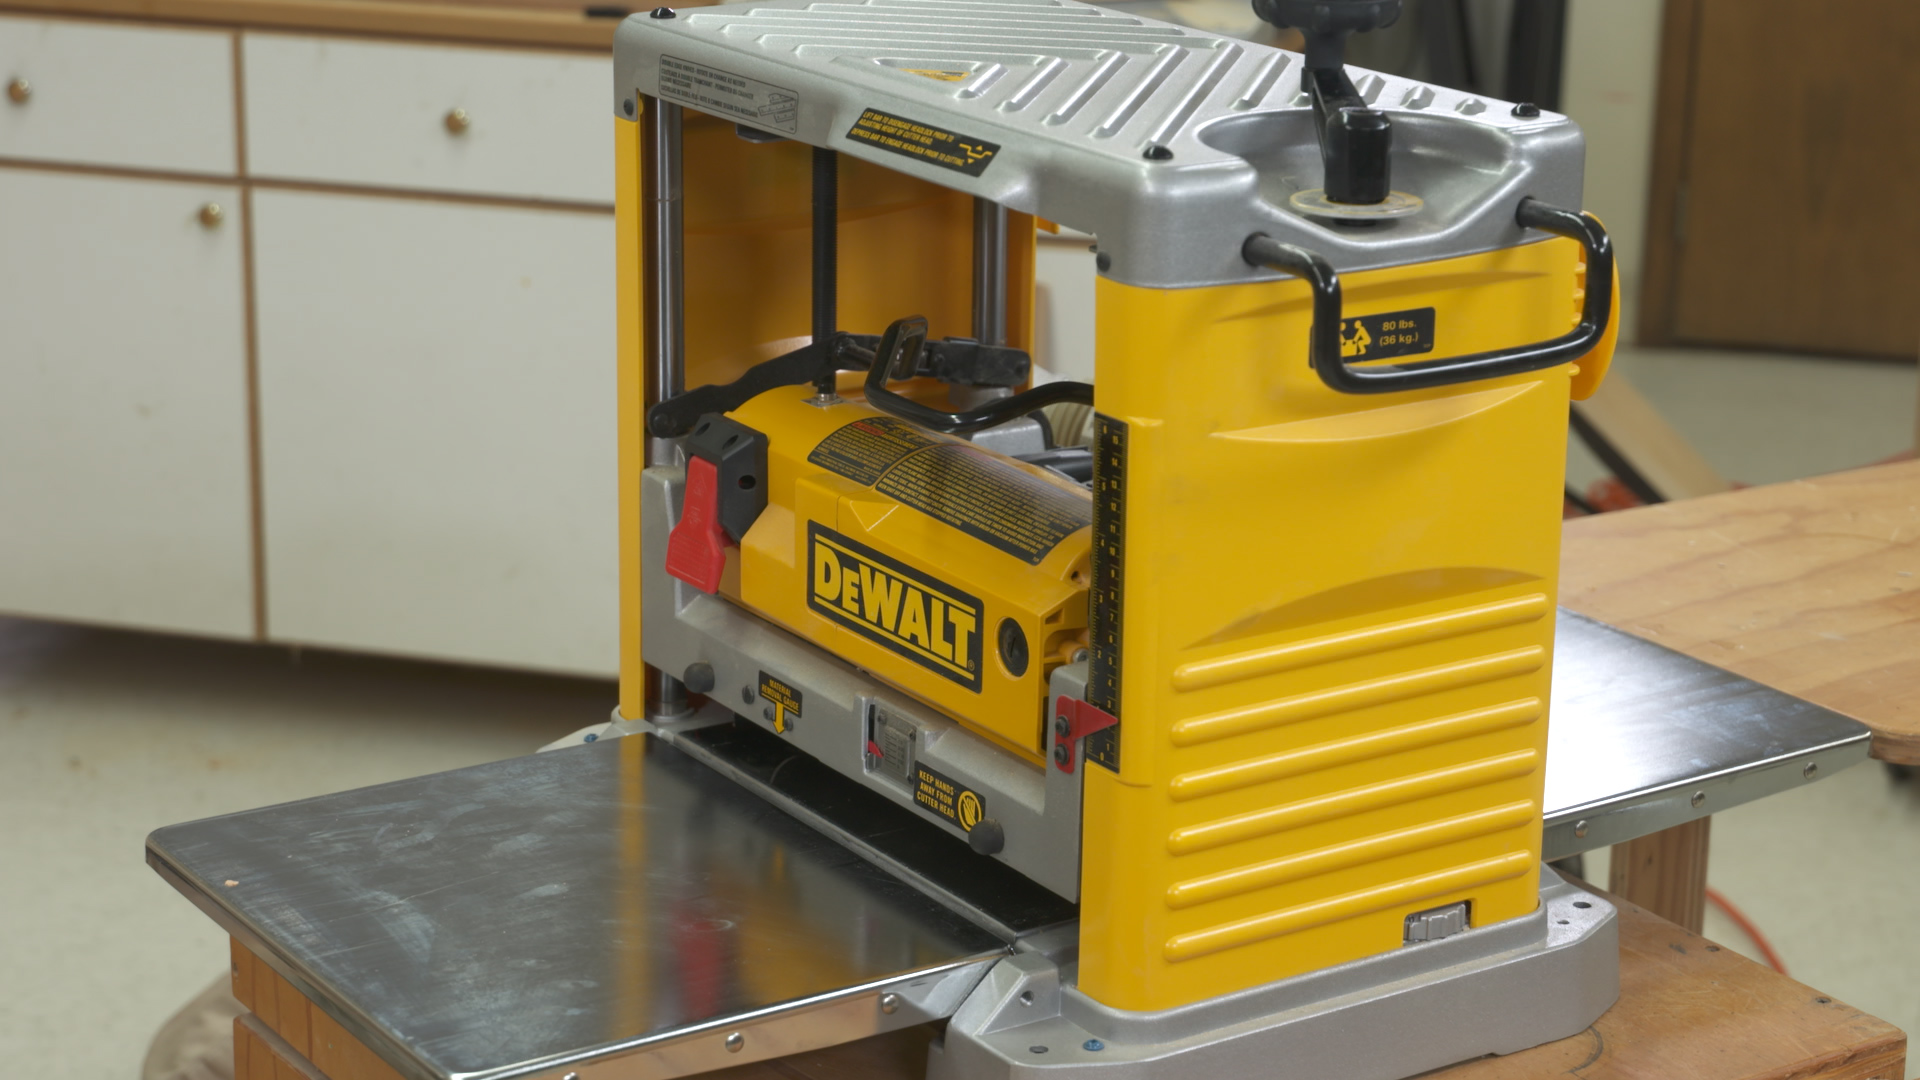
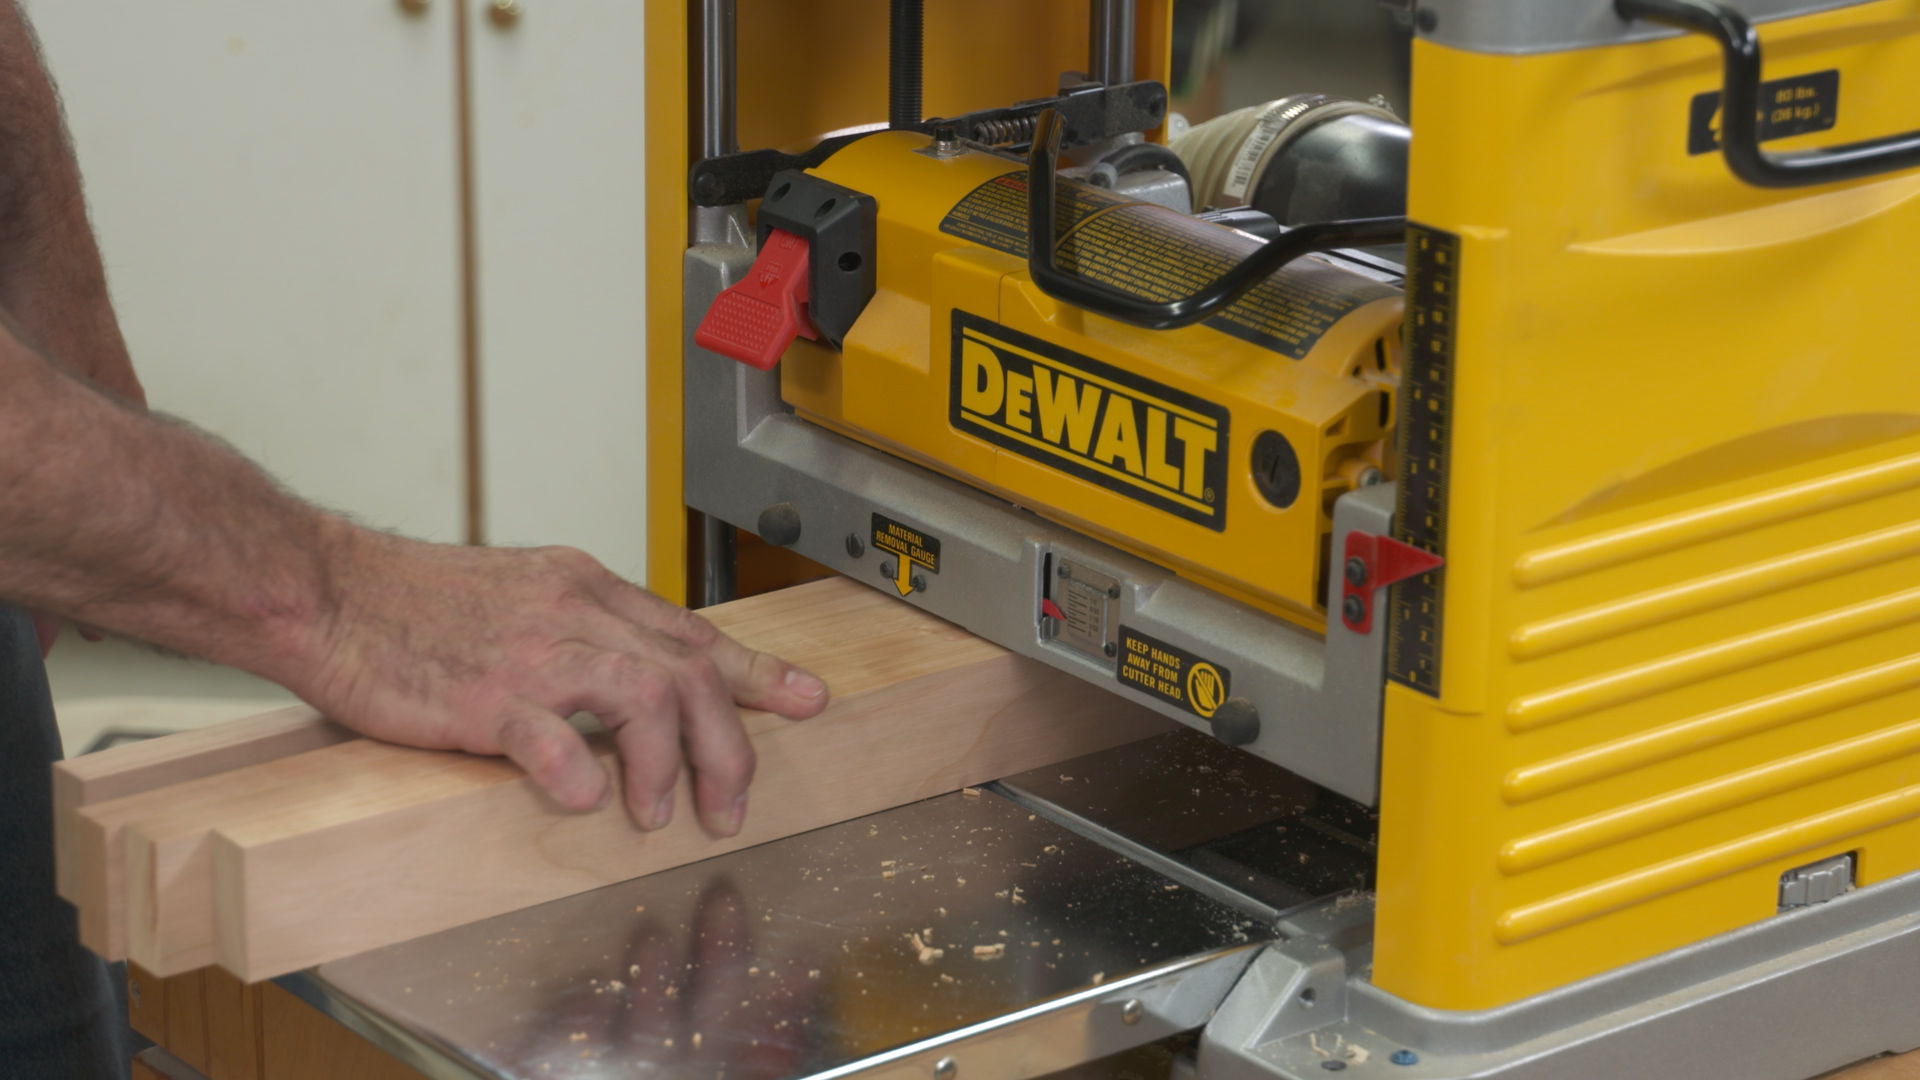
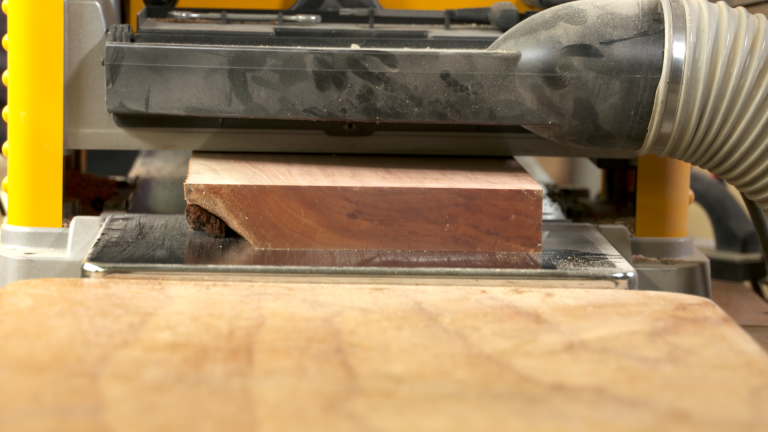
Session 5: Benchtop Planers
6:12
In order to get the most out of your planer it’s important to understand how it works, and how it differs from jointer. You’ll learn how to determine the shortest piece of material you can safely plane, how to clean the feed rollers, and general machine maintenance.
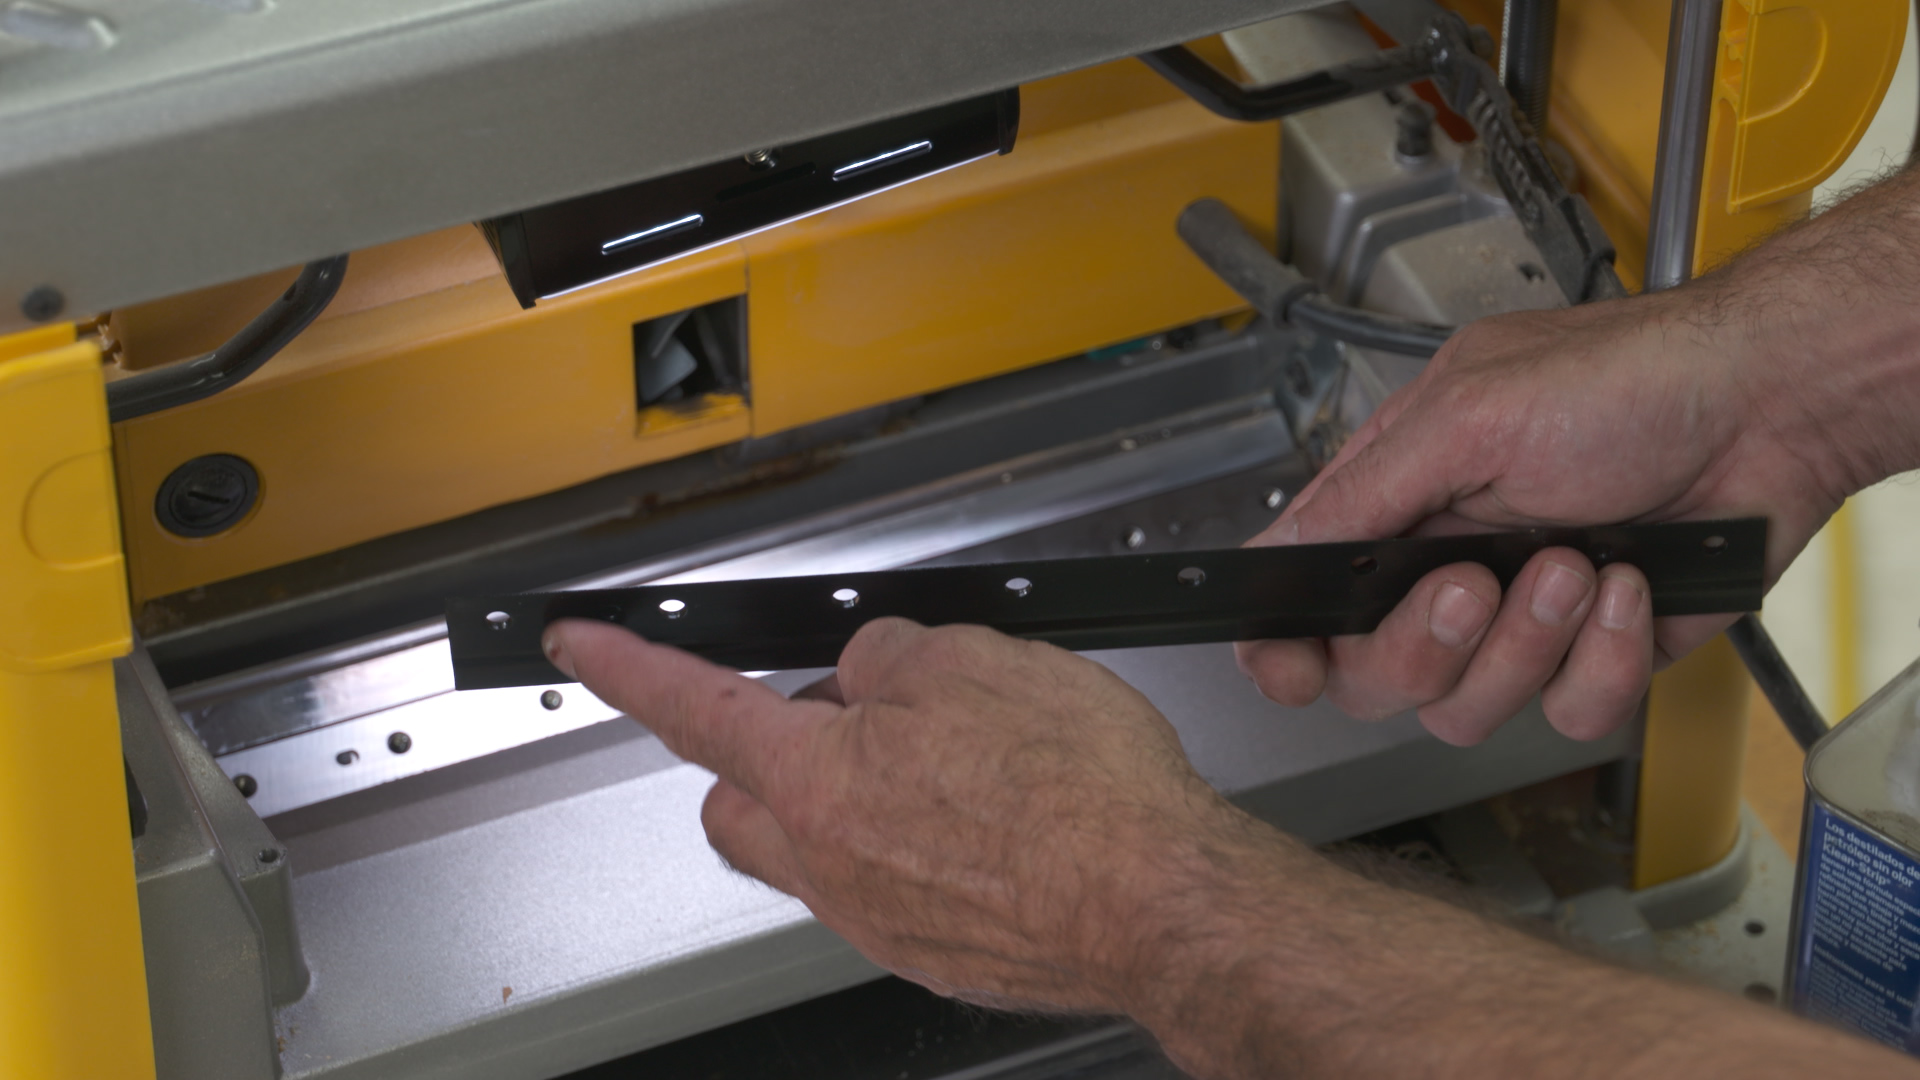
Session 6: Changing Knives
3:56
Changing knives on a benchtop planer is fairly simple, but there are tricks that will make it go better for you. There are typically A LOT of bolts holding the knives in place. You’ll see a shortcut for removing and reinstalling the bolts. When new knives go in you need to make certain there’s no debris that will interfere with the knives doing their work. Proper cleaning is critical.
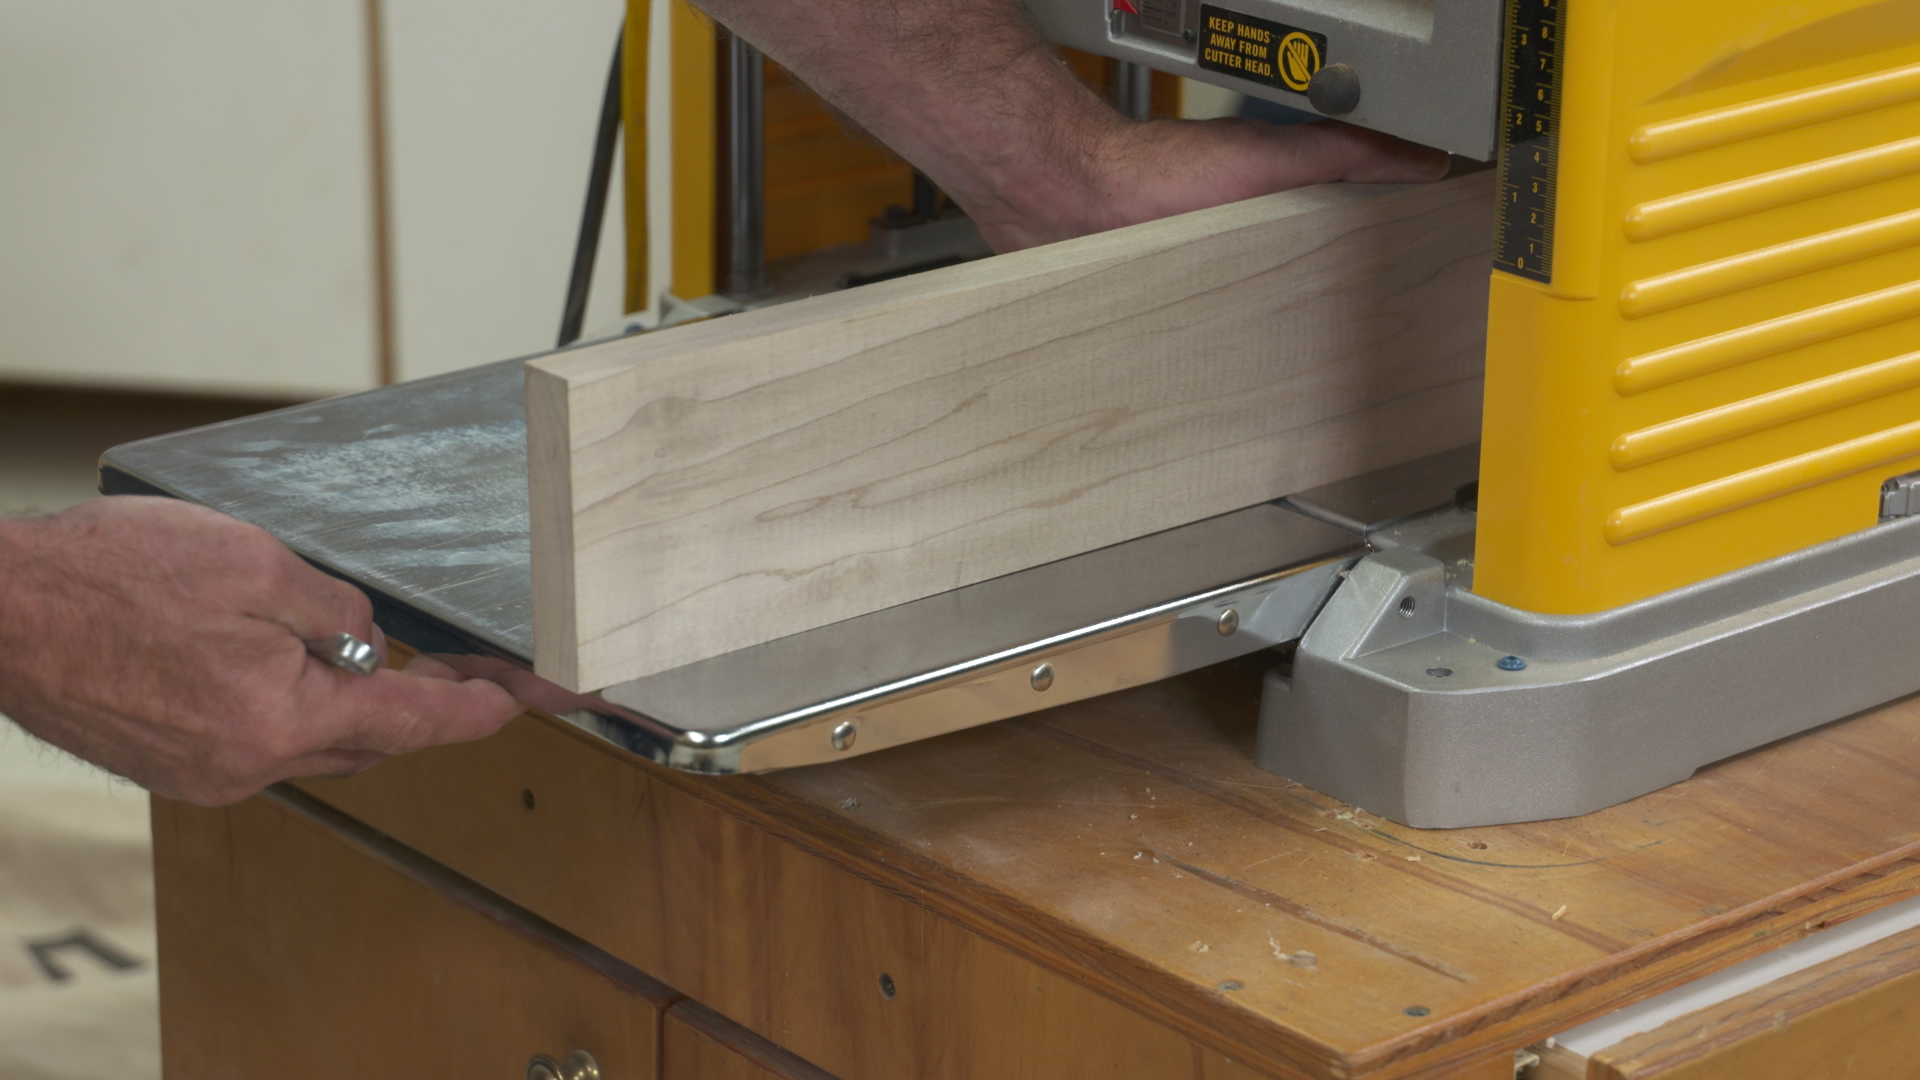
Session 7: Set the Table
9:41
You won’t get flat faces on your work if the infeed and outfeed tables aren’t correctly set. Leveling these tables to the planer main table is key to good quality work. It can easily be done using standard items in your shop, but it’s imperative that it’s done correctly. You’ll learn how.
Session 8: Cutting Techniques
17:37
Now that your planing is cutting cleanly and precisely, let’s look at specific planer techniques. In this final session, you’ll learn how to:
- Establish the proper depth for a first planer pass
- Eliminate snipe
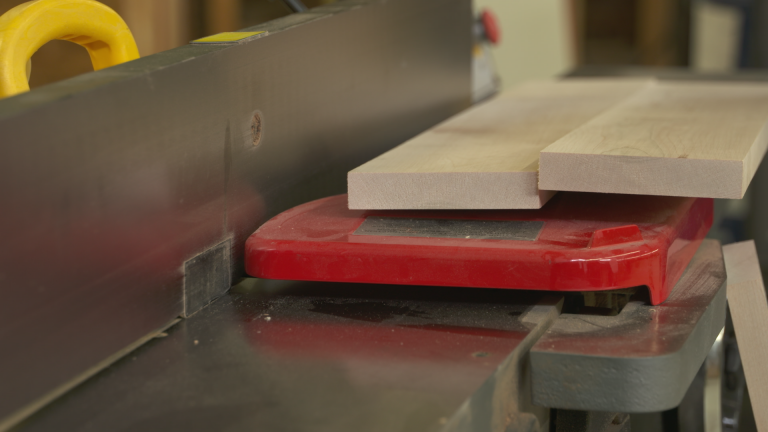
- Use the planer for edge jointing narrow pieces
- Plane extremely thin stock
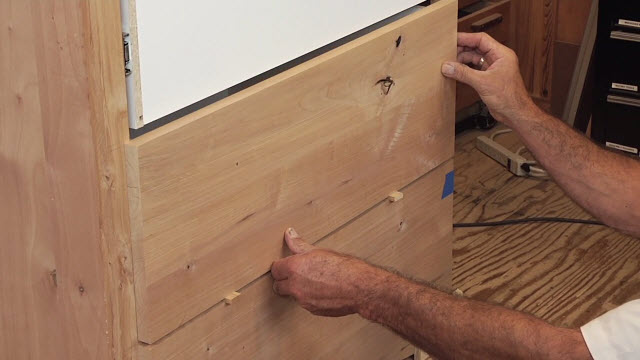
Jointers and planers are similar, but not identical. Each machine has a different function, but both machines are extremely useful when it comes to creating precisely machined boards in your shop.
Additionally, buying your lumber rough sawn and doing you own jointing and planing can save you a lot of money!
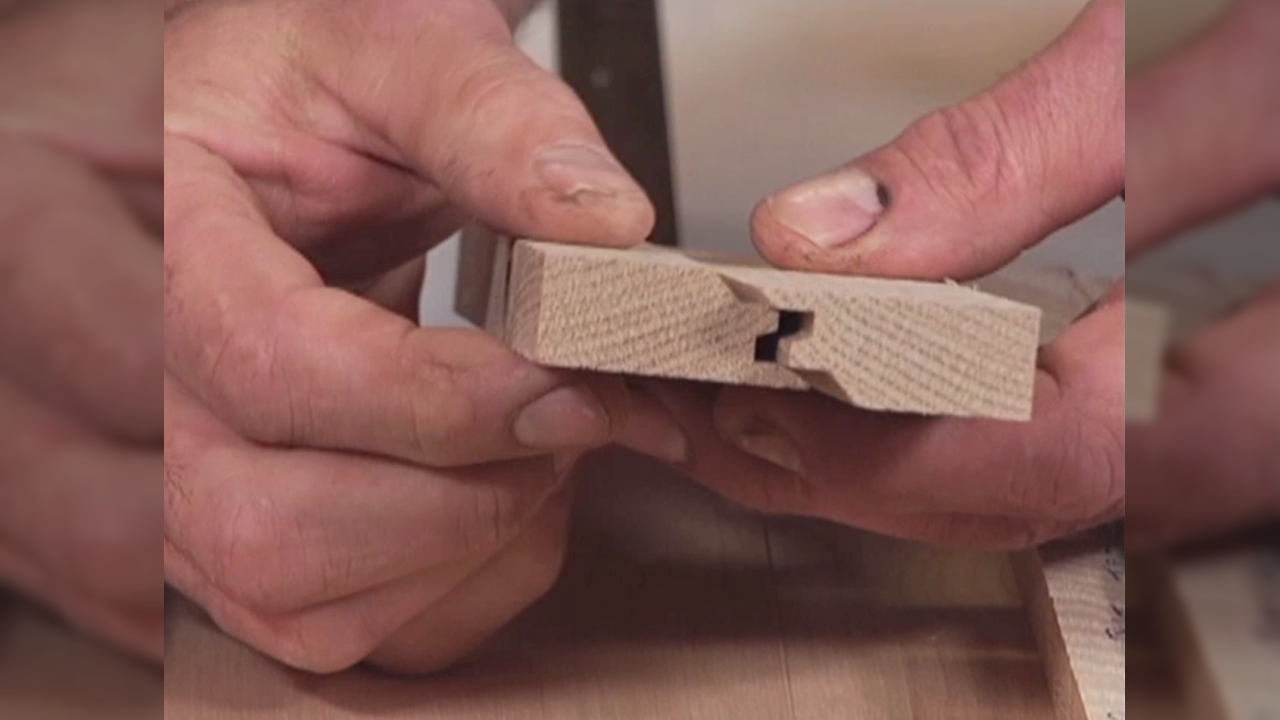
In broad strokes, jointers are the perfect tool for flattening faces and creating edges that are smooth, straight and square. Planers provide two parallel faces, and guarantee that every board you machine is exactly the same thickness.
This class will help you double check your machines to make sure they’re correctly set up. This includes knife changes on both the jointer and planer, with techniques provided for perfectly setting the jointer knives. You’ll learn how to lubricate and maintain your jointer and planer for optimum performance. You’ll also learn:
- How to read wood grain for proper feed direction to avoid tear out
- Tricks for getting the jointer fence perfectly square
- Low tech tips for setting jointer knives
- Jointer and planer safety
- What materials can and can’t be jointed and planed
- How to eliminate jointer snipe
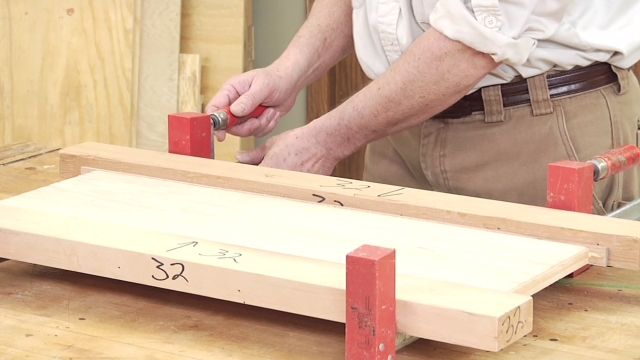
- Safe and proper techniques for face jointing
- Using the jointer to cut rabbets
- Jointing tapers
- Levelling planer infeed and outfeed tables
- How to reduce or eliminate planer snipe
- Planing extremely thin stock
- Using your planer to clean up sawn edges
This class will help make sure you get the most out of your jointer and planer by helping you properly set the machines, and safely use them to their full potential.
NOTE: You’ll receive this Class video instruction in two forms: As on-demand streaming video (in your WWGOA Account); and as a physical DVD, mailed to you.
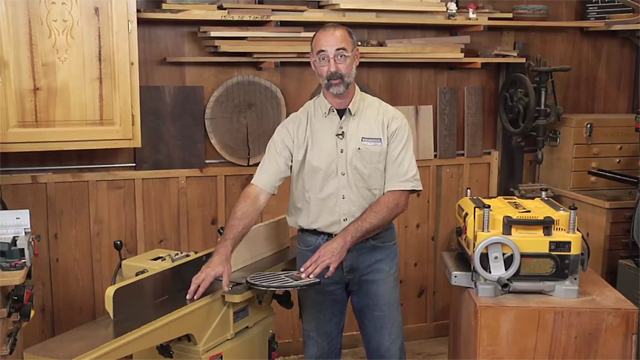
George Vondriska
George Vondriska is the Editor in Chief here at Woodworkers Guild of America and has been sharing his woodworking expertise since 1986. Apart from conducting classes at his renowned Vondriska Woodworks School, George's passion for teaching has taken him to woodworking shows nationwide and has led him to teach woodworking for prestigious organizations such as Peace Corps/Swaziland, Andersen Window, Northwest Airlines, and the Pentagon. With a wealth of published magazine articles under his belt, encompassing tool reviews and shop improvement projects, George's knowledge and skills continue to inspire woodworkers every day. To discover more about him and his school, visit georgevondriska.com.
Bonus materials available after purchase
How do I know what the Class covers?
Do I have to be a Member of Woodworkers Guild of America to purchase a Class?
How do I purchase a Class?
How do I access/view my Class?
Do I have to take the Class right away?
Is there a limit on the times I can view my Class?
Can I view a Class on my tablet device or mobile phone?
How do I get access to the Bonus Materials for the Class?
How does the Class Q&A Resource benefit work?
Can I print out Class details?
What are PDF downloads?
Are there any system requirements to view the Class video content?
Why do you need my email?
Can I get a refund if I don’t like the Class?
How do I contact WWGOA Academy?
Explore classes by George Vondriska


You may be interested in

Purchase Class
Purchase class and add to your personal library with on-demand video access.
- Enjoy on-demand video access to this content anytime, anywhere for the one-time cost below.
- You won’t lose access, with or without an active current Membership
Setting Up and Using Jointers and Planers + DVD
with George Vondriska