Custom Knobs Create a Warm and Personal Shop
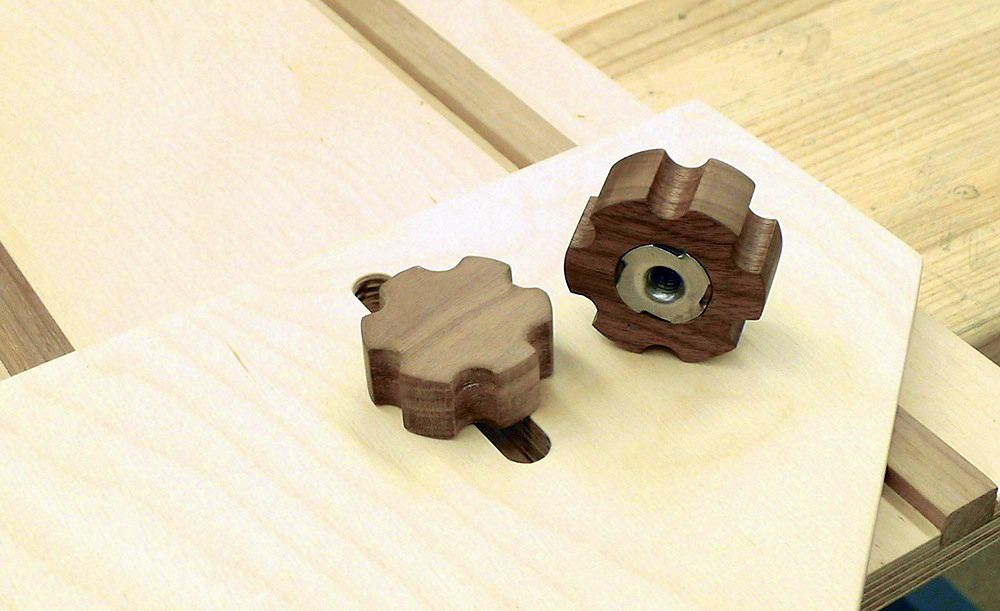
Jigs are everywhere in my workspace. Taper jigs, custom sleds and even fixtures for boring holes populate my shop in alarming numbers. Single use jigs are crude, but jigs made for the long-term get special treatment. While cast plastic polycarbonate knobs are available at woodworking stores, I like to take the time to make tool knobs from cut-off scraps around my shop! It’s easy, eco-friendly, and leaves a personal touch on each jig and handle. This knob has a T-nut inserted for the bolt coming from the underside, and here’s how to make an easy handmade tool knob. It’s 7/8” x 2-1/8” diameter, with six holes for finger knurls, bored at 3/8”, although depending on the application, this size can be adjusted to suit.

Pre-drill and Countersink for the T-Nut
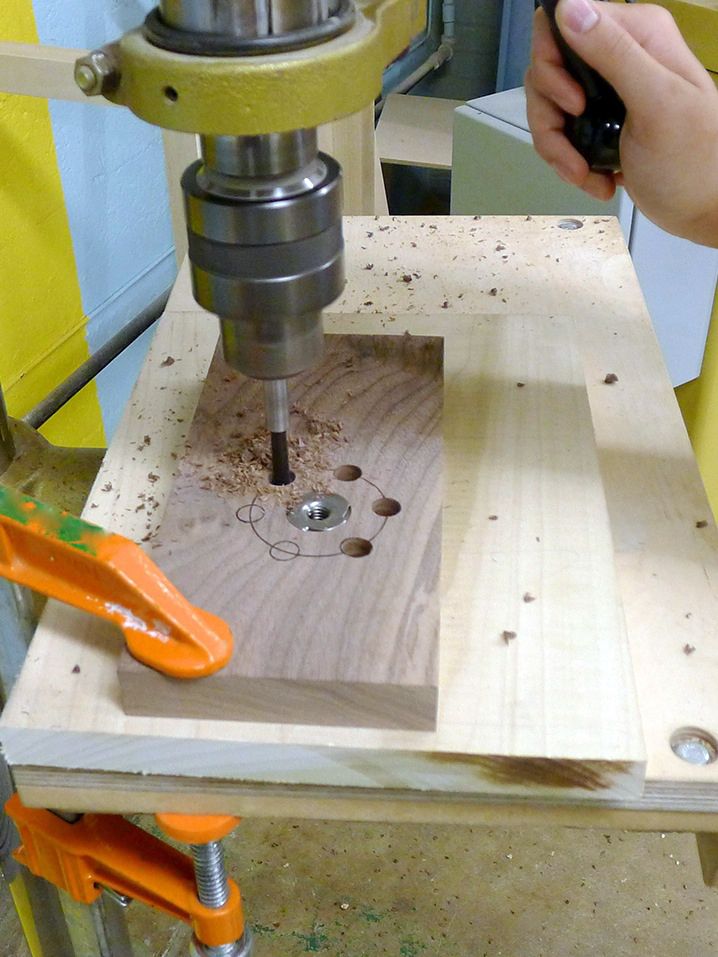
After laying out the knob, bore a countersink for the flange on the Tee-nut using a Forstner bit. The depth of the countersink should be the same or slightly less than the thickness of the flange. If the flange is set too deep, it is possible to pull the T-nut out when tightening the knob. Next, I use the center from the flange hole and bore the center hole for the shaft. To prevent splitting, it is best to install the T-nut now, rather than after the final shape is cut. Use 5-minute epoxy to secure the T-nut.
Bore Holes for the Finger Knurls
Bore the six evenly spaced finger knurls after driving the T-nut in place using a 3/8” Forstner bit. A drill press fence isn’t very useful for boring these holes, so I clamp the work piece to the bed of the drill press so it doesn’t go flying.

Bandsaw the Knob from the Blank
Cut the knob out on the bandsaw. Cutting in and out of voids can be challenging, as the line for the circle is broken, and the holes make for awkward starts and stops. Use a slow feed rate and realign the blade to the pencil line in each void. After cutting out the knob, lightly sand each surface and apply a finish. I would recommend this knob for any light duty jigs, or for holding a stop block in place, however stick to polycarbonate knobs in applications that require a lot of screw torque for effective use.
Don’t Stop at Your Jigs!
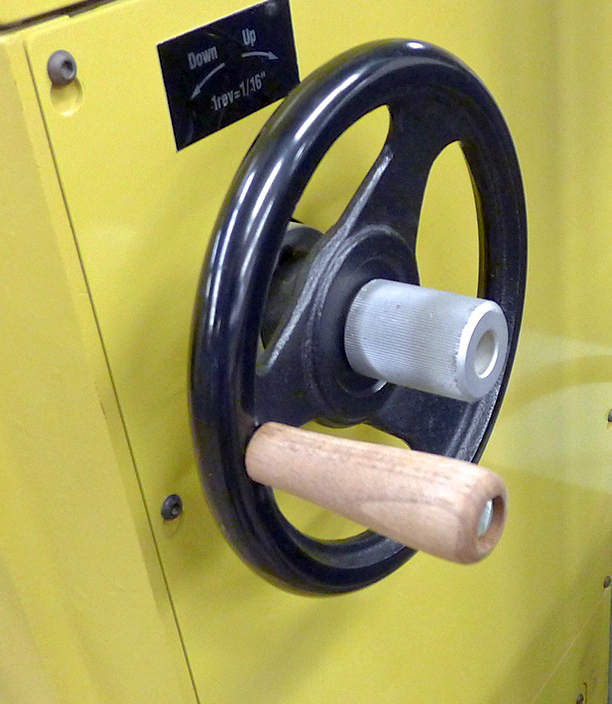
The polycarbonate handle on my planer cracked. I procrastinated on ordering the replacement handle from the manufacturer for weeks, and got tired of using two hands to change the depth of the cut, when I got a great idea. I just loaded a scrap piece of wood on my lathe, turned this walnut handle, bored a center hole for the original screw and in about 10 minutes, voila! While I don’t advocate using wood for every replacement part in the shop, in this case it was perfect.


I, too, am a Ham Radio Operator....... AB4XK I found the shop made knobs very interesting. I will have to try it out. Thanks and I read all the comments; also very interesting and informational!
Could you show more detail the T-nut insertion?
No website yet.
I usually make these type of knobs a little higher, run the bandsaw through at about 2/3rds from the bottom, recess for the T nut & glue the top back on, never had one fail yet.
I use 1/4 - 20 bolts and nuts (and toilet flange bolts) for a lot of my knobs/jigs, etc. I made a bunch of knobs one day and drilled a counter bore to fit the nut and then a through hole for the bolt to pass through. The nut was pressed into the hole and held in place with CA glue. Standard nuts are a LOT cheaper that threaded inserts and T-nuts.
These knobs are a great idea, do you drill a through hole for the threaded bolt to protrude through the knob?
You are so interesting! I don't suppose I've read through a single thing like that before. So good to discover someone with some original thoughts on this subject matter. Seriously.. many thanks for starting this up. This website iis one thing that's needed on the web, someone with some originality!
Nice idea with good workmanship and method. I have some 1" thick scrap black Walnut that I will use to make a few of these. They'll work great with my several T-Track systems. I can also see this working just fine with Baltic Birch or other laminated woods at a 1" thickness (but not so elegant). And I would think it works very well with 1" thick Oak, which I can get easily. Glad you warned us about the limits of their tension. My idea will be a full "drill-through" with the T-nut at the top, so I doubt there will be any troubles. Thanks.
now that I have logged in and getting access videos and plans etc., I am happy with my investment on paying fees. I was most unhappy prior to your instructions as to what I needed to do.
will definitely use these Thank you !