One of the items on my woodworking “bucket list” is to build an electric guitar from scratch. I’m not a guitar player myself, but the intricacies, resonant qualities, and incorporation of cool electronics give this project a lot of appeal.
As I started to prepare myself for this project, I decided that building one from a kit first would help ease me through some of the learning curve associated with building a guitar. With a kit, all of the electronics are bundled together, and the milling of the guitar body and fret board has been done with CNC precision. But there is still plenty to do and a lot of lessons to learn as you complete the kit guitar.
The main tasks include finishing the guitar, gluing the neck to the body, wiring/soldering the components together, and tweaking the final build so that everything works well together. This article isn’t a how-to guide on assembling a kit, but rather more of an overview of my experience with the process.
Selecting the Right Kit
The first step in this project was to select the kit that I would use. The number of kit manufacturers and options were dizzying. Kits could be sourced from local stores and countless online retailers at prices ranging from under a hundred dollars to several hundred dollars.
Although cost was a factor, my goal wasn’t necessarily to find the cheapest kit. I wanted a good-quality kit that was proven to be fairly user friendly for first-time builders, including clear instructions, and a vendor that provides good technical support to customers. My biggest concern was that I would run into a problem and not be able to complete the guitar.
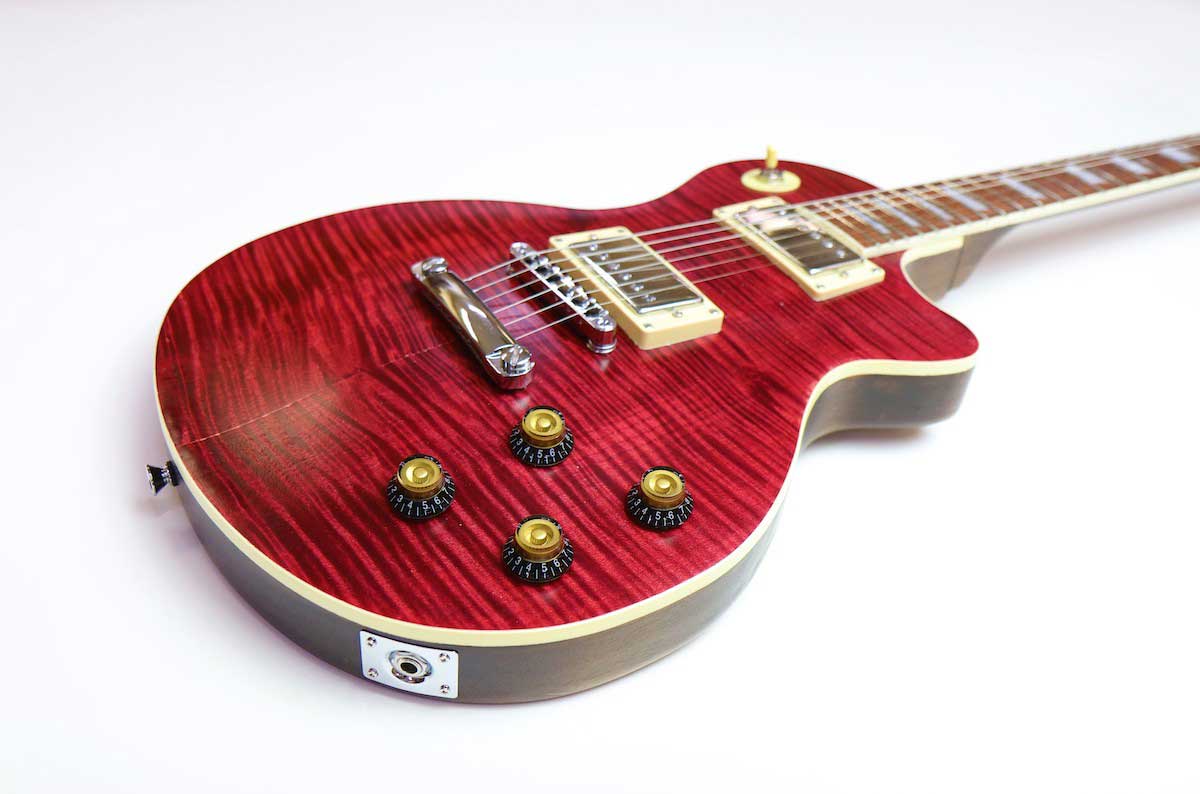
I ended up choosing a Les Paul style kit from StewMac. I love the classic Les Paul design, and based on the information I got from several conversations with guitar builders as well as online reviews, I learned that StewMac had the customer service reputation I was looking for.
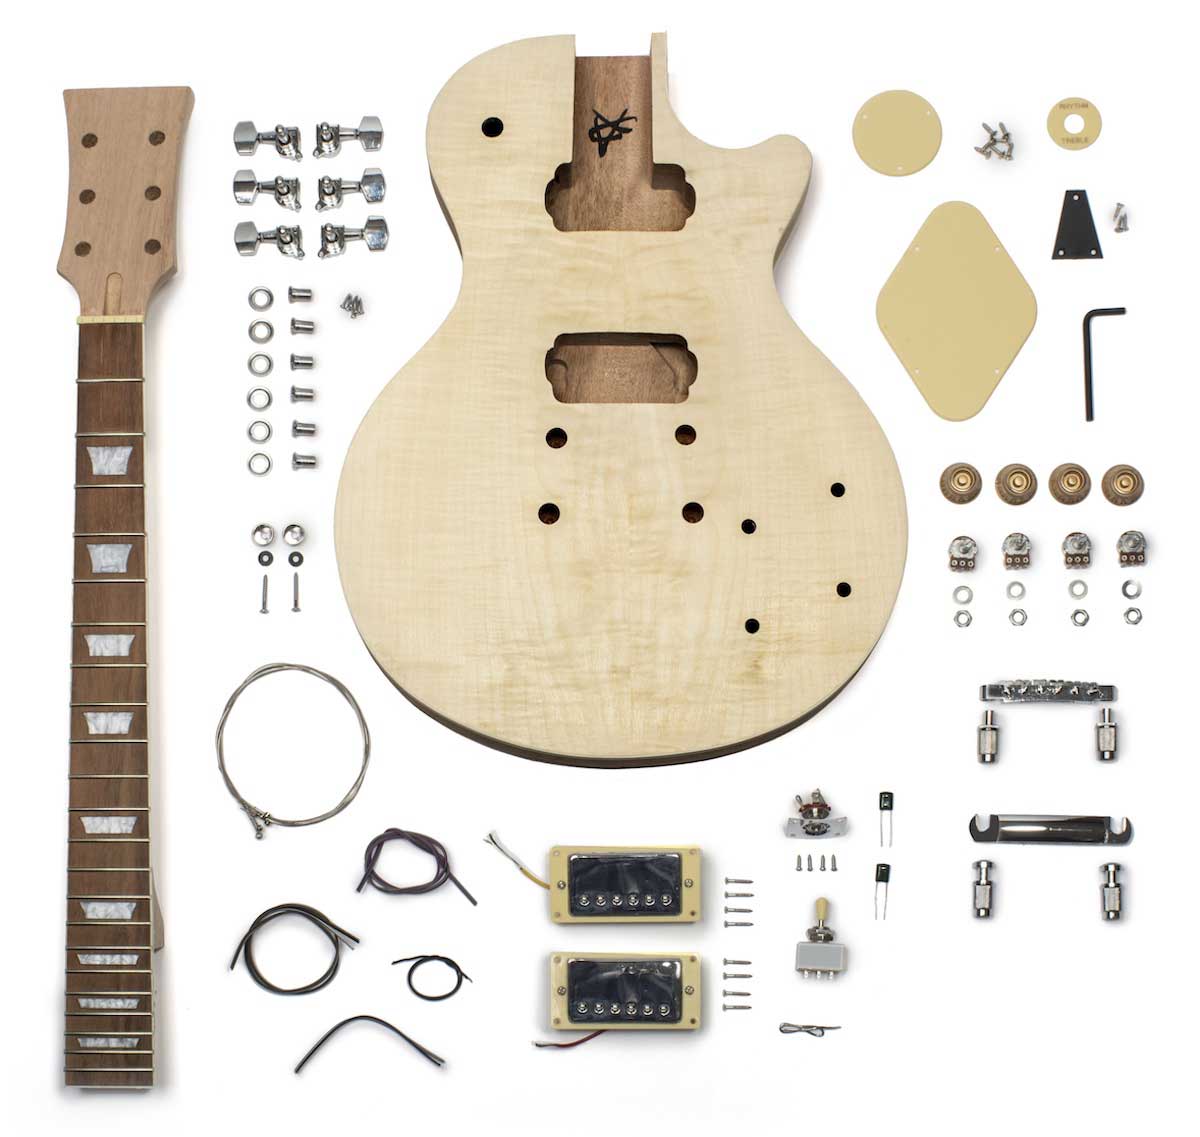
The kit arrived quickly and in perfect condition. I was pleased with the quality of the curly maple veneer and the precision machining on the body and neck. As a non-player, I didn’t know what any of the hardware components were, so I did a lot of studying in the manual, which I found to be extremely helpful.
Finishing the Guitar

The finishing phase provided a great opportunity for creativity and personal expression. I decided to use a dark brown stain to showcase the curly maple grain patterns, and a mahogany red over the top of that. I gently sanded after applying the dark brown stain to remove some of the color from the non-curly areas, giving more contrast and “pop” between the red and brown colors.
I applied several coats of wipe-on poly to build up a base, followed by four to five coats of spray-on poly to provide more depth and a silky finish. There are more professional lacquer-based finishes that are commonly used on guitars, but I chose to go with an approach that I’m more familiar with since so many other aspects of the project were new territory for me.
Assembly
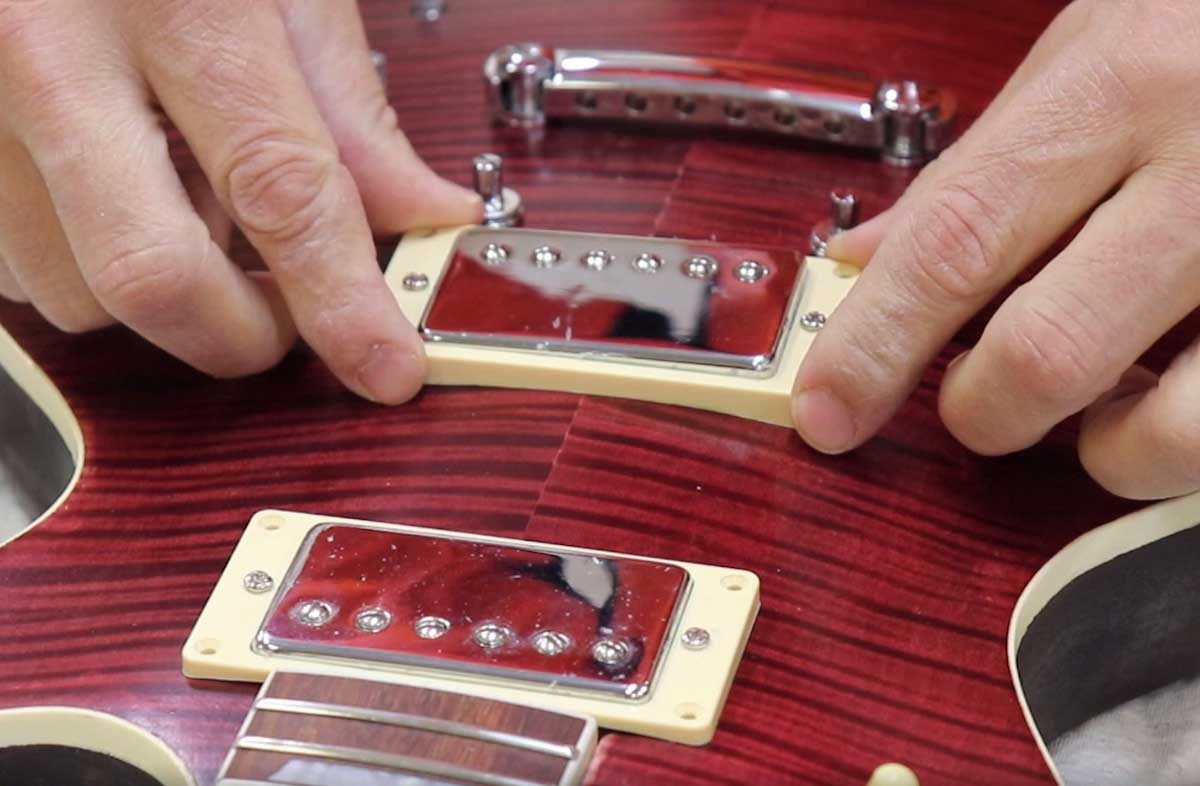
By carefully following the instructions and wiring diagram, I was able to assemble the components without much difficulty. Because I didn’t have much experience with soldering electronics, my soldering improved as I progressed through the project. I also bought a new soldering iron (see sources) that had a finer tip for greater precision as well as better temperature control.
Adjustments
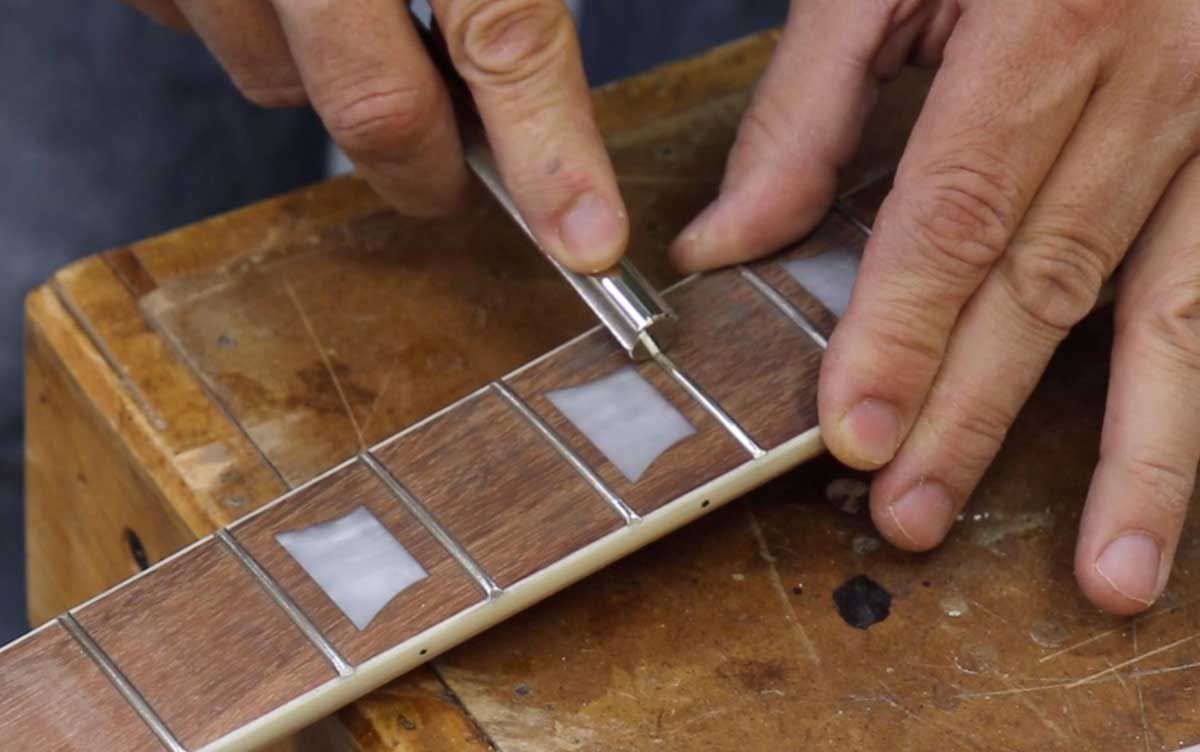
Guitar building requires a lot of precision, or else the instrument just won’t play well. There was a learning curve for me to get everything fine-tuned, with steps such as filing down the frets, filing the nut, adjusting the pickup height for optimal sound capture, and adjusting the neck tension.
I learned a lot while completing this project, and I was able to get the guitar set up so that it plays well enough to exceed my expectations. I gifted the guitar to my brother who is a professional guitar player, and he has already been able to produce some high-quality riffs with it.
My Experience Overall
When I started this project, I expected that it would be pretty simple. In fact, it wasn’t all that hard, but I sure learned a lot. From a woodworking perspective, it was an easy project that could be completed by anyone with the most basic woodworking skill level.
As far as complexity goes, there was just one glued joint that took a few minutes to set up, and the finishing can be as simple or detailed as you want to make it. My approach to finishing was pretty straightforward, perhaps a “medium” on the complexity scale, whereas some might choose to incorporate sunbursts or other elements that could require advanced knowledge.
The other aspects of the project were new to me. Soldering electronics, filing frets, installing components, and other guitar-specific tasks all introduced me to new skills, each with its own learning curve. The most challenging phase of the project for me was the soldering, but once I picked up a proper soldering iron and did a few practice connections, it went well.
Overall, I spent approximately 10–12 hours working on the guitar, and I believe I could complete a second one in a much shorter time with the experience that I gained.
Ready to Build a Guitar from Scratch?
After building a guitar from a kit, I now feel much more ready to take on a complete build from scratch, although I anticipate that there is more learning ahead than behind. The precision placement of frets, machining of deep wiring channels in the body, and the precision joinery will all offer great opportunities for skill-building. Ultimately, building a kit guitar has given me a taste of something fun, challenging, and rewarding that can be done with woodworking.
Sources: Les Paul Style Electric Guitar Kit—Flame Top, StewMac Item #5827 www.stewmac.com Anbes Soldering Kit, $19.99 www.amazon.com
I love your l p kits
I enjoy building from akit
Seems interesting and a moderate challenge for a semi retired carpenter
It looks like it turned out great. I've bought several kits from Solo Music in Canada that appear to be well made although I've also been collecting the tools I will need from Stewmac. I want to start out with a strat kit since they are simpler to build but I do have a Les Paul kit for later. I want to do the traditional lacquer glossy finish so I have to wait for the outside temperature and humidity to be right to get started. I want to do a blue or green transparent finish. I have some ash baseball bat blanks that I sanded down and did test patches on to figure out how to get the colors I want. As you've shown there are several combinations you can use to get to what you want. I have two very nice swamp ash strat bodies that I want to use once I get my colors figured out. I am cheating a bit though because I bought finished Fender necks to go on those because I didn't want to play around with fret leveling. I also don't know how to play but am more into the woodworking aspects of the projects. Learning to play will be a side benefit.
I built a Stratocaster kit. Spent a lot of time getting the body to have the correct shape and then a lot of time on the finish. I upgraded the nut, tuners and strings and did some insulating in the cavities. Pickups are still kind of twangy, but good enough for me. Too bad I can't paste a picture.
I have built several of these kits. I have 5 different ones for myself, plus built one for each of my grandsons and great-grandsons. Each one is different. Les Pauls, and Fender Strats, solid-body electrics and basses, and one acoustic. Great way to have fun building a project. You can, and I have, upgraded the electrics and tuners, chrome, gold, and black chrome. Just design it yourself, and have fun.
Looks like you did a great job. I'm being more adventurous and building mine from scratch
Ooooo! my sons are going to LOVE this! thank you for sharing your project and am sure my sons will WOW over it too! beautiful job too, btw