 If you've got a miter saw in your shop you probably rely on it for perfectly square cuts, and maybe for cutting angles, too. Follow these simple set up tips to tune up your saw so it's singing an accurate song.
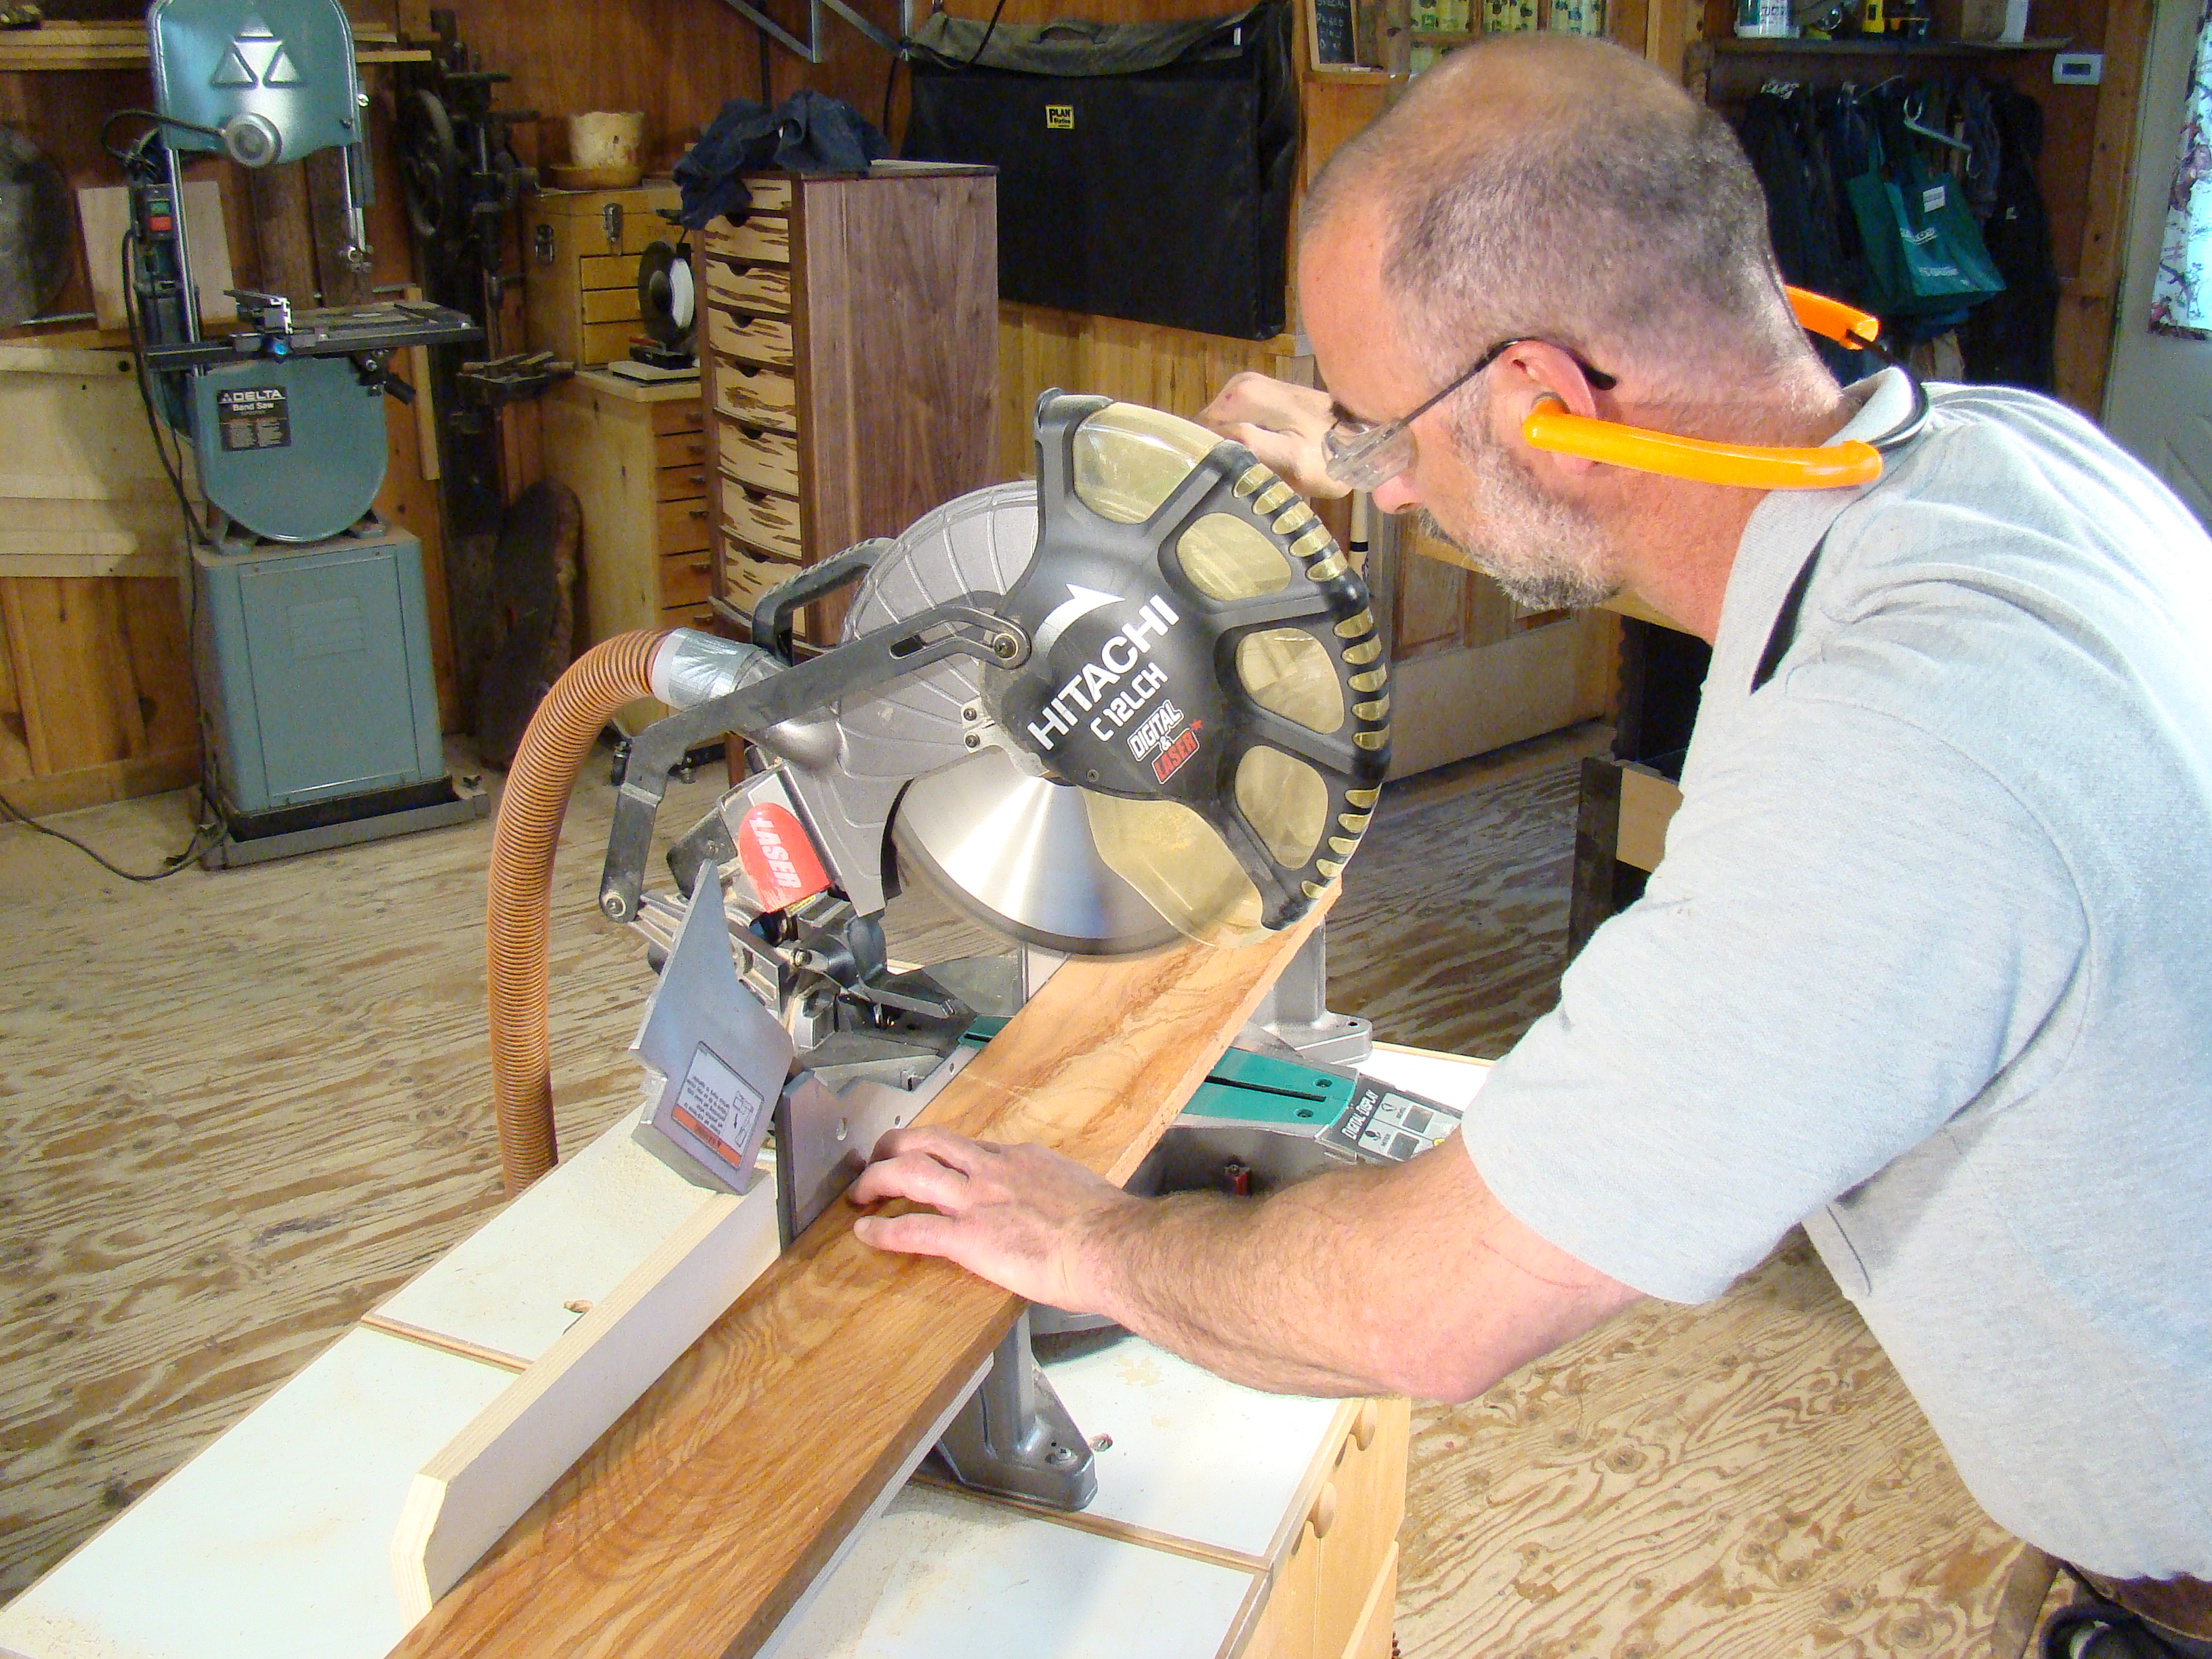
It's important to know, conclusively, that when you're shooting for a 90-degree cut you're going to get a precise 90-degree cut. While many woodworkers set up their saw by positioning a square between the blade and fence, I prefer to check the set up by making a cut. I don't want to know if the saw is set at 90-degrees when it's sitting still. I want to know if it's precise when it's cutting wood.

Prepare Test Stock
Get two boards ready. You need one perfectly straight edge on each board. The best way to ensure that is by jointing the edge. The wider the boards, the better. Your test will be more accurate if you cut boards that are close to the maximum width your saw will cut.
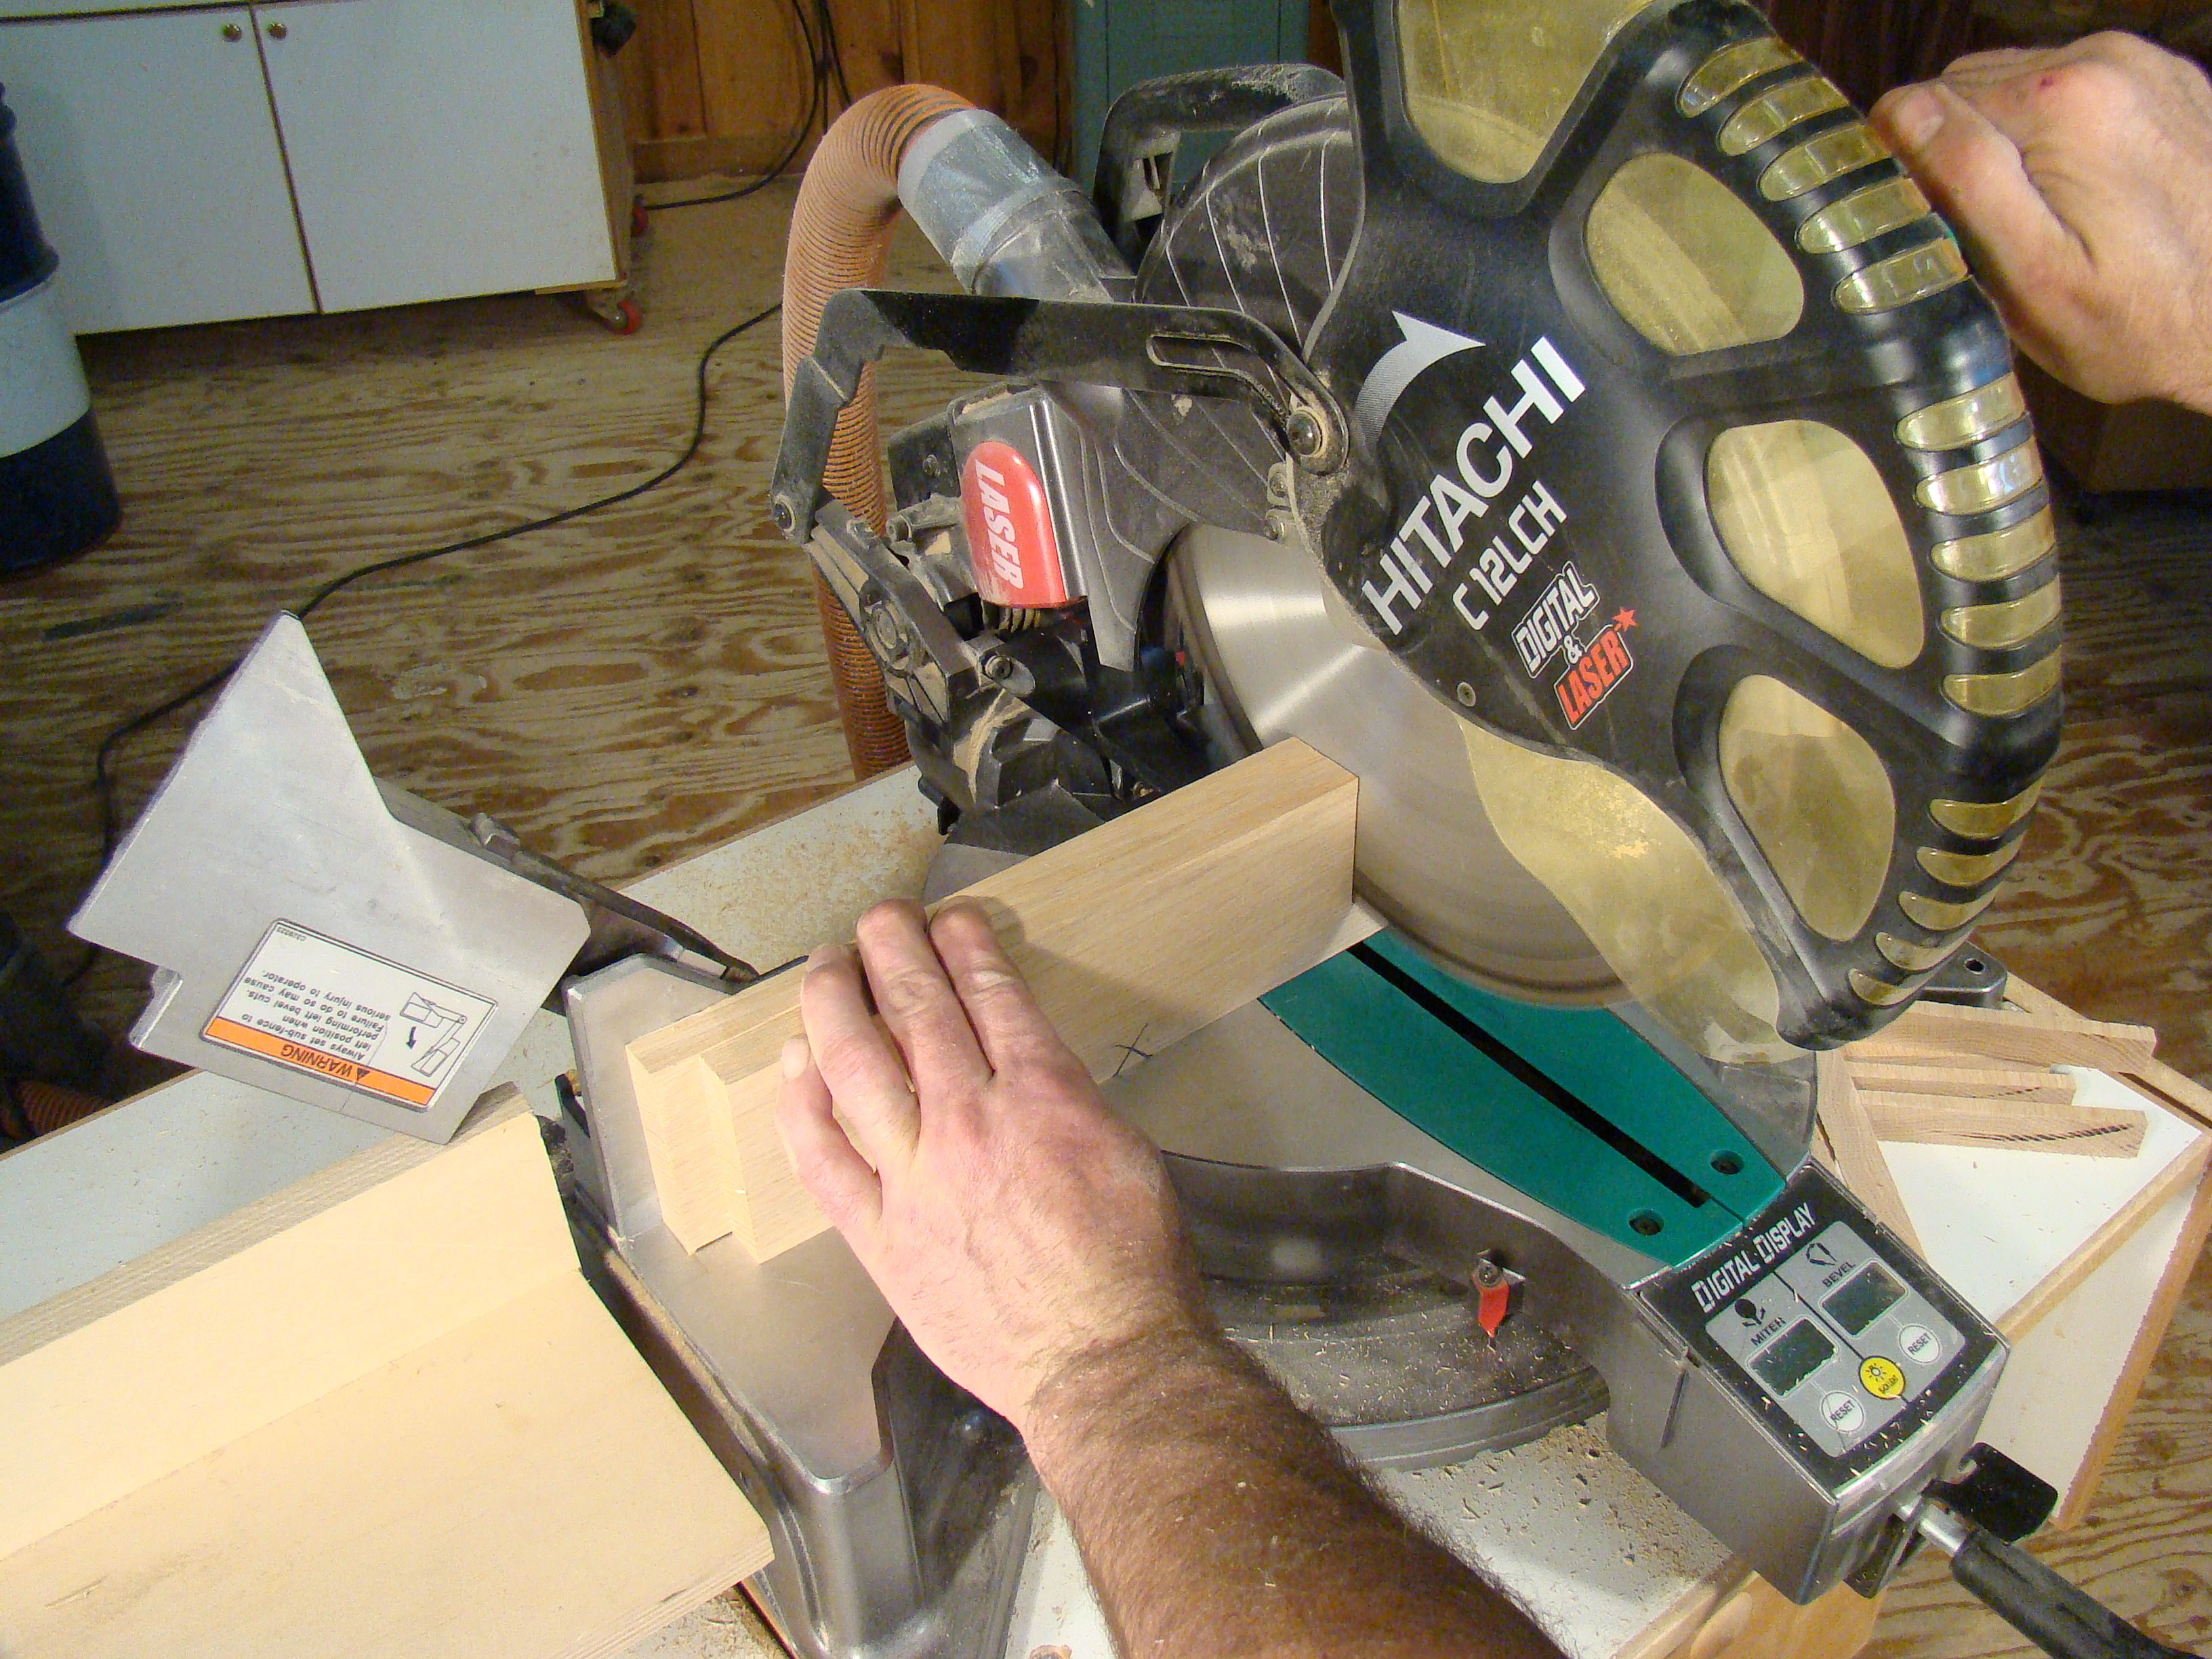
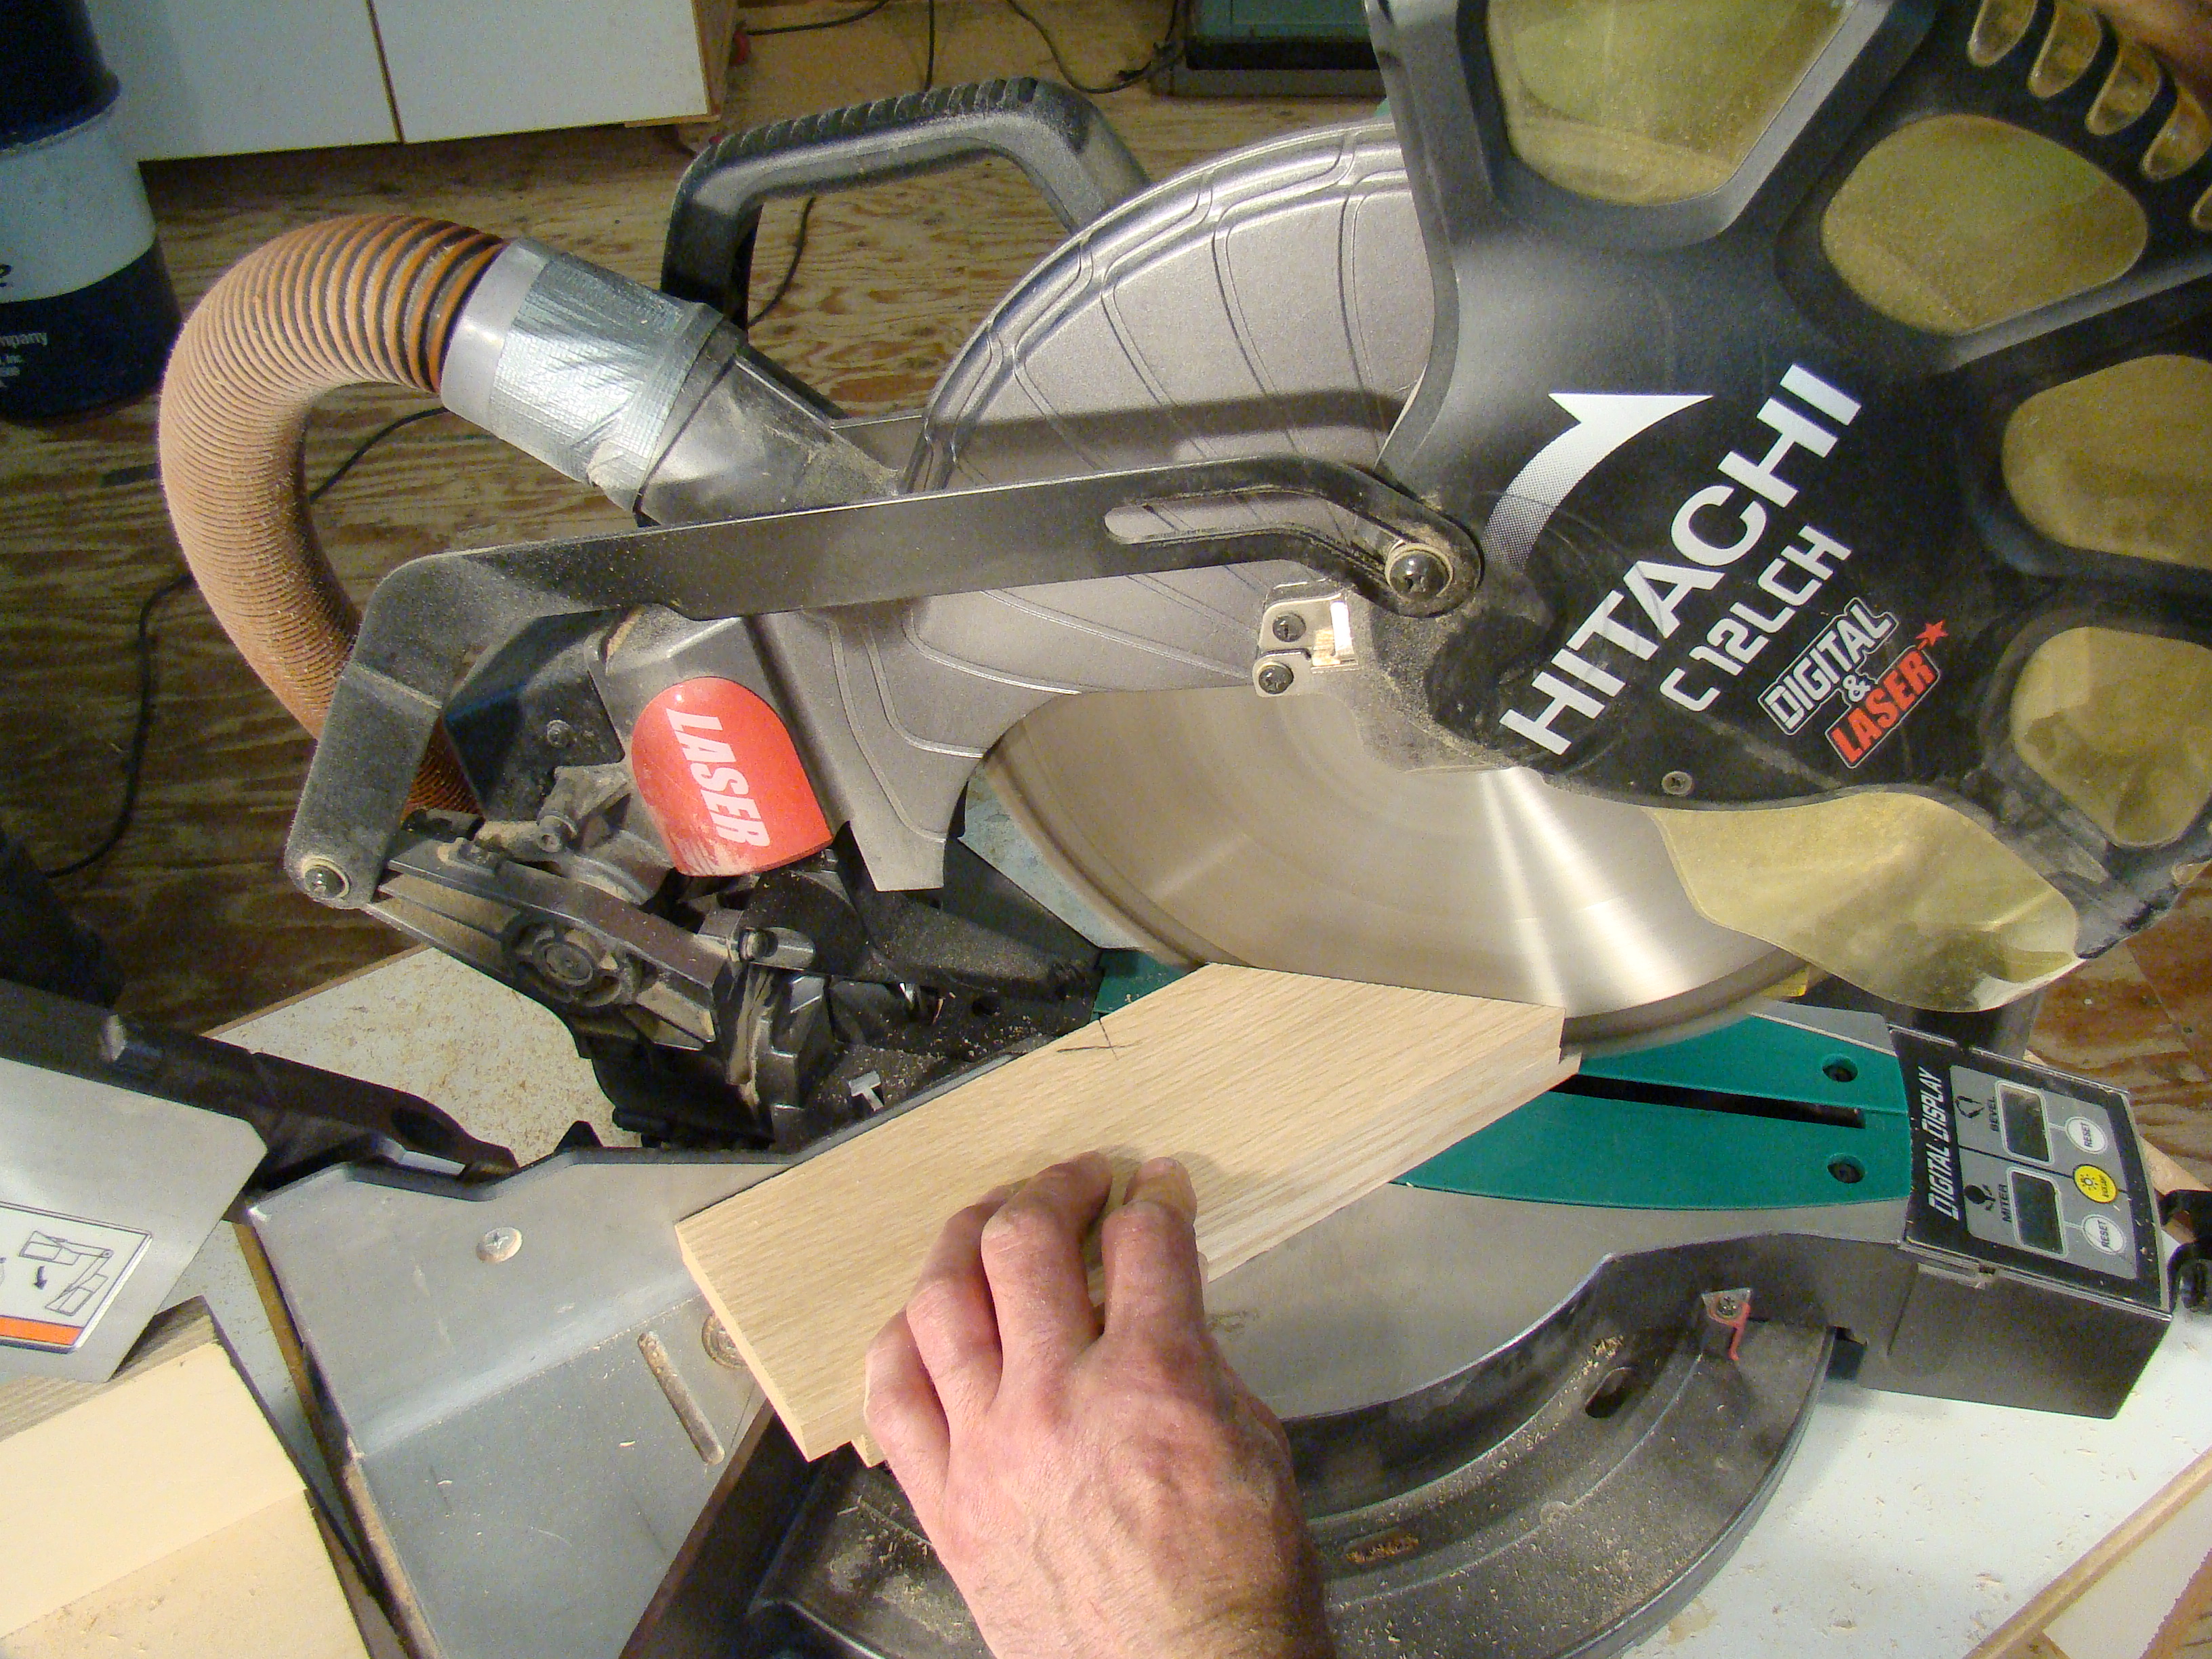
Make A Cut
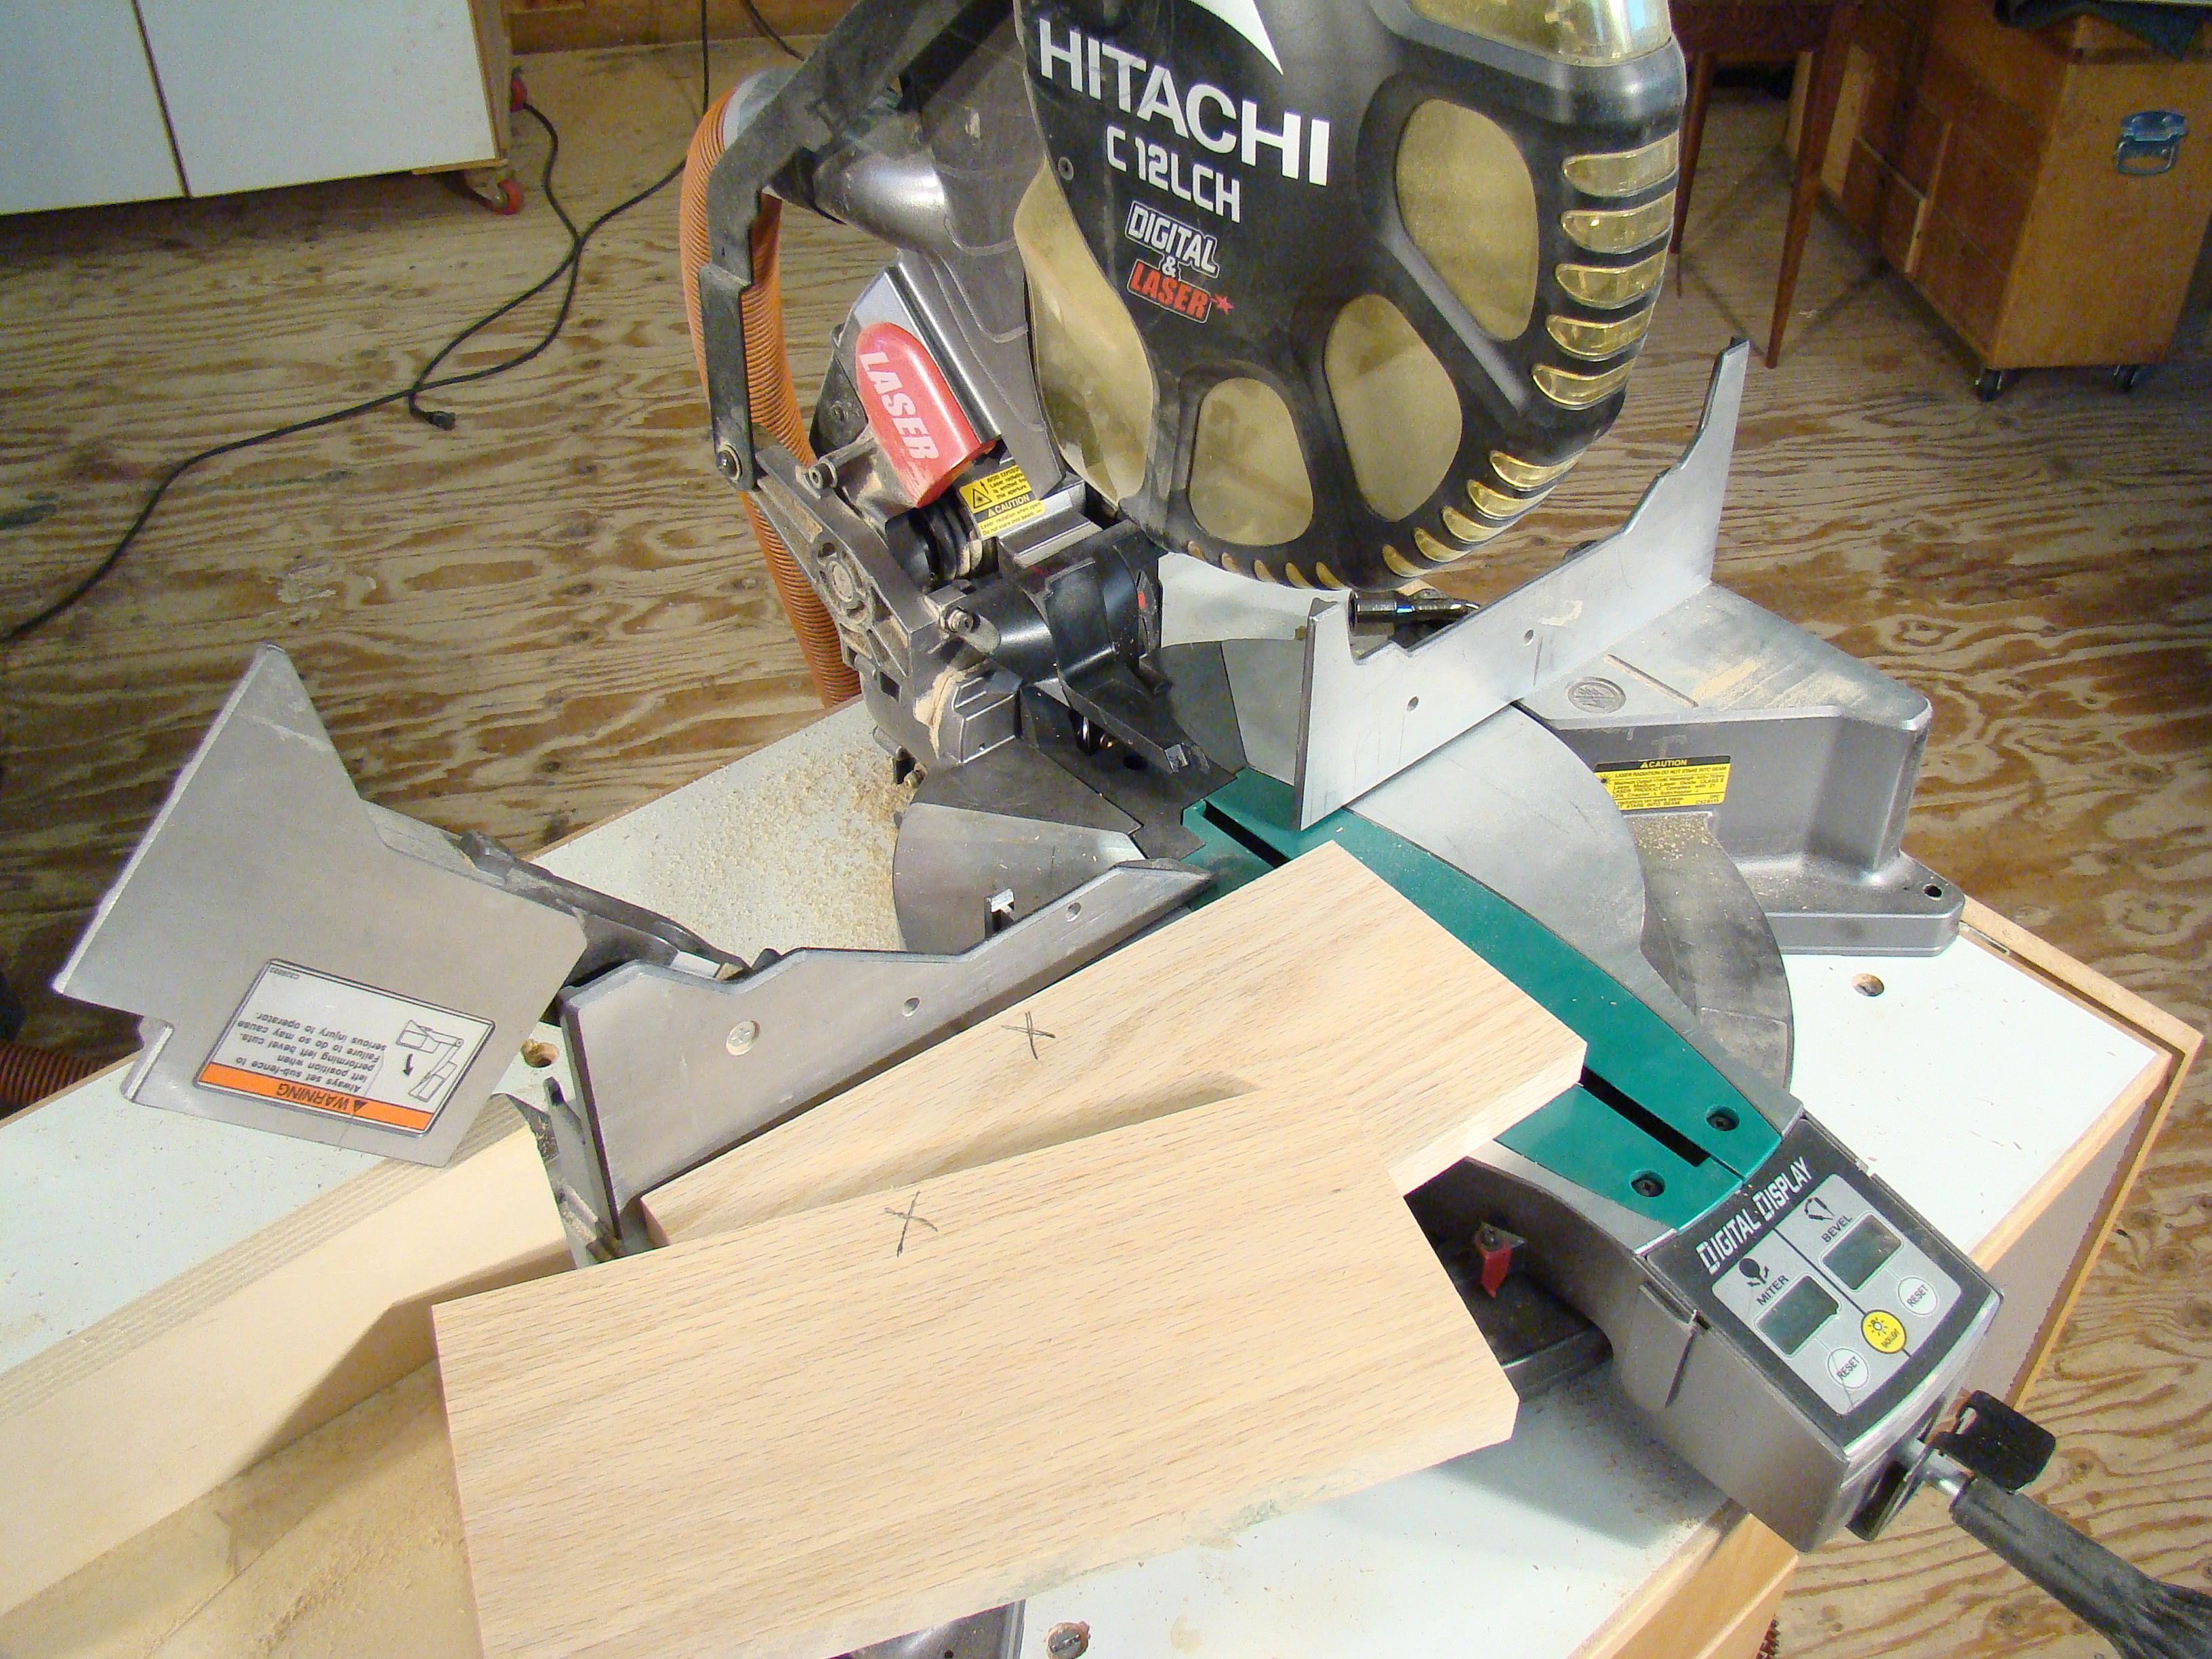
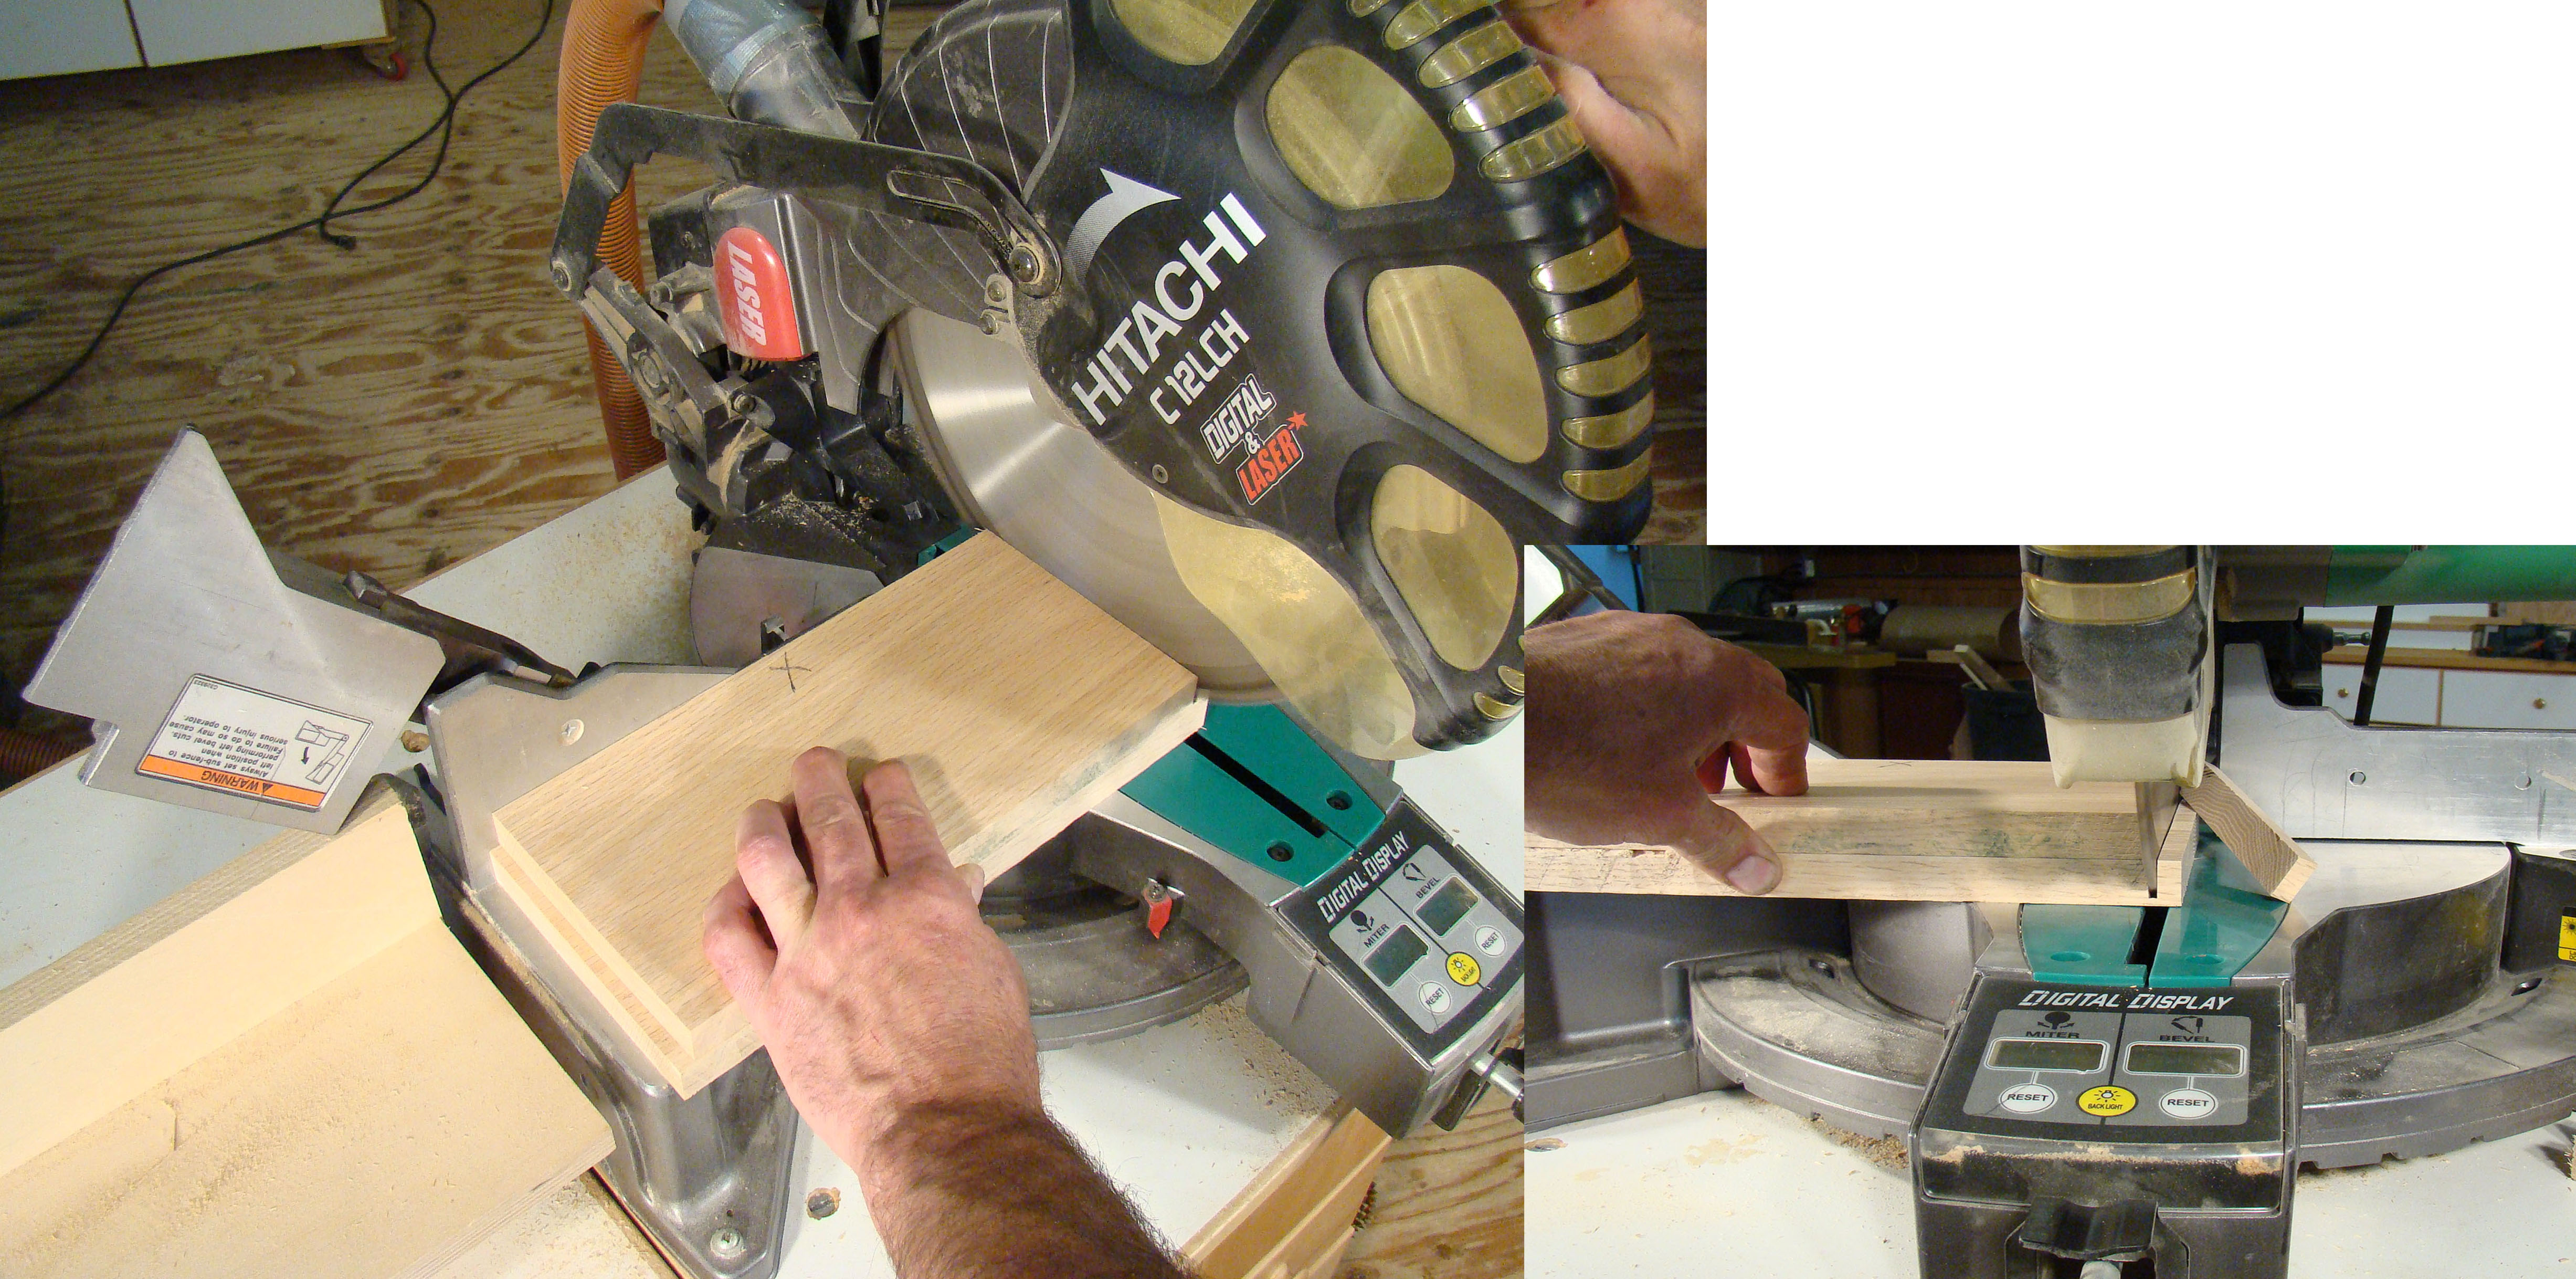
With the jointed edges against the fence make a cut. It's OK to cut both boards at the same time. But get in the habit of helping the saw make a good cut. It's best if you set up the cut so that the blade has material on both sides, rather than just skinning the end grain. If you merely skin the end grain the blade can deflect away from it, adversely affecting the cut. If there's material on both sides of the blade you won't get deflection, and the cut will be straighter.
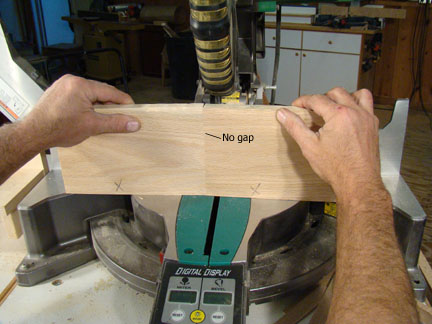
Check The Cut
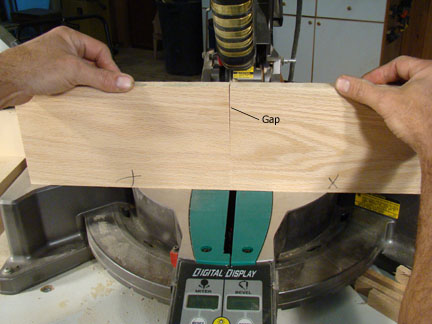
Place the jointed edges on a flat surface and position the cut ends against each other. Check for gaps. These boards show a gap at the top of the cut, so the saw can't be cutting at 90-degrees. Since both boards were cut the gap amplifies the error. The size of the gap is twice the amount your saw is off. One of the things I like about this approach is that it makes small errors look big, allowing you to really dial in the accuracy. Check your owner's manual and adjust your saw as needed. Make another test cut.
What You're After
You're done when the cut edges touch uniformly across the width of the board.
Check The Bevel
If you have a compound miter saw you also need to make sure the saw cuts a perfect 90-degrees perpendicular to the table. With jointed edges down on the table cut two boards. Again use material that's close the max your saw will cut. Check the cut ends the same way you did on the previous step, and adjust the bevel angle until it's perfect.
Perfect Miters
OK, second verse, same as the first. With jointed edges against the fence and the saw set to 45-degrees, cut through two boards.
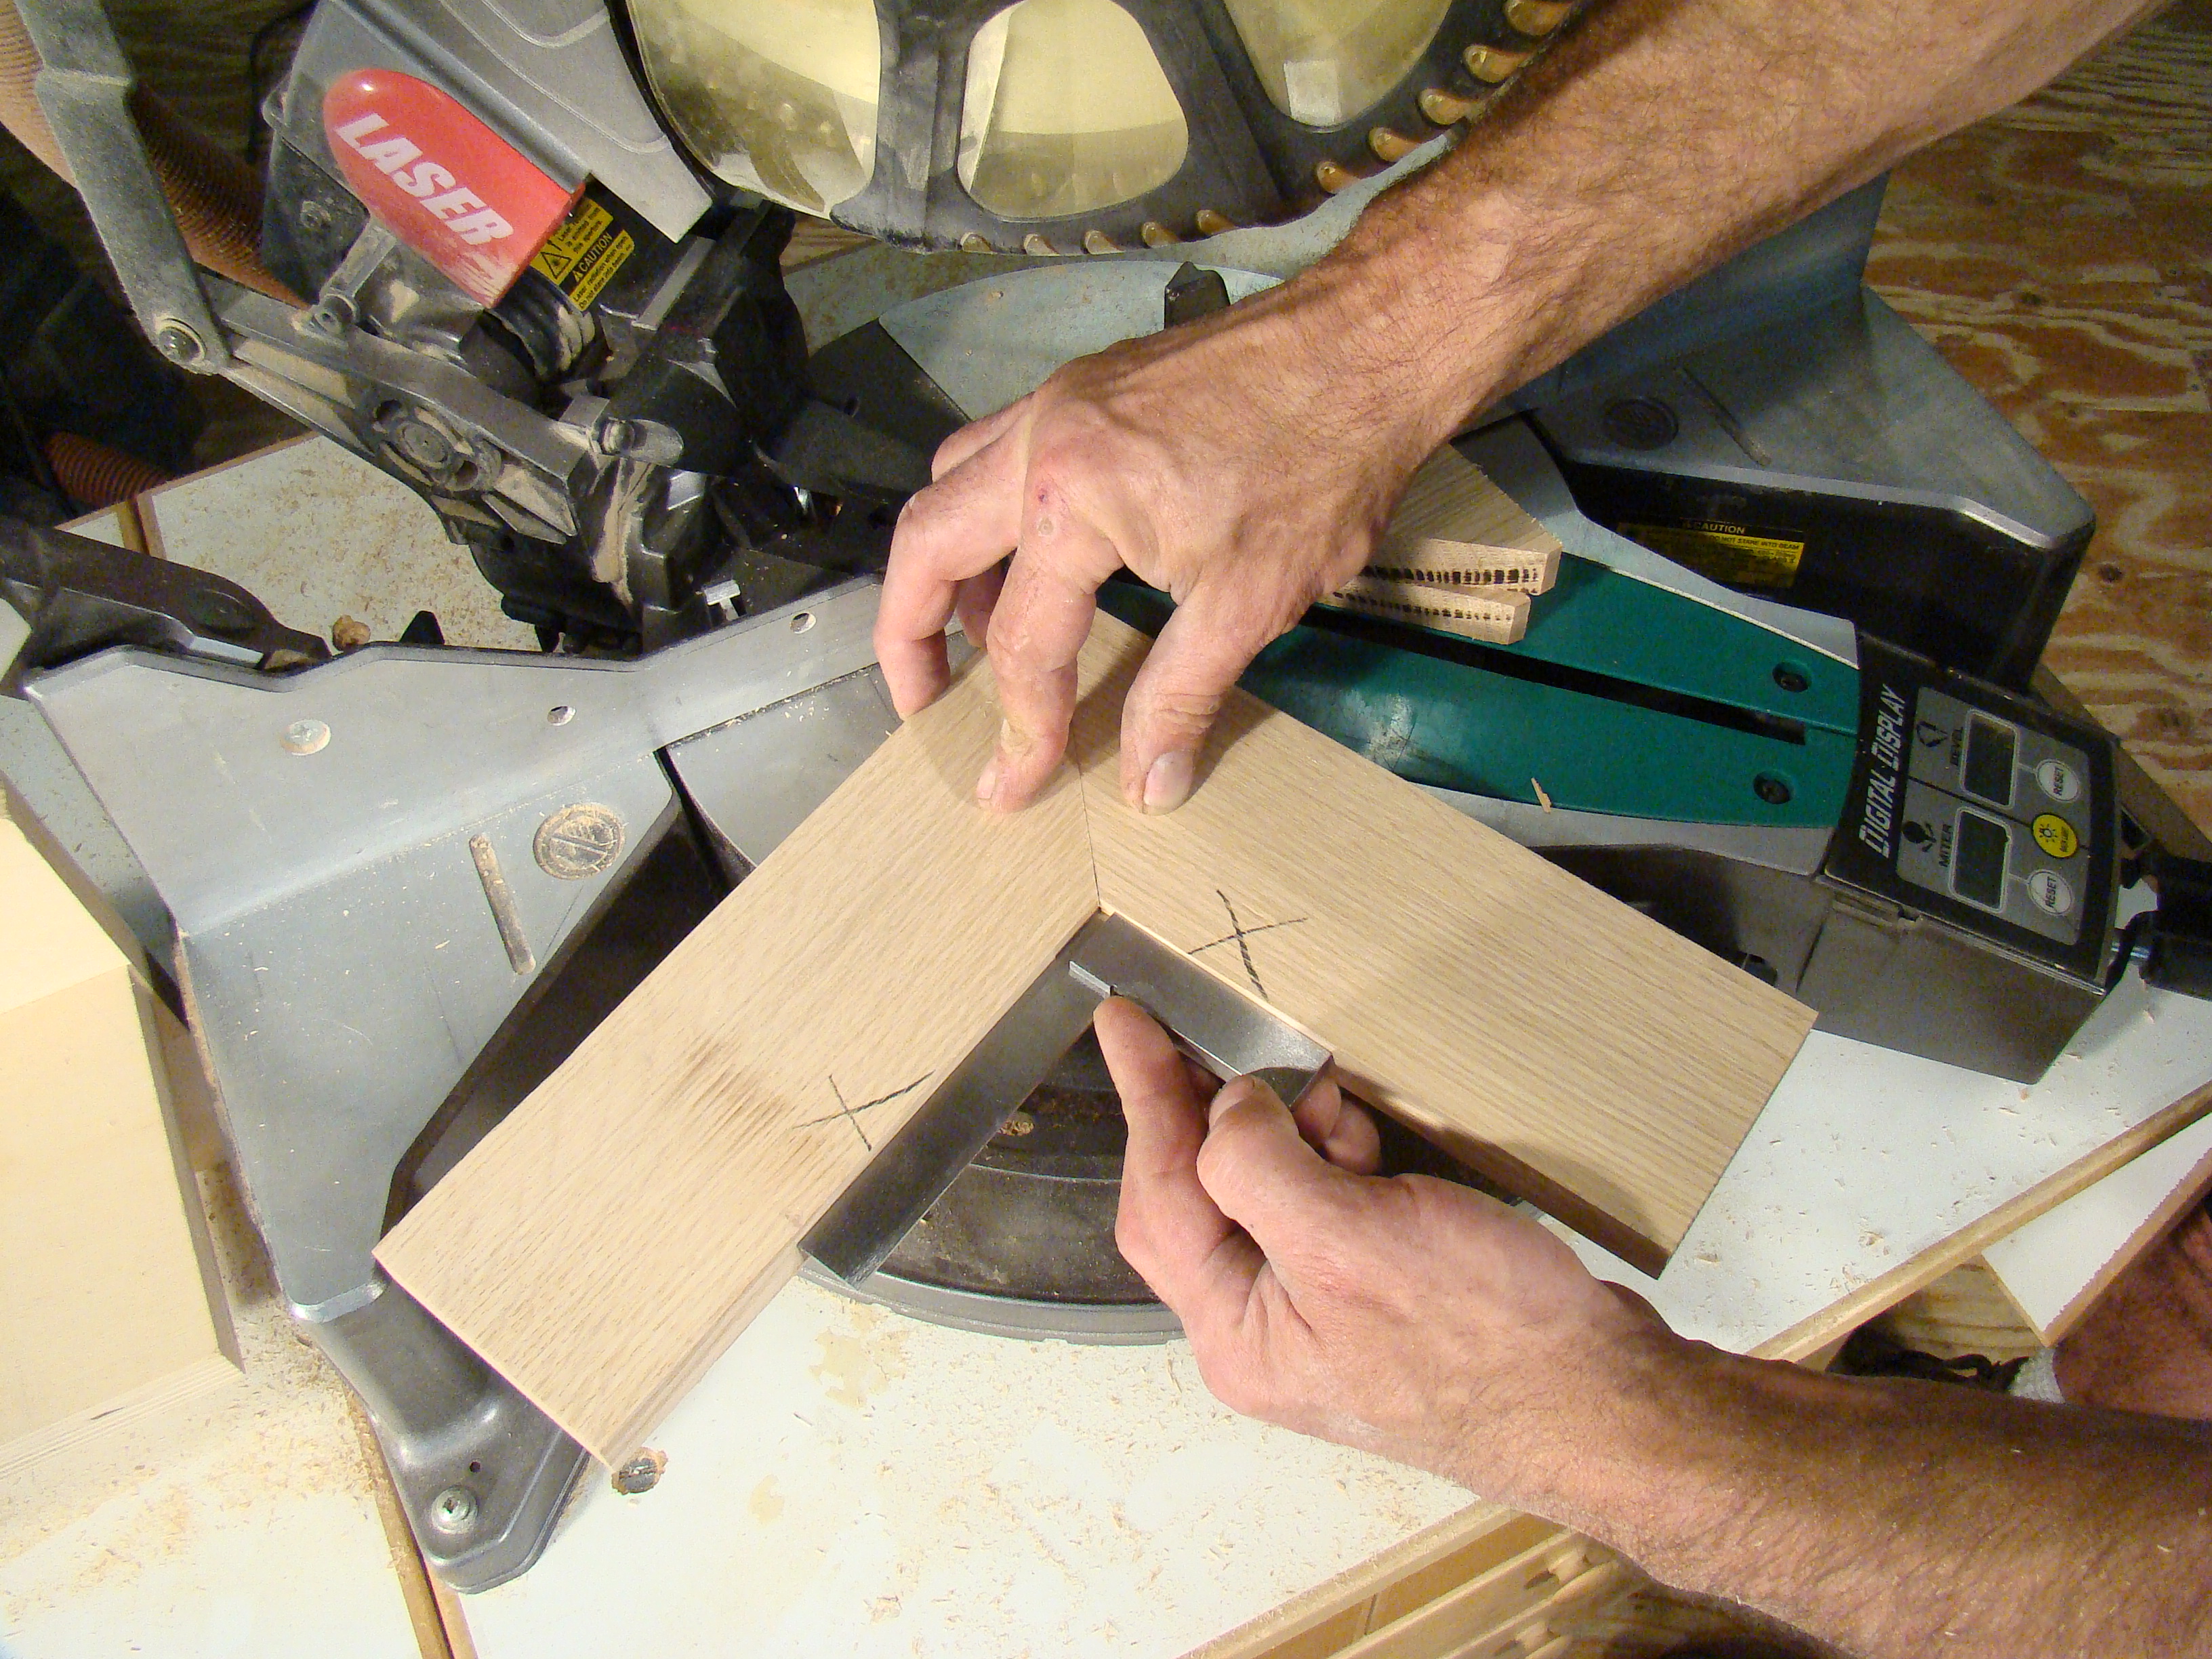
Check The Angle
Hold the miter closed and position a square in the inside corner. If the edges of the square are in full contact with the material, you're good to go. If you see gaps, you need to correct the angle of the cut.
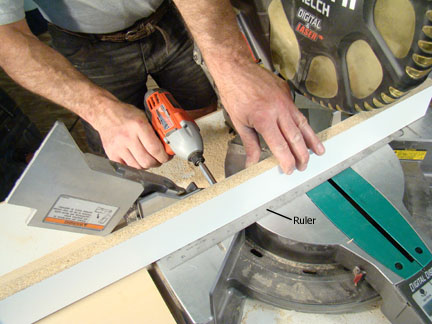
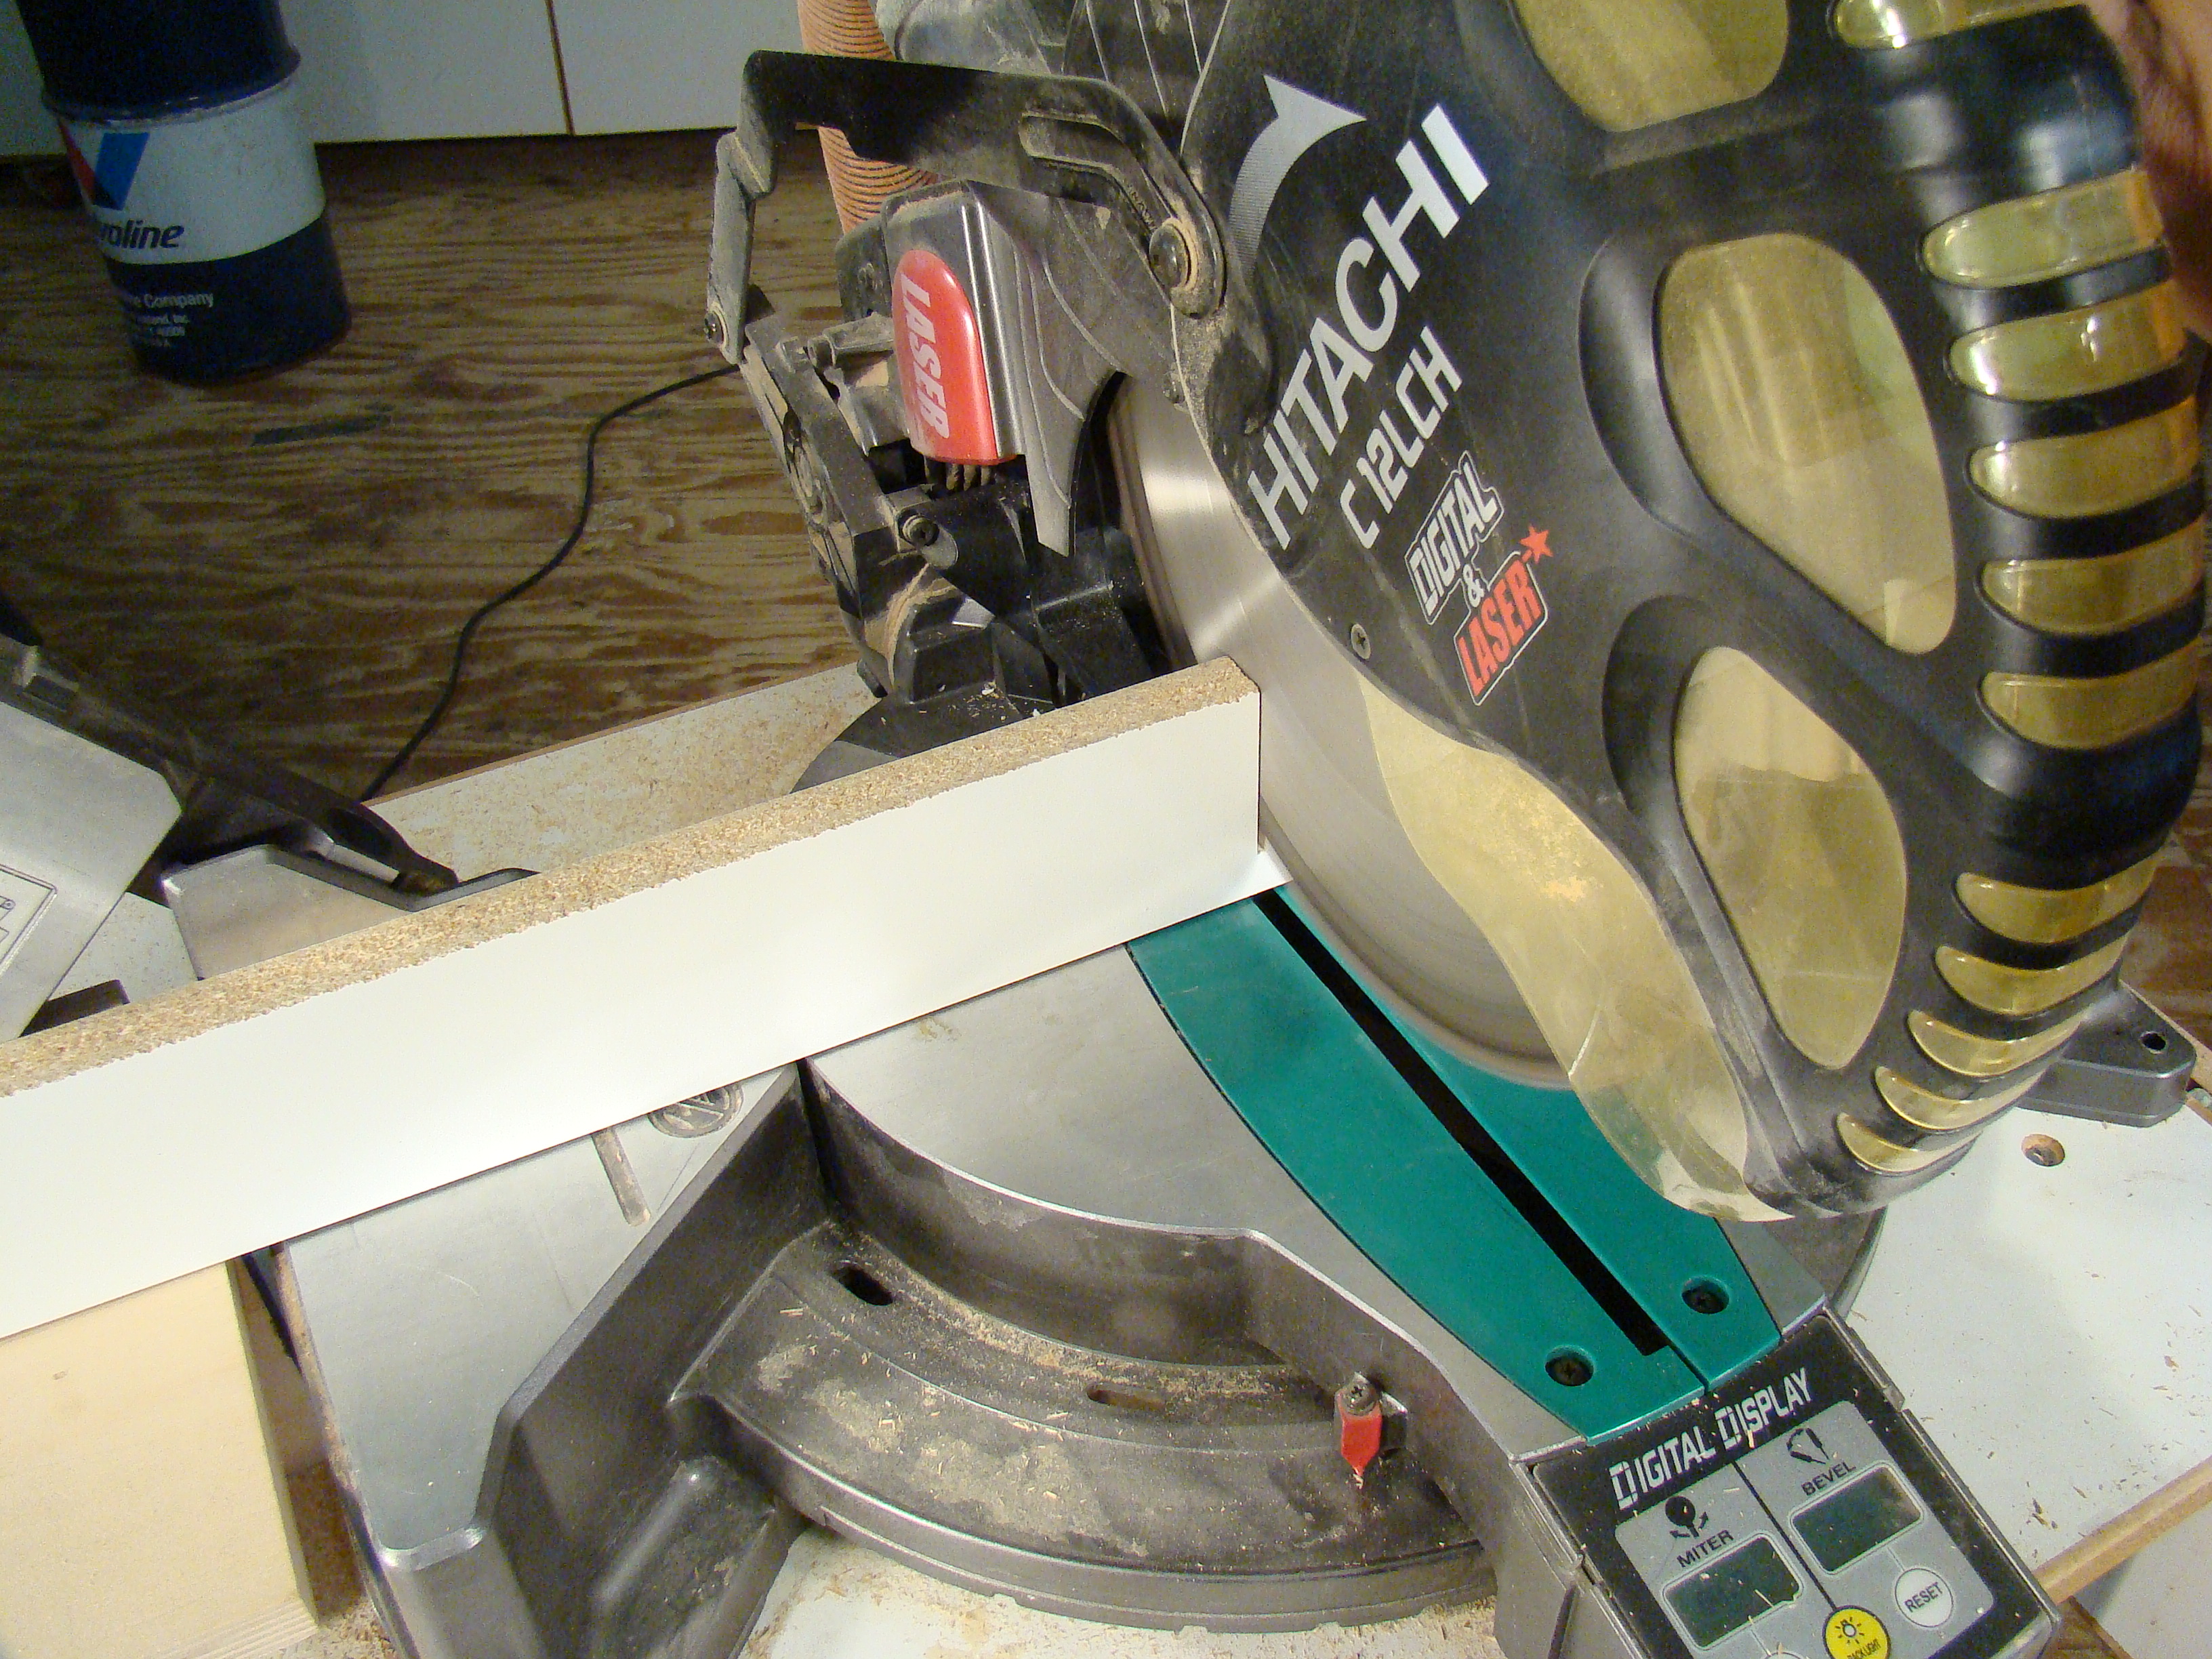
Make A Line-Of-Cut Fence
You're gonna love this. Make it easier to accurately position your material on the saw by adding a line-of-cut fence. This consists of a sacrificial fence you fasten to the miter saw fence. There are typically holes in the saw fence you can run screws through, into your sacrificial fence. Mine is made out of melamine. The ruler between the sacrificial fence and the saw table provides a small gap under the fence that gives sawdust a place to go so it doesn't build up in the corner.
Make The Line-Of-Cut
After the fence is screwed on, cut through it.

Using the Line-Of-Cut
You've now made it very easy to accurately position material on the saw. Mark your material with a lay out line that's near the edge, and position the line on the kerf you created in the fence.The edge of the kerf precisely indicates the line of cut of the saw blade. Works great!
Photos By Author


Thank you!
I love the step by step explanation followed by very helpful pictures. Thanks
I'm not sure why but this blog is loading very slow for me. Is anyone else having this issue or is it a problem on my end? I'll check back later on and see if the problem still exists.
I really like the way you tuned up your Saw. I have my Saw cutting at 100 💯 percent now.awsome and thank you.
Not exactly a "pro tip" but a "if you do it enough you eventually" sort of advice. 1) buy a GOOD sliding chopsaw. I have a Mikita with a sharp 80 tooth blade. 2) buy one of the angle measuring thingies. This one is just what I have but I bought it used along with my saw (pro tip- get everything used:). 3) use two pieces of scrap wood. Cut one with the advice of the dial thingie to whatever it says is the angle- this will be slightly off. PUt this on the wall. Now, use the scrap wood and starting off with what the dial says to do, make cuts with your saw on the scap wood until the two pieces fit perfectly. Now leave the saw where it is and cut the real piece. If it's slightly off, well that's what plaster of paris and/or epoxy are for on painted surfaces:) I hardly ever use a tape measure or other quanitative device because they are virtually worthless on existing construction especially old construction which doesn't use dimensional lumber.
Your article has really helped me in selecting the right miter saw. I was really confused about my requirements and the properties of the miter saw. Now, I am quite clear that I need a miter saw and what kind of blades I need to have.
I'm curious
I bought a cordless meter saw lastday. But i am not confident about using this properly. Btw your guide's make me educated to operated my miter saw. Thanks George Vondriska for your great giveaway for us.
Thanks for sharing your helpful blog. I’m a beginner in woodworking and the primary gear. Do you've got any revel in in selecting the blade? I bought is miter saw. And it's far pretty beneficial. But I actually have trouble selecting the right blade for my miter noticed.
I am in the middle of setting up a miter saw station and I find this article really helpful. I am currently using the saw frequently, so the station will come in handy. Thanks for sharing. I have also watched your videos and they are really detailed and informative.