Tom Caspar

Planer Safety Tips

Tom Caspar
Duration:   12  mins

Description

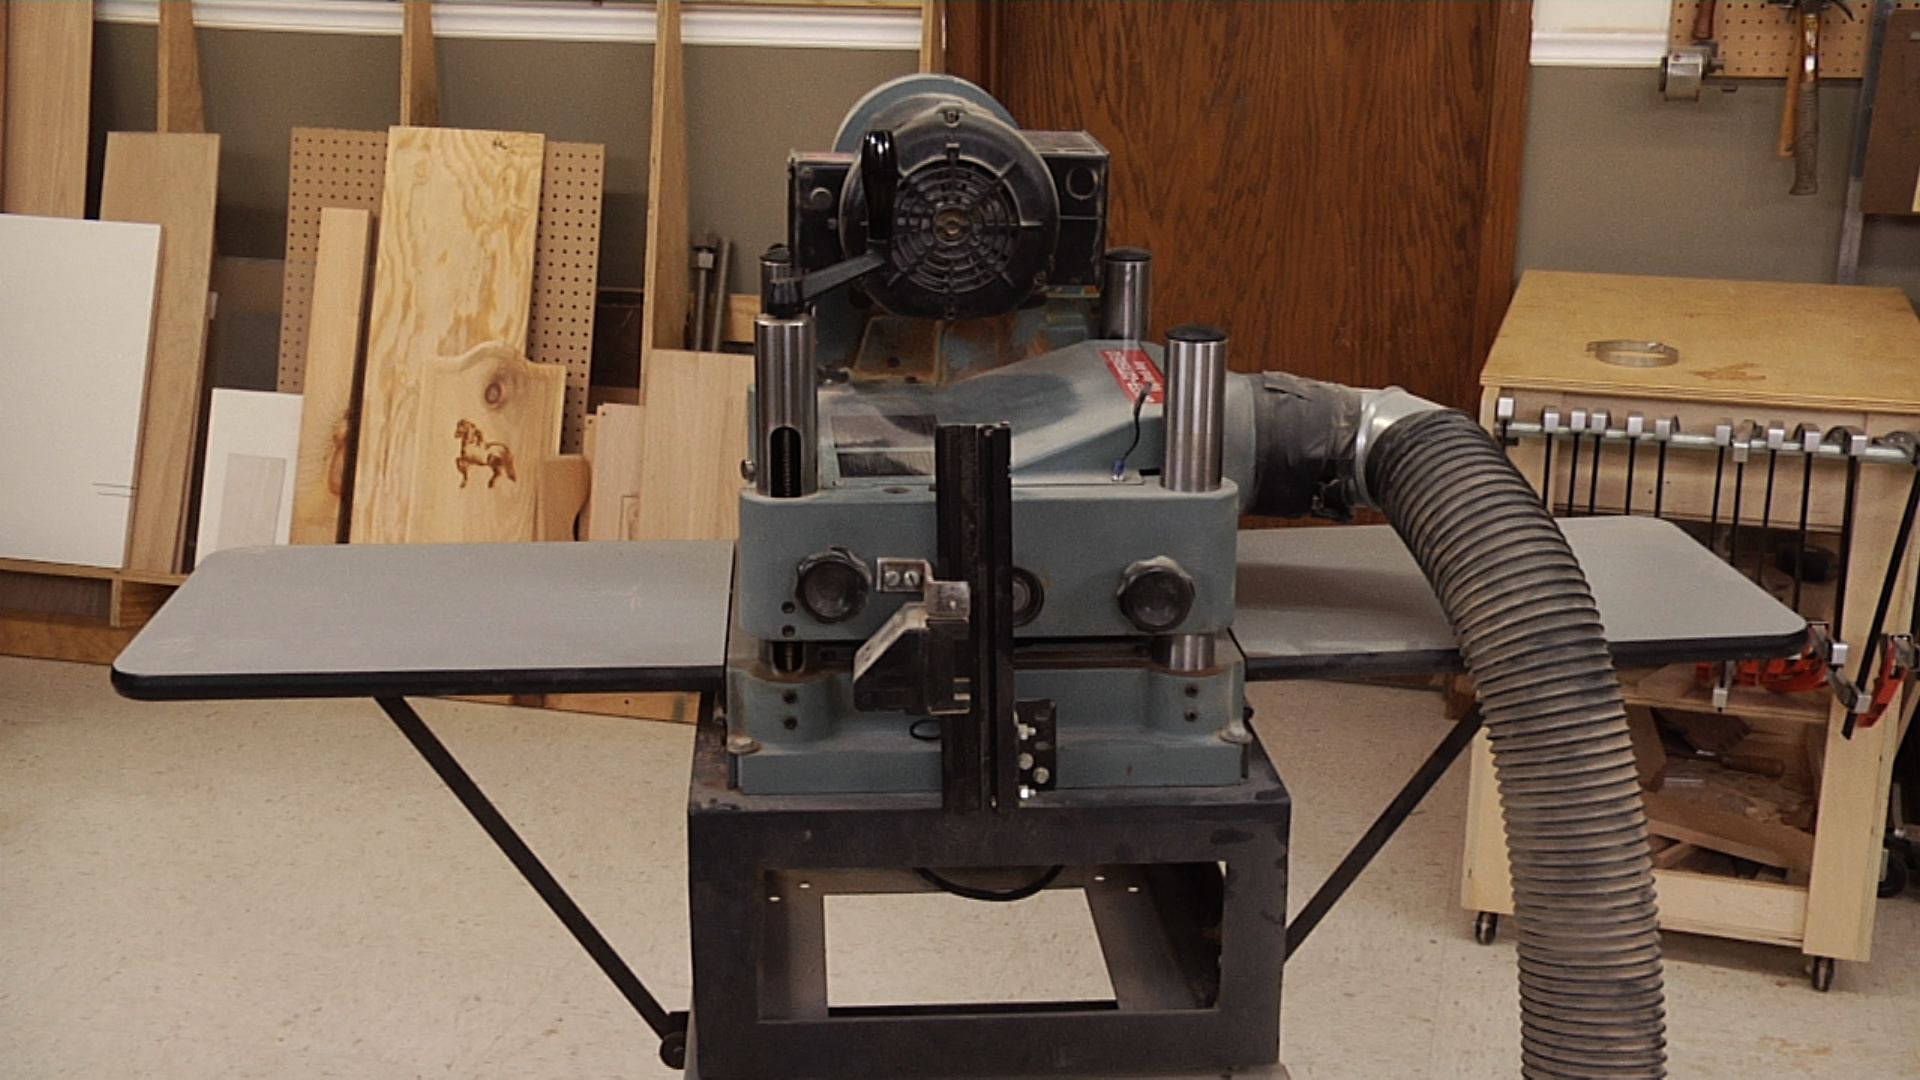
Planers can do so much for you. They’re pretty high on the must-have list of standard shop tools because they are full of horse power and have a very high cutter head speed. There are a lot of things that can go wrong. From hearing protection to where you stand, there are some simple things you can do to make sure that you’re using a planer safely.

Share tips, start a discussion or ask other students a question. If you have a question for the instructor, please click here.

Make a comment:
characters remaining

11 Responses to “Planer Safety Tips”

  1. Gustavo Forster

    Check your nuts -- KNOTS, kids

  2. Jim

    Good information on the safety tips. I know the ad at the beginning is "necessary" but what's NOT necessary is that it play at such a LOUD volume, that I can't turn down. Please fix that, George. [Just like watching TV--same problem!]

  3. Dave

    I try not to send a couple narrow boards through my planer in the same location, hoping to 'even out' the blade wear. BUT, if I send a couple boards through, say, the far right of the planer, does that affect the flatness of the cut, since all the forces are on one end of the blade span? 1975 UW-Stout grad!
  4. dirkbez

    Thank you for another great teaching video. Showing how the machine works inside makes all the difference in understanding why there are do's and don'ts.

  5. Paul

    Excellent video. Very instructive

  6. roylg

    Tom, what a great and useful vid. Full of tips for use and safety.

  7. Samuel Marrero-Vargas

    How the end-grain can be flatten if it can't be done with the planner or the jointer?

  8. Jorge Luis Denis

    Hello. I'm argentine, mi english is bad and i'm a newbie in woodworking, in spite of all this y understood and realized everything he explained. Tom Casper is a genious.

  9. J Mack

    Tom Casper is such a great teacher! His soothing, soft spoken voice is relaxing and easy to listen to and he has a funny low key sense of humor. Where was this guy when I was a kid in school?

  10. Melvyn Hill

    How was the depth gauge added on

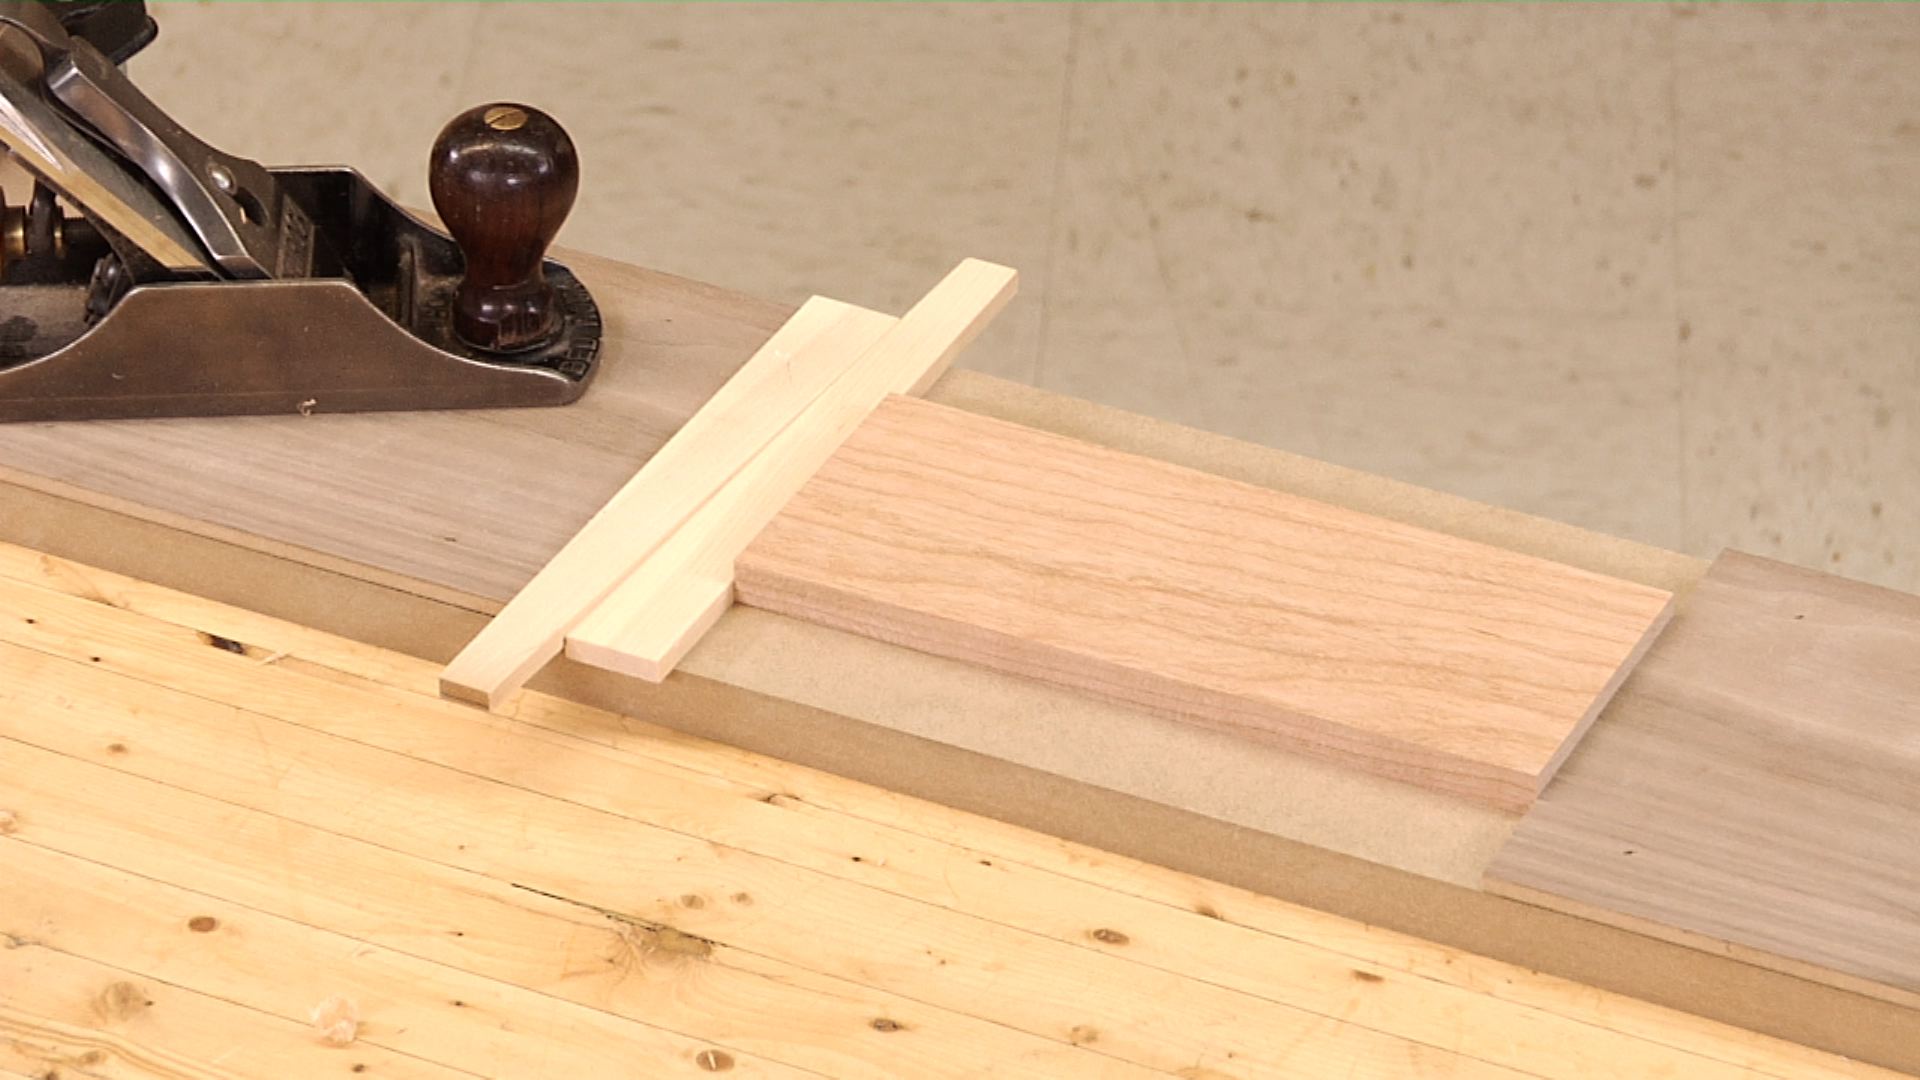
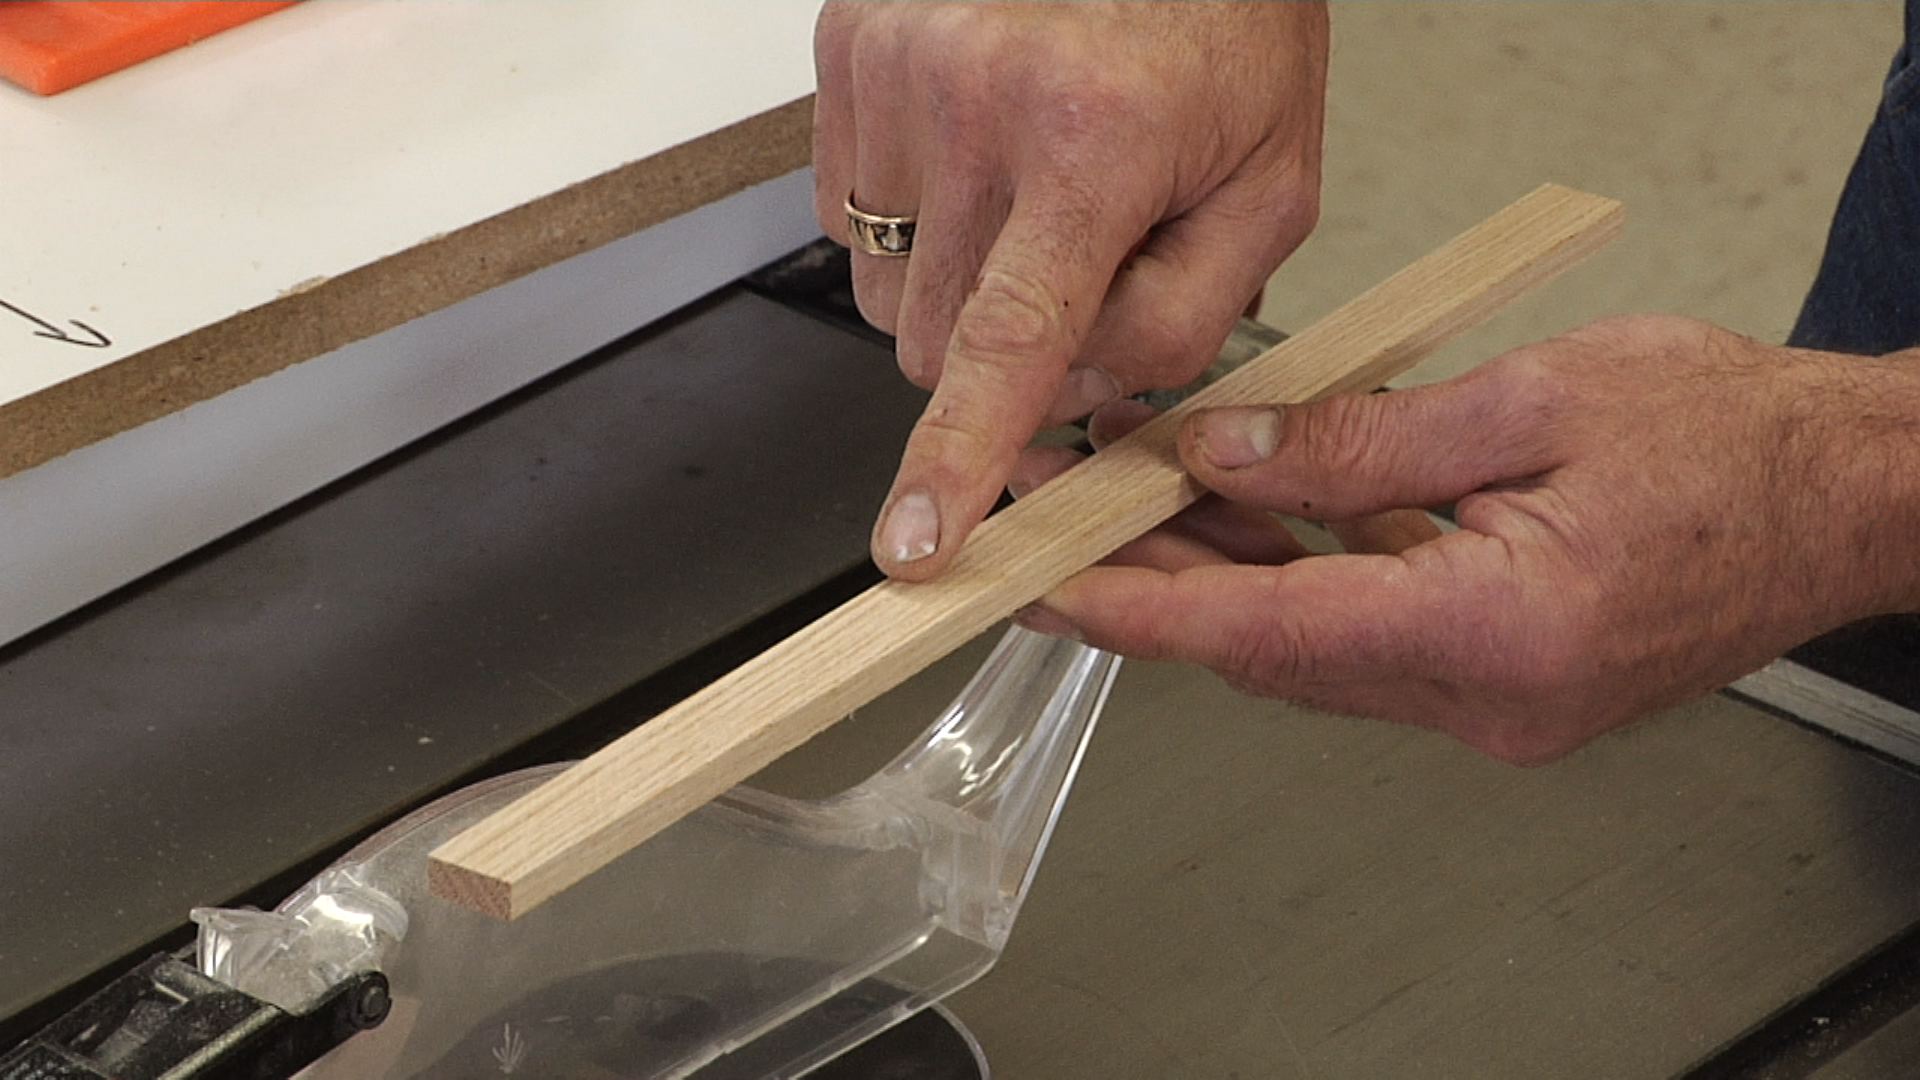
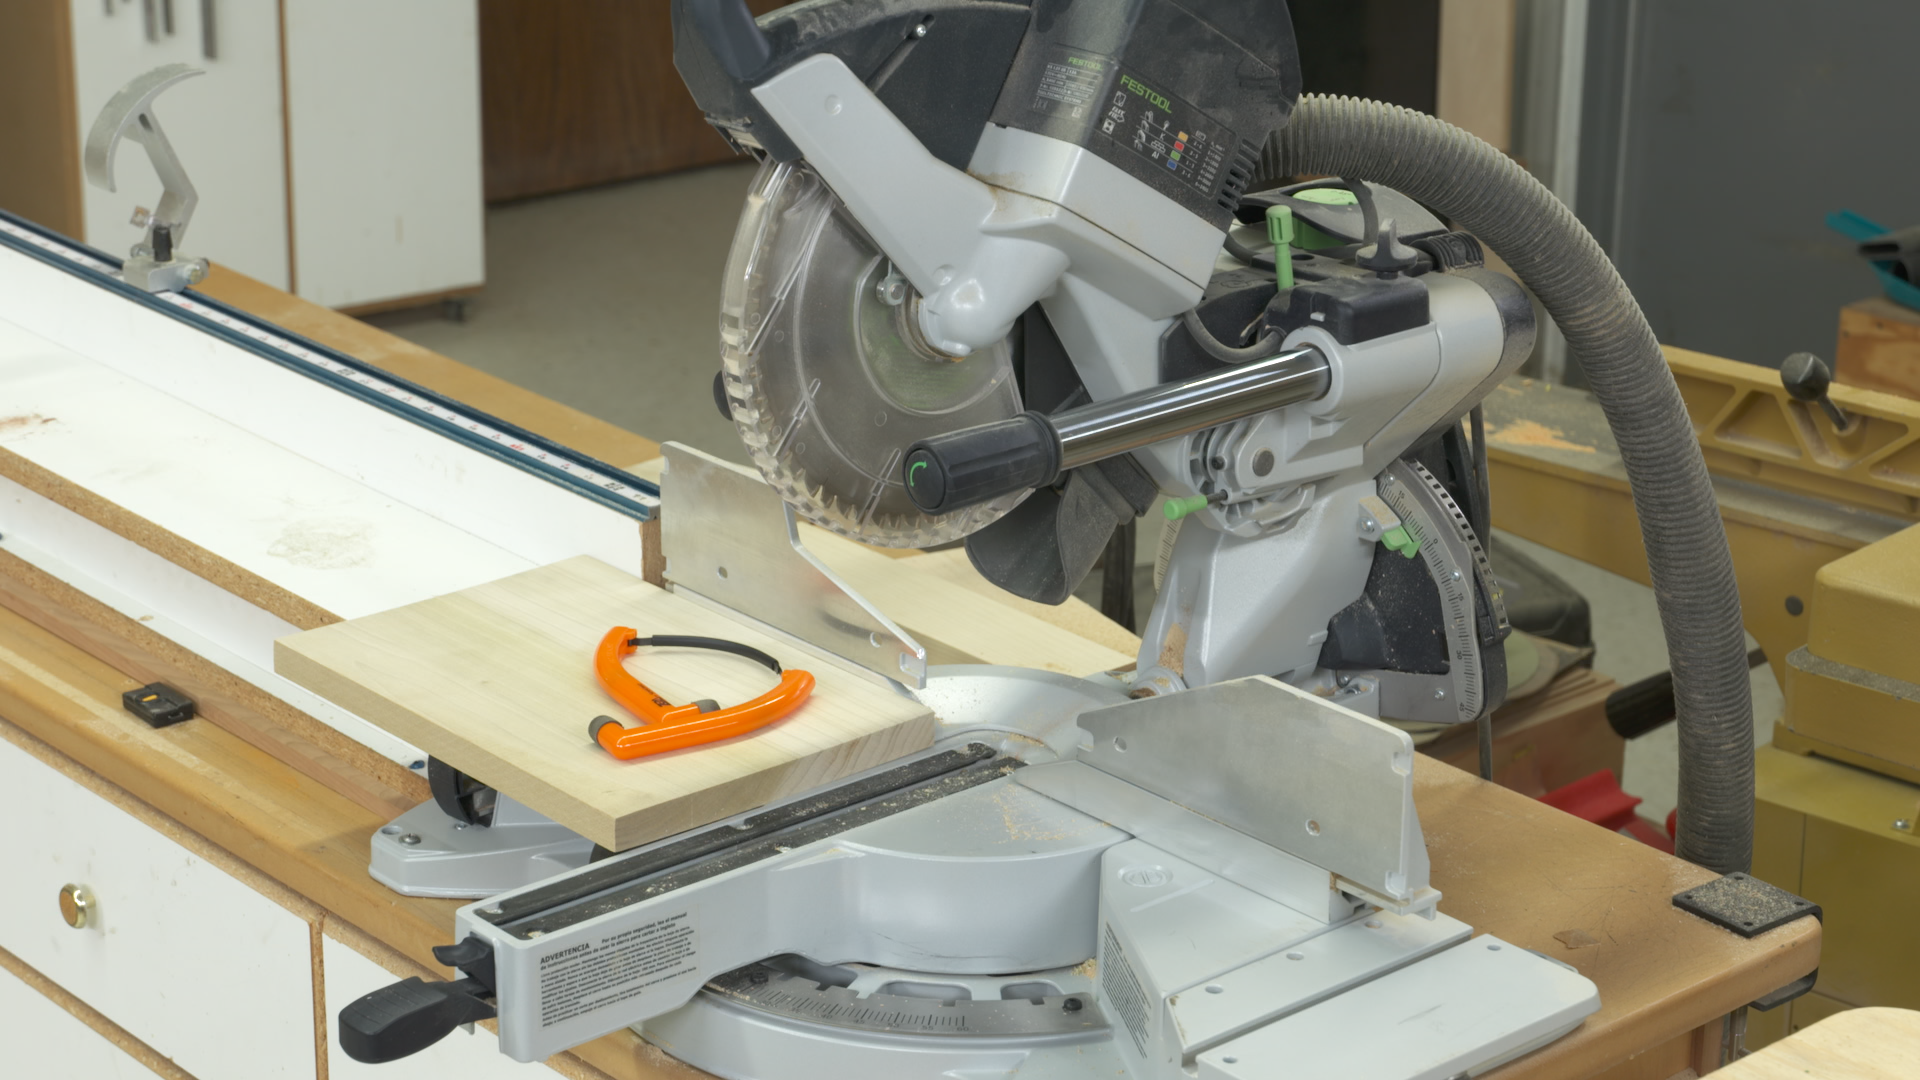
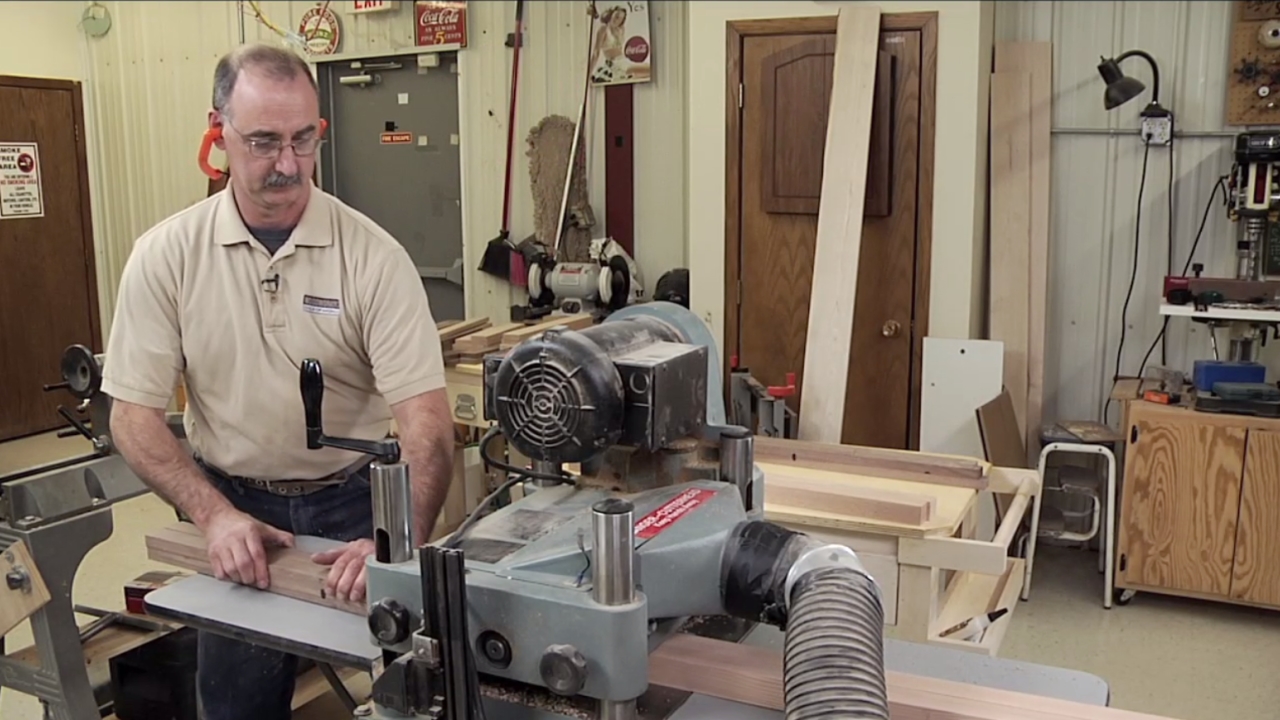
Planers are really loud machines. Back in the Paleozoic era, nobody wore any kind of hearing protection. And I'm still having a little trouble hearing stuff now and then, but when you use a planer, please put on some sort of hearing protection, whether it's headset like this or ear plugs. Not only that, but when you turn on the dust collection that increases the velocity of the air over the blades, and the whole thing raises up a whole another pitch. So, wherever you're collecting the dust off your planer, we never used to, back in the battle day, but we all do now, wear something on your head. Let me show you something else about planning a board. Sometimes boards are thinner at one end, thicker at the other, you don't even expect that, but it can happen. If you're pushing a board like that through the planer, it can just stop at some point because the guard and the frontier will prevent the board from traveling any further. When that happens, don't panic, just hit the off button, and then lower the cutter head, or in this case raised the cutter head, and pull the board out and start over again. One way to avoid that, if you know that the board is tapered just to feed it through, fed in first, set your depth of cut accordingly. When you're feeding wood into a planer, be sure and stand off to one side, not directly in the line of fire, of anything that could possibly come thrown, be thrown back at you like little chips or dust, or even a, who knows what, you just don't want to find out. So stand to the side, feed the wood in like this. And be aware of your hand position too, because what you don't want to do, is have your hands gripped around a board like this as you're about to feed it in and get pinched between the Infeed table in the board by the pressure of the Infeed roller down. So, never grip the board like this, when you're feeding it in, just lightly support it with one hand, start it with the other, give a gentle push and be aware of that six inch zone in front of the Infeed end of the planer. Your hand should never go any closer than that. So, just be aware that there's downward pressure on the board, don't get your fingers caught, especially in a planer that has rollers instead of a solid table like this. Let's talk a bit about how to use a planer safely. This is one of the most productive machines in the shop, and it's kind of a black box sometimes, most people don't really understand how it works. And that's going to be important to know how to use it. But let me start out by saying first, that the length of stock that you push through a planer is critical. That is, there is a minimum length that you should not push through this thing. For instance, a block like that, you might think it's pretty obvious for those of you who've used planers, but for those of you who haven't, this ain't gonna go through the machine without doing something seriously wrong. My rule of thumb is only to push through pieces that are at least 12 inches long. Mostly because that's just an easy number to remember. But I should explain to you where this number comes from, because the manual from your machine might suggest something shorter, might be little longer. It all depends on the configuration inside the machine. So let's go inside and see how this thing works, and then we'll see where this number comes from. I've unplugged the planer and raised the head all the way up, so we can get a good look at what's going on underneath. There are three basic components that I want to draw your attention to. First, there's the Infeed roller, which is a serrated cylinder that pushes the work into the machine. Over here is the actual cutter head. It's a long, straight knife that rotates toward me as I'm standing on the Infeed side of the blade. This one rotates the opposite direction of course to force wood through the machine. Then the third component over here, is a smooth cylinder, the Outfeed roller that continues to push the wood after the end of it passes underneath the cutter head. So here's the critical point about the length of your stock. The piece that you're planing, can't be any shorter than the distance between the center of this Infeed roller and the center of the Outfeed roller at a minimum. And here's why, this piece is shorter, and if I imagine it being passed through the planer, right about when it reaches this point, as you can see, it won't be supported or pushed down, held down to the bed of the planer by either roller, and the cutter head is free to do anything it wants to the piece, it'll just jiggle around up in there, shoot itself out back at you, or who knows what. So the point is that as a piece is being planed, it has to be supported by one or both rollers. And that's why the 12 inch rule comes into effect. So again, your your planer's manufacturer might recommend a shorter piece, the 10 inch one might be okay, they may even say that has to be 14 inches long. For me, 12 inches is just about right. And here's how it would look on this planer, you can see a 12 inch board plenty of support between the two rollers as it's being passed through and as it exits, plenty of pressure that is from the outfield roller as it goes through. Let's talk a bit about what you can and can't run through a planer. Well, first of all, let's talk about the planer itself. It's a machine for thicknesses wood, not for flattening it, that's what a jointer does. A planer is generally a machine that's used for taking the opposite side of a board like this, that's been flattened on one face, and reducing the other face so that it's a parallel thickness to it. So this would be perfectly fine to run through a planer. I've jointed this side, run it through here, no big deal. How about some other materials? So let's take a look at this one. Here's a board that's flat on one side, it's an end grain cutting board, let's say I've all glued it up, it's all irregular on the top edge, can I flatten it through the planer? No, I shouldn't. And the reason is, is because as you know this wood types tends to chip out as it's getting cut, end grain in particular is pretty weak here. So if I run this through the planer, the last pass all the way through as the cutter heads at this end, chips things out, who knows where those chips are going to go flying, maybe up into the dust collection system, maybe back at you. So don't go there, find some other way to surface something like this, a router and a gantry is usually the best way. Here's another candidate for the planer. If I wanted to flatten this, could I do it? Not really. First of all, there's no flat face on this at all, which is pretty obvious. So it would just roll and rock as I passed it through the planer. If we could figure out some way to secure this to a big flat board, that would be okay. But as it is, don't even think of going there. Other things that you shouldn't run through the planer, melamine, MDF, manmade materials like this even plywood, don't even think about it, it's going to destroy your machine, chips may fly, bad things happen. Anything that's not wood, don't even think about that, solid surface material, it's just for solid wood, one surface flat. So again, this is the classic piece to run through there. You've jointed it, now it's time to plane it. Sometimes when I want to plane knotty wood, I got to be very careful that none of the knots are loose. For instance, this two by four has a lot of tight knots in it. They're not going to jiggle loose when I'm planing the board, but this knot right here is loose. Let me show you. If I hit it with this punch, knock it right out. That's what I want to do before planing this board, because what I don't want to have happen as I run the board through the planer, is to have that loose knot pop out and come flying back out at me. So check your knots. Normally planers used to thickness boards that have already been surfaced on one face. But if you don't have a jointer, or if your board is wider than the bed of your jointer, let's say you only have a six inch jointer, you've got a 10 inch board, how are you going to flatten it? Well you can use your planer to do that. You can also use your planer to flatten something that is pretty darn twisted as well. And what you need for this is a sled which is a big thick, flat board like this, I've just glued up some pieces of MDF to make my sled. This sled has a cleat on the front edge, right here, and that will prevent the stock as it is being cut from being thrown forward by the rollers inside the planer. Now this board, just an old two by four, is pretty twisty as you can see. So before I run it through here, I have to stabilize it on the sled so it can't rock. That's pretty easy to do. All you really need is some shims under the eyespots. So what I'm going to do is put this little wedge under here, on that corner, another wedge on the opposite corner like this, in either hot glue, or tape the wedges down in place so they can't move. And now this thing is free to run through. Except for one thing, I also had a knot in this board, and I wanted to keep the knot. So rather than pound it out and lose it, I'm just gonna use some CA glue, glue that thing in there, and now I'm all free to run this whole thing right to the planer just as if it were a board with a flat bottom. Once this surface has been flattened, then I can do without the sled, turn the piece over and continue on to make my board. When you're planning a whole lot of wood to the same dimension, it's really tempting to gang it up and playing two pieces of wood at once. Which is just fine. Except for this one thing. On the first pass, these boards won't necessarily be the same thickness. You've jointed one side, made a stack of pieces, when you do have boards of unequal thickness as you feed them into the planer, the rollers will only grab the thickest piece, and this thinnest piece might just sit there stationary, while the thicker piece is being pushed through. And you might think, "Well that's fine, I'm just going to push this through myself." And that's not something you really want to do ever with your hands, is to push a piece through the planer. In fact, you should never get your hands closer than, say, six inches or so of this, the entrance to the planer itself. So, when you have boards like this, of unequal thickness, run the first pass through one board at a time. You can buck them up, one board after another, that way the planer is tricked into thinking it's one super long board, you will get less snipe. But on subsequent passes, when they're all the same thickness, grab them like this, feed them two at a time through here or so, let go within that safety zone, and you're just fine. A planer is a very safe machine to use that it really helps to know what's going on inside it, so you don't make any dumb mistakes, and that's what we're all about here, is avoiding all the crazy things that happen to people. But the safety rules are simple. Just watch it and we'll see you again later.
Get exclusive premium content! Sign up for a membership now!