Pouring Resin Over Edges
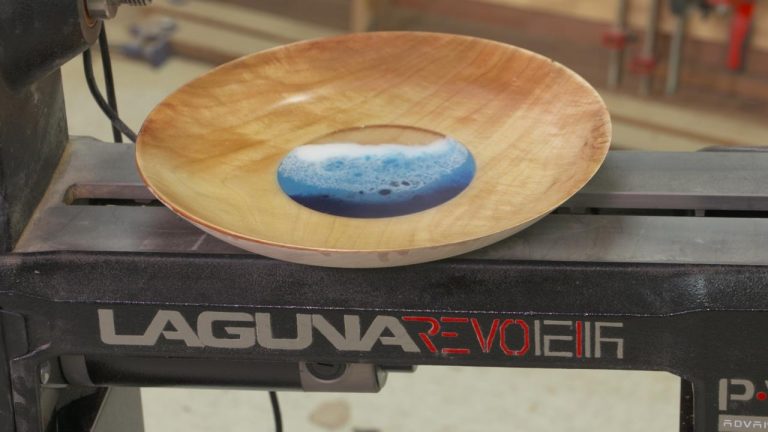
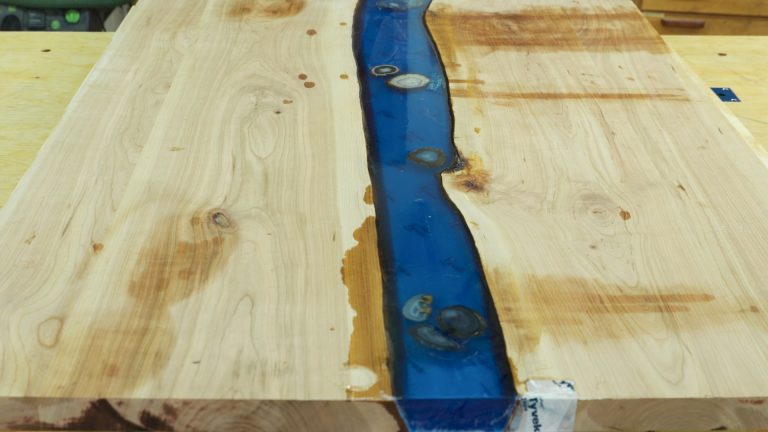
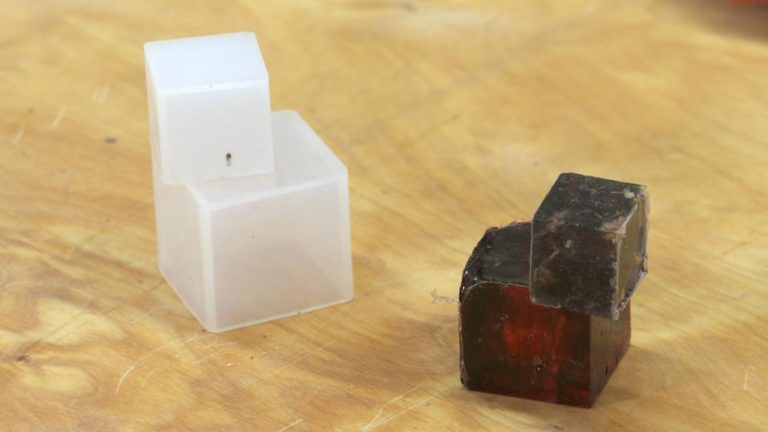
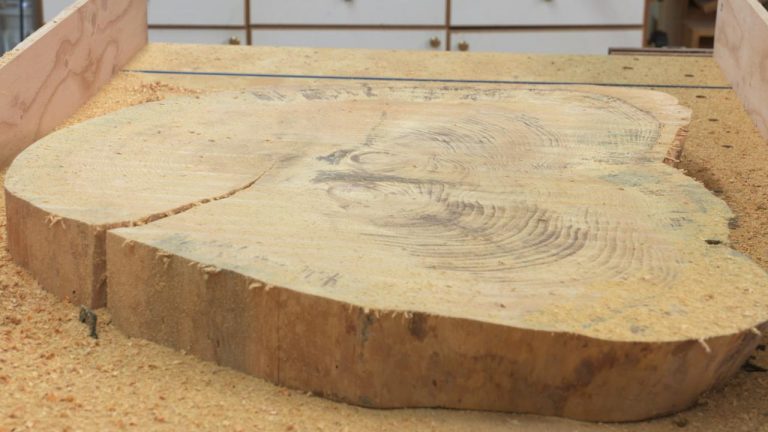
Jess CrowResin on wood is all the rage, and pouring resin over the edges of your project can achieve a beautiful look. This is an artistic technique that has come onto the scene in recent years and has been a top seller at craft shows, makers markets, and online shops. Customers rave about the poured resin look, making it a great technique to have in your arsenal as a woodworker.

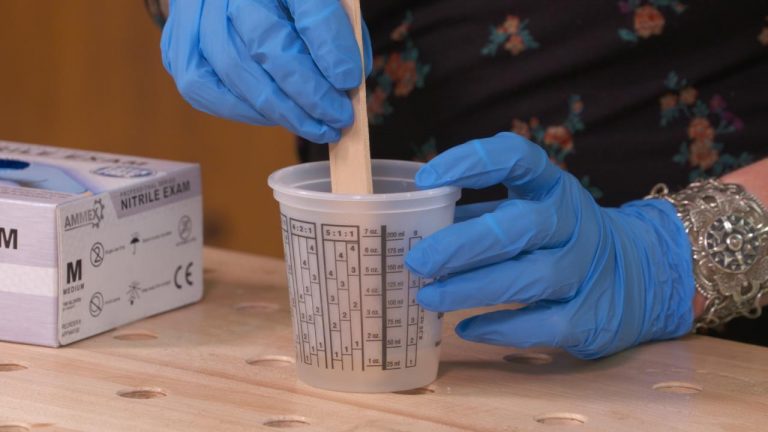
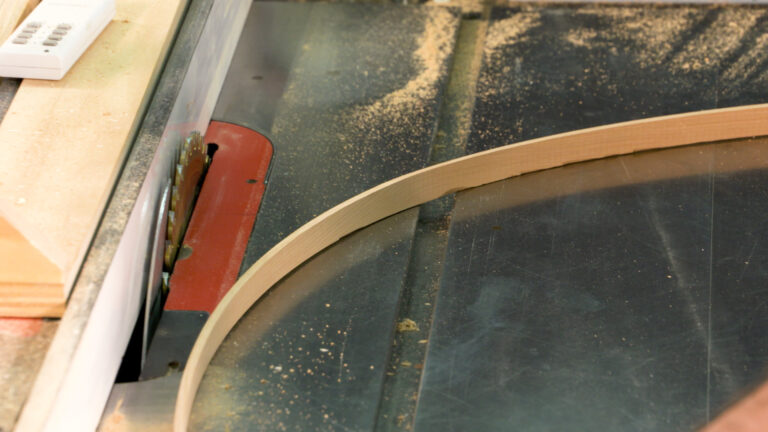
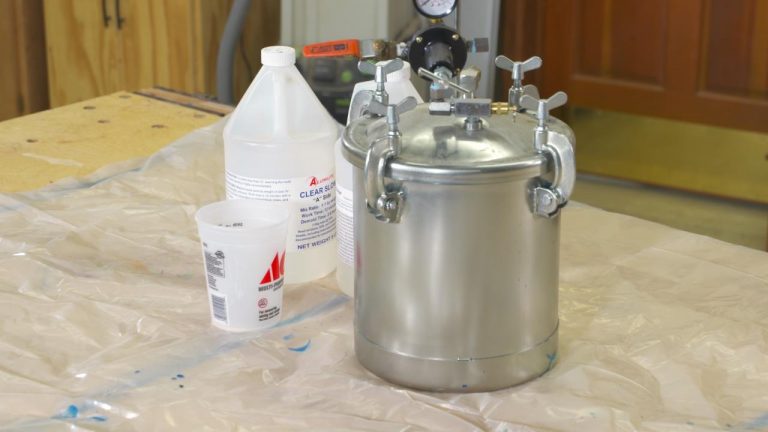
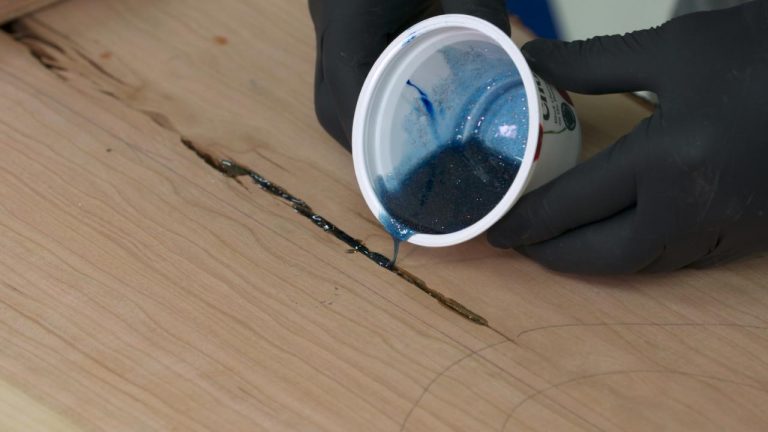
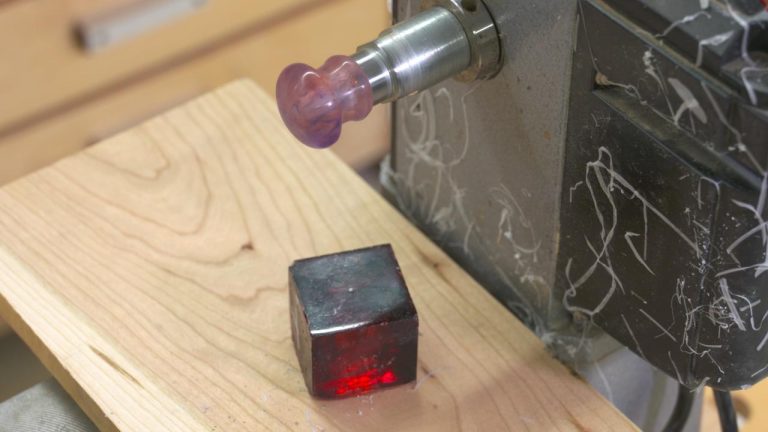
The steps to achieving this look are straightforward, and following this process meticulously will produce high-quality, repeatable results. When pouring resin over the edges of a workpiece, you will want to do the following:
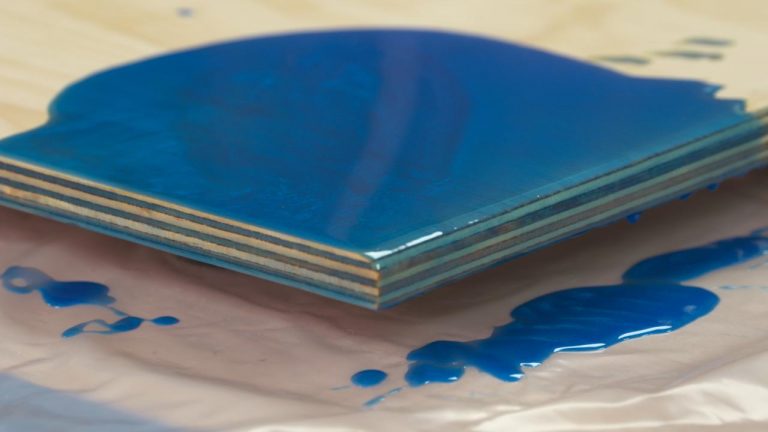
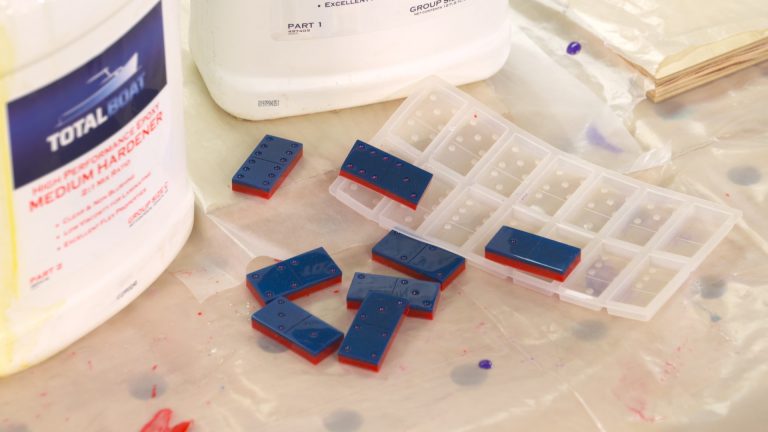
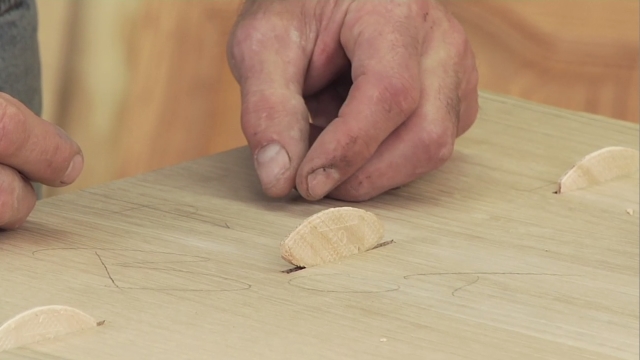
Tape your bottom edges. By taping the edges of your workpiece, you will have a lot less work to do after the pour is complete and the resin is cured.
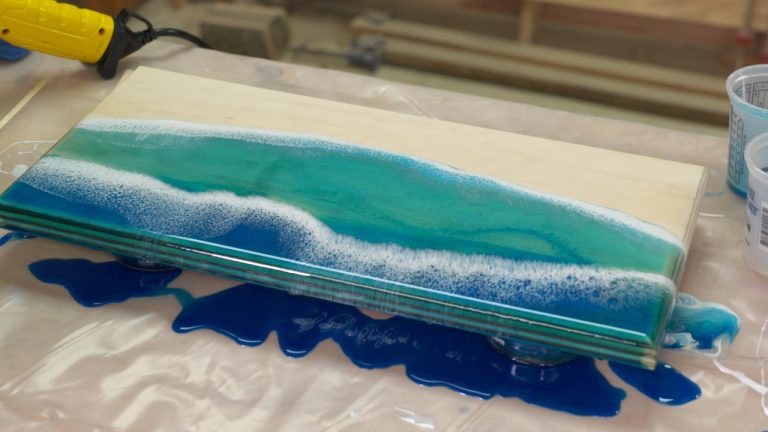
Break the surface tension. Rub resin all over the edges to prevent problems as the resin is poured over the edges. This is a slow process but taking your time on this step can save you frustrations down the road.
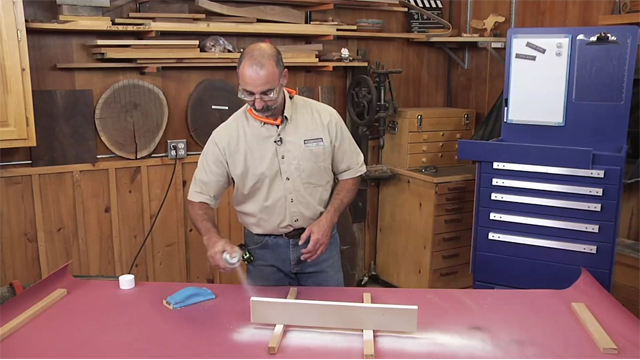
Tell the resin where to go. You’ll learn techniques for directing the resin to go to places that you want. There is a bit of a learning curve to this, but watching this video will help you to bypass a number of challenges that newcomers to the craft often face.
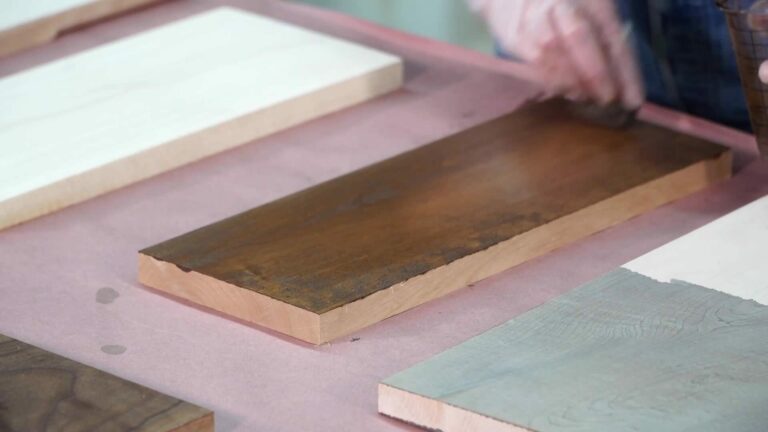
Feather the resin over the edges. Pour near the edges, and use some heat, finesse, and careful technique to gently coax the resin to go over the edges. If you are too aggressive, you will waste a lot of resin. It’s not a cheap material so be careful.
With this poured resin technique in your arsenal, you will be ready to tackle that special resin project.
Explore videos by Jess Crow

You may be interested in


Premium Membership
Unlock exclusive member content from our industry experts.
- 24/7 Access to Premium Woodworking Videos, Projects, and Tips
- Step-by-Step Instructional Demos, Plans, and Tutorials
- 50% Off Video Downloads Purchased in the Woodworkers Guild of America Shop
- 2 Printable Woodworking Plans
Unlock exclusive member content from our industry experts.
- 24/7 Access to Premium Woodworking Videos, Projects, and Tips
- Step-by-Step Instructional Demos, Plans, and Tutorials
- 50% Off Video Downloads Purchased in the Woodworkers Guild of America Shop
- 2 Full-Length Video Downloads to Watch Offline
- 2 Printable Woodworking Plans
Gold Membership
$370 Value
Get everything included in Premium plus exclusive Gold Membership benefits.
- 24/7 Access to Premium Woodworking Videos, Projects, and Tips
- Step-by-Step Instructional Demos, Plans, and Tutorials
- 8 Full-Length Video Downloads to Watch Offline
- 3 Full-Length Woodworking Classes to Keep for Life
- 7 Printable Woodworking Plans
- Discounts on Purchase-to-Own Content in the Woodworkers Guild of America Shop
- Access to Ask the Expert Program
- Exclusive GOLD LIVE Streaming Events