How to Photograph Projects: Introduction
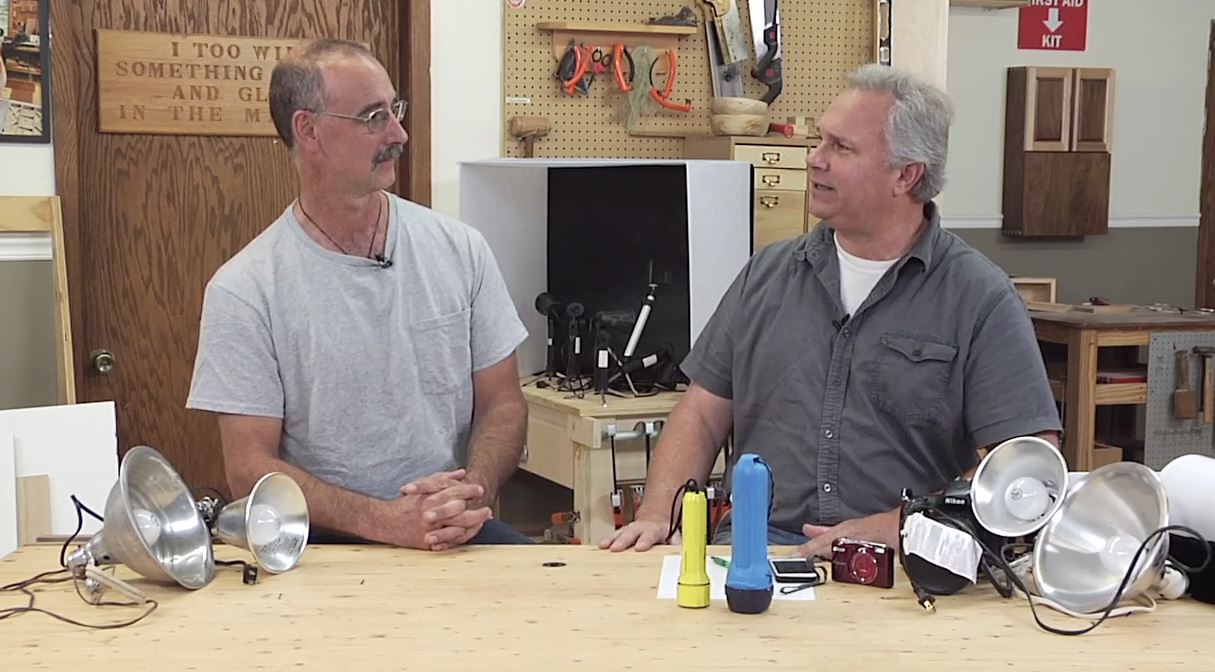
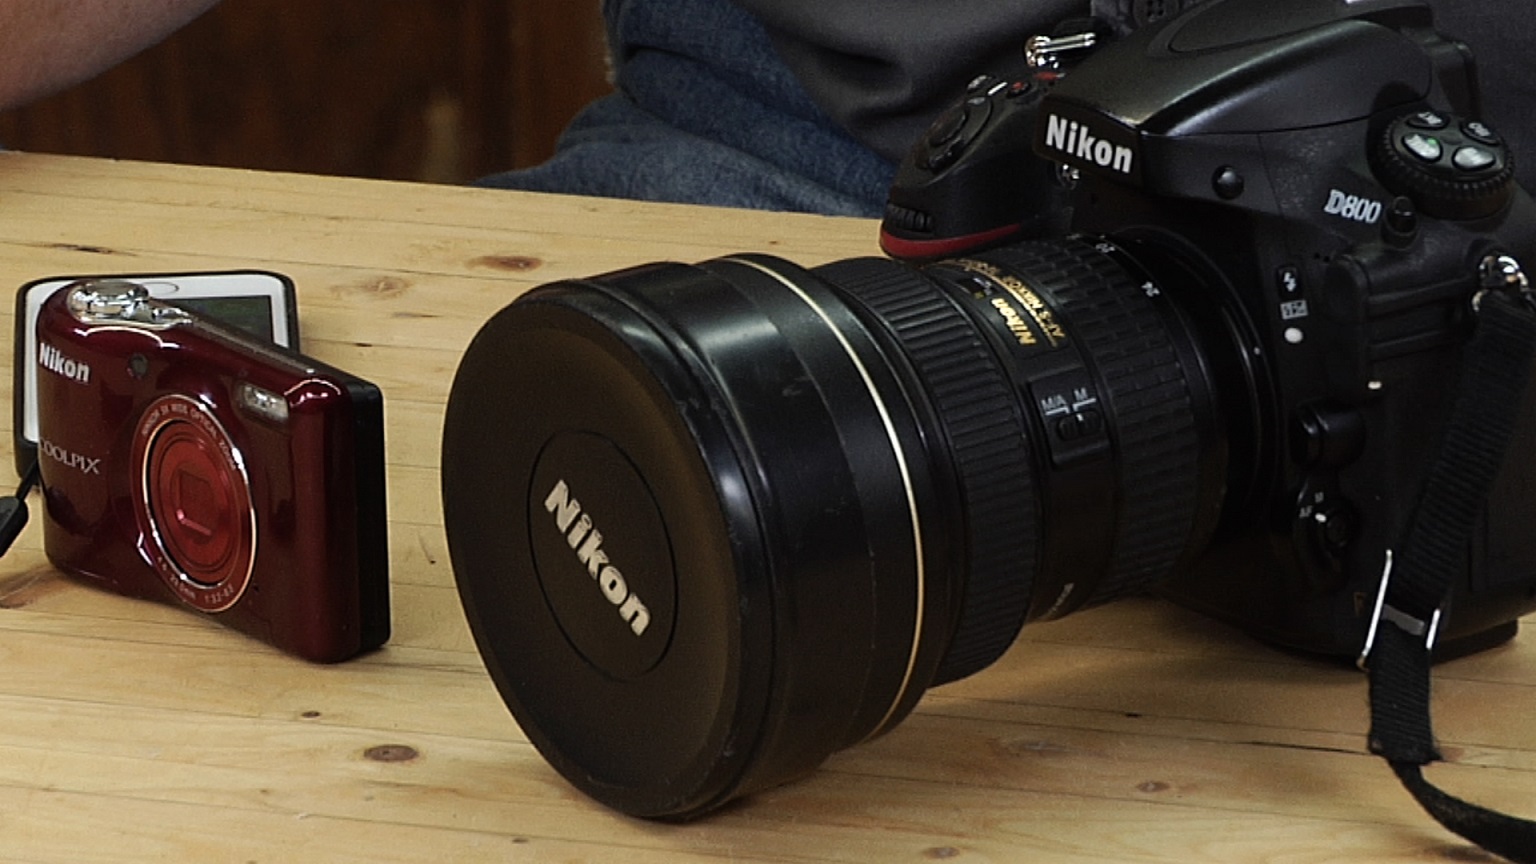
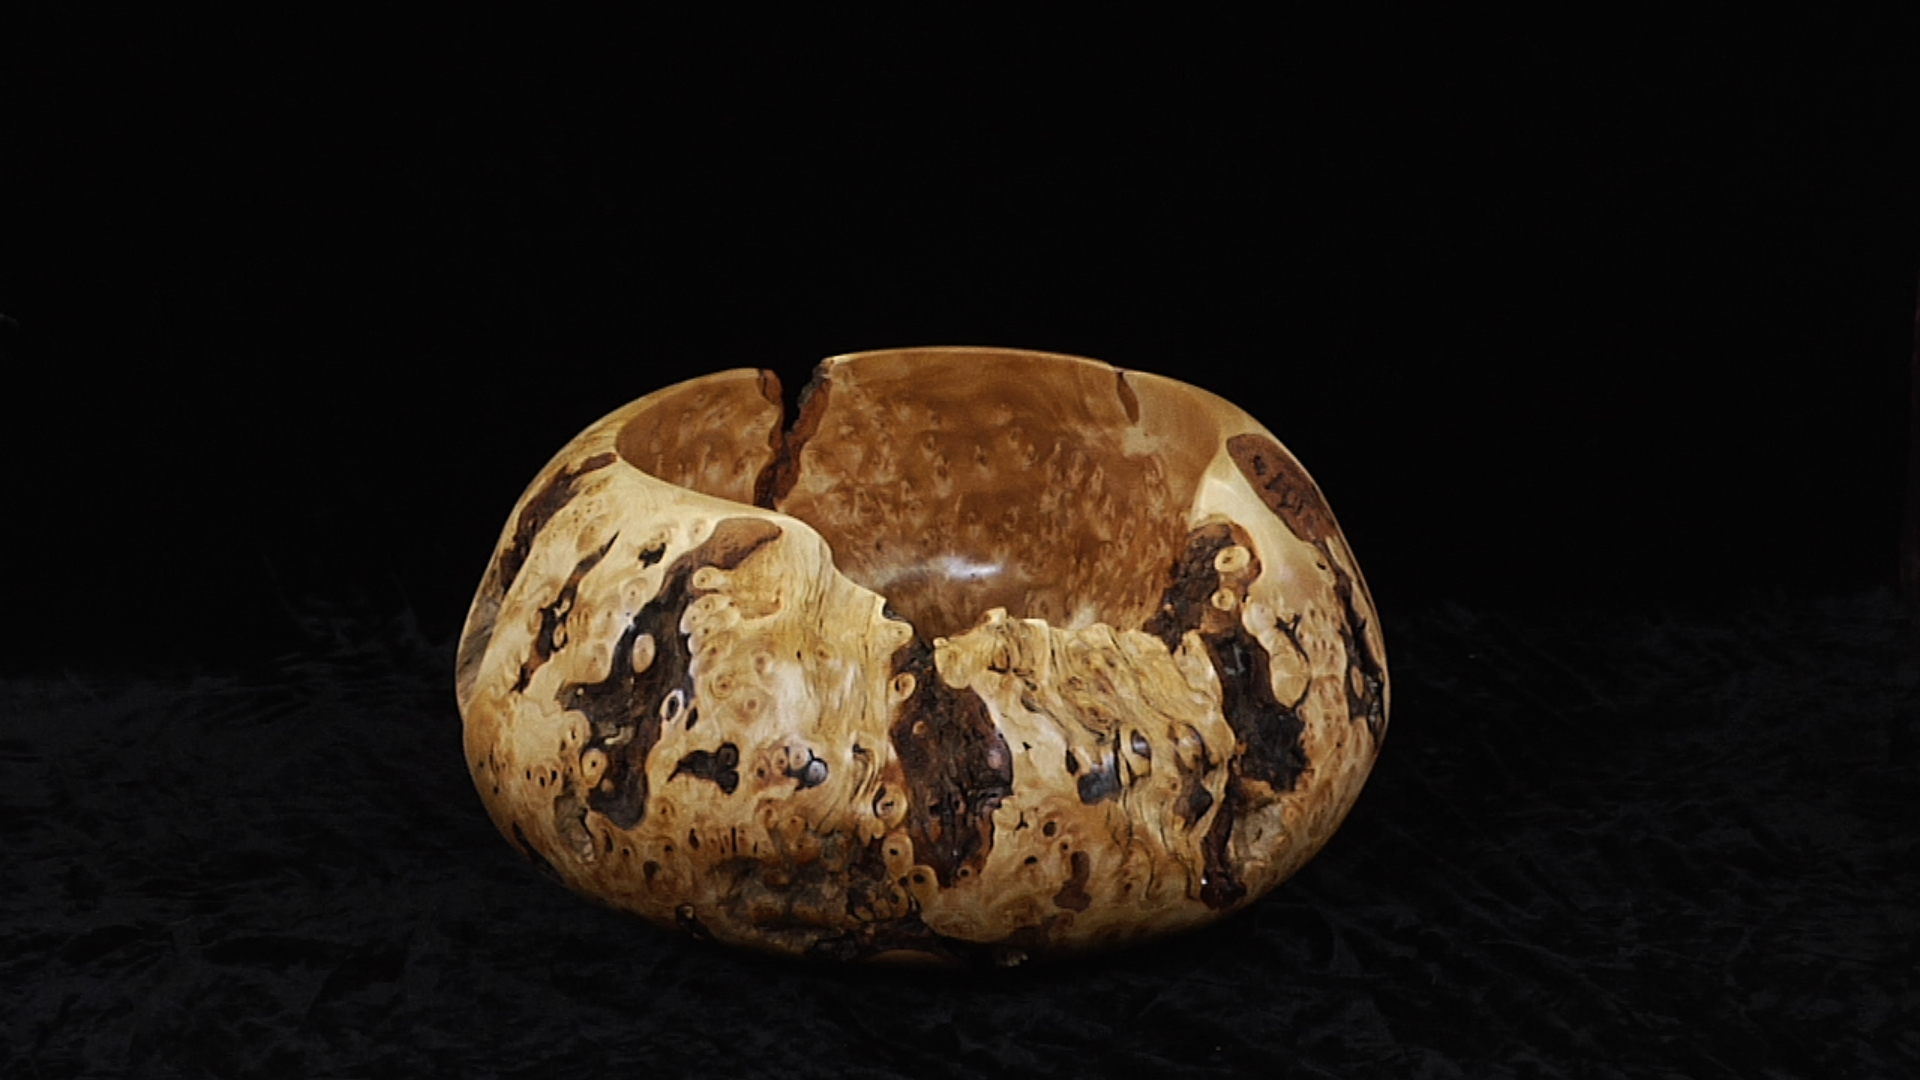
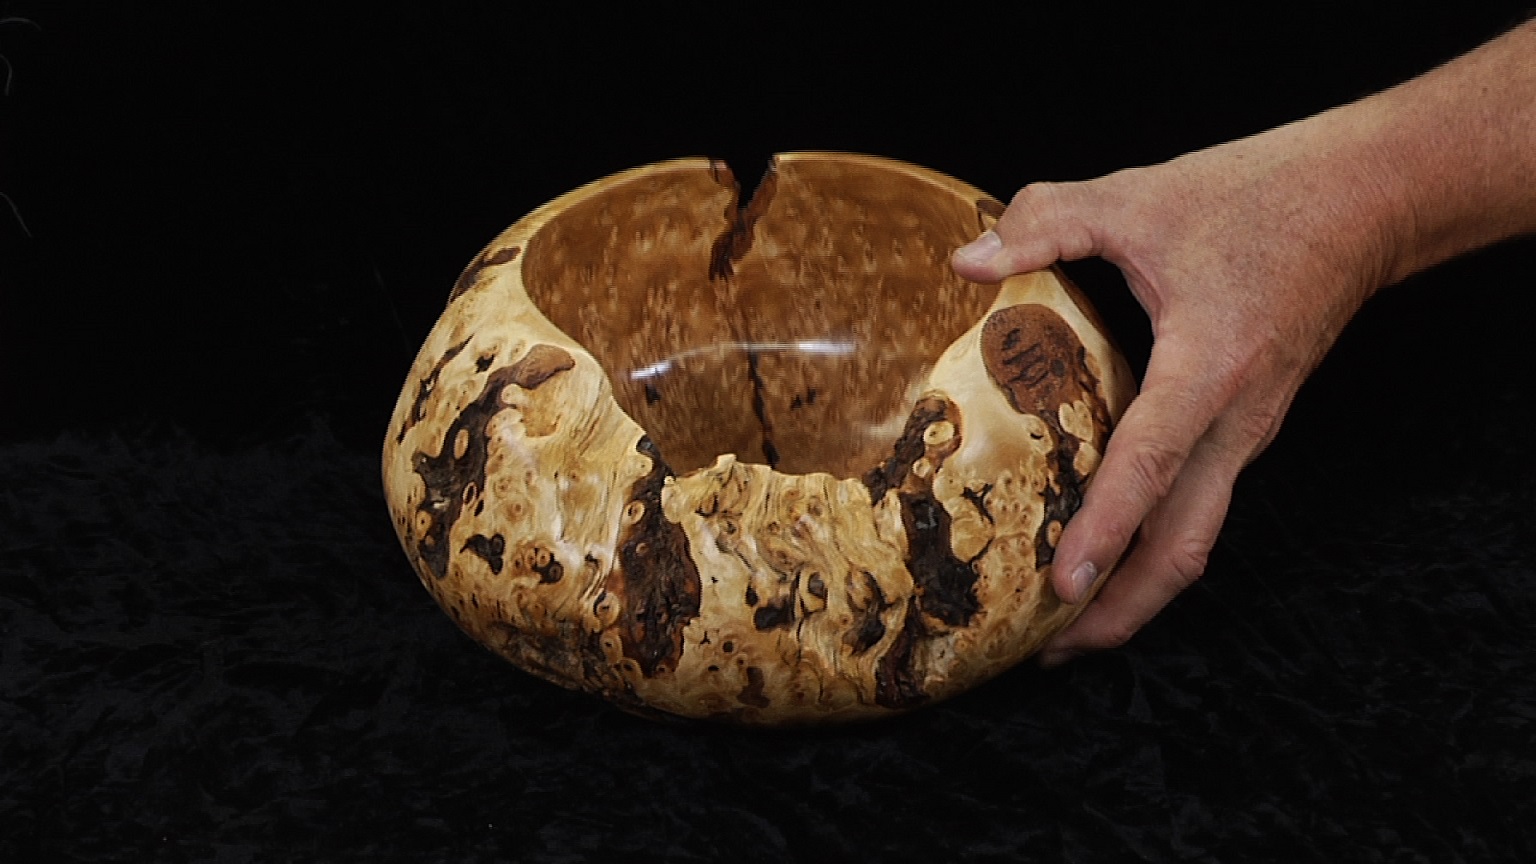
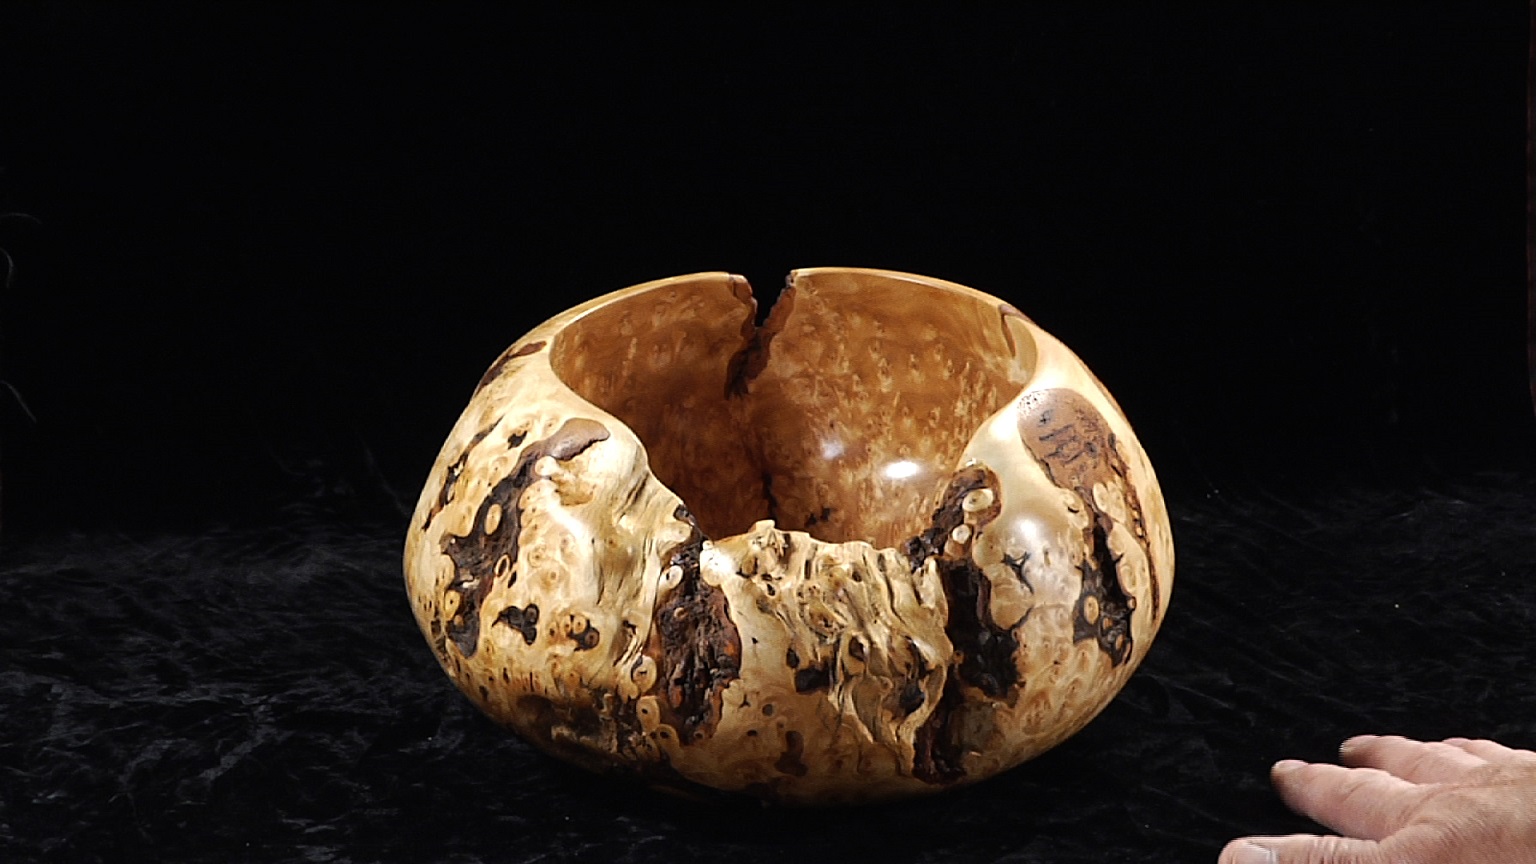
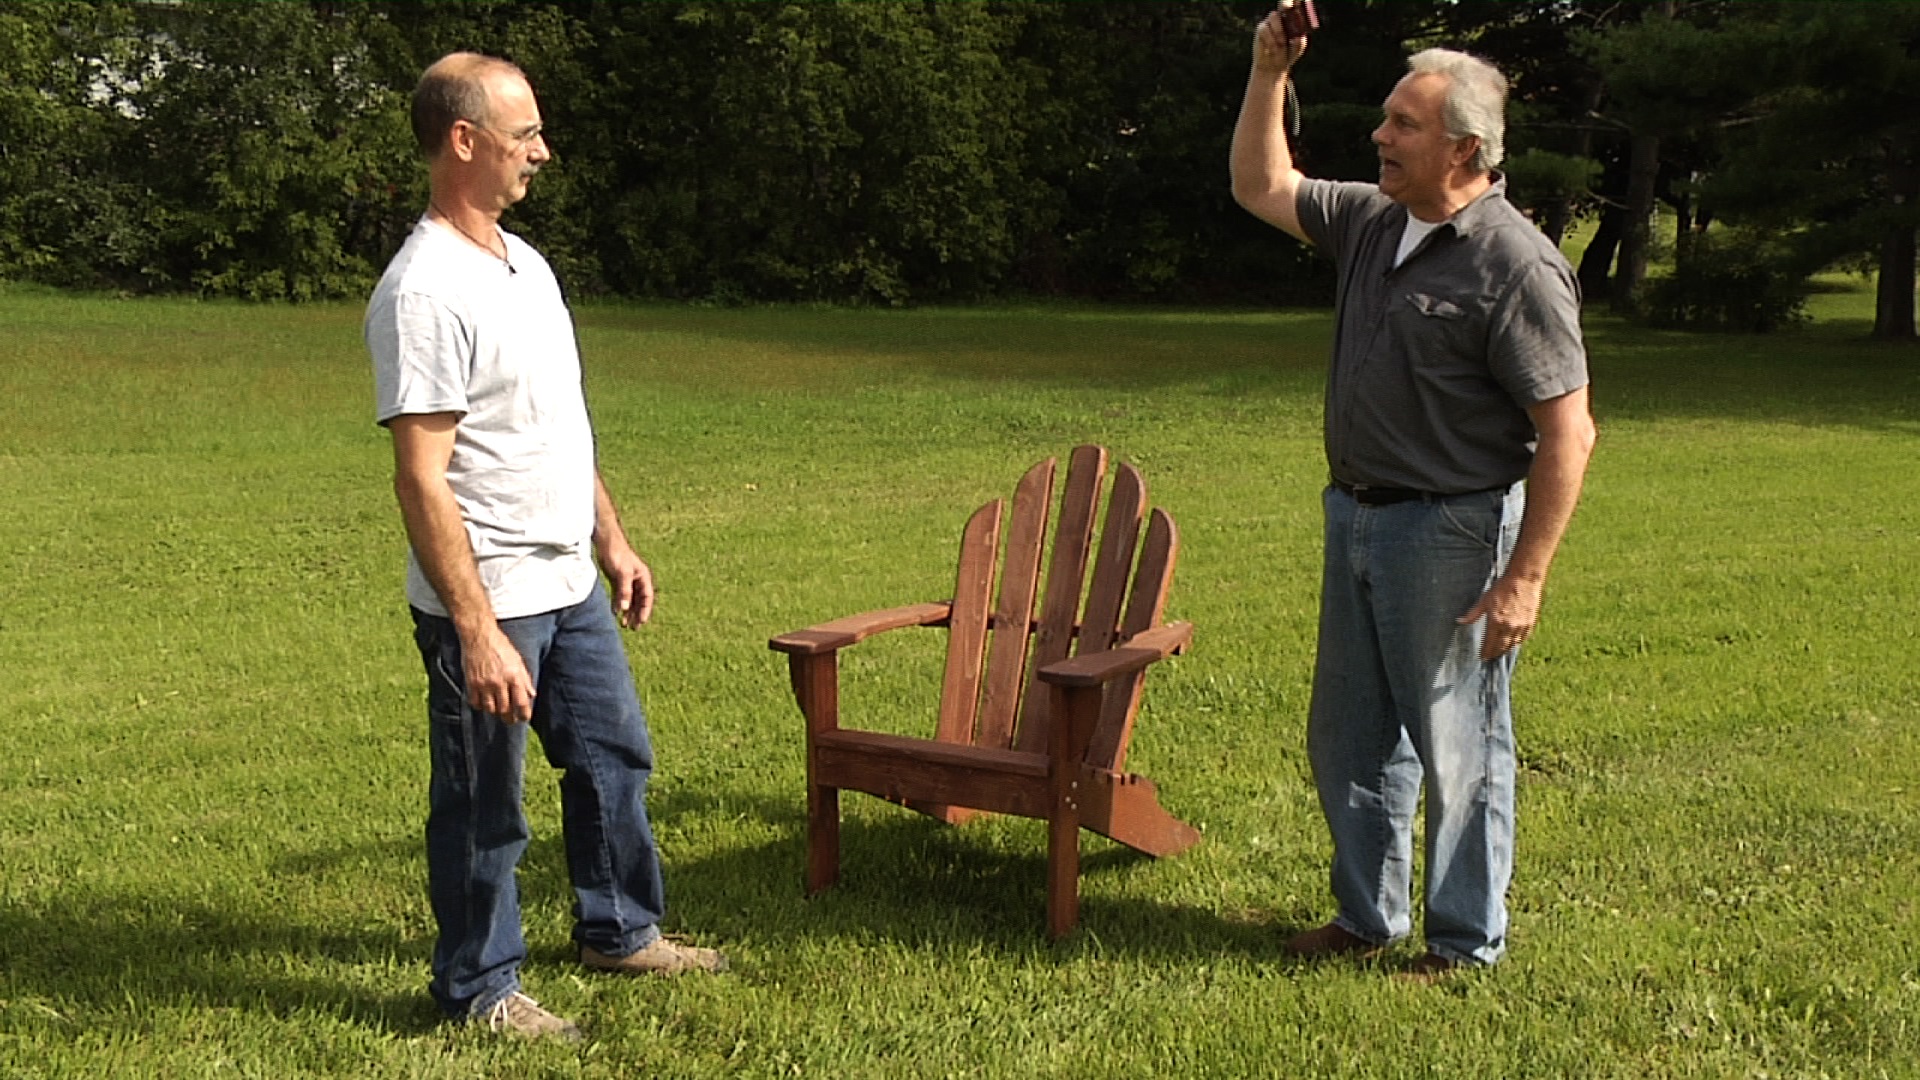
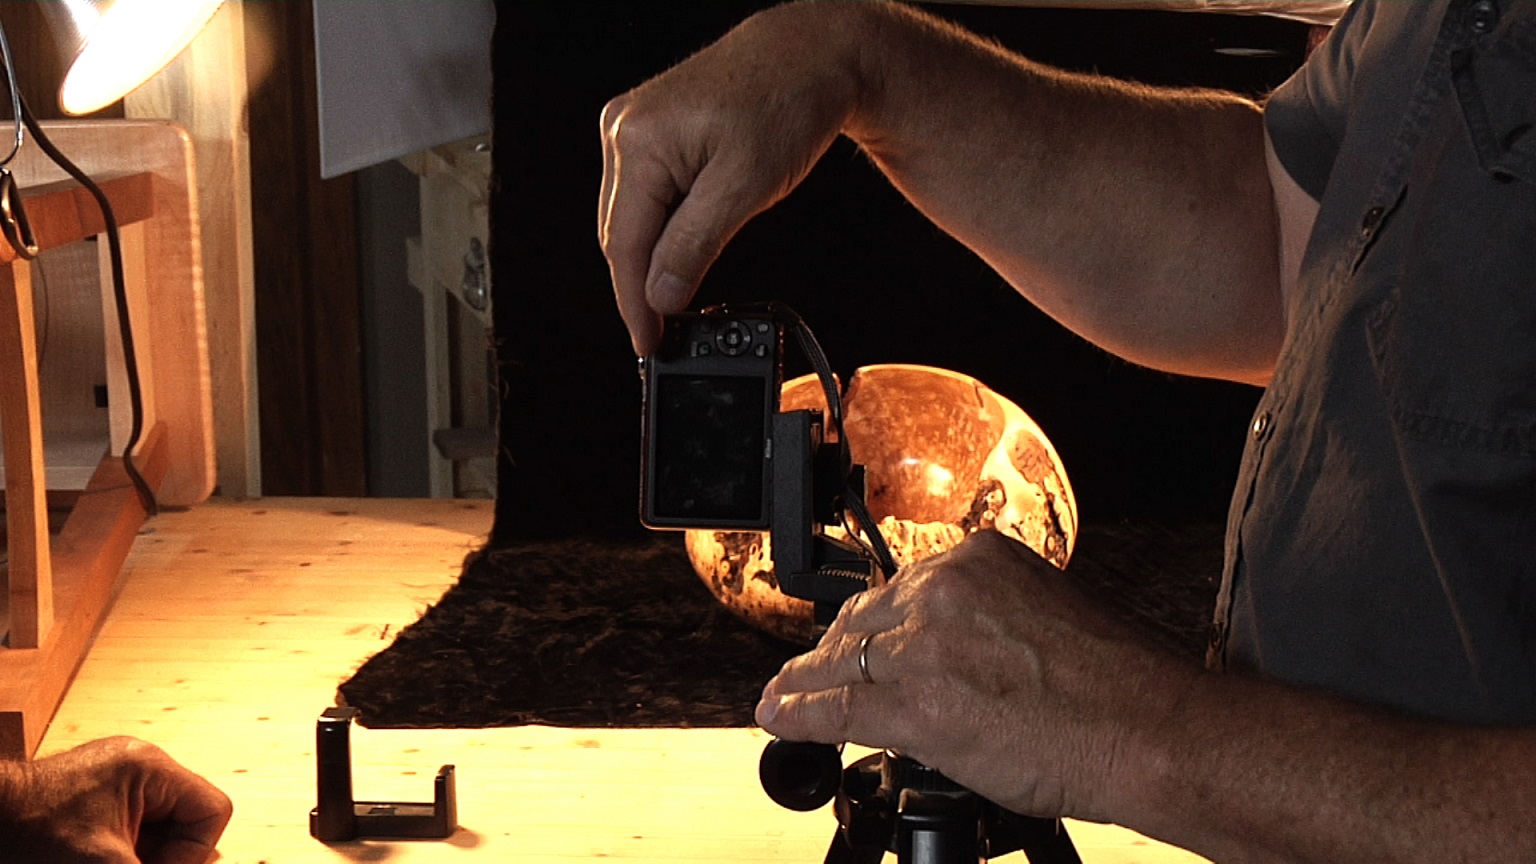
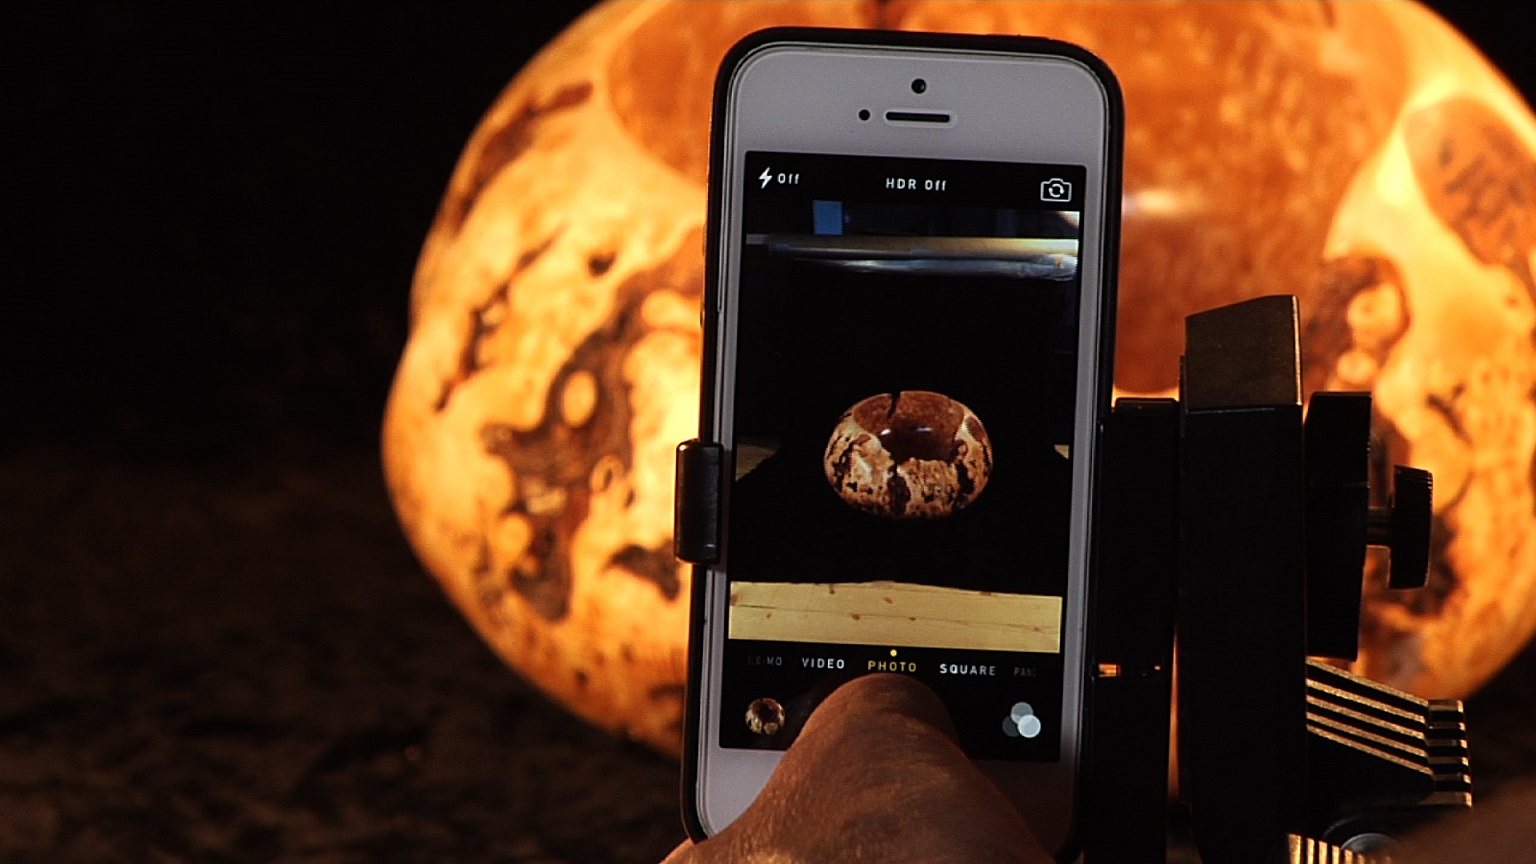
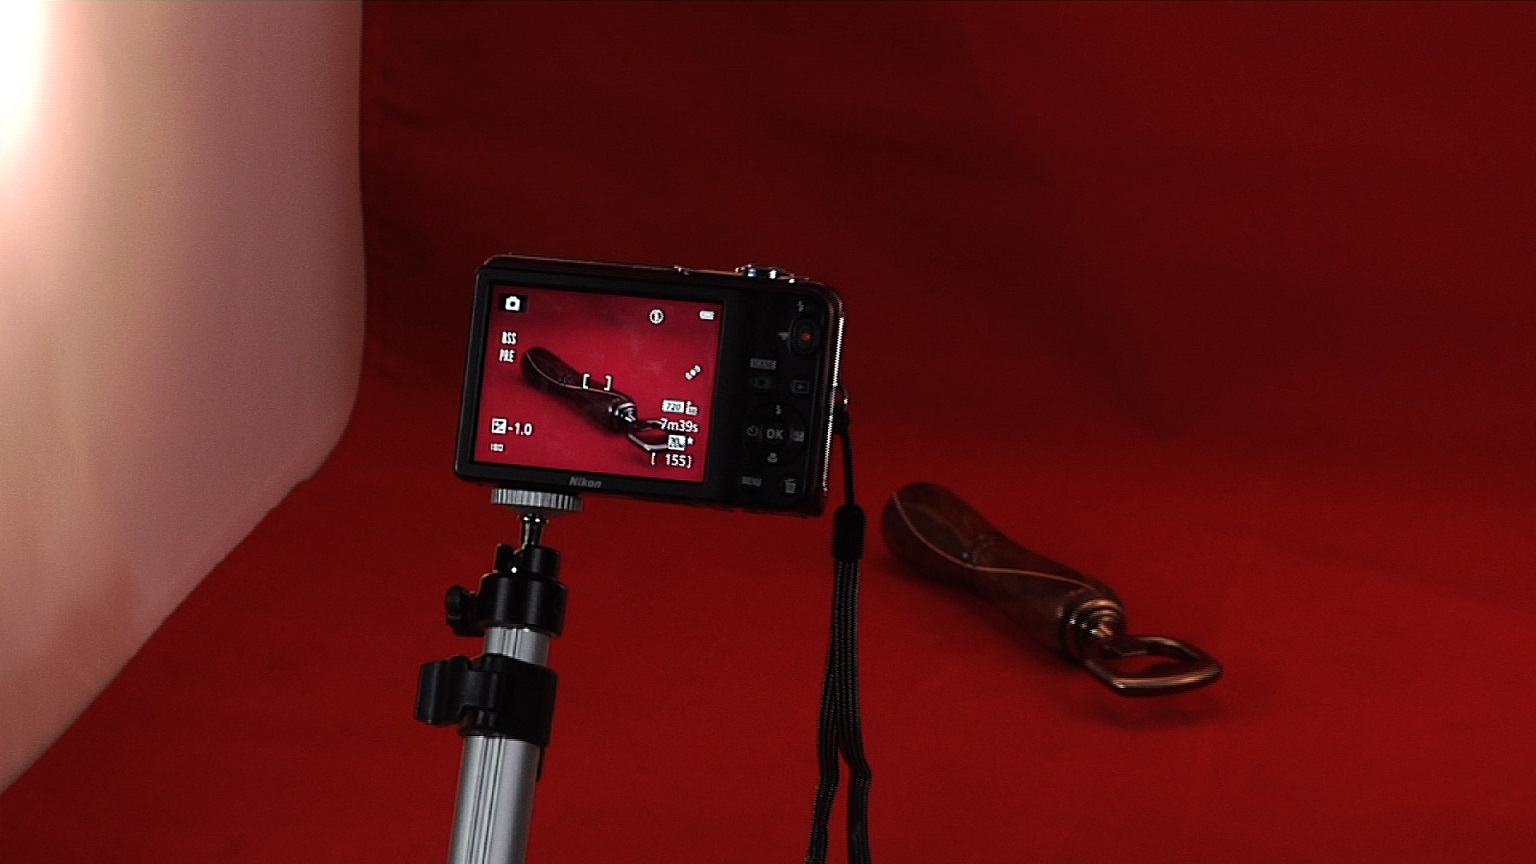
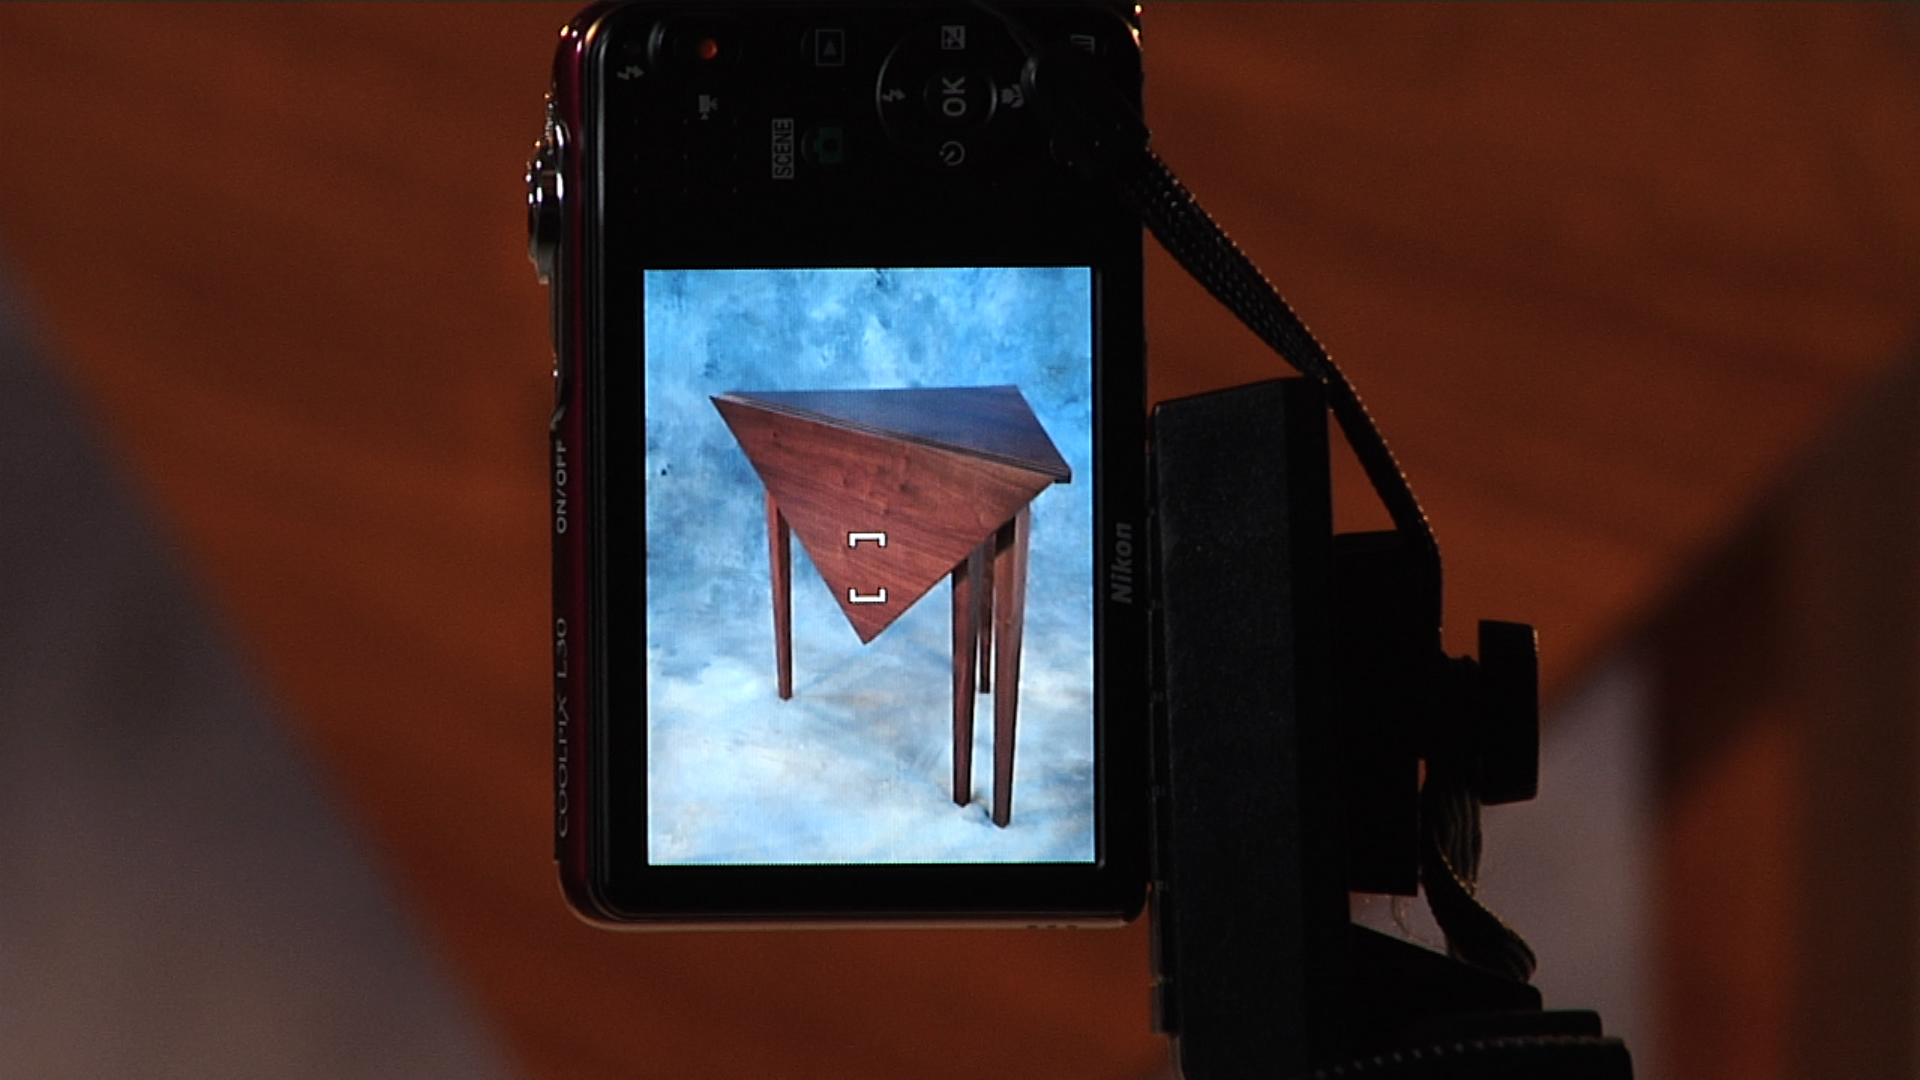
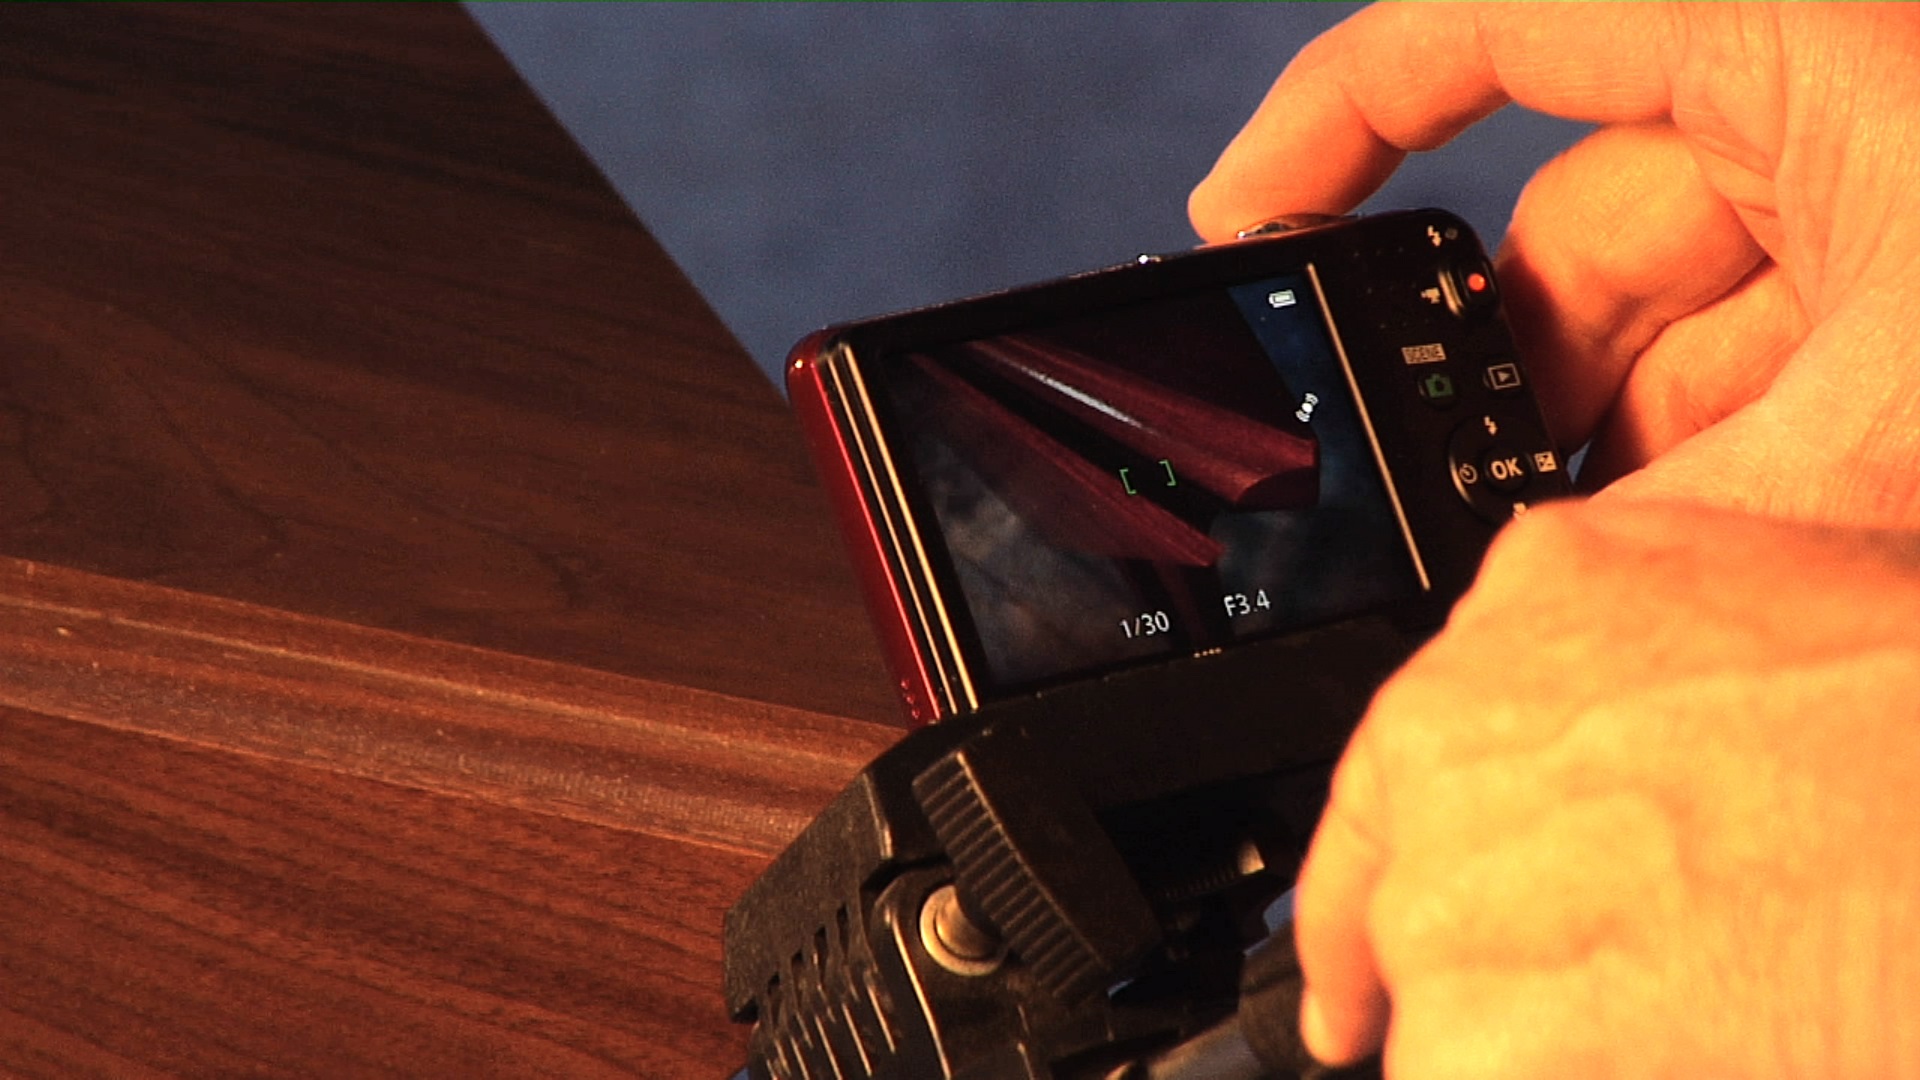
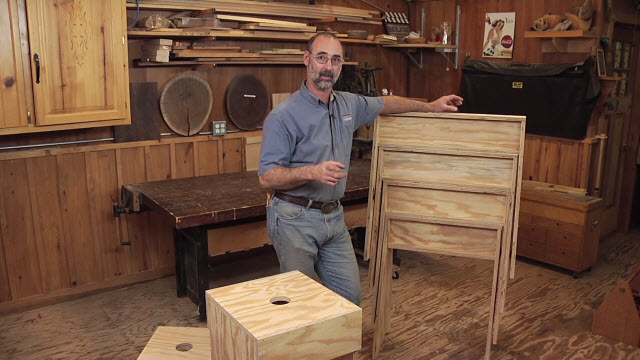
Layne KennedyProfessional photographer Layne Kennedy joined us in the shop to provide advice on taking great pics of your woodworking projects. Working with inexpensive home center lights, a smart phone, and point and shoot camera, Layne shows us how to get the best possible shots of our work.
See more from our “How to Photograph Your Woodworking Projects” series:
Introduction
Choosing the Best Camera
Choosing a Background
Image Composition
Lighting Tips
Using Natural Light
Using Your Camera Settings
Using Your Smart Phone Camera
Table Top Photo Studio
Photographing Furniture
Capturing Details
Share tips, start a discussion or ask one of our experts or other students a question.
Already a member? Sign in
3 Responses to “How to Photograph Projects: Introduction”
Explore videos by Layne Kennedy
You may be interested in
Premium Membership
Unlock exclusive member content from our industry experts.
- 24/7 Access to Premium Woodworking Videos, Projects, and Tips
- Step-by-Step Instructional Demos, Plans, and Tutorials
- 50% Off Video Downloads Purchased in the Woodworkers Guild of America Shop
- 2 Printable Woodworking Plans
Unlock exclusive member content from our industry experts.
- 24/7 Access to Premium Woodworking Videos, Projects, and Tips
- Step-by-Step Instructional Demos, Plans, and Tutorials
- 50% Off Video Downloads Purchased in the Woodworkers Guild of America Shop
- 2 Full-Length Video Downloads to Watch Offline
- 2 Printable Woodworking Plans
Gold Membership
$370 Value
Get everything included in Premium plus exclusive Gold Membership benefits.
- 24/7 Access to Premium Woodworking Videos, Projects, and Tips
- Step-by-Step Instructional Demos, Plans, and Tutorials
- 8 Full-Length Video Downloads to Watch Offline
- 3 Full-Length Woodworking Classes to Keep for Life
- 7 Printable Woodworking Plans
- Discounts on Purchase-to-Own Content in the Woodworkers Guild of America Shop
- Access to Ask the Expert Program
- Exclusive GOLD LIVE Streaming Events
I'm new here. I must be doing something wrong. I only got 1:22 introduction and that's it. What's with this ???
George and Layne--thanks so much for this series. I had always wanted to get better photos of project, but I worried that doing so would require lots of expensive equipment or advanced photography expertise. Very useful, down-to-earth information I will put to good use.
Great series of videos! Very helpful - lots of good info and practical examples using smartphones and simple point-and-shoots like most of us have. Thanks!