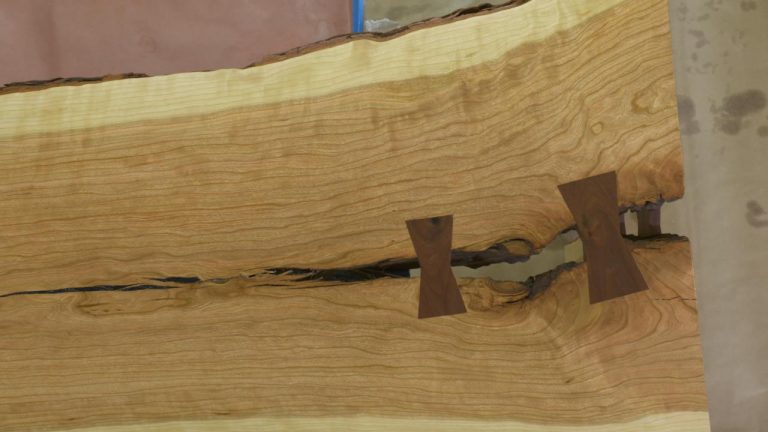
Achieving a Mirror-Smooth Finish on Epoxy
Jess CrowIf you’ve worked with resin you know that it can be tricky to get a mirror-smooth finish. You’ll see and feel all forms of imperfections including pits, bubbles, waves, and bumps. You’ve seen a smooth finish in resin, however, whether it was in an Instagram photo, video, or a piece that you saw at a local craft fair. So you know that it’s possible to achieve a smooth finish, but somehow it seems out of reach in your own shop.

It might be tempting to start sanding until you’ve removed all of the imperfections, but this can lead to multiple problems. What if the imperfections run deep? What if you sand through the resin before you’ve achieved the smooth surface that you’re after, and you have to start over?
There’s another approach that can help you “sweeten up” the surface of an epoxy pour after it has cured, and it involves an additive process rather than a subtractive one:
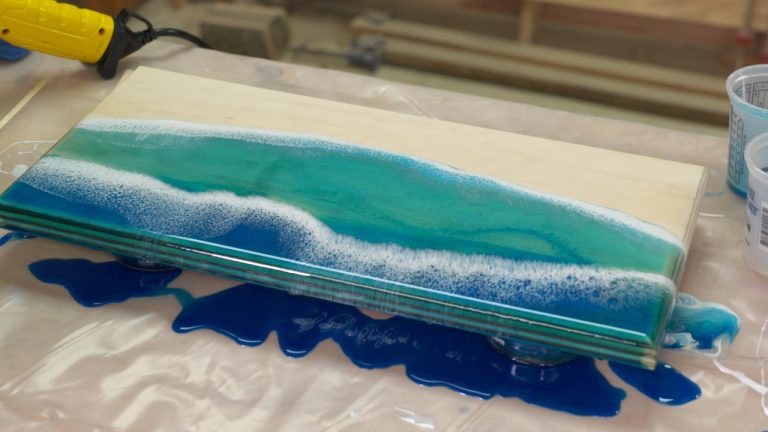
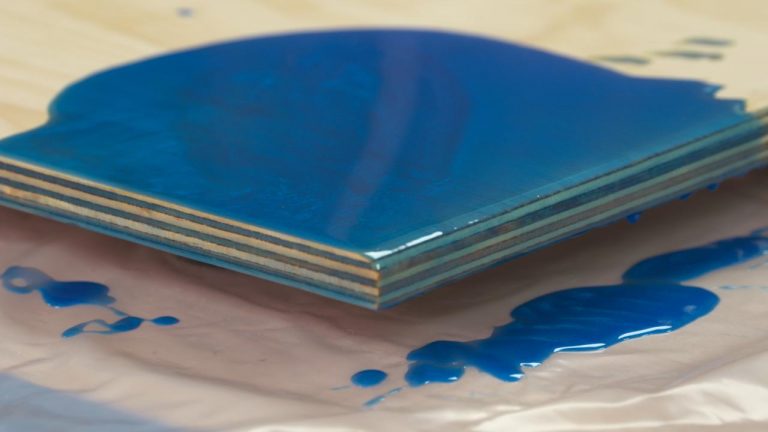
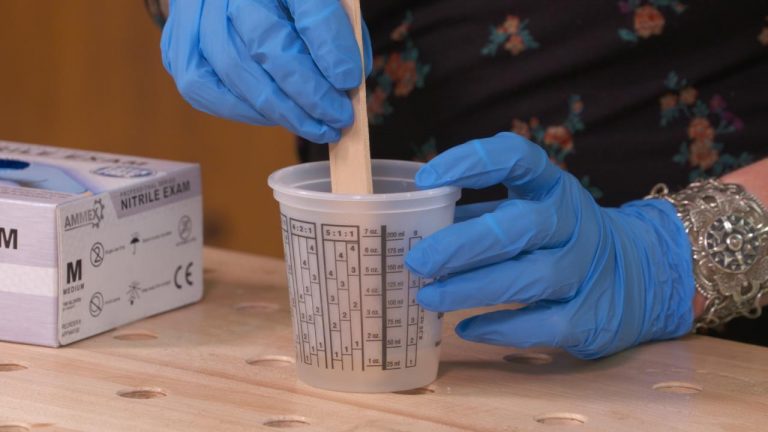
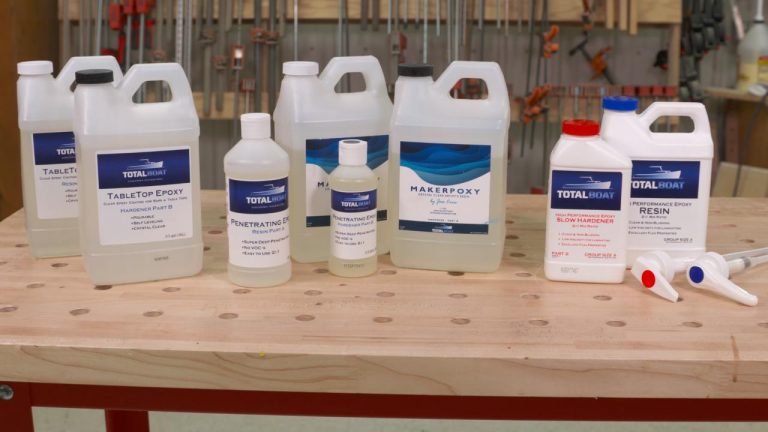
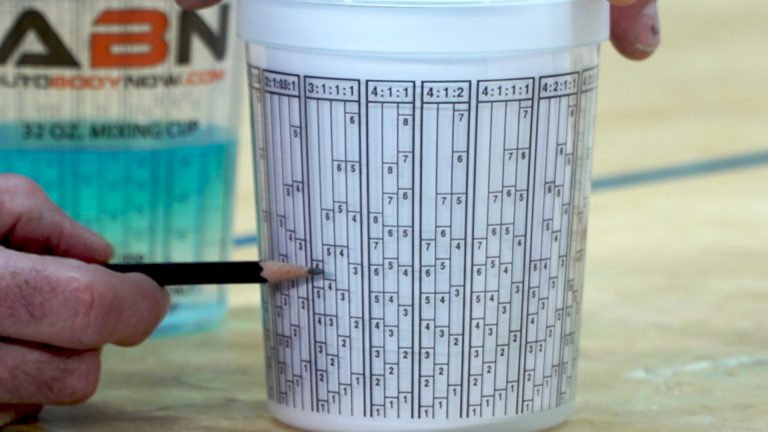
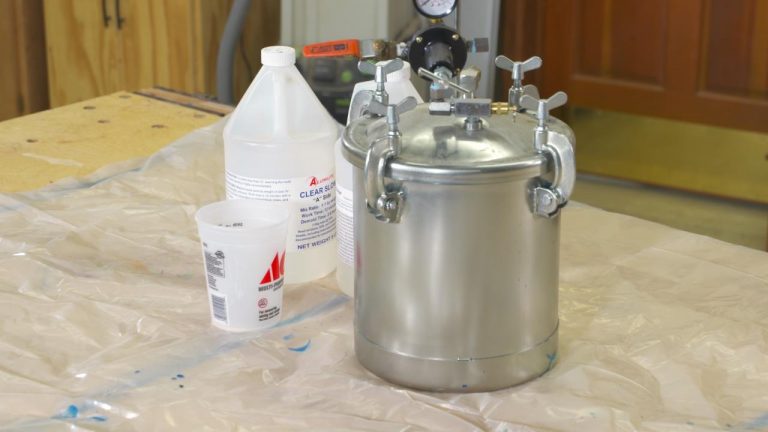
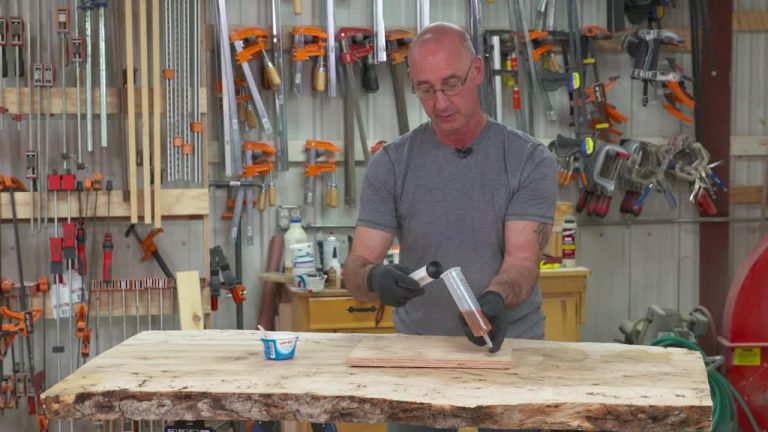
Add more resin. Using the product that Jess suggests, add the material over the surface of your project, covering all of the affected areas.
Apply some heat. Using the technique shown, introduce some heat into the process to help remove bubbles from the resin and to improve its ability to level out on the surface.
Work it. Blade the epoxy to work it smooth, allowing it to settle into place.
Don’t overwork it. You will need to learn when you’ve prepped it adequately, and then stop at that point. Overworking the resin can cause it to develop imperfections once again.
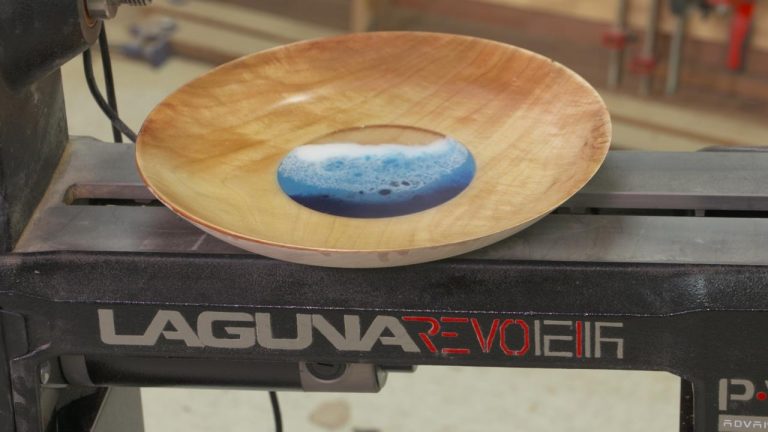
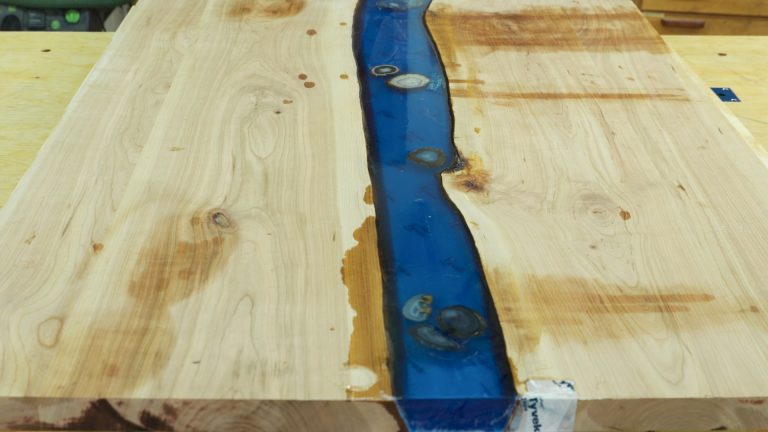
After you’ve achieved the smooth finish that you desire, you’ll be proud of your project and ready to take on more resin projects. This is another great skill that you can add to your ever-expanding arsenal of wood finishing techniques.
Explore videos by Jess Crow

You may be interested in


Premium Membership
Unlock exclusive member content from our industry experts.
- 24/7 Access to Premium Woodworking Videos, Projects, and Tips
- Step-by-Step Instructional Demos, Plans, and Tutorials
- 50% Off Video Downloads Purchased in the Woodworkers Guild of America Shop
- 2 Printable Woodworking Plans
Unlock exclusive member content from our industry experts.
- 24/7 Access to Premium Woodworking Videos, Projects, and Tips
- Step-by-Step Instructional Demos, Plans, and Tutorials
- 50% Off Video Downloads Purchased in the Woodworkers Guild of America Shop
- 2 Full-Length Video Downloads to Watch Offline
- 2 Printable Woodworking Plans
Gold Membership
$370 Value
Get everything included in Premium plus exclusive Gold Membership benefits.
- 24/7 Access to Premium Woodworking Videos, Projects, and Tips
- Step-by-Step Instructional Demos, Plans, and Tutorials
- 8 Full-Length Video Downloads to Watch Offline
- 3 Full-Length Woodworking Classes to Keep for Life
- 7 Printable Woodworking Plans
- Discounts on Purchase-to-Own Content in the Woodworkers Guild of America Shop
- Access to Ask the Expert Program
- Exclusive GOLD LIVE Streaming Events