Ask WWGOA: Bread Board Ends Pinned

bread baord ends pinned

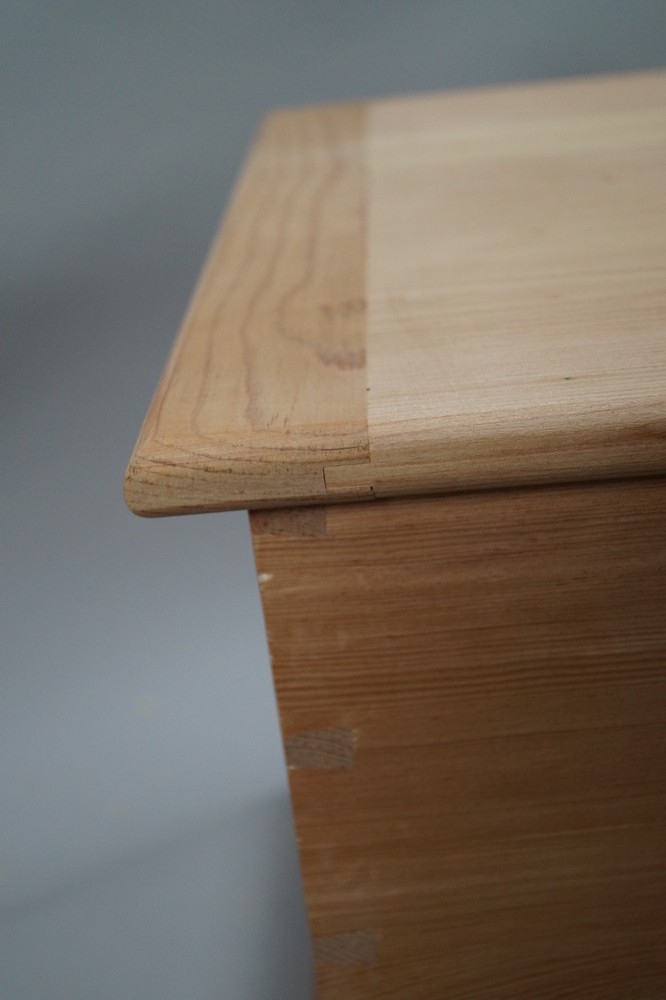
Question:
If you are doing breadboard ends on a project that will only be viewed from one side, say perhaps a sofa table or hall table that you never see the back side of the top with any regularity, could you glue instead the front third or so, so that you don’t get the misalignment of the front breadboard and field on a regular basis? Or would that lead to cracking, and/or misalignment still?

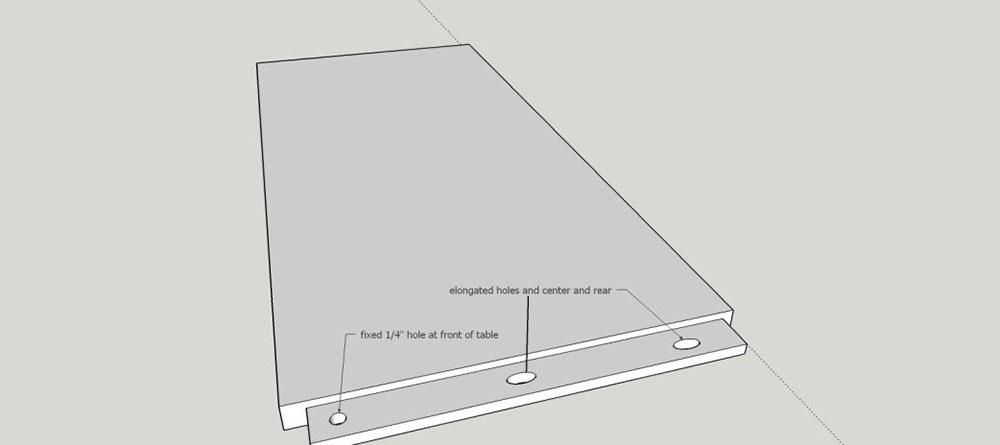
Answer:
My recommended approach here would depend on how wide the end of the table is. If it is a narrow table, say, less than 15″ deep, then I’d glue the front half, and leave the back half without glue. If it is wider than that, then you will leave too long of a section at the end of the joint unglued and you might experience a separation of the breadboard end from the main panel, leaving an unsightly gap in the joint. If it is wider than that you could pin the joint instead of gluing the joint. See the drawing below. The pin going through the non-elongated hole would be at the front edge of the table.

bread baord ends pinned

Have a look at this info related to breadboard ends:
How to Glue Breadboard Ends
Bedside table project with breadboard ends
Build a Tool Chest Class

Paul

Do you have a question for WWGOA? Ask us on Facebook or email editor@wwgoa.com. Note: questions may be edited for clarity and relevance.

Make a comment
  • (will not be published)

17 Responses to “Ask WWGOA: Bread Board Ends Pinned”

    • Customer Service

      Hi Lyle. We don’t have a resource that covers this method.
      Thanks
      Paul-Woodworkers Guild of America

      Reply
  1. Bill

    Could you not have “narrow” holes going through the ends to accept pins and elongated holes in the breadboard itself? This would permit the breadboard to expand/contract and effectively sliding withing the end caps.

    Reply
    • Customer Service

      Hello Bill,

      Normally the elongated holes are in the table portion where they are hidden, and the holes in the breadboard are exactly the size of a dowel that extends up through the elongated holes in the table.

      Hope this helps,

      Paul
      WoodWorkers Guild of America Video Membership

      Reply
  2. John

    Hi George,my little problem is probably very simple, I that it,s been done a million times before! and that is how To make separate handle for breadboard in the shape of a spear head,similar to a cricket bat con struction

    Reply
    • Customer Service

      Hi John,

      You could sketch something out directly on wood, or find a template that you like on-line, print and use spray adhesive to temporarily attach it to the project piece. Then cut using a bandsaw or a handheld jigsaw.
      Here is a good general purpose spray adhesive that would work for attaching a paper template to your project piece: https://amzn.to/2XEhk0v
      When you use that stuff, spray it on to just the paper, then wave it to partially dry it for one minute before applying it. That will make it easier to remove.

      Hope this helps,

      Paul
      WoodWorkers Guild of America Video Membership

      Reply
  3. Buford Mobley

    I’m building your “Elegant Bedside Table” and had a question. It would be easier for me to use 2 dominos on each rail ( 1 on the smaller front rails) instead of doing the mortise and tenon setup on my router. Would that work as well or do I need the larger joint? Thanks.

    Reply
    • Customer Service

      Hi, Buford. The approach that you describe would be great for this project. There is no compromise whatsoever. It might be tricky to use them on the narrow front rails, but if you size them appropriately for this you will be fine.

      Reply
      • Customer Service

        You do not have to apply this technique if you are joining long grain to long grain, such as in a typical tongue and groove board situation. The reason that the additional steps need to be taken in the breadboard end scenario is because you are creating a cross-grain joint in which wood movement needs to be accommodated. For long grain to long grain joints, you can simple glue the boards together along the entire length if you want, or use mechanical fasteners (nails, screws, etc.) to hold the pieces together.

        Reply
    • Customer Service

      Yes, absolutely. The only modification that I’d suggest to this approach for a dining table is that the fixed hole (refer to drawing in article) should be in the center rather than on one end, and the elongated holes would be on each side. You’ll want an elongated hole every 6″ – 8″, so add as many as needed to span your table. The glue should be applied to the middle as well. That way the expansion and contraction will be balanced across each of the sides, rather than pushed out to only one side (if you look at the original question, this is what they wanted).

      Reply
  4. Dennis St John

    covering scratches and slite dents on a table that has 5 coats of polyurethane on it.

    Reply
    • WWGOA Team

      Small elongated hole: My approach here would depend on how finished the hole needs to be. In other words, will it be visible on a finished project? If I just needed something rough, I would use a brad point drill bit, drill overlapping holes, and clean out the waste with a chisel to make an oval. If you are careful, you could make this a finished look as well. For a more finished look I would use a plunge router and a guide.
      For a rectangular hole, I would start by drilling a series of holes to remove the bulk of the material, then finish the hole by squaring up the sides with a chisel. You could also use a mortise machine for this.

      Reply