In the previous installment of this project, we performed the milling operations on the legs, including mortises and tapers. Now we will turn our attention to the stretchers that join with the rails, milling tenons and arches where appropriate, as well as applying iron-on veneer banding to exposed plywood edges.
Prepare the Stock
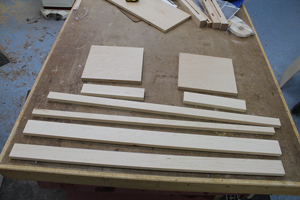
Cut all rails to the dimensions in the cut list. Note that the lower back and side panels are cut from plywood which increases the stability of the piece due to the width of these panels. The upper rails and all front rails are solid wood.
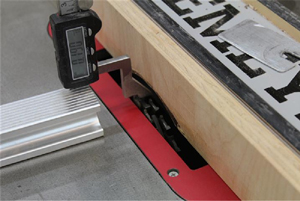
Set Up a Dado Blade on Your Table Saw
There are many ways to mill tenons, and this is one of the simplest. Install a dado blade set to 5/8″ width, along with a sacrificial fence clamped to your table saw fence so that you don’t cut into your fence. Move the fence right next to the dado blade. Set the height of your dado blade so that it will remove the appropriate amount of stock so that the tenon will fit snugly in the tenon. This is typically a trial and error process, so have several pieces of scrap available at the same thickness as your rail material. You might have to set up the dado separately for solids and plywood if they are different thicknesses as mine were.
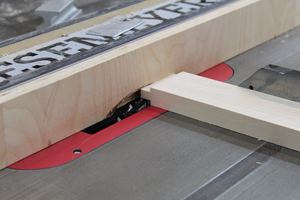
Run the Pieces Through to Create Cheeks
This is an operation in which you can safely use your miter gauge and rip fence together. It is critical that your miter gauge is set square to the dado blade and that your fence is properly aligned. Hold the work piece securely against the rip fence and miter gauge as you push through the cut. Push slowly to minimize tearout.
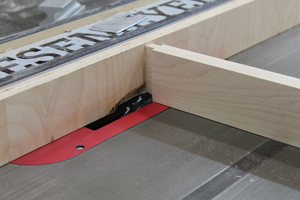
Mill the Short Tenon Edges
Adjust the height of the dado to 1/2″ to mill the short edges of the tenons. Test the set up on scrap to ensure proper tenon size, and when it is set, mill the work pieces.
Completing the Stretchers:
Mill Slot on Upper Rails to Receive Clips for Attaching the Top
Set your table saw blade to 3/8″ height and a rip width of 1/2″. Run the upper edge of all upper rails through to mill a slot running the length of each runner. This slot will be used to receive the clip used to attach the top, allowing the clip to slide in and out along the width of the top as the top expands due to seasonal fluctuations in humidity.
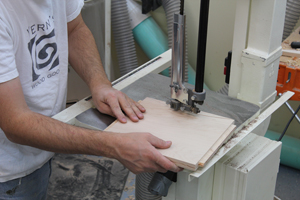
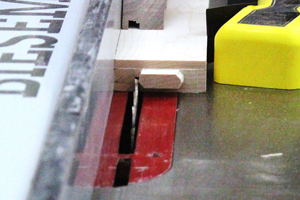
Cut Arches on Stretchers
The lower rails on the front and side will receive arches. Mark these by marking a line in the center of each piece that sits 1″ above the bottom edge. Then use a flexible ruler or other device to draw the arch the cut to the line with a band saw or jig saw.
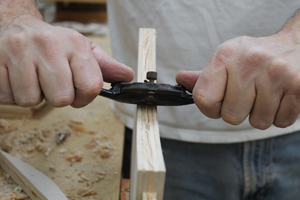
Smooth the Arches
Gently plane band saw marks using a spokeshave or sanding block. It is important to not round the edges over using sand paper, as we will cover the plywood edge with veneer tape and the corners need to be crisp.
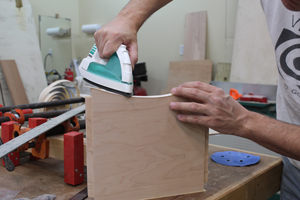
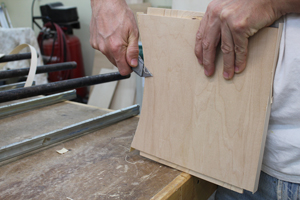
Use Veneer Tape to Conceal Plywood Edges
I more commonly use hardwood strips to cover visible plywood edges, but I decided to use veneer tape on this project and it worked great. Roll the tape out so that it covers the edge completely, and use a normal household iron to fix it into position. Move slowly down the plywood, keeping even pressure from the iron and ensuring that the veneer overlaps the edge slightly on each side.
Trim the Veneer
Use a utility knife to trim the veneer flush to the plywood surface. Then sand all edges as these can become sharp after trimming.
Photos By Author

Share tips, start a discussion or ask other students a question. If you have a question for an expert, please click here.
Already a member?
No Responses to “Modern Media Cabinet Part 3: Tenons and Edge Banding”