I don’t do tapers often, but I had a project that motivated me to make a safe taper jig. I found several jigs on YouTube and decided to merge them into one I liked and made that. The only thing it lacked was a stop that would allow pieces to be consistently located on the jig. I’m very big on the concept that consistency is better than accuracy.
For my first few tapers, I used several layers of blue tape to provide something to mark the location on where to set each piece. This did work, but it wasn’t ideal. The next time I had to do this, the solution was obvious. I only needed to grab a piece of scrap maple and cut a slot along its length on my router table. Then, I rounded the end to provide a single contact point and rounded over the top surfaces.
Part of what was holding me back was that I was too focused on adding another T-track, but once I realized an extra T-track was not necessary, the final result was easy peasy. I completed the jig with an extra T-bolt and T-knob I had sitting in a drawer, and my jig was now complete. The final run of my project went as smooth as silk.
A big lesson to learn from this is that some plans you find online may not be complete. A stop block is a key component of any taper jig. I know that now.
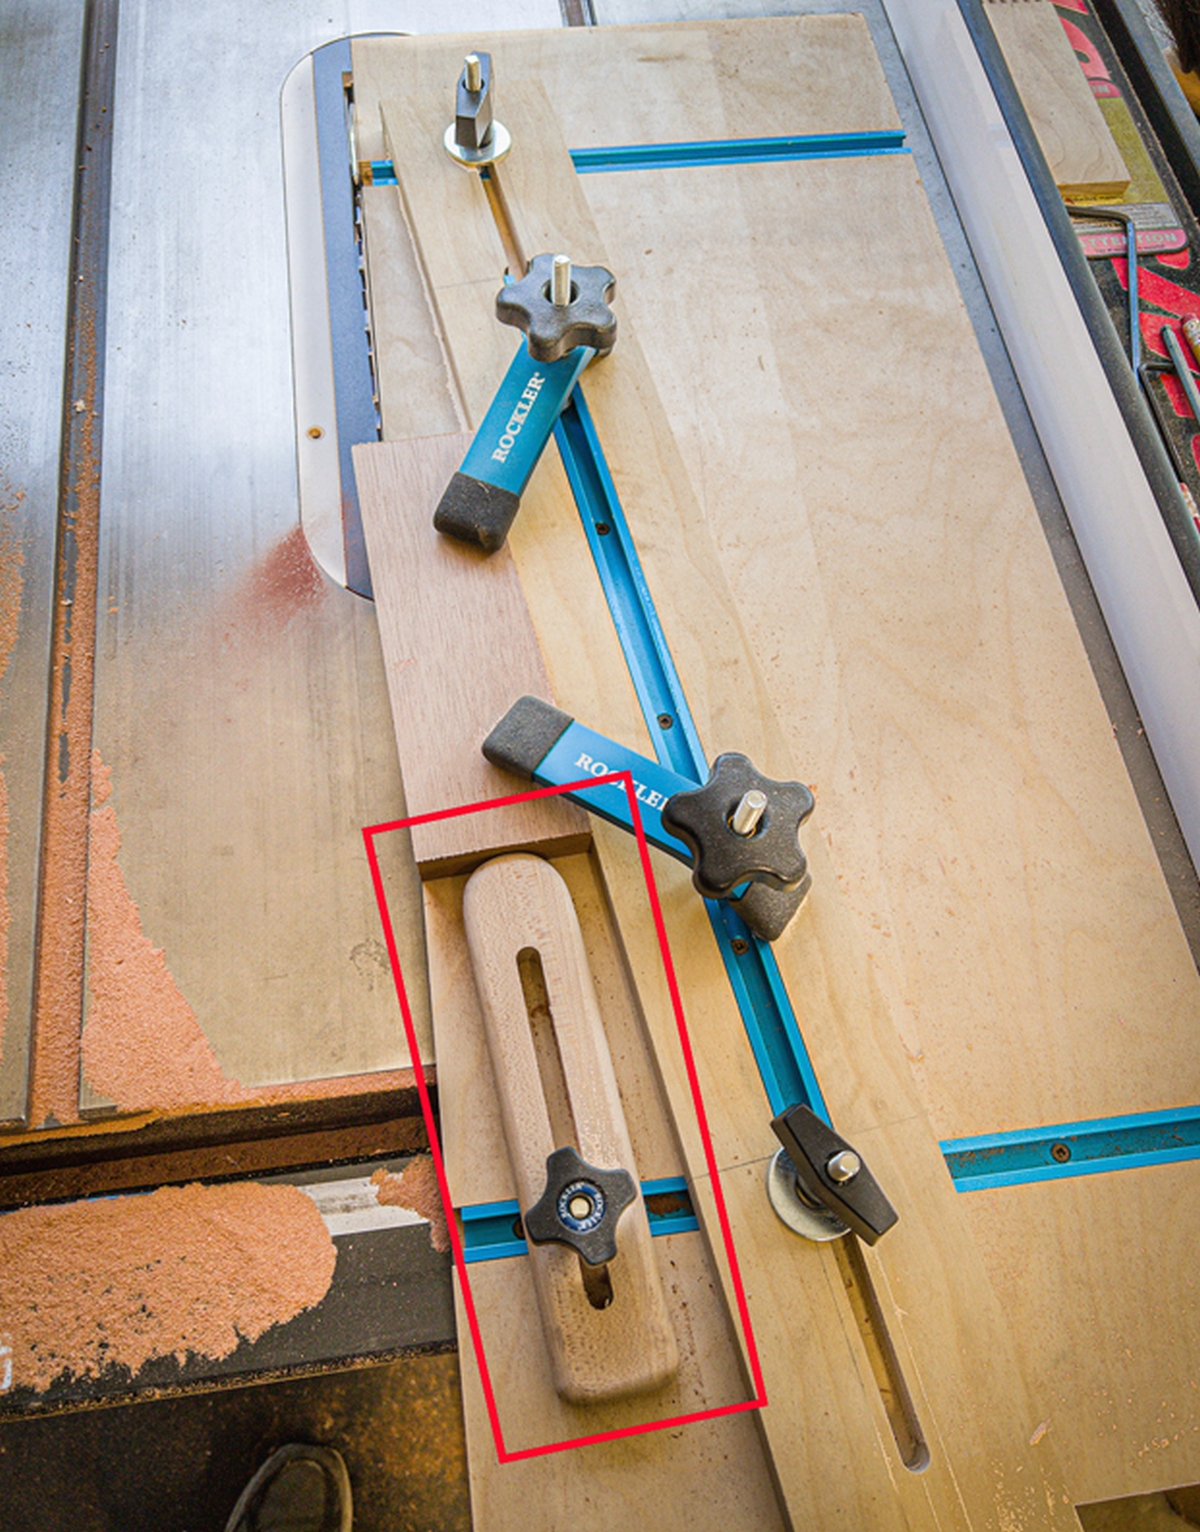
The new stop on my jig can be seen in the image below, shown in the red rectangle.

Is there a plan for this jig on the site? I’d love to get it as we have a project that this would help with. Thanks!
Asking for plans? it would improve your woodworking skills if you looked at this very simple jig and figured out how to make it or draw plans. The only thing that is critical to remember is to make sure the T-tracks on the bottom piece are set a little ways back from the cutting edge, as in the photo. Relying on plans means you will never build something from your imagination, or something you've seen and want to copy. If you make a mistake, who cares? Learn from it.
I attached a 'shoe' to the end of the taper and the stock rests against that show. That way I don't have to use a separate piece, as shown in the picture above. If the show gets damaged, it can easily be replaced.
I would like the plans.
I have a similar design that I have used on a few projects. I am not sure I understand the rounding of the stop to get a single point of contact. My stop has a flat face that I clamp in place while holding the stop against the angled fence and it seems to work fine.
I have cut alot of table legs and this plan would save having to make a new jig for each different leg. Where can I get these plans? Thanks
Would love to get the plans!
Guess I'm a little surprised that you didn't have a stop from the very beginning. It's a part of every tapering jig that I've seen or used. That said, this is a nice version.
I have a SawStop table saw. Question Will the T-track which is right next to the saw blade set off the SawStop brake?
Looking to see if plans are available to build this unit