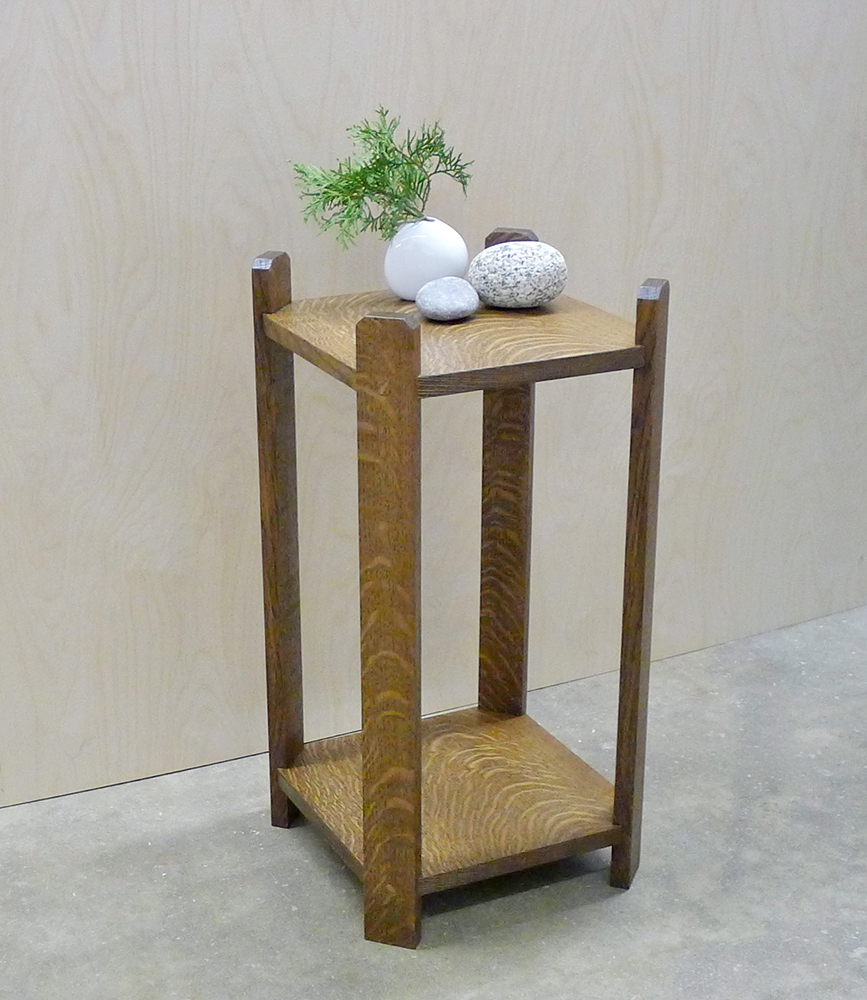
Joints on the corners make this table surprisingly strong.
This table is a marvel of engineering and efficiency. The legs are placed on the corners, providing remarkable lateral and torsional strength, and the two horizontal planes serve as both shelf and stretchers. I have given this particular version an Arts & Crafts flair, employing quarter-sawn white oak and a geometric ‘dog ear’ on the legs. Legs are attached to the shelf and top with screws and plugged, however, dowel or pocket screw joinery would work too.
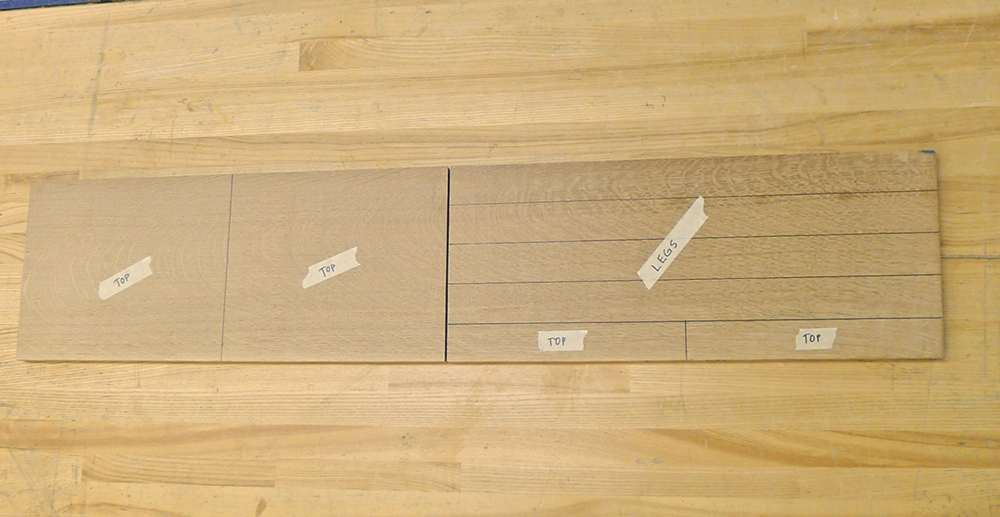
Less than four board feet make the table!
I had a spare piece of quartersawn white oak, only 10” x 48” gathering dust in my shop, and turned it into a gift. I reserved approximately two inches of width for each leg to create a leg blank, then trimmed off the excess and glued it to the top section to attain a wider plank for the top and shelf. Any lumber will work for this design, and I can imagine a contemporary version in walnut, or a Shaker version in maple. Final dimensions for the piece are 24” tall x 12” square.

Cut all the joints at once
Install a 3/8” wide dado blade in the table saw to crosscut dadoes in the 9” x 24” leg blank. This process requires multiple passes over the blade, but by taking thin passes after the initial cut, I can size the dado perfectly to match the thickness of the horizontal pieces. Clamp a stop block to the fence, and use it to cut a dado 2” from each end of the leg blank. Then move the rip fence to the right in small increments to sneak up on the final size of the dado.
It would be simple to add another shelf to the table, or to change the locations of the top and bottom, if you wanted to modify the design.
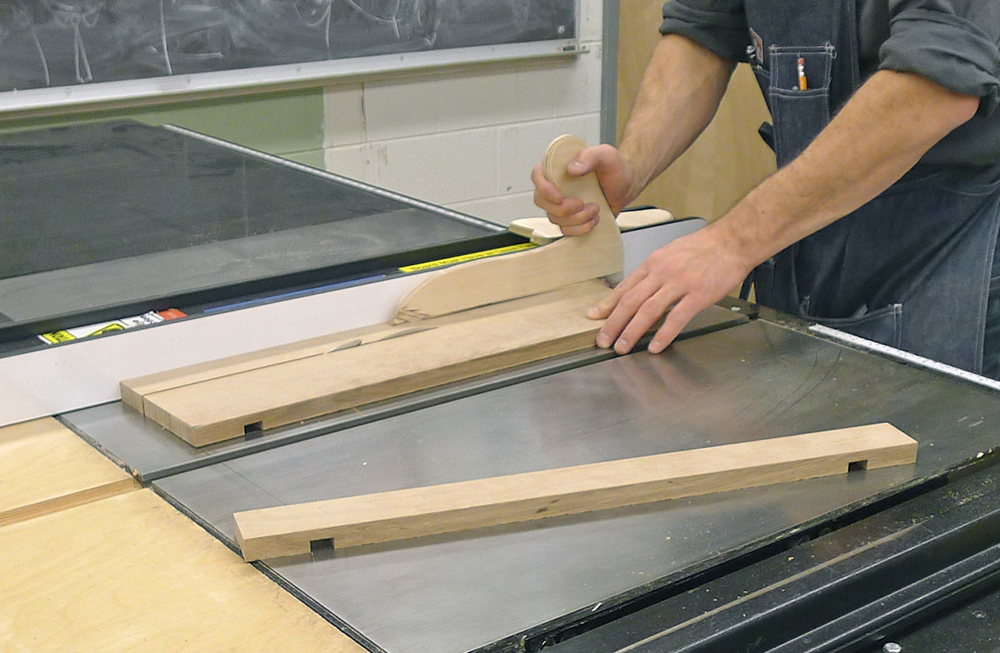
Rip the legs from the leg blank
Rip the 2” wide legs from the leg blank after the dadoes have been cut. I love projects that look complicated but are as simple and straightforward as this one. Each leg will be exactly the same, interchangeable with the other legs.
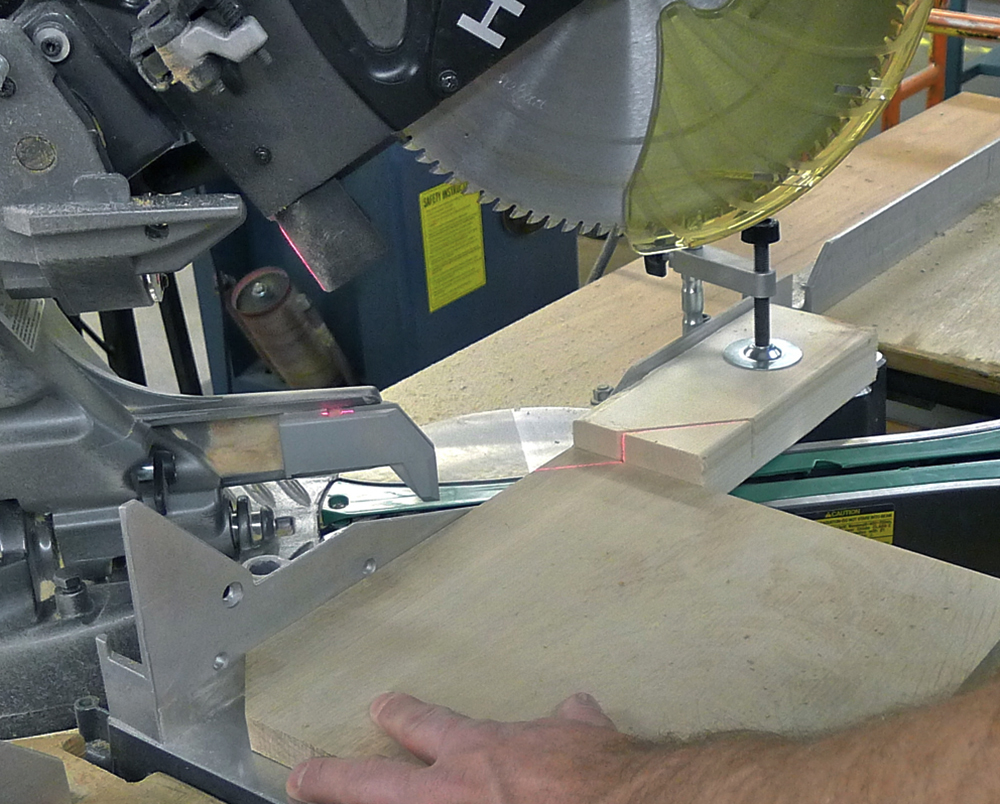
Trim the corners from the top and shelf
Cut a 45-degree miter on each corner of the shelves to receive the legs. The length of the diagonal is 2”, matching the width of the leg. I set a wide stop block and clamped it to the bed of the miter-saw. The top and shelf will be exactly the same size, and have identical miters. Select the best piece for the top, and use the other for the shelf.
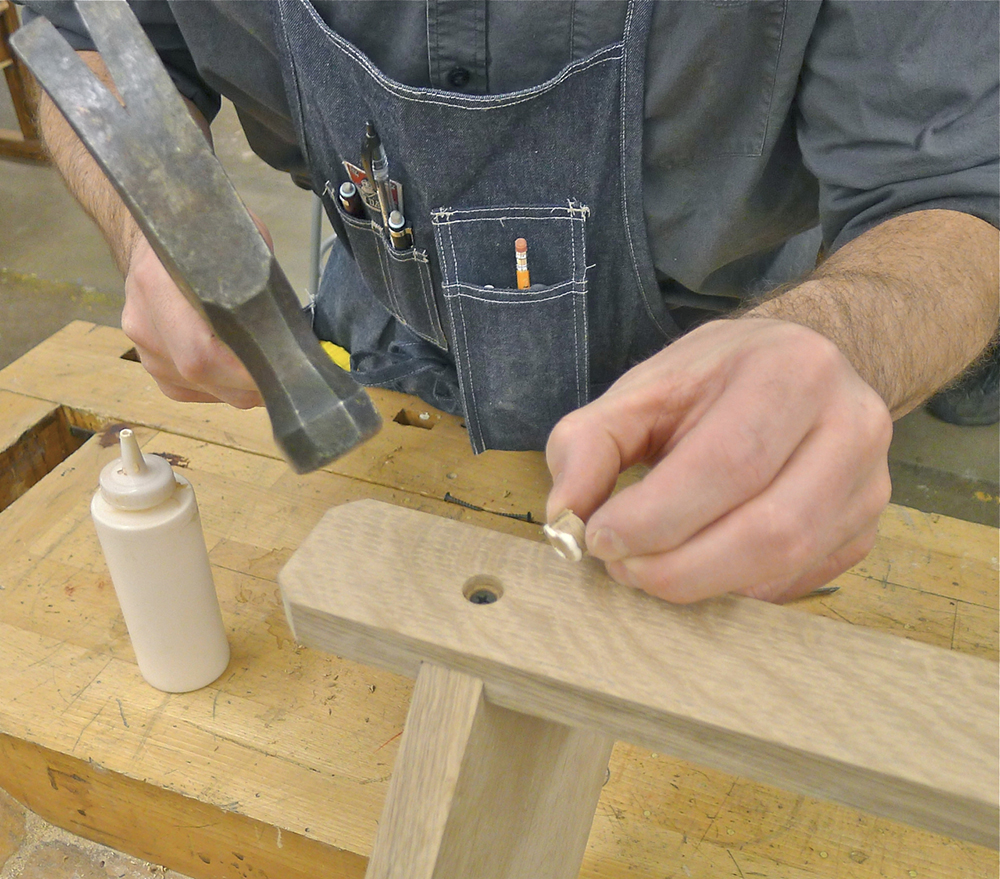
Peg the screw holes
On a last minute gift like this time is of the essence, so I use screws to hold the table together instead of fancy joinery. To fasten the legs to the top and shelf, I bored 1/2” countersink holes, and then pre-drilled into the top and shelf. After driving the screw, I filled the holes with plugs I cut from excess white oak stock. When the glue dries, trim the plugs with a Japanese saw and sand them flush.
Final finishing steps
Sand the table with a random orbital sander, using 120-grit sandpaper. to clean up the plugs. I skip up to 220 grit sandpaper and sand the rest of the table, and soften all of the edges with hand sanding. For a beautiful and protective finish, I start with Dark Walnut stain from Minwax, which is the perfect balance of dark brown and red tones characteristic of antique Arts and Crafts furniture. After the stain dries overnight, I spray three thin coats of Satin Minwax Polyurethane as a protective, waterproof layer. The polyurethane has a hint of yellow, which adds to the character of the table, and is remarkably easy to apply. While waterborne finishes cure somewhat faster than oil based finishes, they don’t have that ‘yellow’ which is so perfect for this table. Now get out to the shop and start cutting! There’s no time to waste.
Photos and Byline by: Seth Keller


This table is beautiful! However, I have a picky question. If the board is 10" wide, and you cut 4 legs that would leave only 1-1/2" because the 4 kerfs would total 4/8" inch (1/2). This would mean that the top and shelf would each measure 12 X 10-1/2, yes? If I am missing something, please edjimacate me....I'm only a beginner here.
I just love the ideas you provide for your members. This table for example. Very nice looking and like you said, Super Simple Table. Thank You for all you do. I'm glad I became a member.
Nice, I am going to make it.
[…] FIND THE PROJECT HERE or PIN FOR LATER […]
I've run across similar tables at local estate sales and have purchased and refinished two of them (one walnut and one pine but otherwise identical in size and construction). Mine are 20" tall and, where George's has a bottom shelf, mine have an "X" member. Elmer (above) reinforces what I've long suspected: these simple tables were probably standard fare for many first-year woodworking--"manual arts" when and where I went--classes.
Love table plans “simple
My father made one of these in shop class when he was in high school. I'm delighted to have the pattern and be able to make one too.
Nice table, with efficient use of material! What is the length of the 'dog ear' on the top of the legs? Thanks!
Would love to try
I would like to get the actual plans for this table it sounds great and I am just starting off.