
How to Construct a Bandsaw Box
George VondriskaDescription
Bandsaw boxes are easy to make, but you need to follow a few rules of the road. It’s very important that you use the right blade, and that you make the cuts in the correct sequence.
This story lays out the bandsaw box project for you, start to finish.
Bandsaw Box Project
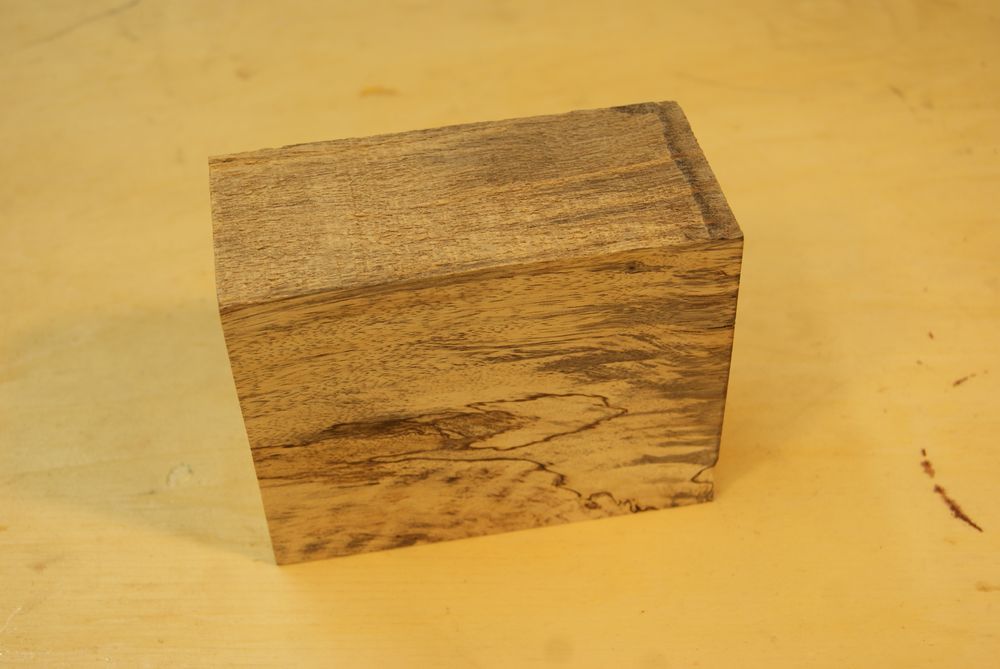
Use a good size chunk of wood for the box. I’m using a 3” x 4” x 6” piece of spalted tamarind. I wouldn’t use anything less than 2” thick, 3” is better. Hardwoods and softwoods are both fair game. If you can’t find big blocks to work with (although a Google search for bowl blanks will help you there) there’s nothing wrong with gluing pieces up to make a block.
I do the bandsaw work with a 3/16” 10 tpi (teeth per inch) blade. With its fine-tooth count you’ll need to take it easy on feeding the material. But you’ll be left with surfaces that require very little sanding. This is important for the fit of the drawer.
1. Define the Shape
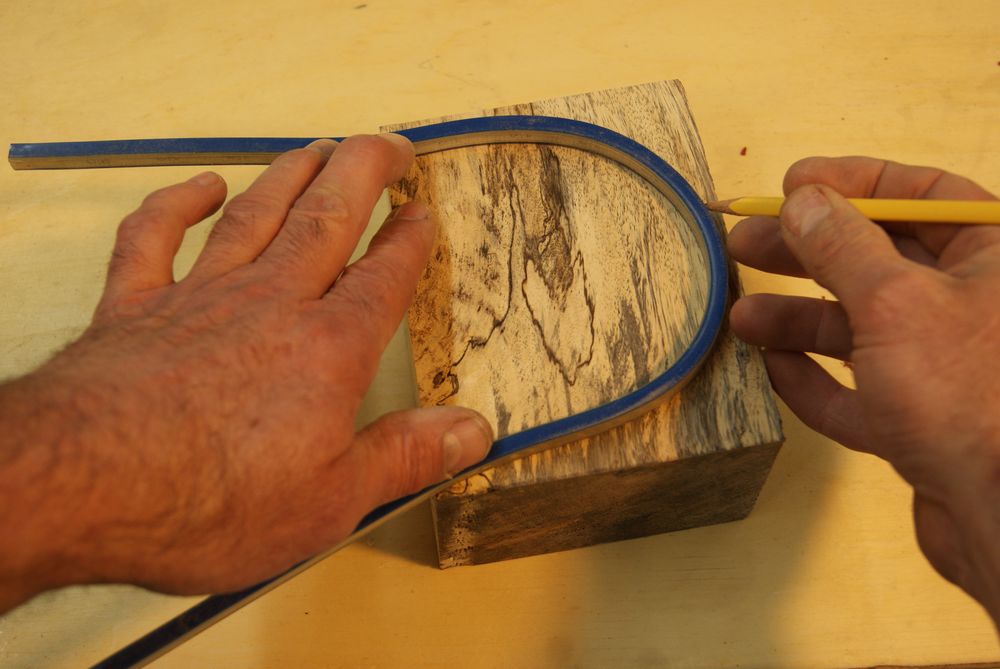
Define the outside shape of your bandsaw box. This is completely subjective, and beauty is in the eye of the beholder. I prefer to use a flexible curve to create the shape.
2. Cut Your Shape
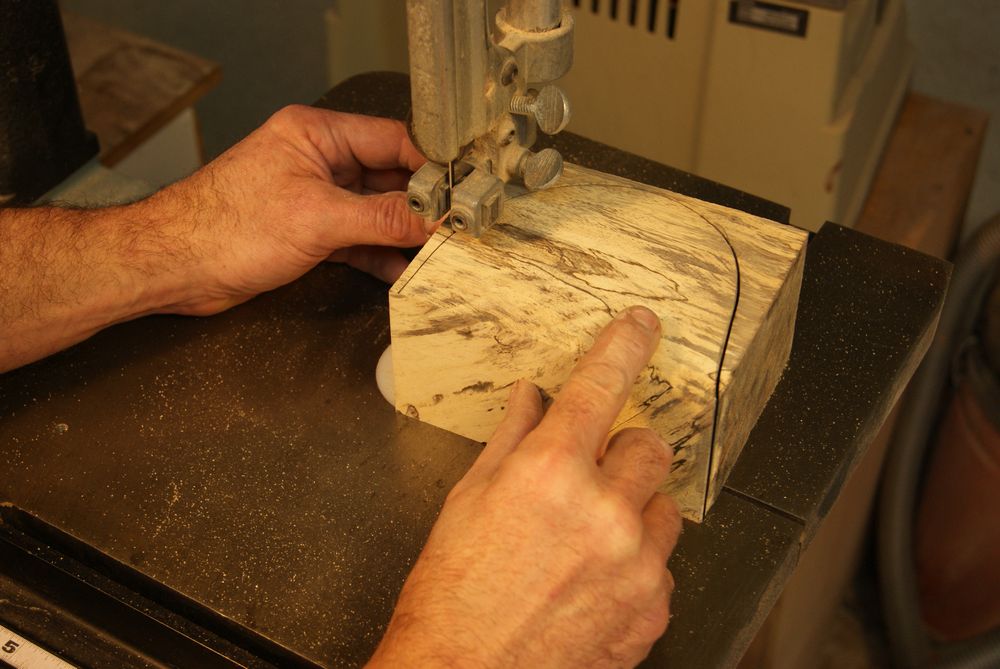
Cut the outside of the box to shape. Take it easy on the bandsaw blade, using a slow but consistent feed rate. Listen to your saw, and slow down if it sounds like you’re overfeeding. Try to make the cut in one fluid motion, without starting and stopping the feed. This will minimize bandsaw marks.
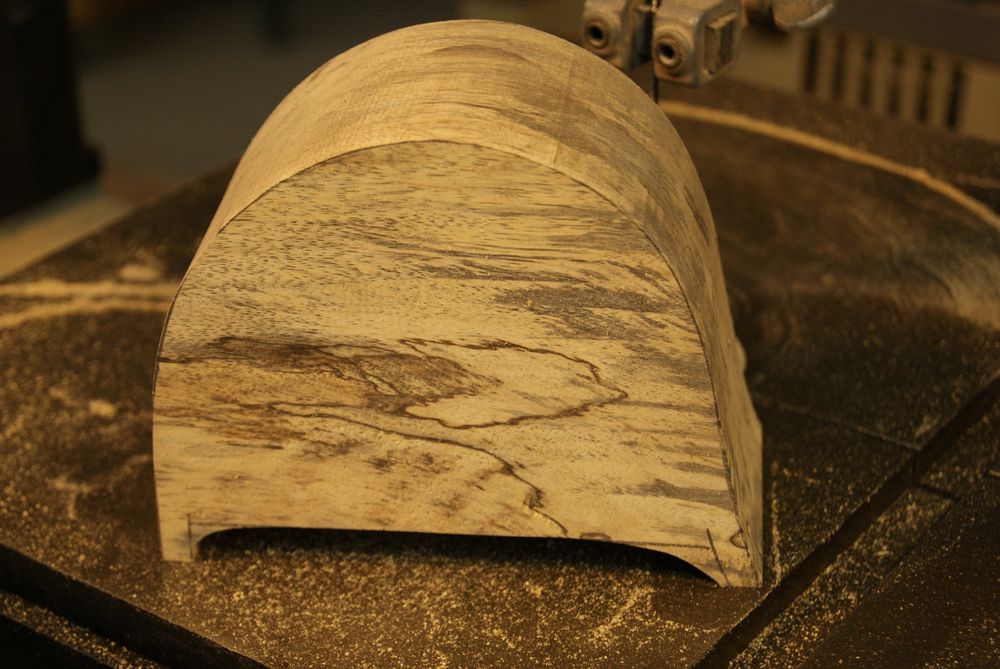
Notice that I cut feet on the bottom of the box. This isn’t a must, the bottom could remain flat, but I think it looks better with feet.
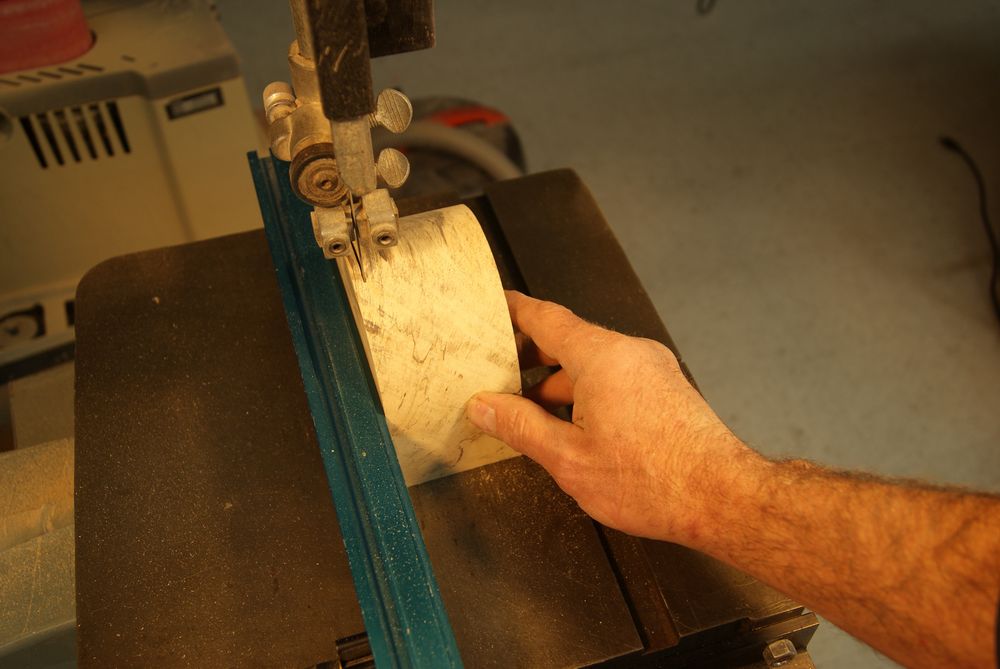
Set up a resaw fence and cut the back off the box, making it 1/4” thick.
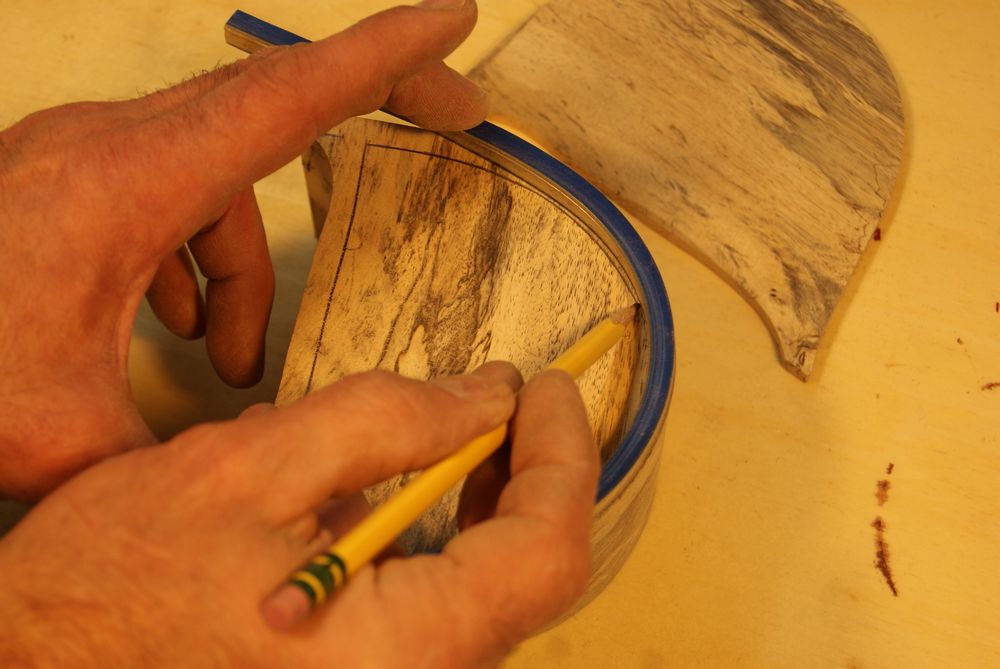
Use the flexible curve to draw the drawer opening. I make the outside of the flexible curve even with the outside of the box, and then trace the inside edge.
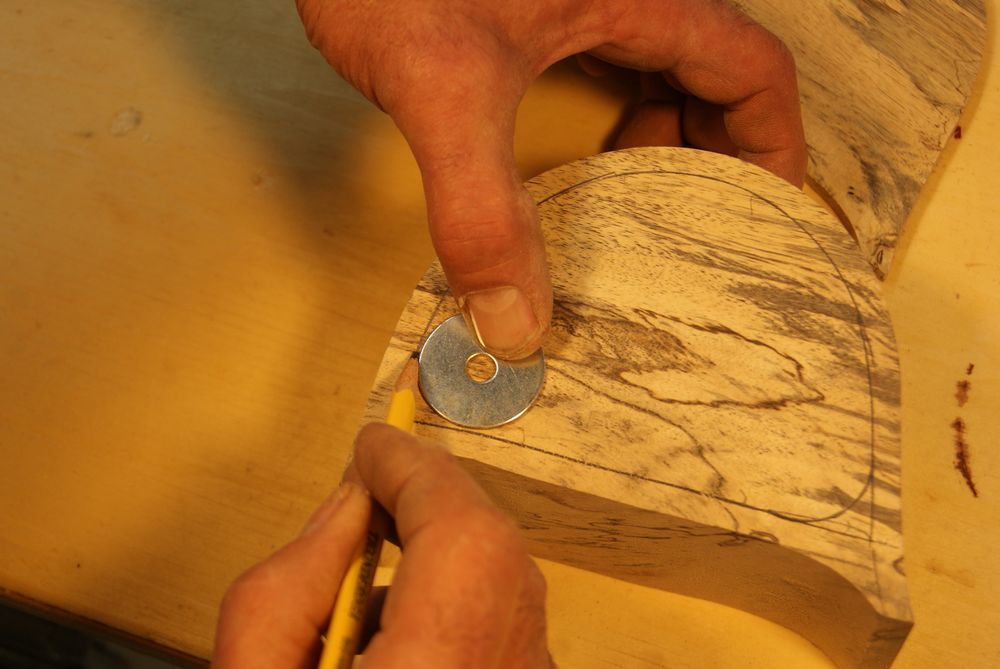
Radius the inside corners using a washer. For a 3/16” blade a washer with a diameter of 1-1/4” creates an arc the blade can follow. Don’t leave any sharp corners in the drawer opening.

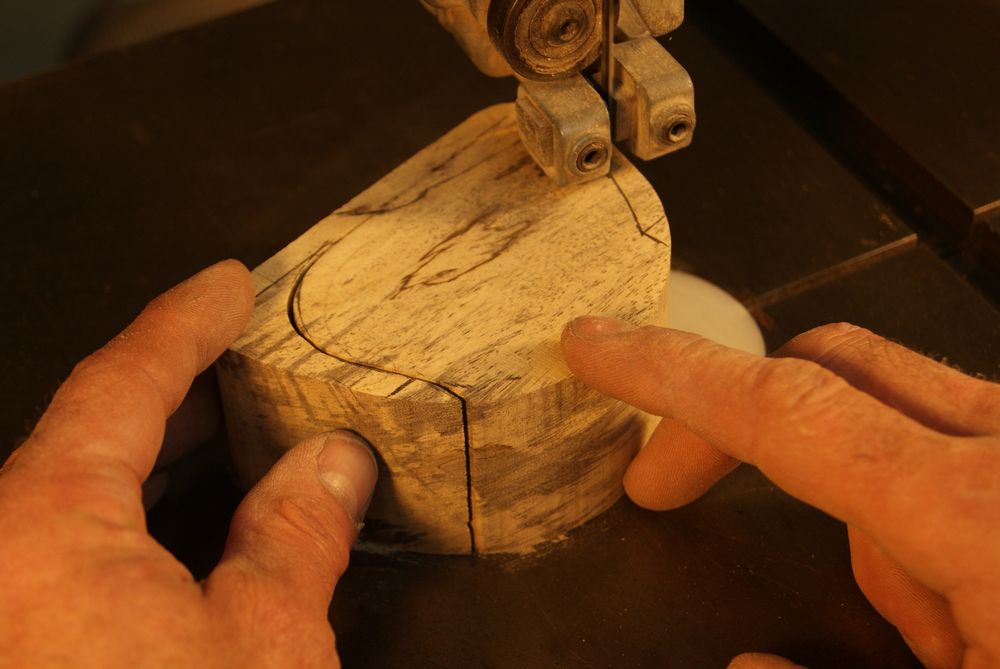
Cut the drawer opening. Notice that my entry cut, near my right hand, was made parallel to the grain of the blank. This makes for a better glue joint when you glue the box back together, long grain to long grain, and will also help make the glue seam more invisible. The chunk that comes out of the interior of the bandsaw box becomes your drawer.
3. Make the Drawer
Set up your resaw fence for a 1/4” cut and cut the front and back off the drawer piece. Notice the two lines I have on the top of the piece. This is to remind me to cut one slab from each of the two faces, not two slabs from one face.
Cut out the inside of the drawer. Use the flexible curve to define the shape, just like you did on the box. Except that in this case you need to create a U shape, open at the top of the drawer.
4. Sand and Assemble
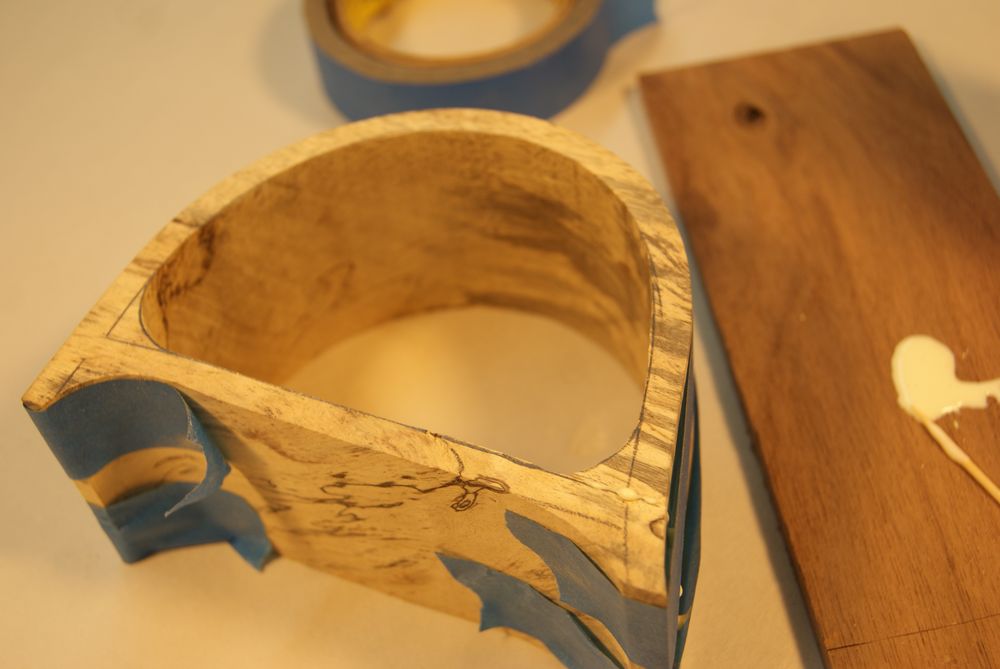
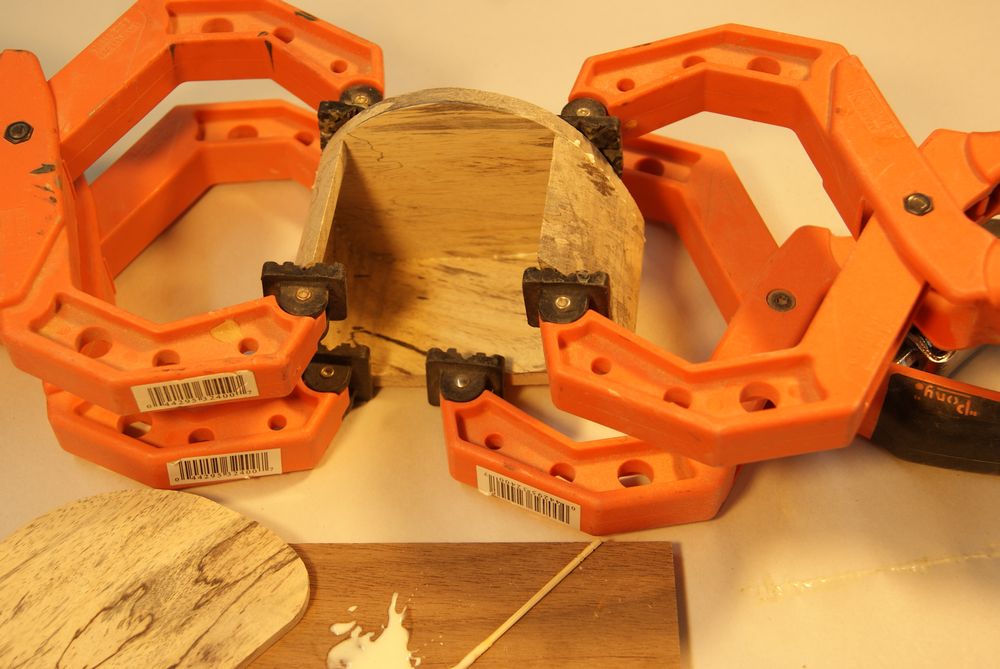
Glue the box together by working glue into the entry cut using a tooth pick. With the irregular shape of the box masking tape makes a great clamp.
Glue the back slab onto the drawer after sanding the bandsaw marks off the drawer interior (using a spindle sander) and from the inside faces of the back and front slabs (by hand). Once the glue on the back is dry, glue on the front.
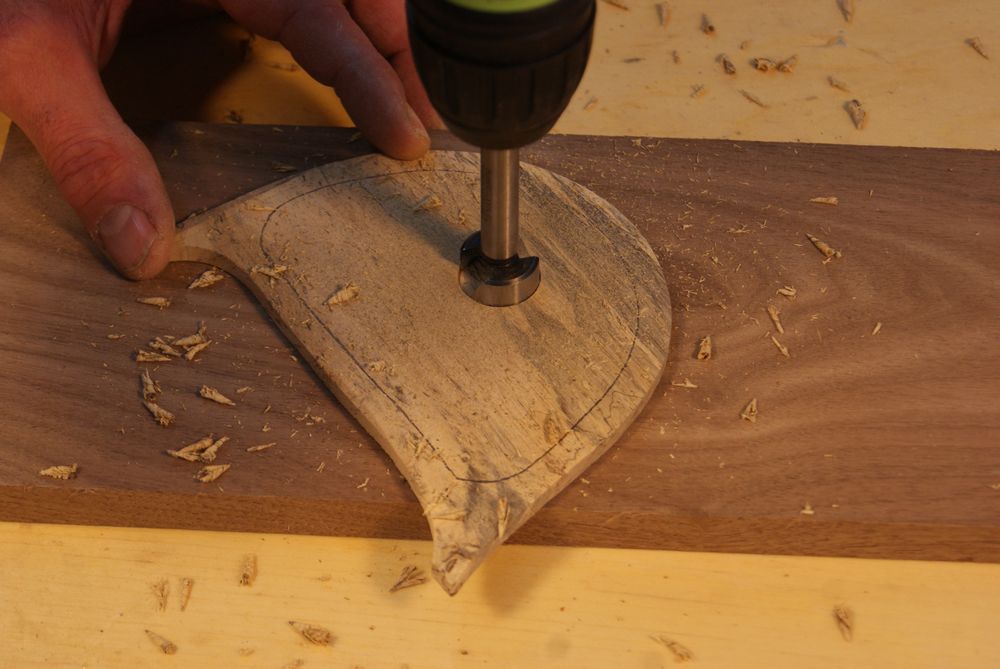
Drill a 5/8” hole in the back. The hole provides finger access so you can push the drawer open.
Sand the interior of the bandsaw box using a spindle sander, and then glue on the back. I don’t sand the saw marks off the inside face of the back, since you really can’t see this surface. When the back is dry sand the box exterior.
When the drawer is dry sand the exterior surface to remove the bandsaw marks. Do as little sanding as possible. Part of the key to the completed box looking cool is having little more than the kerf of the bandsaw blade removed between the drawer and the box.
5. Finish
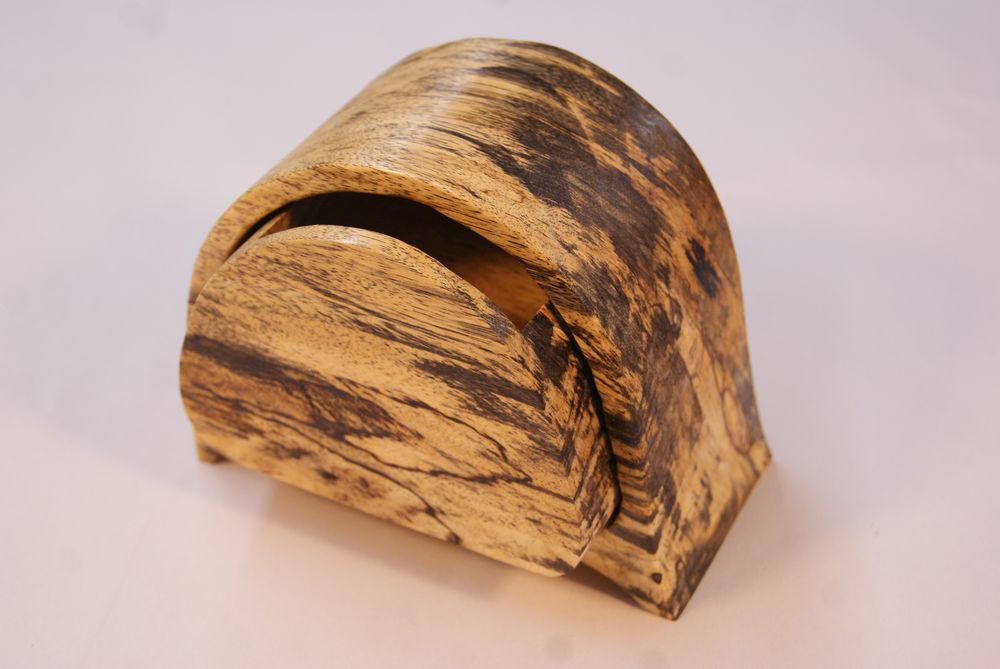
Apply a coat of finish, and your bandsaw box is complete.
Photos by Author

Share tips, start a discussion or ask one of our experts or other students a question.
Already a member? Sign in
One Response to “How to Construct a Bandsaw Box”
Premium Membership
Unlock exclusive member content from our industry experts.
- 24/7 Access to Premium Woodworking Videos, Projects, and Tips
- Step-by-Step Instructional Demos, Plans, and Tutorials
- 50% Off Video Downloads Purchased in the Woodworkers Guild of America Shop
- 2 Printable Woodworking Plans
Unlock exclusive member content from our industry experts.
- 24/7 Access to Premium Woodworking Videos, Projects, and Tips
- Step-by-Step Instructional Demos, Plans, and Tutorials
- 50% Off Video Downloads Purchased in the Woodworkers Guild of America Shop
- 2 Full-Length Video Downloads to Watch Offline
- 2 Printable Woodworking Plans
Gold Membership
$370 Value
Get everything included in Premium plus exclusive Gold Membership benefits.
- 24/7 Access to Premium Woodworking Videos, Projects, and Tips
- Step-by-Step Instructional Demos, Plans, and Tutorials
- 8 Full-Length Video Downloads to Watch Offline
- 3 Full-Length Woodworking Classes to Keep for Life
- 7 Printable Woodworking Plans
- Discounts on Purchase-to-Own Content in the Woodworkers Guild of America Shop
- Access to Ask the Expert Program
- Exclusive GOLD LIVE Streaming Events
Nice