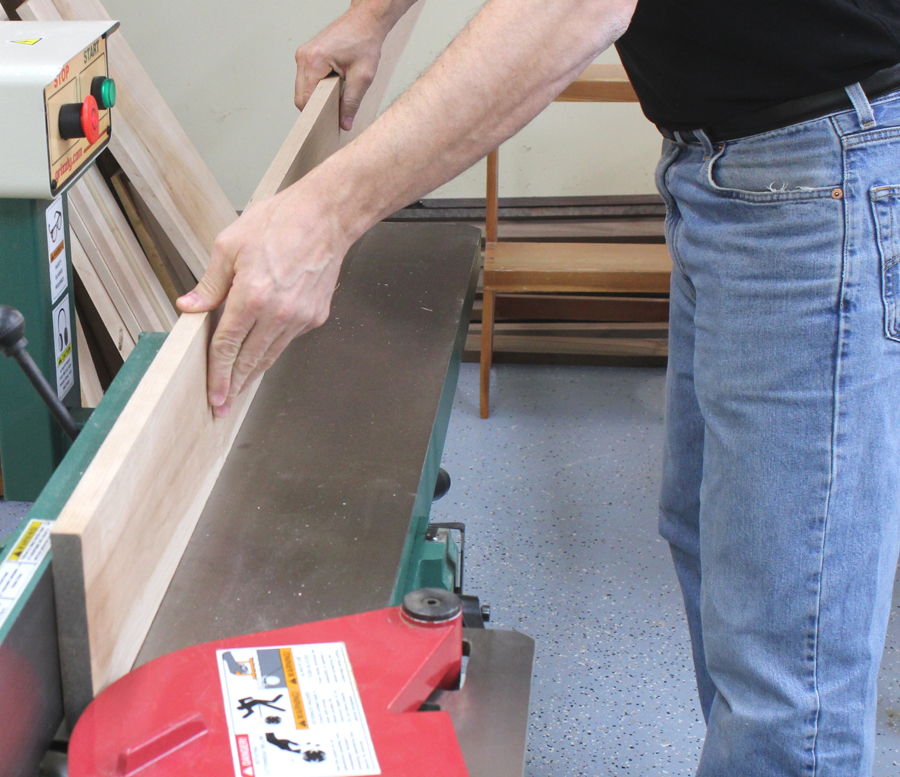
 Many woodworking projects require the ability to render a perfectly square edge on a board. There are many ways to perform this task, but nothing matches the performance, precision and repeatability delivered by the motorized jointer. Getting the jointer to deliver on its potential is not particularly difficult but, like most things, it requires proper procedure which can be broken down into a few simple but important guidelines. If you learn how to use a jointer, Do it right, and you will be rewarded with a lifetime of better joints. On the other hand, glossing over these techniques can lead to frustration, or serious problems in your projects.
Here are some guidelines for how to use a jointer
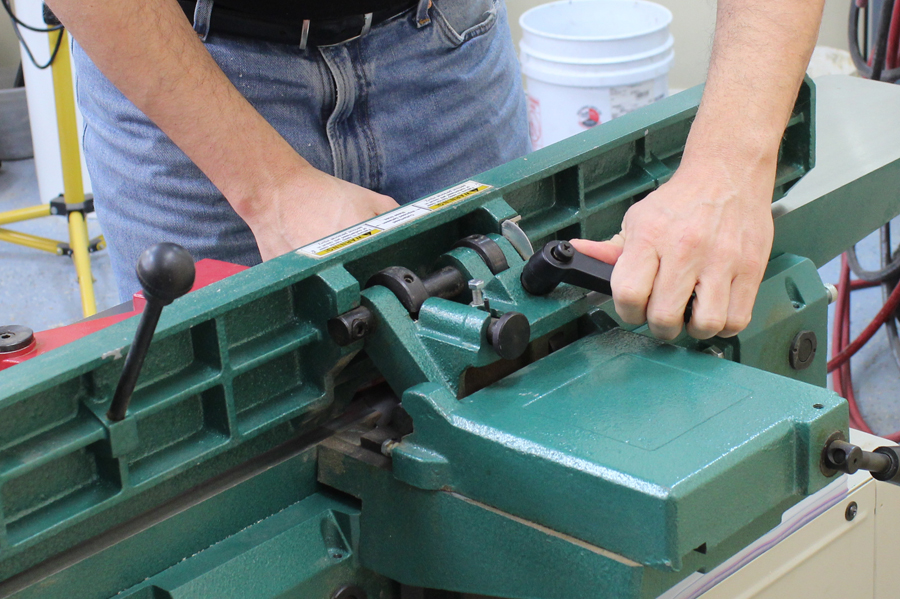 Know the machine
Understanding the machine that you are working with is critical. Most jointers provide some convenient features that help make the jointing process more predictable. Be sure that you know how to properly adjust the fence, set depth of cut, change blades, tension the drive belt, etc. The more familiar you are with the jointer, the more capable you will be of using it properly. You can learn tips and tricks to using a jointer here.
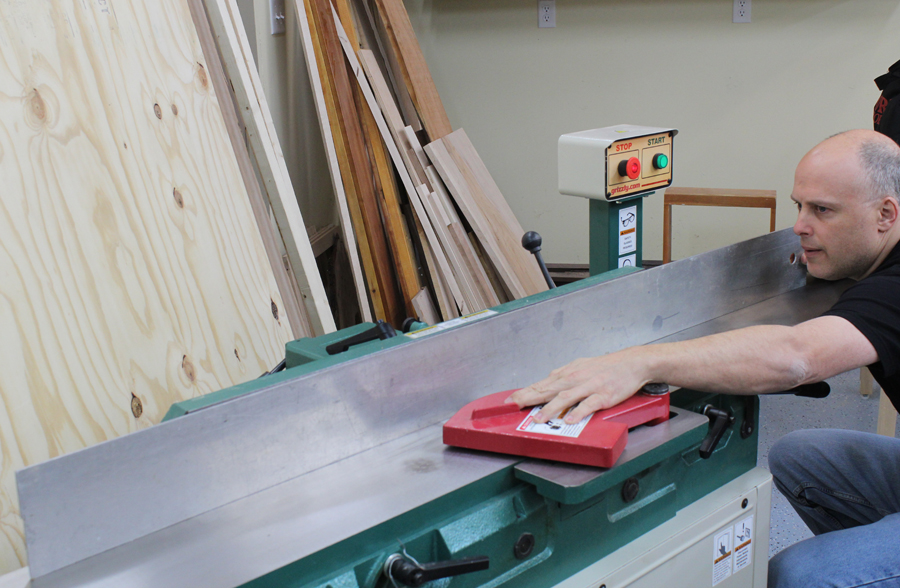 Ensure coplanar tables
A properly tuned jointer is critical. Use the best straight edge that you have to ensure that the tables are set as perfectly coplanar (parallel) as you can achieve. Refer to your owner’s manual to guide you through any adjustments if necessary.
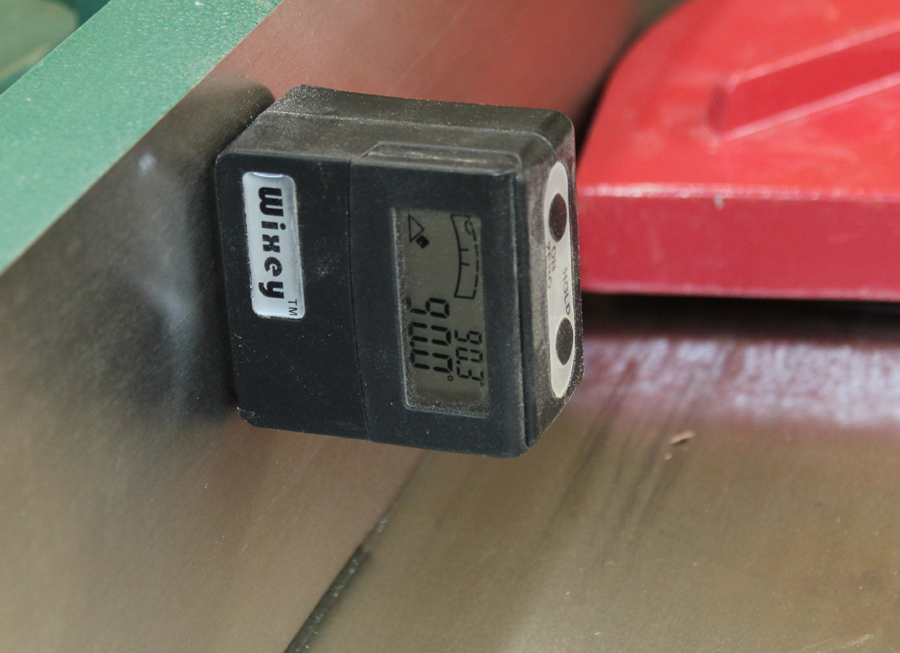 Square up the fence
Set the fence to a perfectly square position using a machinists’ square or digital angle gauge. Without a square fence a jointer will simply drive you crazy, and will not be worth the footprint that it consumes in your shop.
 Understand your stock limitations
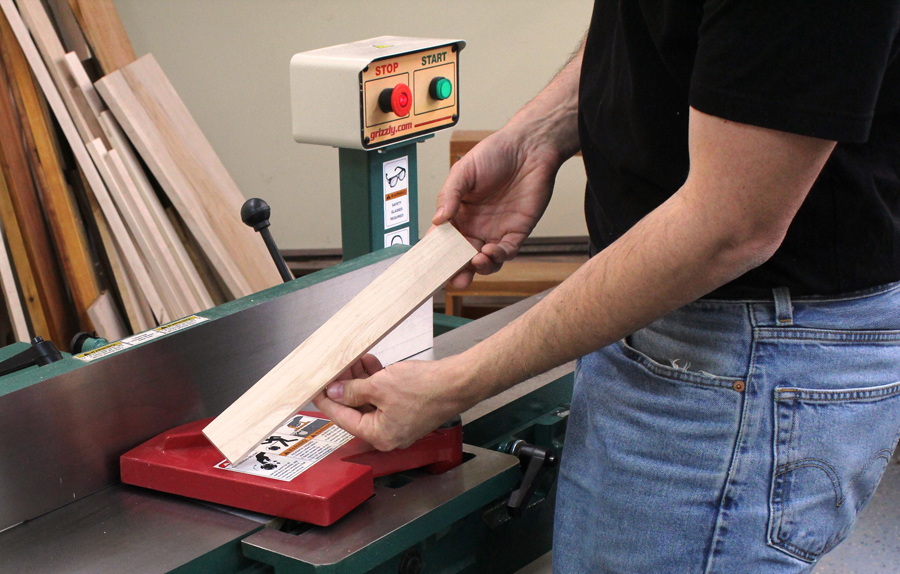
Your jointer’s capacity boundaries will be limited by the length and width of its beds. For safety reasons you need to set a lower limit on the size of board you will run through the jointer. Check your jointer’s manual for specifics, but in most cases the smallest recommended piece will be in the range of 1/2 thick x 2″ wide x 12″ long. Don’t allow yourself to give in to the temptation of milling smaller stock.
 Upper limits
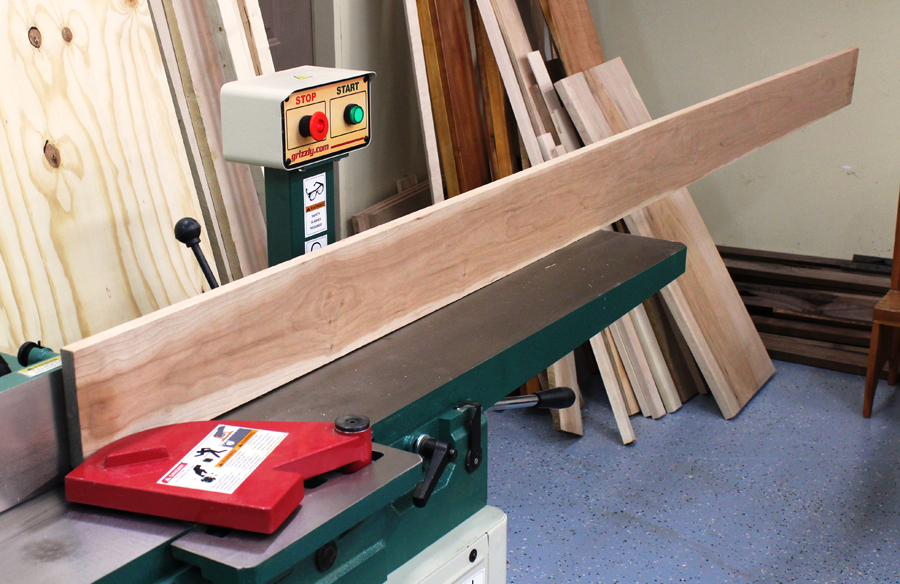
The upper limits of what your jointer can handle is more of a quality than a safety issue. My guideline here is to limit the length of board to no more than twice the length of your infeed table. A quick test for this is to set the board on the infeed table and if it balances you should be able to achieve a straight edge with proper technique. If you run into a situation where you need to joint a board longer than your jointer is capable of, I recommend using a router and straight edge, which is tedious but works well. I am not a fan of trying to configure auxiliary infeed/outfeed tables for a jointer as it is difficult to consistently produce good results this way.
 Depth of cut
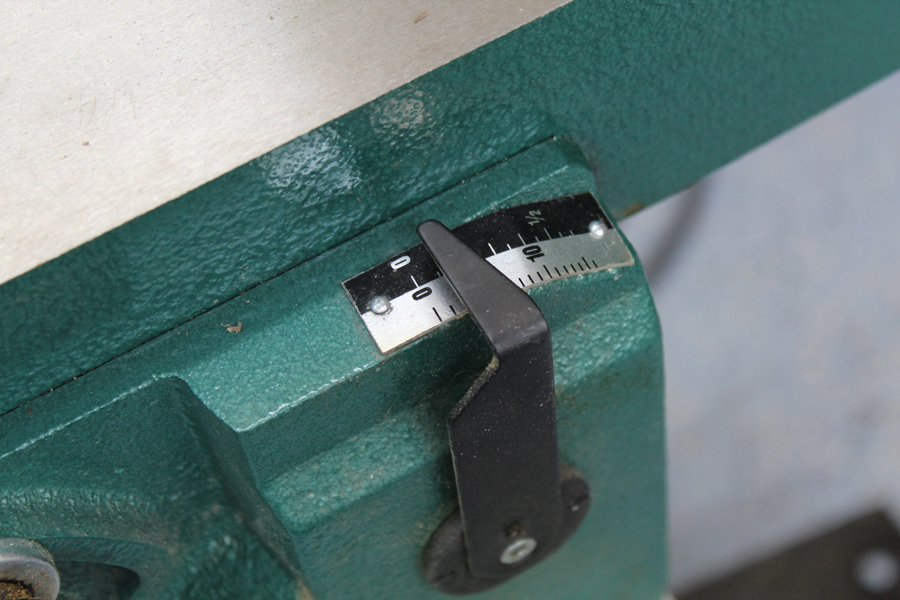
Set your depth of cut so that it makes noticeable progress with each pass but does not burden the motor. I normally set the depth of cut on my jointer to approx. 1/32″, and often make two passes to remove enough stock to produce a perfectly square edge. I would rather take this conservative approach and not distress the machine. The additional time investment is minimal and I get better results with more light passes than with one heavy pass.
 Reading grain
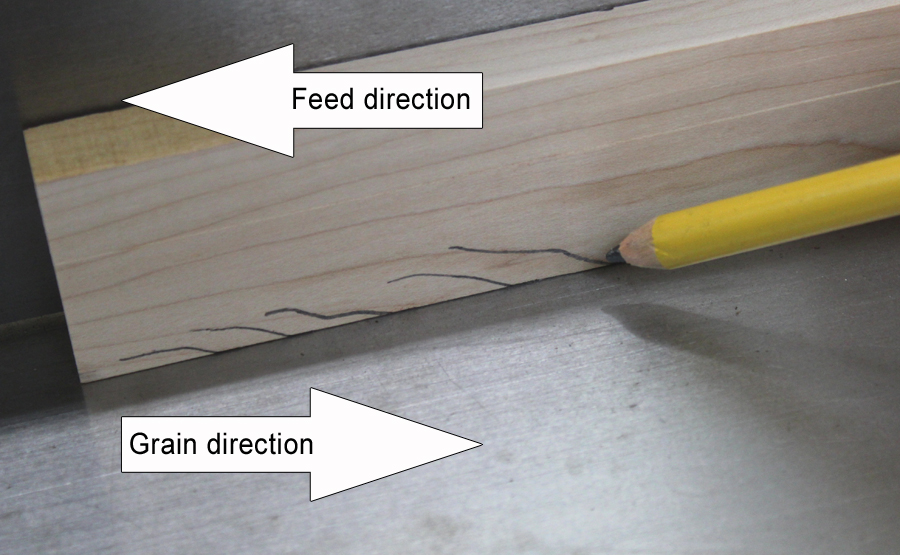
The direction that grain is running in your stock can affect the surface quality of your jointed edge. The result can range from virtually no effect to dramatic, depending on wood species, sharpness of knives, depth of cut and feed rate. I generally don’t bother reading the grain for edge jointing unless I am encountering a problem, because most of the time when I am edge jointing the surface will not be exposed in the finished project. But if you experience chatter or tearout as you are jointing, it is important to understand how to read the grain to minimize or eliminate the effect. To do so, determine the general direction of the grain on your board, and think of the grain extended past the edge of the board in the form of hair on a dog. When you pet a dog, you always want to stroke in the direction that the hair is running, or front to back. When jointing a board you want to have the grain direction at the edge pointing toward the tail end of the board as it moves through the jointer.
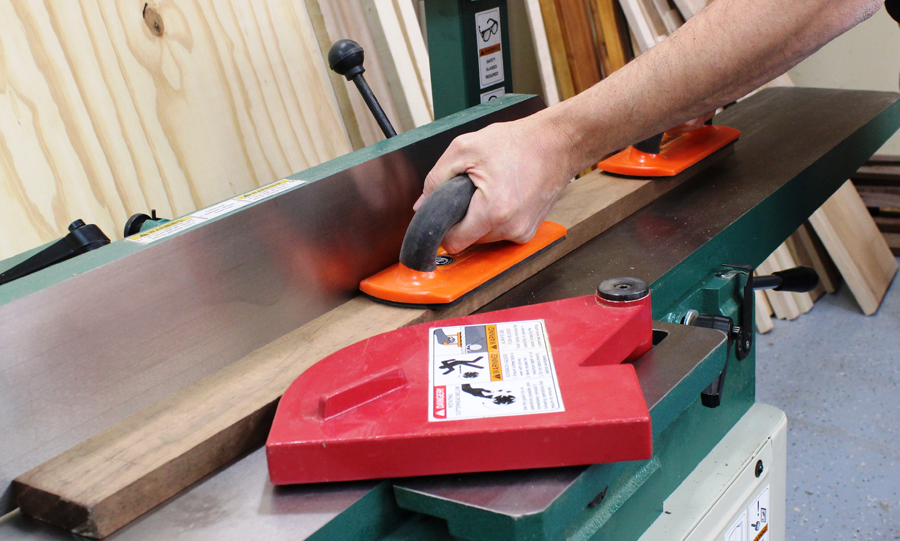 Start by flattening/face jointing if necessary
Before edge jointing, face joint your stock so that you have a flat face to place against the jointers fence as you edge joint. Skipping this stop can lead to both quality and safety problems.
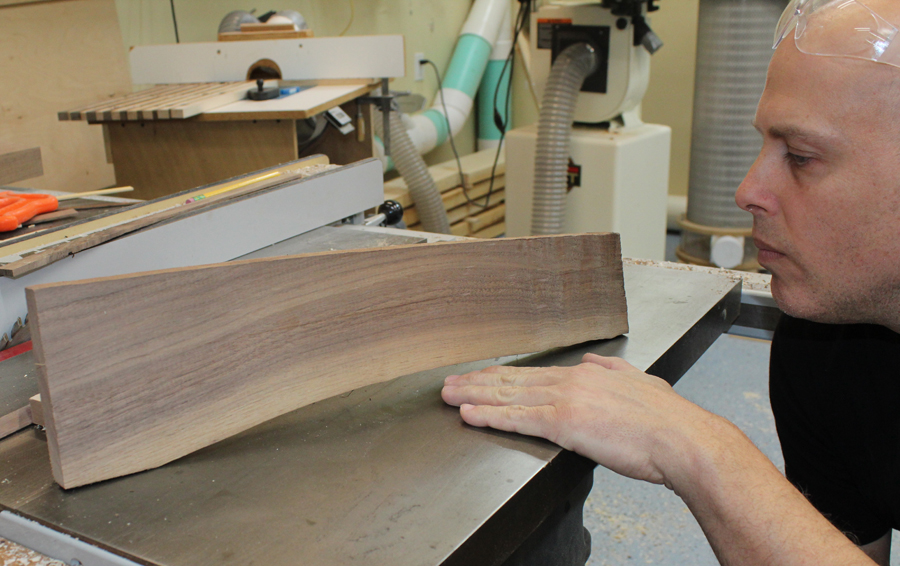 How much crook is ok?
After you face joint you should determine which edge to joint unless both will be jointed. If only jointing one, I generally choose to place the concave edge down on the jointer bed as this forces a constant reference surface that is defined by the two end points. The downside of this approach is that if the board’s crook is too severe it can tip the leading edge of the board into the cutterhead causing the board to be stopped abruptly by the outfeed table or causing snipe to occur. This is a safety concern as well as a quality problem. When you have severe crook to contend with (as shown in the picture) follow the next steps prior to continuing at the jointer.
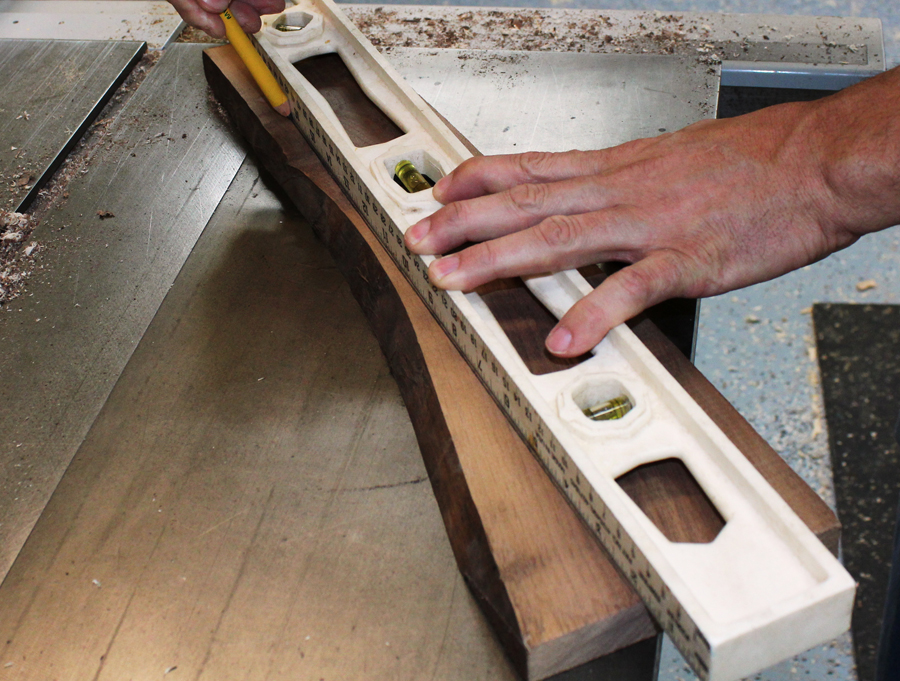 Draw a straight line just inside the crook
If a board has too much crook to it to allow for safe jointing, use a straight edge to draw a straight line that removes the minimize amount of stock necessary to establish a straight edge.
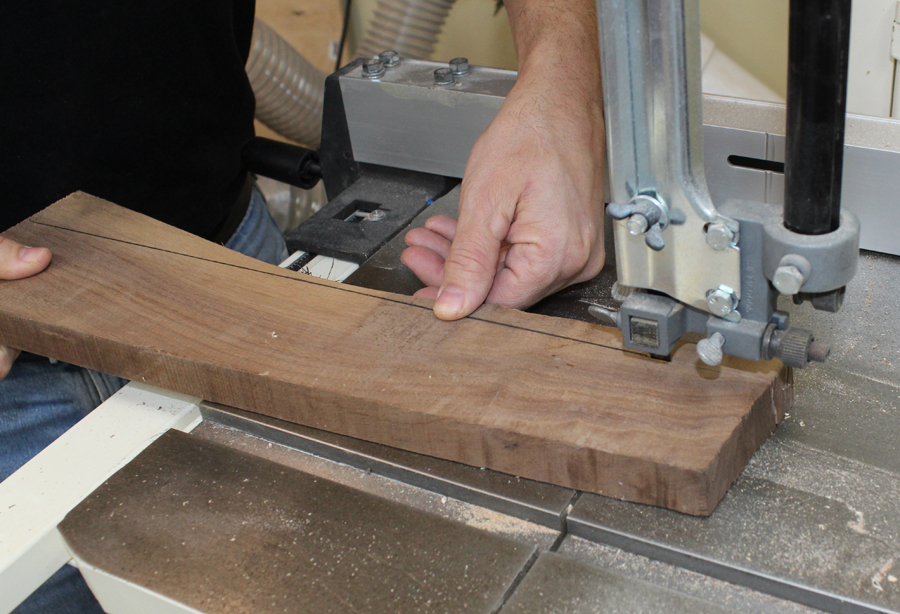 “Straighten the edge” with a band saw.
Then cut to the line as closely as possible using a band saw, creating an edge that will be safe to run through the jointer. Then return to the jointer to perfect the edge.
 Compensating for an out-of-square fence.
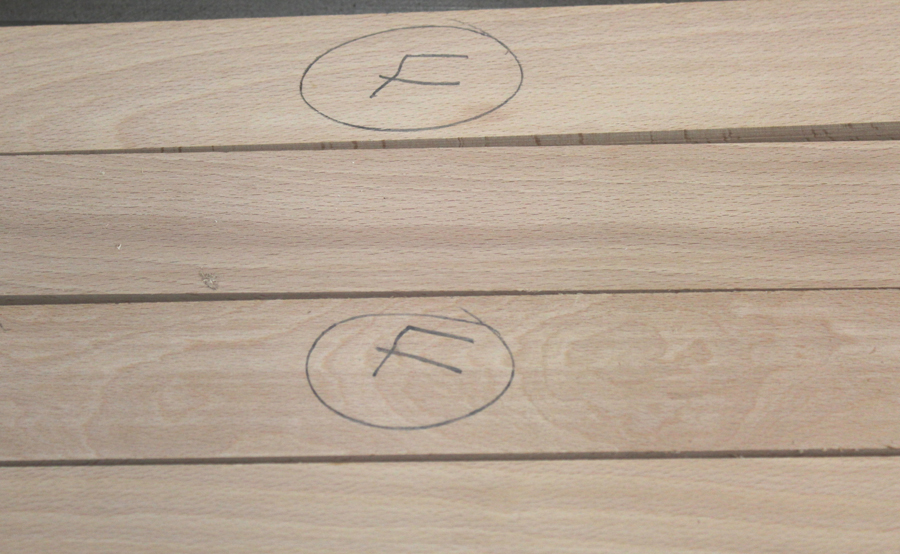
Even though you have squared up your fence, assume that it isn’t perfect. When jointing multiple boards to form a panel, a small deviation from square can have a compounding effect and cause real problems with your glue-up. To prevent this, arrange the boards for your panel based upon best appearance, and then mark the tops of every other board indicating the face that will ride against the fence. Then flip the non-marked boards and mark the other side. When you take the stock to the jointer remember to always place the marked face against the fence and you will produce complementary angles at glue-up time. To get a perfectly flat glue-up you don’t need to mate two 90 degree angles, you simply need two angles that add up to 180 degrees. Therefore, 92+88 works as well as 90+90.
Proper Feeding Procedure
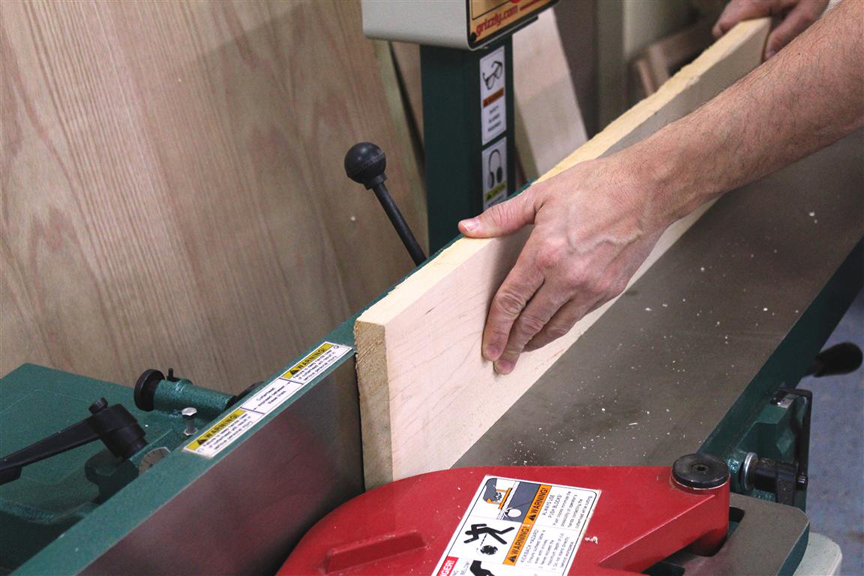 Position stock
Start by placing your board against the fence with the desired edge on the table. This is a good time to double check that the board sits flat against the fence and does not appear to be twisted.
Firm, steady, modest pressure.
With your left hand on the top edge near the front of the board, maintain pressure both downward and toward the fence. Don’t overdo it with the down pressure. The goal is not to flex the board flat, but rather to simply control it as it passes the cutterhead. Pushing down too aggressively will distort the board, resulting in a concave edge when you have completed the pass.
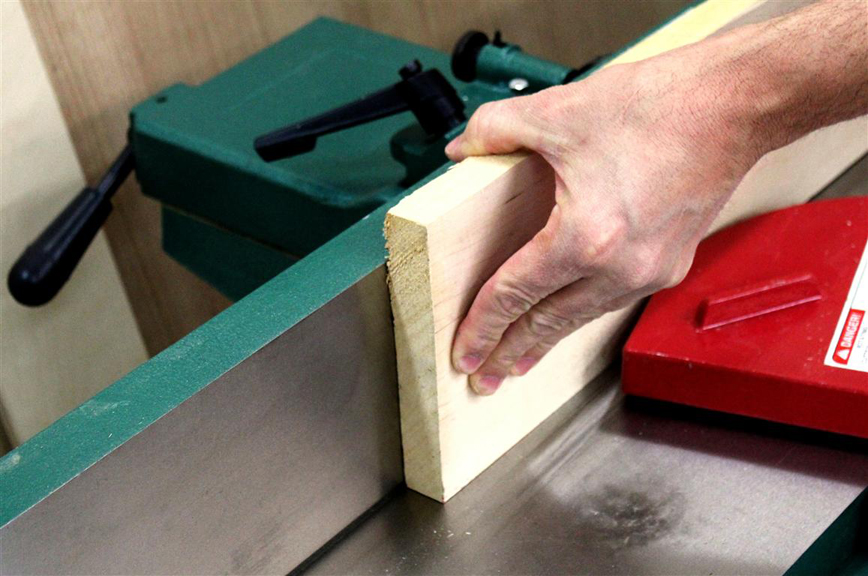 Left hand holds
As your left hand passes over the cutterhead, lock it into position a few inches past the cutterhead. You have now changed from using the infeed table to the outfeed table as your reference surface. This transition should be smooth, and this is where many jointing procedure problems occur. After making this transition the left hand should remain in the same position for the duration of the cut, maintaining both downward pressure as well as holding the board firmly against the fence.
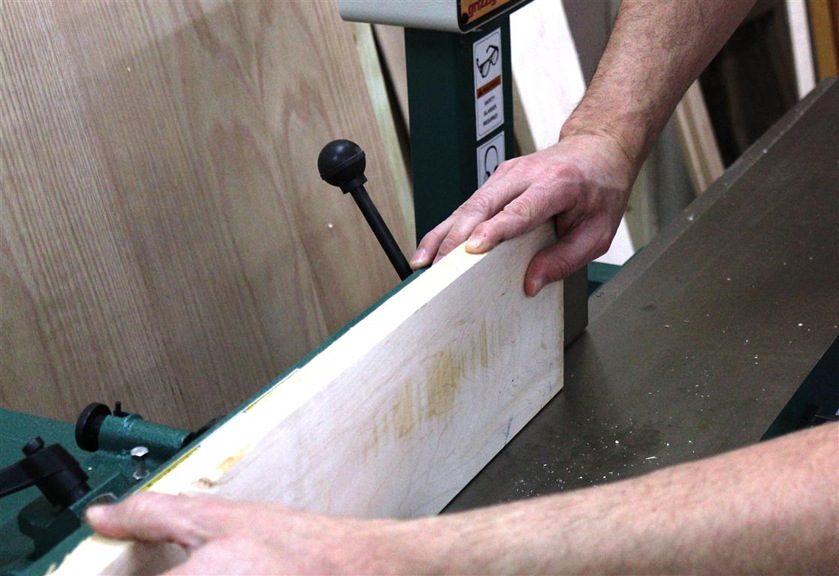 Right hand pushes
At this time your right hand should continue with steady feed pressure as well as pressure toward the fence. Maintain a steady feed rate. Listen to the machine and don’t bog it down. Feeding stock too quickly can also result in a rippled surface finish. If you are more comfortable feeding the stock using a push block, feel free to do so, especially for narrower stock.
Final Thoughts
Producing a seamless glue joint doesn’t have to be a daunting task. Following these simple procedures will enable you to consistently produce perfect edges on your boards, eliminating frustration and quality problems in your projects.
Photos By Author


Just what I needed. I haven't used one in 50 years, and needed a bit of a refresher before I use one again.
good info! next is a cabinet for my router, then to unbox the router and set it up! sigh, too far behind...
Once you pass the outfeed table fence do you keep moving your left hand back to keep pressure against the fence or just ride the board along till the end
very, very helpful
Hello, Greetings to you! Hope you are doing well at I want to submit a guest post on your blog. Do you have any room for me, please? If Yes, I would like to get started following your terms and conditions. I'll pay for the dofollow link if you wish. Looking forward to hearing from you soon. Best regards, James Chapman
How can I print a copy of this article?
I keep getting a concave cut about 1/2 inch long on the trailing end of my boards when edge jointing. Any suggestions?
How to safely setup and cut a rabbit joint on a Rockwell/Delta 6" planer model 37-220 For making picture frames.
[…] push it through. When you pull it out of the other end of the wood jointer, it will be less warped. This process has to be repeated a few times in order to straighten out the wood depending on how warped or […]
Is there a reason I can't plane the face prior to joint edging? I am very new to all this, I only have a baby jointer and baby planer. I thought I could plane one face first, then joint edge it. I am assuming that is wrong. Thanks in advance.