 All You Need Is An Afternoon For This Handy Gift. My family has tall kitchen cabinets. I got tired of my wife standing on the nice dining chairs to reach the top shelf for a fresh package of pasta. I thought Christmas was the perfect opportunity to make her a simple, dedicated step-stool that she can keep in the kitchen. It worked out so well, I want to tell you about it.
All the parts of this step-stool come out of one piece of 3/4" x 10" x 72" lumber (see diagram). I used red oak, but any hardwood will work. If you want to paint your stool, you could choose poplar. The construction is very straightforward (no jigs to make!) and uses dowels to fix the end pieces to the aprons. It has a hole in the tall upright to use as a handle when it is moved around the kitchen.
Prep The Parts. First, I joint the parts and cut them to length. Next, I rip the aprons with the table-saw blade set at 6 degrees. Once the aprons are attached to the ends, the angles will be parallel to the ground and are ready for mounting the top. I put a small radius on the corners of the top.

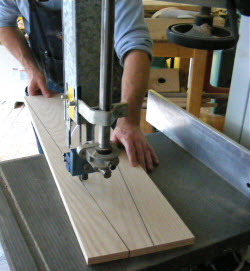 Taper The Ends. I mark a 6-degree taper on the tall end and cut off the waste on the bandsaw. I follow the line closely, and clean the edges up on the jointer. Then, I execute the same operation on the short end. For one-of-a-kind and less technical tapers, I prefer this technique to using a tablesaw because it is easier, and I don’t need to make a jig to only make four tapered cuts.
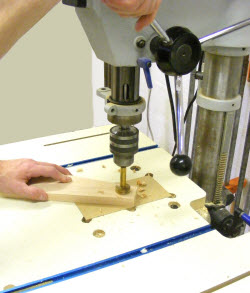 Bore The Handle Hole. Mark the hole for the handle on the tall upright. Bore the hole with a Forstner bit, keeping slow, even pressure on the quill. Place a support board on the back side to reduce tear-out. Before I glue-up, I round all of the edges, and sand all of the parts to 180 grit.
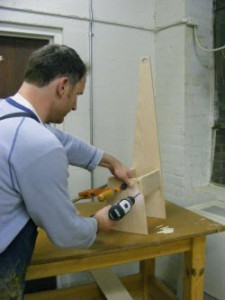 Assemble The Base. I clamp the parts together and bore holes for the dowels. To align the parts, I transfer the height of the short end to the tall end with a pencil. I lay all of the parts out while the tall end is laying on its back, and then I clamp it and tip it up. This step can use an extra hand, but it isn’t necessary. I tip the assembly up off the table and mark the holes for dowels (see diagram). Lastly, drill 2? deep holes through the ends and into the aprons. Once all of the holes are drilled, apply glue to dowels and drive them into the holes. Clean up the glue before it dries. When the glue sets, trim the dowels flush and sand the whole step stool one more time.
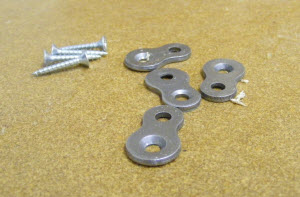
FIGURE-EIGHT TABLE-TOP FASTENERS
www.wwgoa.com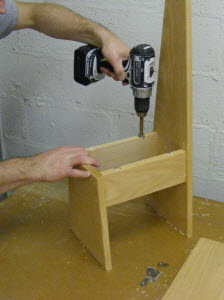 Source:
Desk Top Fasteners $4.00 for eight
Rockler
www.rockler.com
(800) 279-4441
Photos By Author

A perfect gift for someone I know.
Looking forward to getting up in the world
Thanks
Looking forward receiving plans. Thank you
[…] FIND THE PROJECT HERE or PIN FOR LATER […]
Ticket Can you use 3/4" plywood?
None at this time...
Thanks
Good
Diagram not coming up