
How to Make Face Frames
George VondriskaIf you’re interested in building cabinets, you’ll want to learn how to make face frames. If you plan to make a lot of cabinets, such as a set for your kitchen, then efficiency becomes very important. Learning how to make face frames is not hard, but like anything, there are some tips that can help you to produce better results, and to streamline the process.
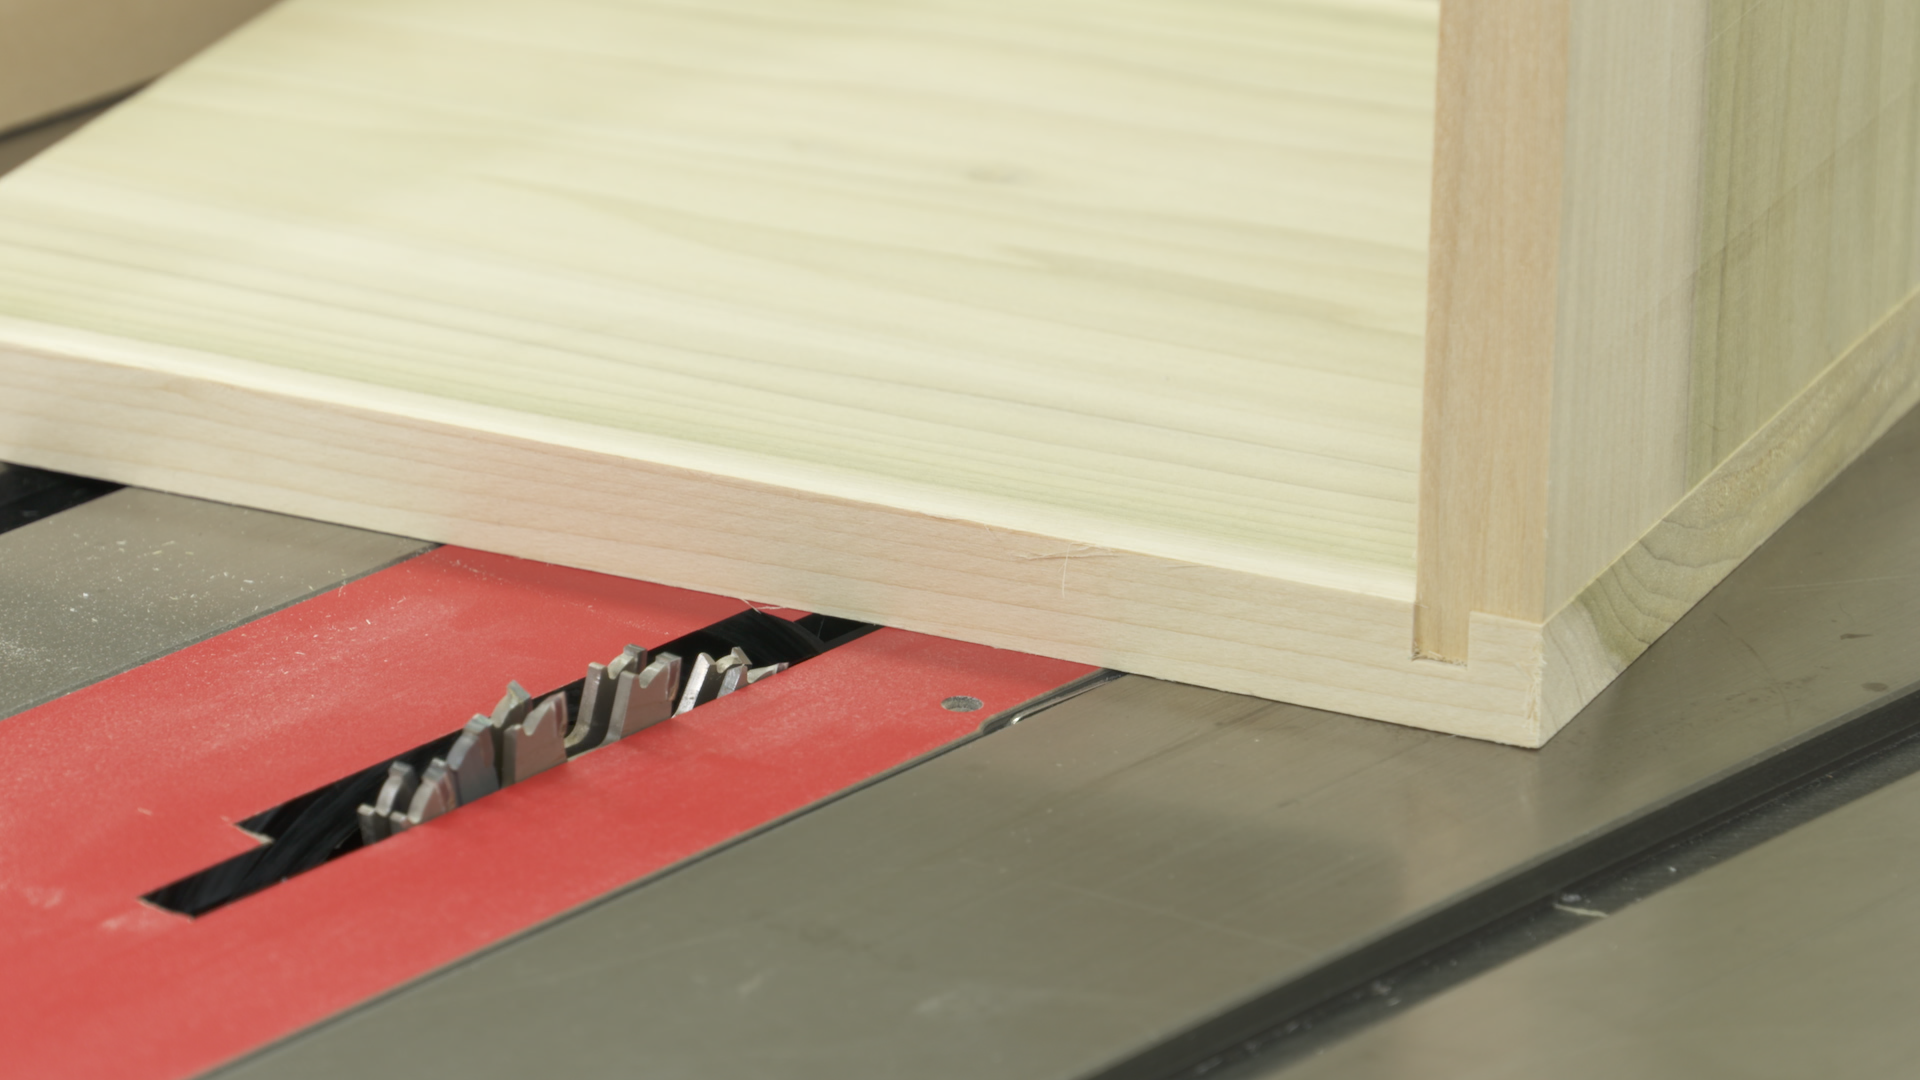
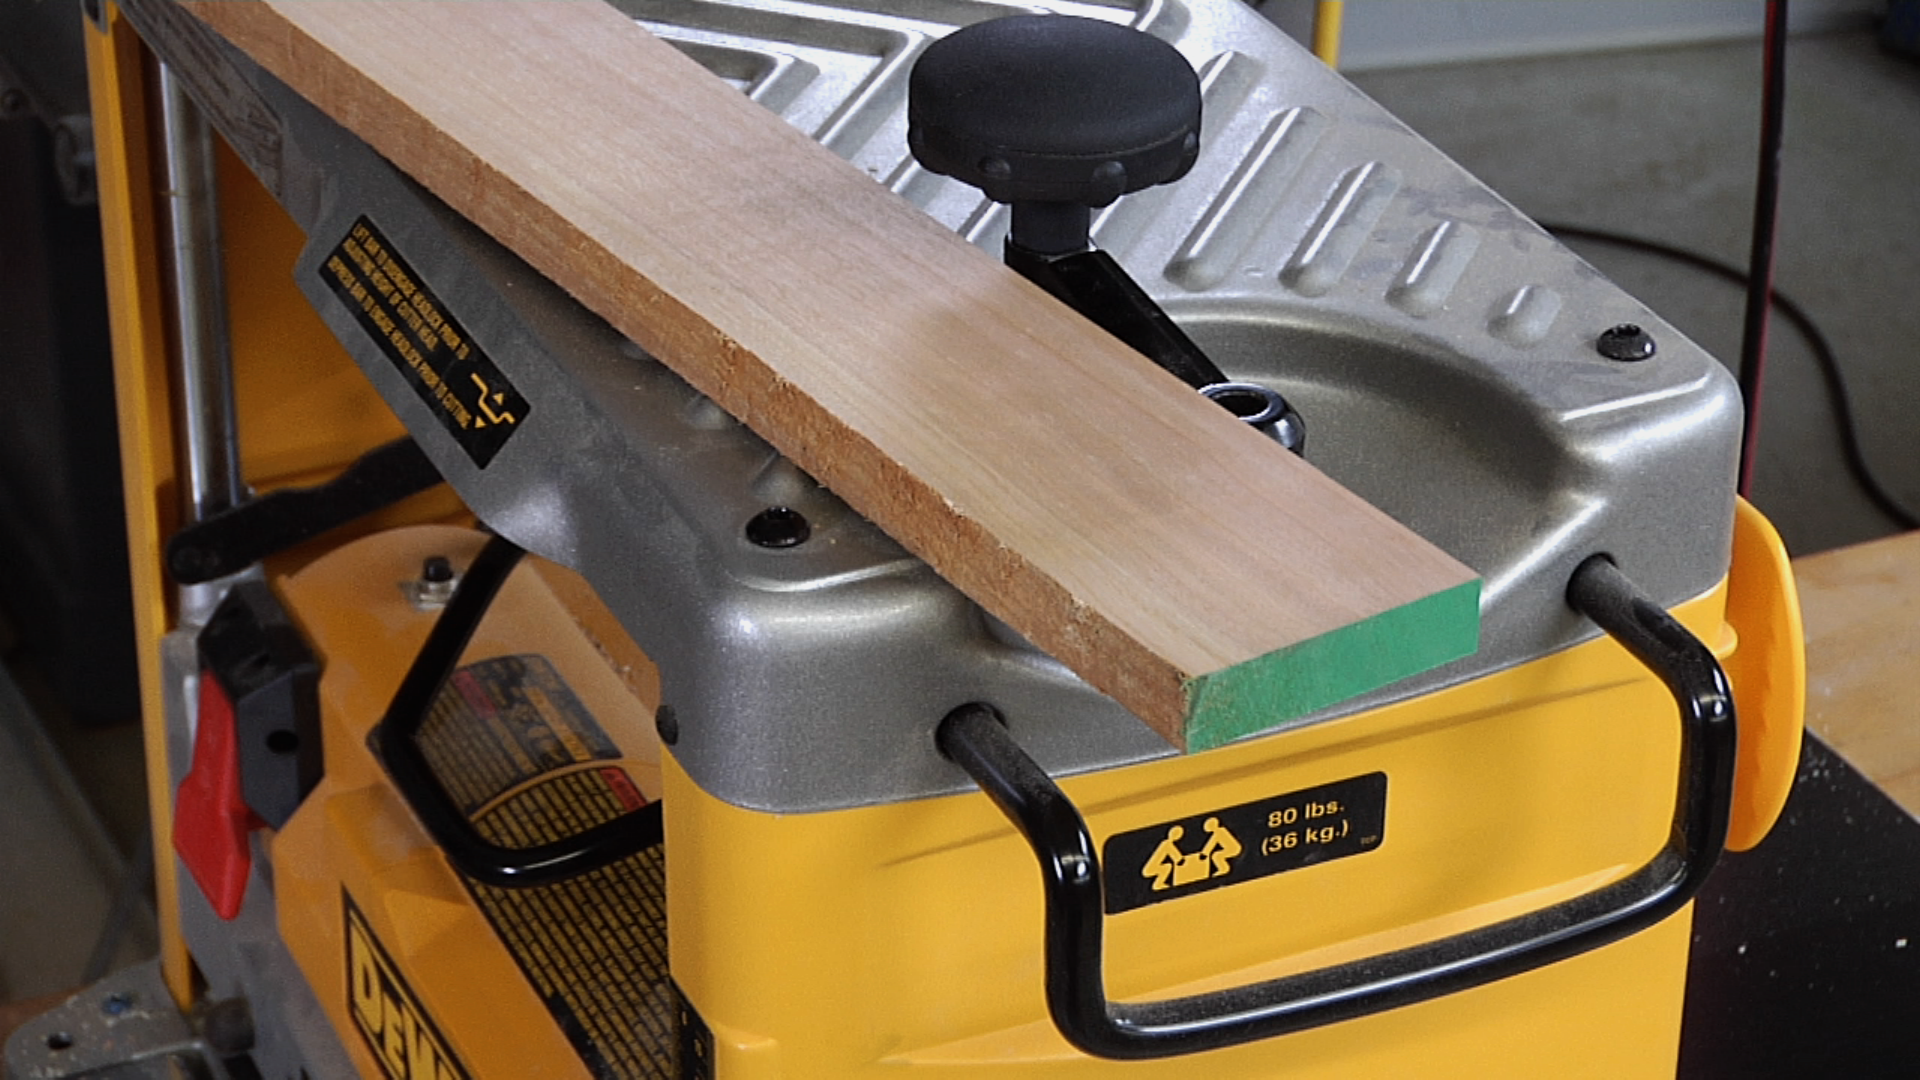
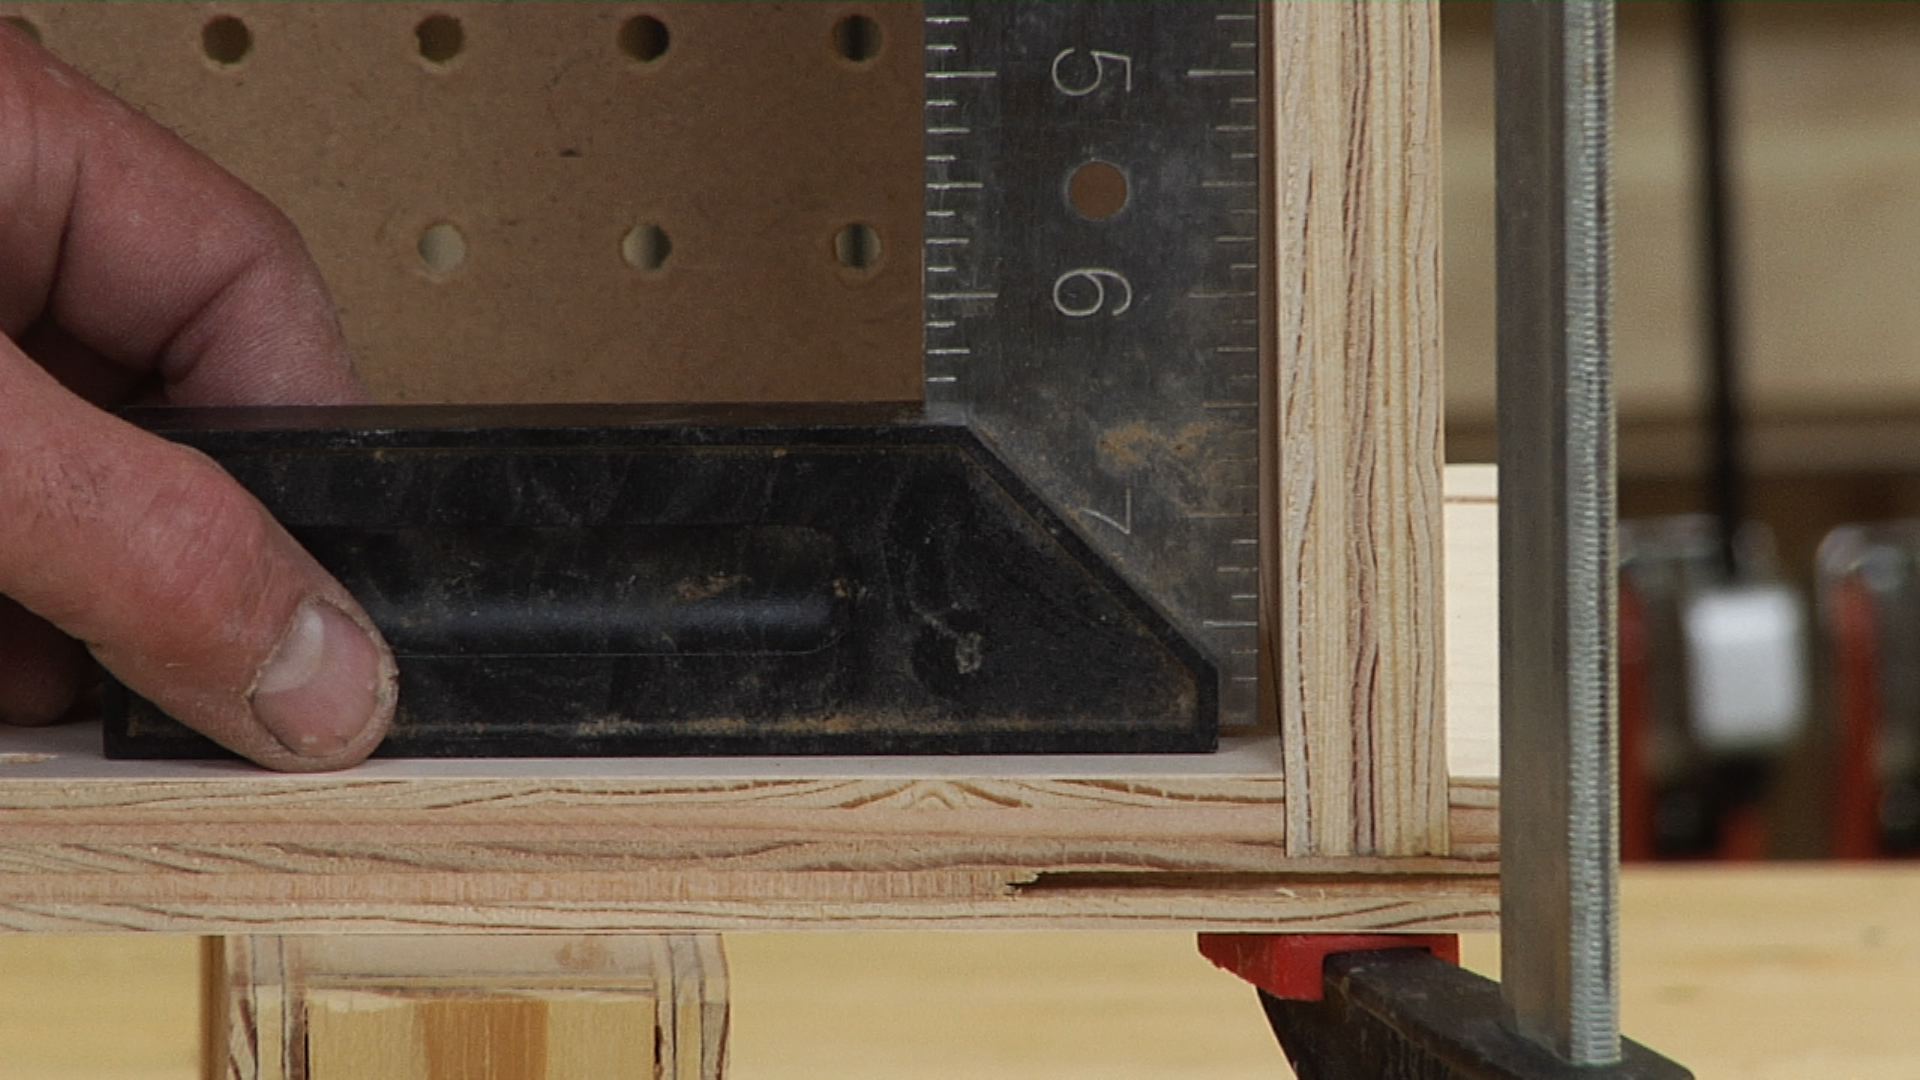
First, it is absolutely critical to start with square, flat stock when you are building face frames. Before you begin construction of your face frames, take the time to go through the process of milling your lumber to a perfect S4S state. If you start right in making face frames and your lumber is not perfectly true, you will be fighting the imperfections all the way through the process. Once you have trued up your boards, the rest of the steps are as follows:
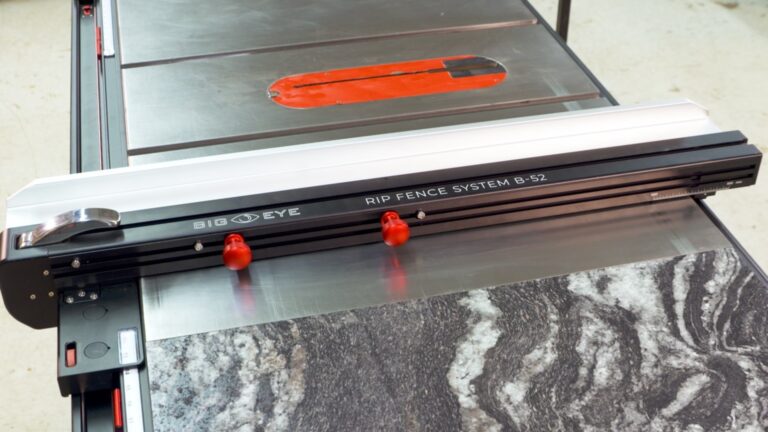
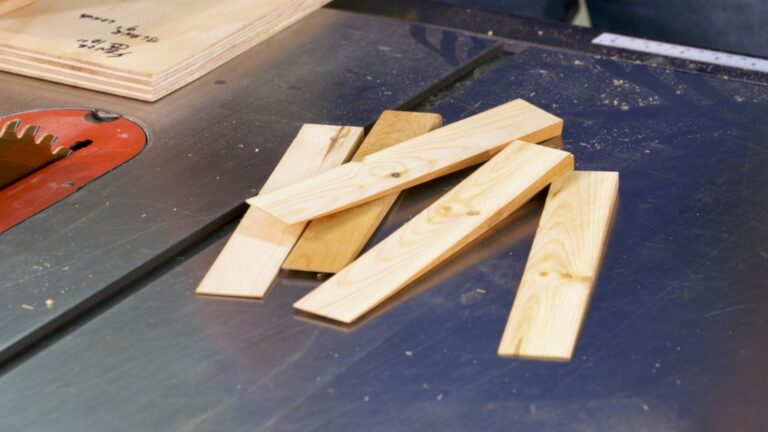
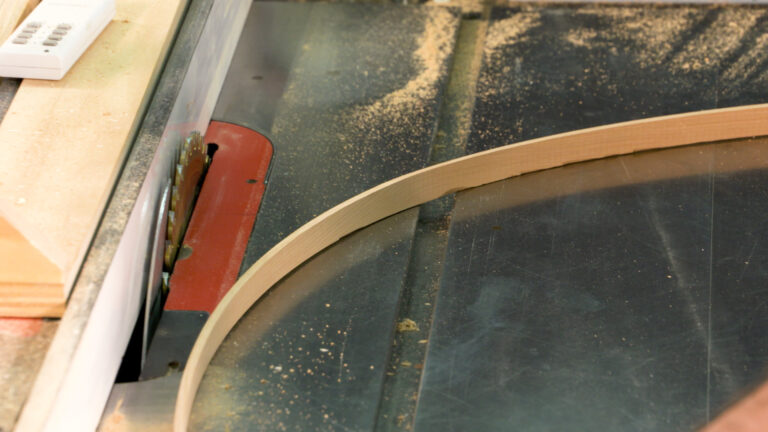
Rip to width. Determine the width of your face frame based on your cabinet design, and rip all the pieces to a width that is a bit wider than the final face frame dimension.
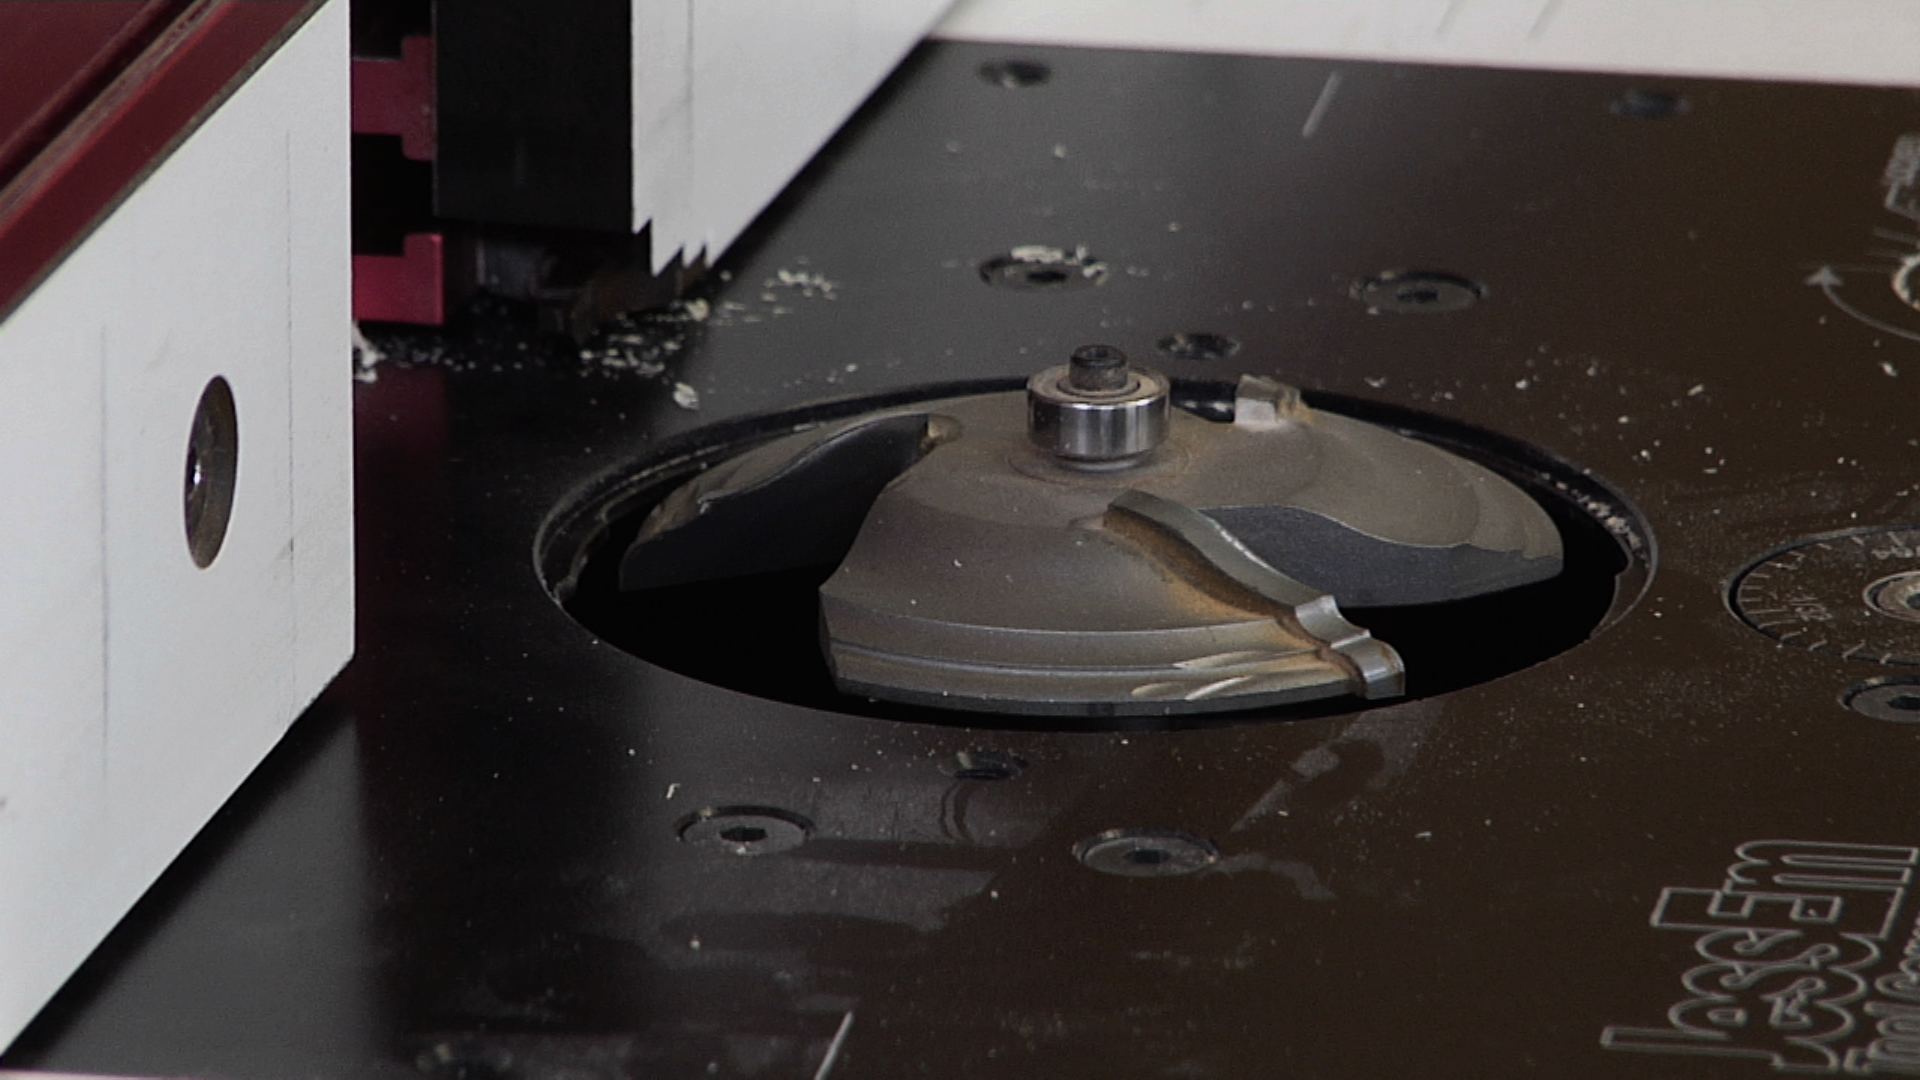
Clean up saw marks. After all the face frame parts are ripped, clean up the saw blade marks by following the process that George shows.
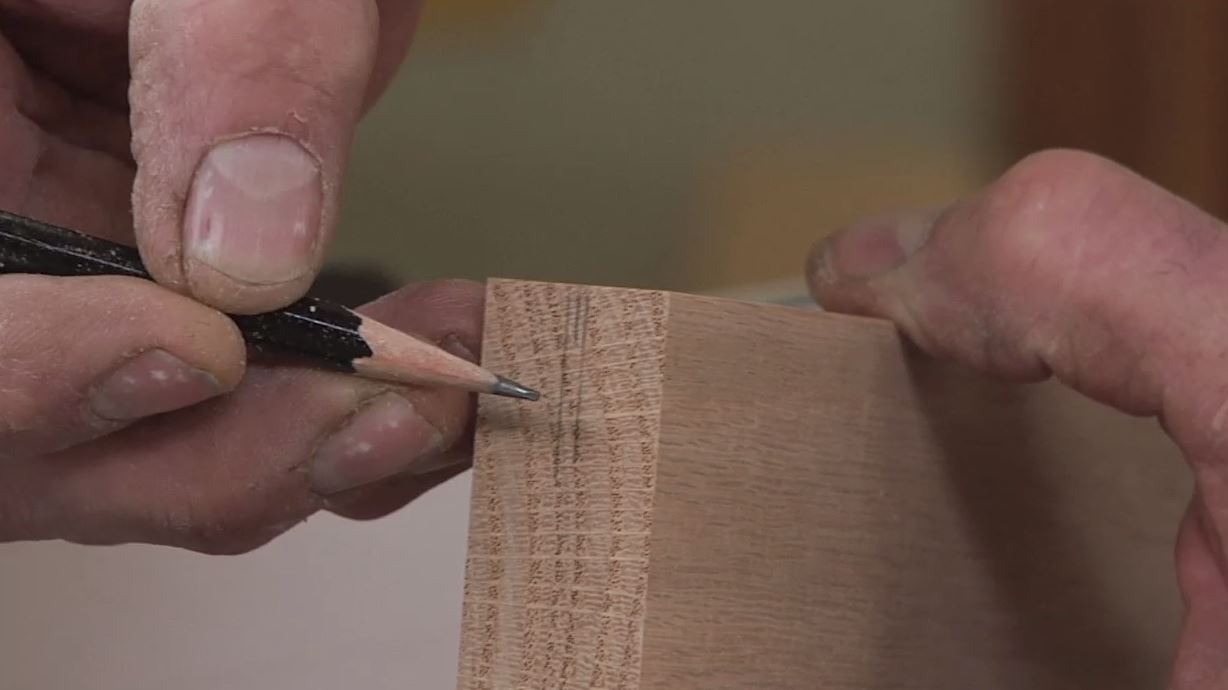
Square one end. With the face frame members ripped and cleaned up on their edges, square up one edge of each piece on the miter saw.
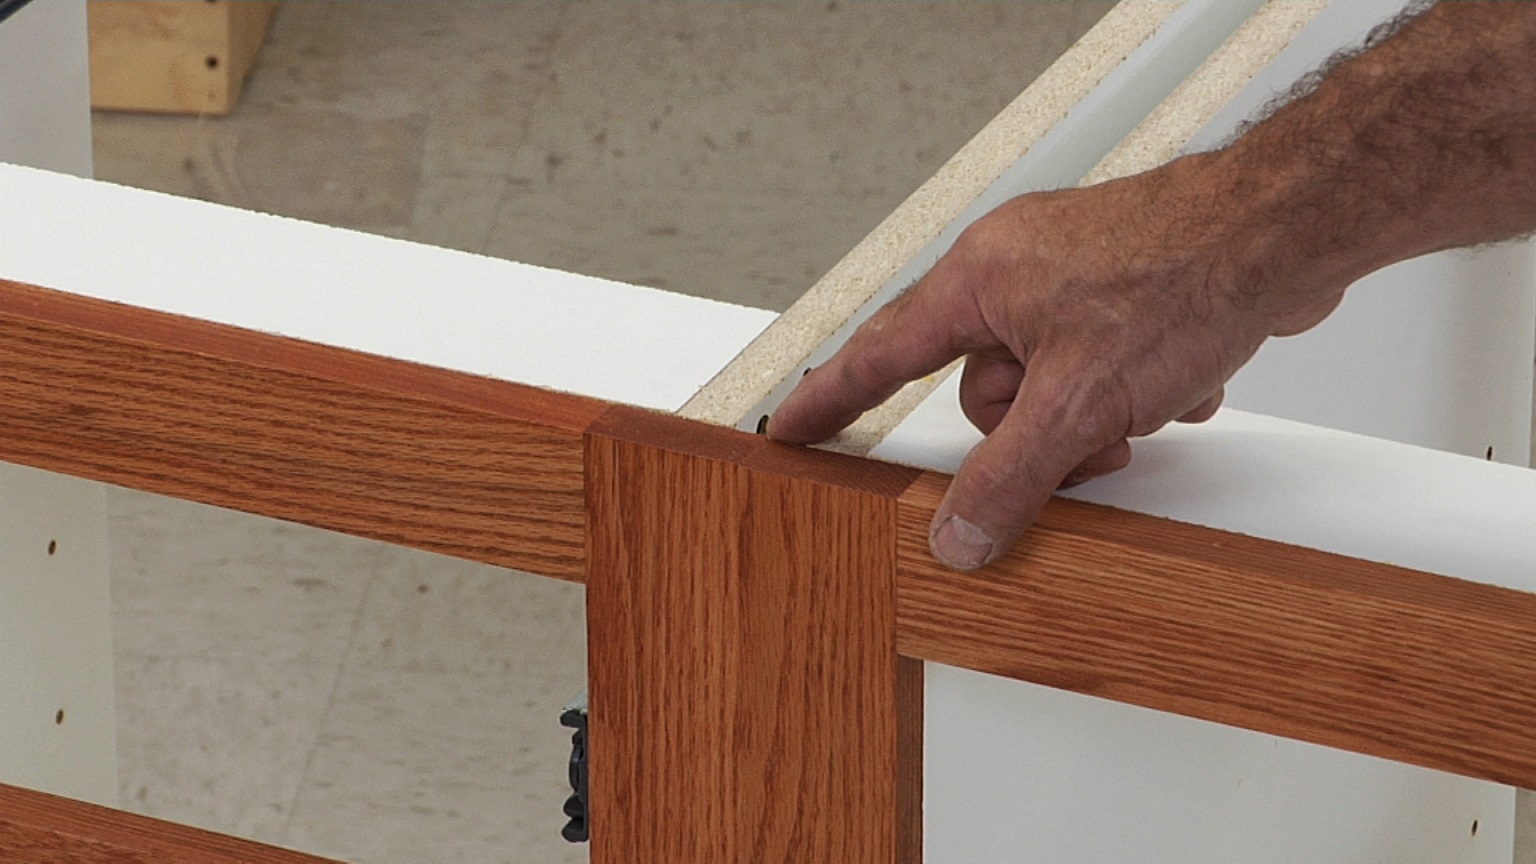
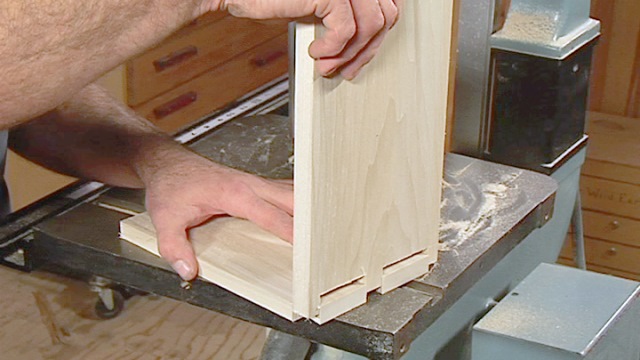
After you have followed those steps, you will have boards ready to be used as part of your face frame construction. After a face frame is complete, attaching a face frame is the next step, and George can guide you through that process as well. Now that you know how to make face frames, you just might be ready to take on that big kitchen remodel project!
Explore videos by George Vondriska


You may be interested in


Premium Membership
Unlock exclusive member content from our industry experts.
- 24/7 Access to Premium Woodworking Videos, Projects, and Tips
- Step-by-Step Instructional Demos, Plans, and Tutorials
- 50% Off Video Downloads Purchased in the Woodworkers Guild of America Shop
- 2 Printable Woodworking Plans
Unlock exclusive member content from our industry experts.
- 24/7 Access to Premium Woodworking Videos, Projects, and Tips
- Step-by-Step Instructional Demos, Plans, and Tutorials
- 50% Off Video Downloads Purchased in the Woodworkers Guild of America Shop
- 2 Full-Length Video Downloads to Watch Offline
- 2 Printable Woodworking Plans
Gold Membership
$370 Value
Get everything included in Premium plus exclusive Gold Membership benefits.
- 24/7 Access to Premium Woodworking Videos, Projects, and Tips
- Step-by-Step Instructional Demos, Plans, and Tutorials
- 8 Full-Length Video Downloads to Watch Offline
- 3 Full-Length Woodworking Classes to Keep for Life
- 7 Printable Woodworking Plans
- Discounts on Purchase-to-Own Content in the Woodworkers Guild of America Shop
- Access to Ask the Expert Program
- Exclusive GOLD LIVE Streaming Events