
Making Striped Turning Blanks
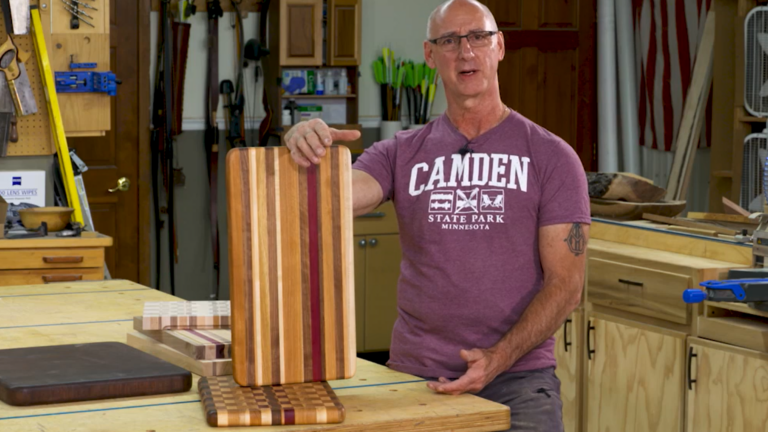
George VondriskaIf you enjoy woodturning, you surely spend some time preparing turning blanks. Sometimes it’s nice to work with thick stock and simply cut it to the dimensions that you need. But other times, you might not have thick enough stock, or perhaps you just want to incorporate some different colors into your project to enhance the visual appearance. It’s when you make the decision to glue up boards to create your turning blank that you have an opportunity to apply a technique that will make your turning blank, and ultimately your final turned project, stand out from the crowd.
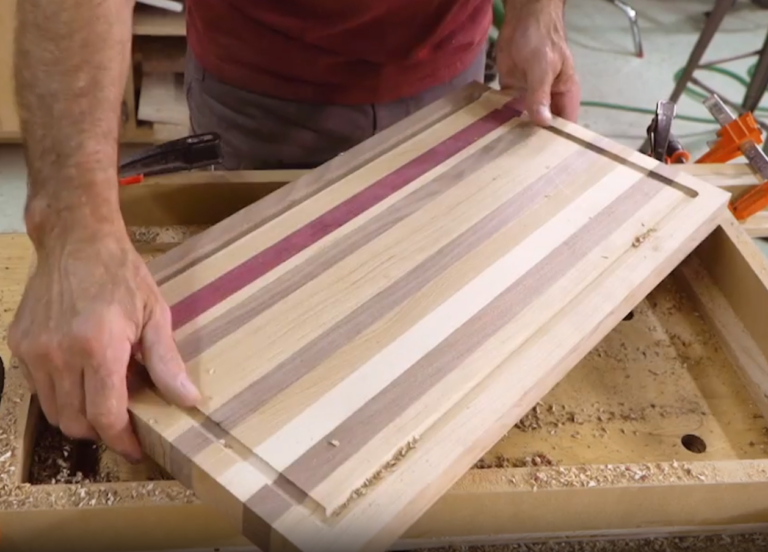
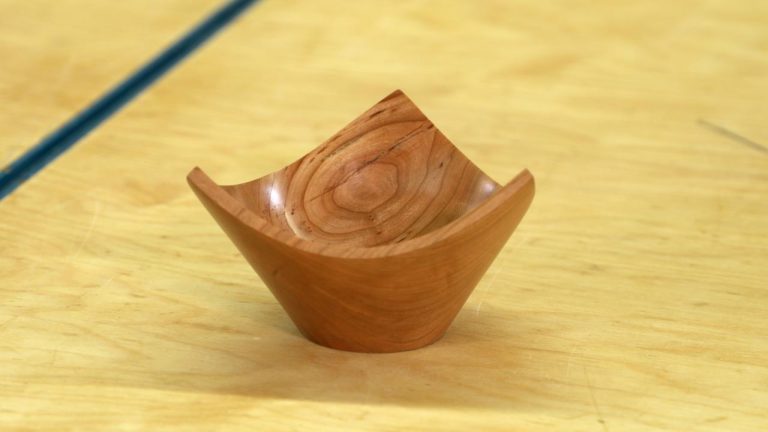
Simply gluing contrasting wood strips together to form turning blanks can add a lot of visual pizzazz. But by applying the technique shown in this video, it can take your turning blank to a whole new level of beauty. The steps for adding some “WOW factor” to your turning blanks include the following:
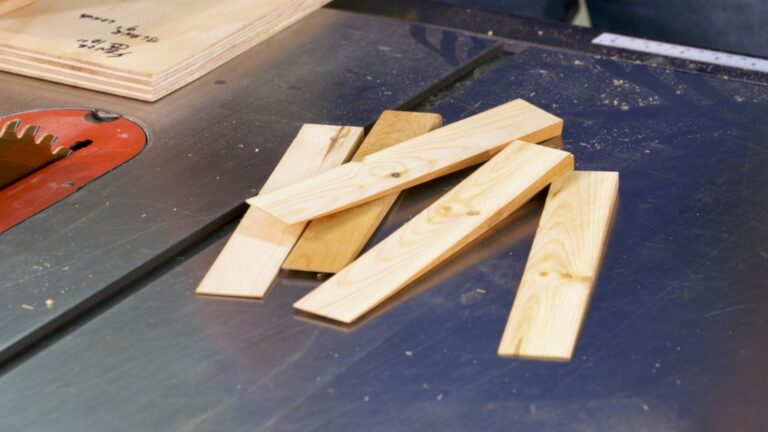
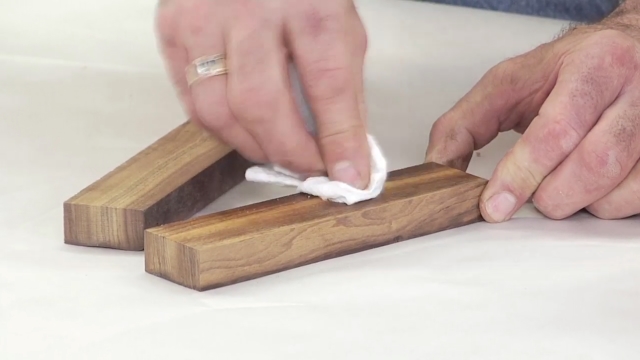
Glue up blank. Choose your woods carefully so that they have complementary colors and similar textures. You will have to create this turning blank wider than your final project size to allow for cutting it at an angle.
Make a window for easier tracing. Create a template out of clear material in the shape of your blank that will be used to trace your final outline onto the glue-up.
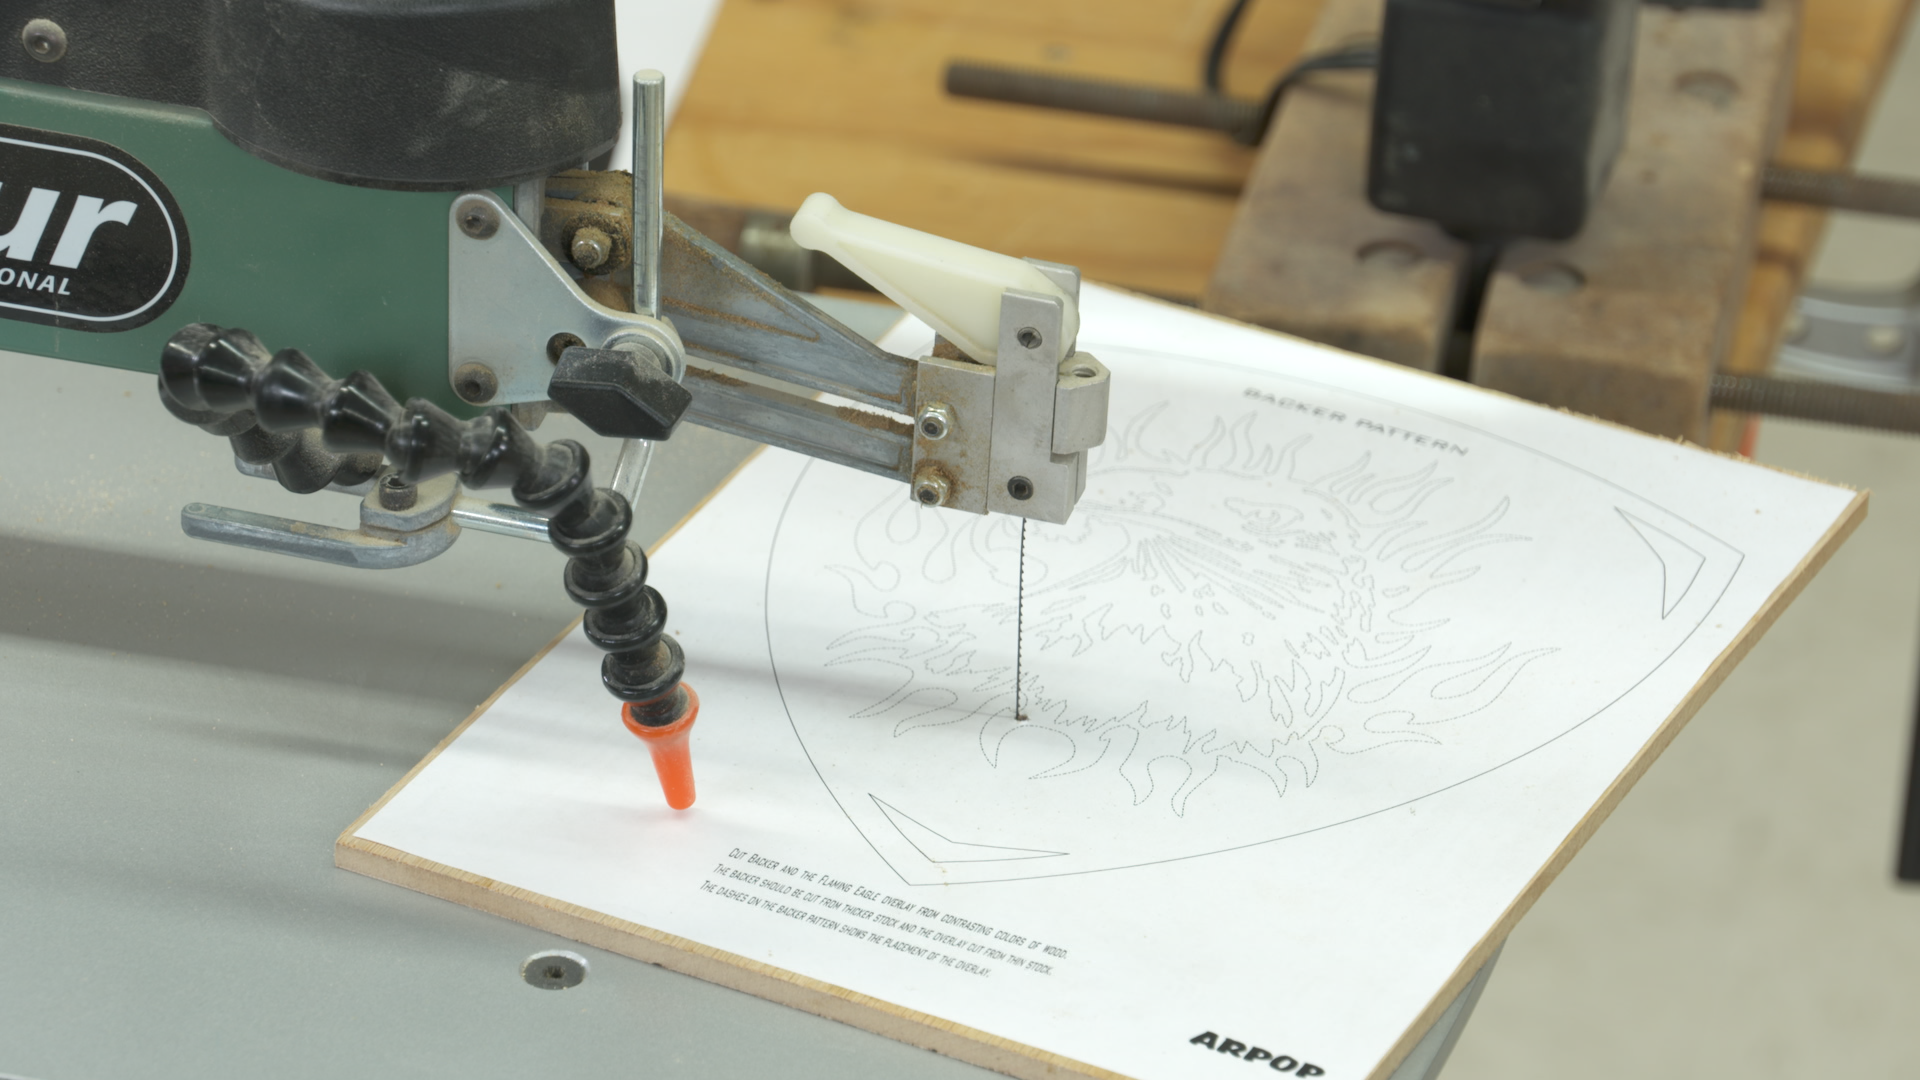
Trace and cut. Position your template so that you like the pattern that you can see through the window. Trace the template and cut it out on a bandsaw.
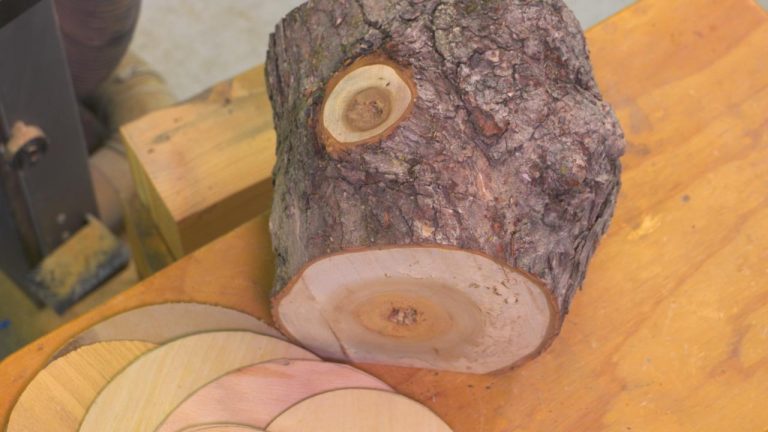
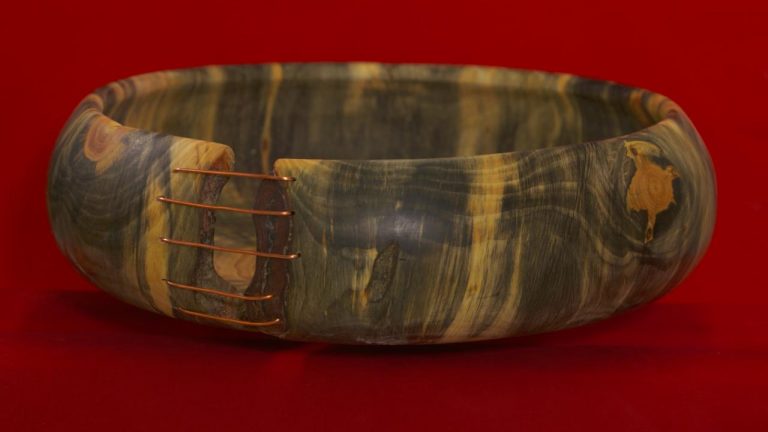
After you do this a few times you will have a sense of what types of woods work well together, and how to visualize what the final project will look like after it has been turned on the lathe. When you’re done, it’s time to choose your next turning project.
Explore videos by George Vondriska


You may be interested in


Premium Membership
Unlock exclusive member content from our industry experts.
- 24/7 Access to Premium Woodworking Videos, Projects, and Tips
- Step-by-Step Instructional Demos, Plans, and Tutorials
- 50% Off Video Downloads Purchased in the Woodworkers Guild of America Shop
- 2 Printable Woodworking Plans
Unlock exclusive member content from our industry experts.
- 24/7 Access to Premium Woodworking Videos, Projects, and Tips
- Step-by-Step Instructional Demos, Plans, and Tutorials
- 50% Off Video Downloads Purchased in the Woodworkers Guild of America Shop
- 2 Full-Length Video Downloads to Watch Offline
- 2 Printable Woodworking Plans
Gold Membership
$370 Value
Get everything included in Premium plus exclusive Gold Membership benefits.
- 24/7 Access to Premium Woodworking Videos, Projects, and Tips
- Step-by-Step Instructional Demos, Plans, and Tutorials
- 8 Full-Length Video Downloads to Watch Offline
- 3 Full-Length Woodworking Classes to Keep for Life
- 7 Printable Woodworking Plans
- Discounts on Purchase-to-Own Content in the Woodworkers Guild of America Shop
- Access to Ask the Expert Program
- Exclusive GOLD LIVE Streaming Events