
DIY Beer Flight
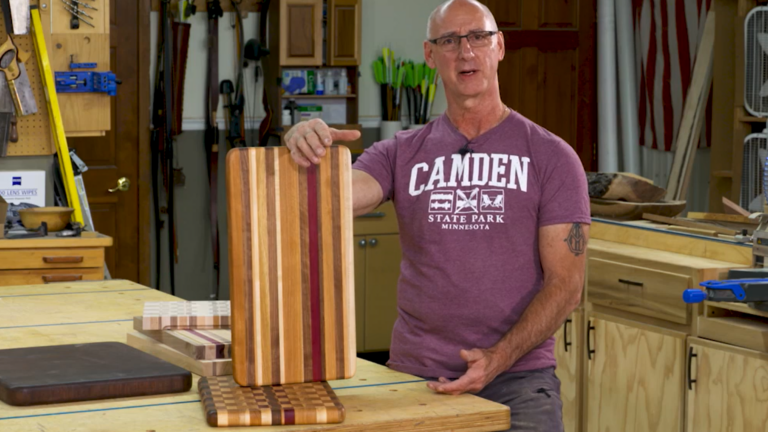
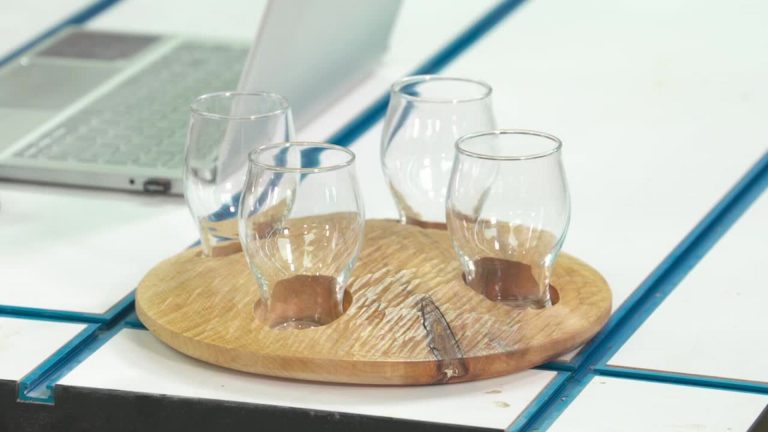
George VondriskaDelicious craft beers deserve to be served in a beautifully crafted carrier, so why not use your woodworking skills to create a one-of-a-kind beer tote? This DIY beer flight tote is a great beginner woodworking project that is designed to carry four glasses of your favorite beverage, and the plan can be easily modified to accommodate a larger or smaller number of glasses.
Be sure to download the plan for this project. It sources the glasses for you and gives you the layout you need to build the tote.
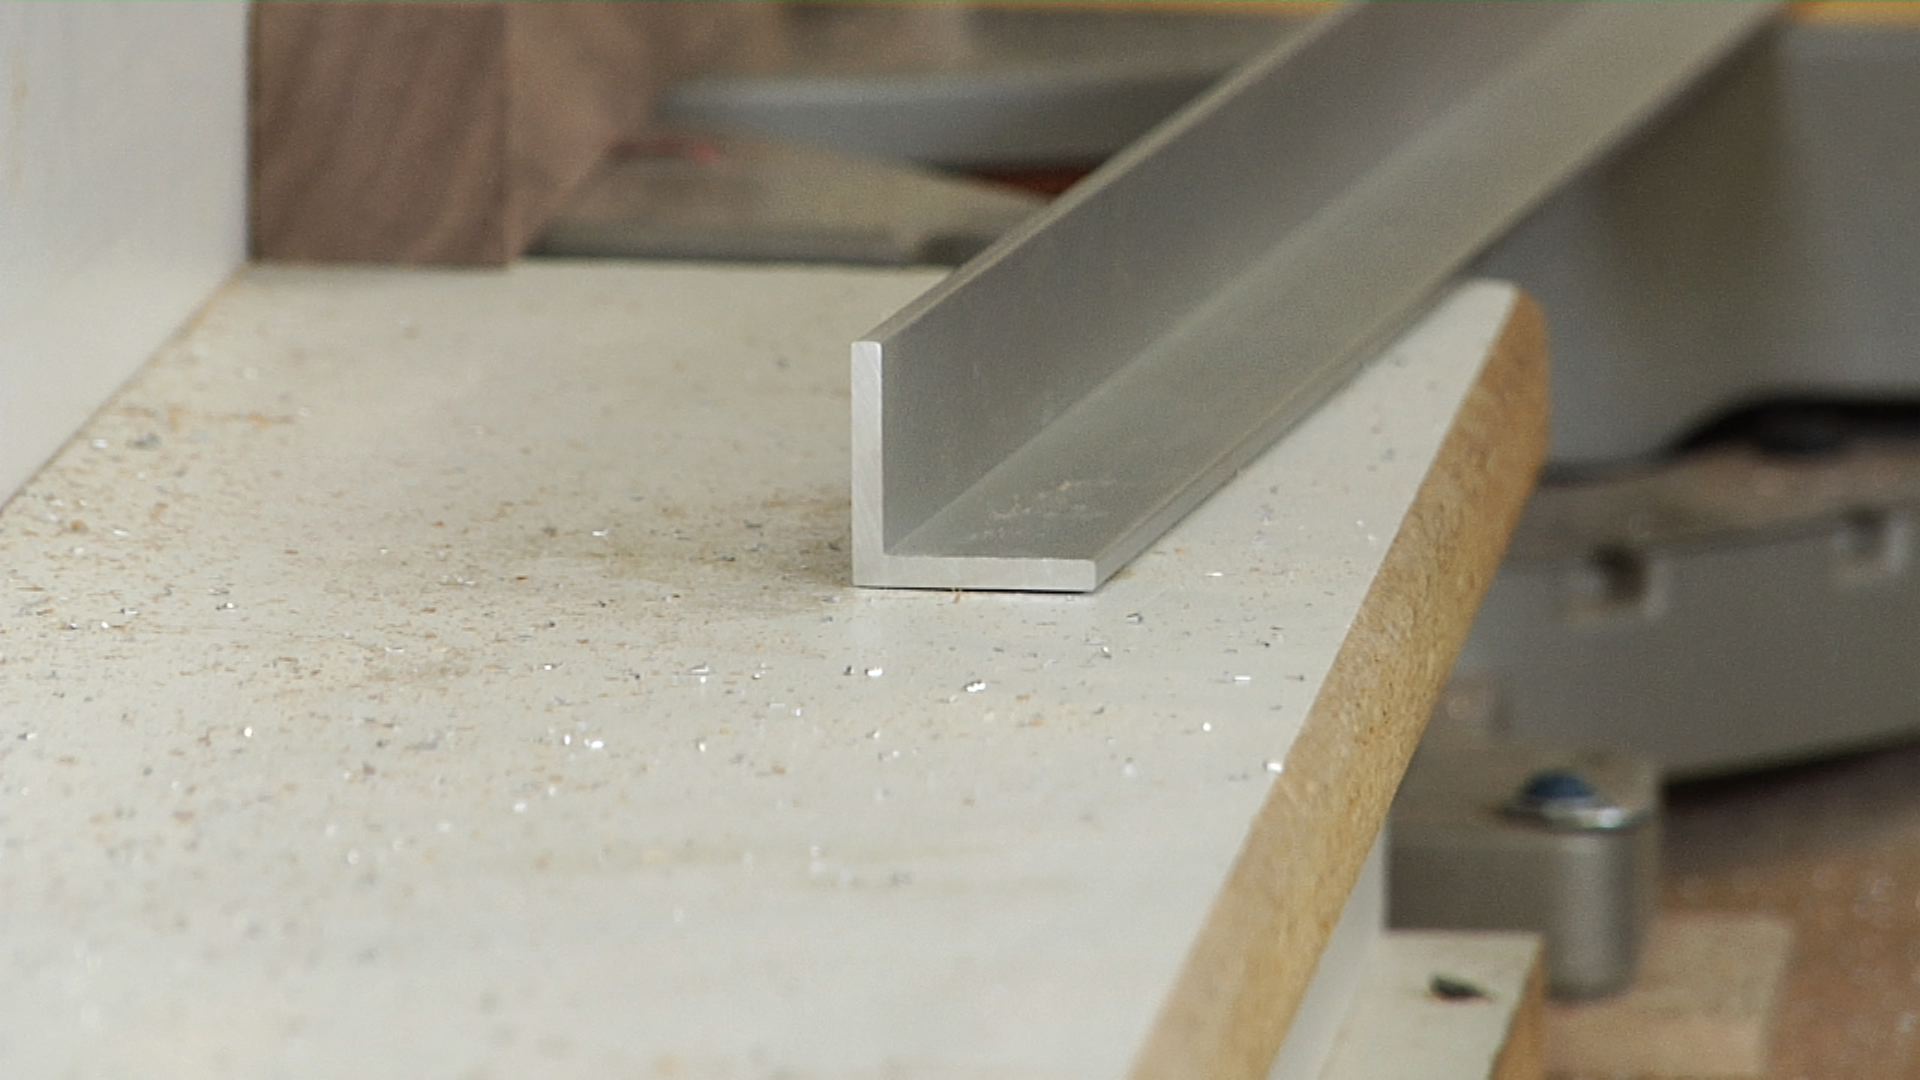
Choose your hardware. The DIY beer flight tote uses a threaded rod to attach the handle to the body of the tote. You will need to have the hardware, or at least the specifications, in hand before you begin the project.
Lay out the hole pattern. Based on the size of your glasses, choose a hole size that will capture the rim of the glass, but allow the base to slip through easily. Position the holes along even spacing, allowing enough space between holes for your fingers to handle the glasses.
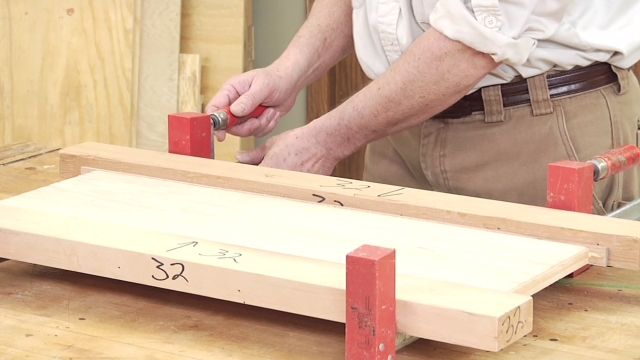
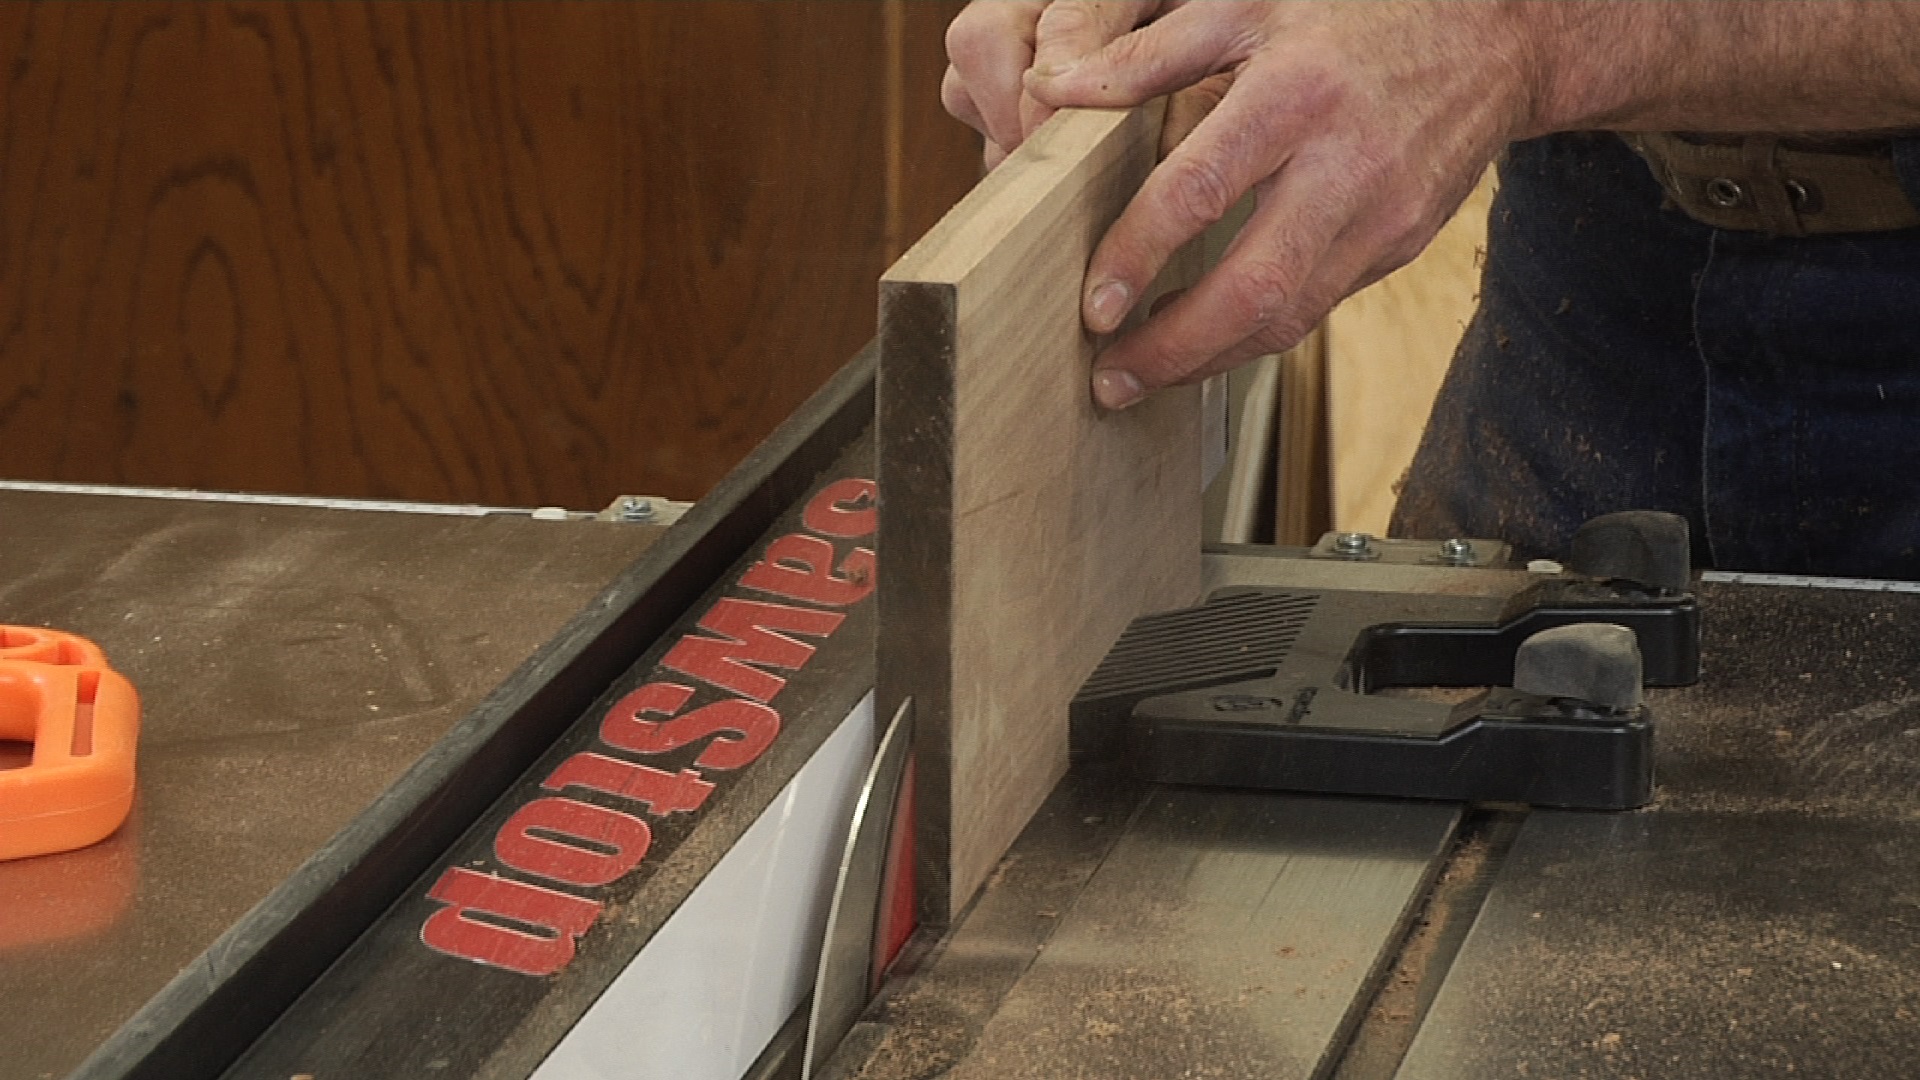
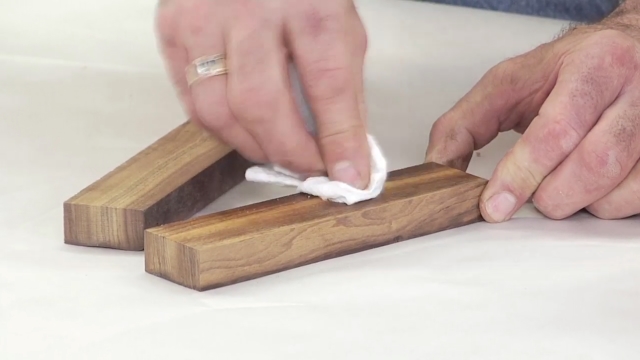
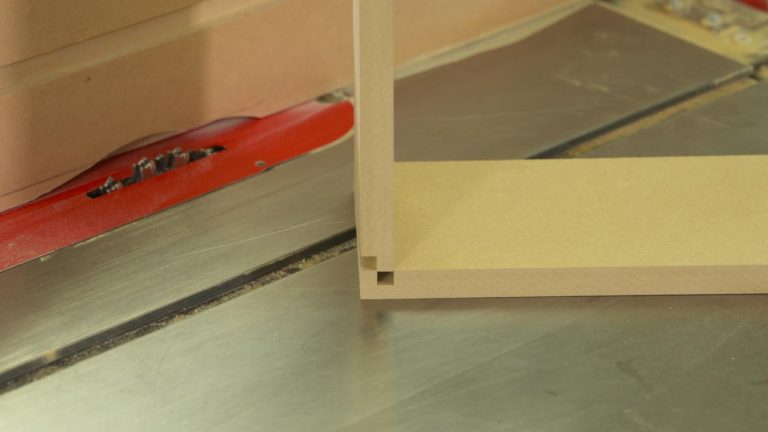
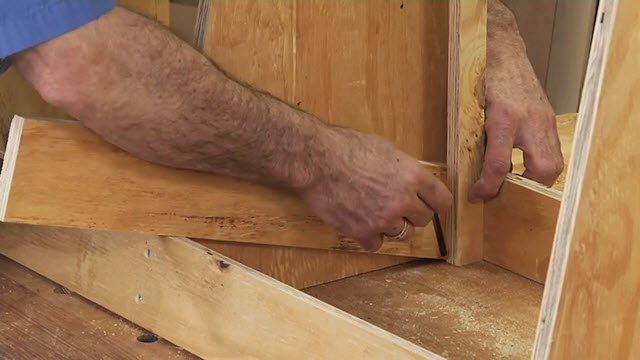
Drill, finish, and assemble. Once the hole pattern is laid out, you will follow the boring and routing sequence that George suggests, apply your favorite finish, and assemble your DIY beer flight tote.
When your DIY beer flight tote is complete, be prepared to make more of them because each of your friends will want one. This is a great skill-building project, and once you have tackled this, you will be ready to take on projects with more complexity.
Explore videos by George Vondriska


You may be interested in


Premium Membership
Unlock exclusive member content from our industry experts.
- 24/7 Access to Premium Woodworking Videos, Projects, and Tips
- Step-by-Step Instructional Demos, Plans, and Tutorials
- 50% Off Video Downloads Purchased in the Woodworkers Guild of America Shop
- 2 Printable Woodworking Plans
Unlock exclusive member content from our industry experts.
- 24/7 Access to Premium Woodworking Videos, Projects, and Tips
- Step-by-Step Instructional Demos, Plans, and Tutorials
- 50% Off Video Downloads Purchased in the Woodworkers Guild of America Shop
- 2 Full-Length Video Downloads to Watch Offline
- 2 Printable Woodworking Plans
Gold Membership
$370 Value
Get everything included in Premium plus exclusive Gold Membership benefits.
- 24/7 Access to Premium Woodworking Videos, Projects, and Tips
- Step-by-Step Instructional Demos, Plans, and Tutorials
- 8 Full-Length Video Downloads to Watch Offline
- 3 Full-Length Woodworking Classes to Keep for Life
- 7 Printable Woodworking Plans
- Discounts on Purchase-to-Own Content in the Woodworkers Guild of America Shop
- Access to Ask the Expert Program
- Exclusive GOLD LIVE Streaming Events