
Tips to Sanding Irregular Surfaces
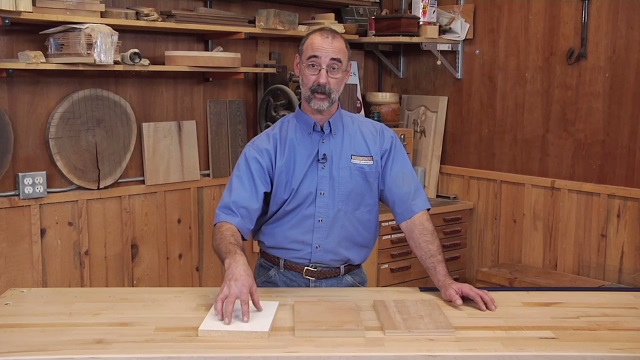
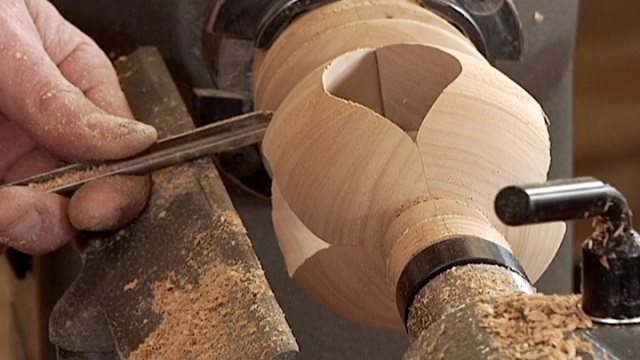
George VondriskaAs much as everyone seems to dislike the sanding phase of a woodworking project, all sanding is not created equal. When we are sanding on flat surfaces such as a table top, at least we can use a belt sander, sheet sander or random orbital sander to power though the process. Sanding irregular surfaces such as an intricate curvy cut or a turned spindle, however, can give us a far greater level of frustration because most of our power sanding tools will not serve us well in this situation.

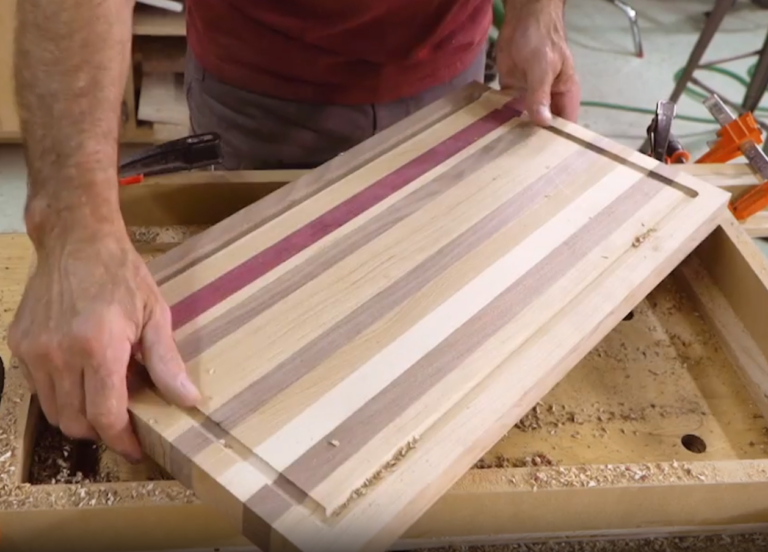
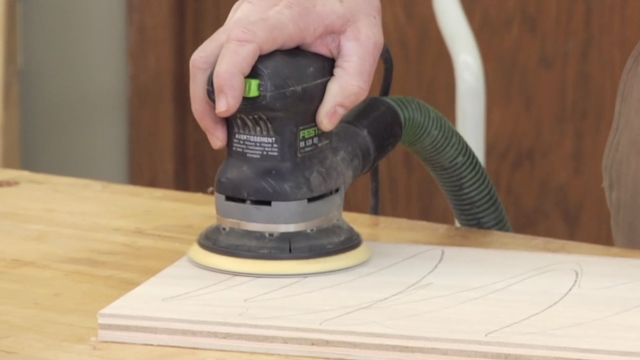
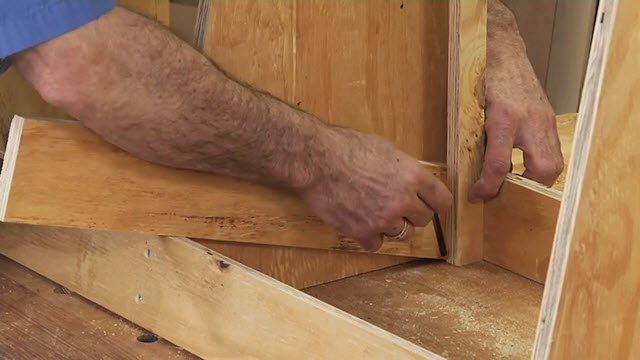
If you decide to try your standard sanding gear when sanding irregular surfaces you will find that the sander does not follow the contours of your work piece. This means that you will unintentionally modify the shape of the piece, producing flat spots and/or inconsistent lines running throughout. It might look like a shortcut, but it’s a mistake.
Sanding irregular surfaces requires a different tool and a different approach. The critical steps that you want to follow when sanding irregular surfaces include:
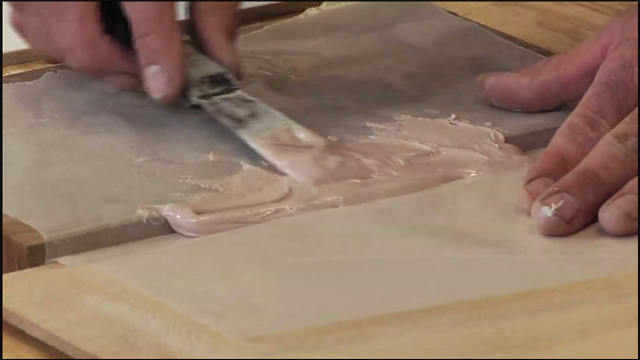
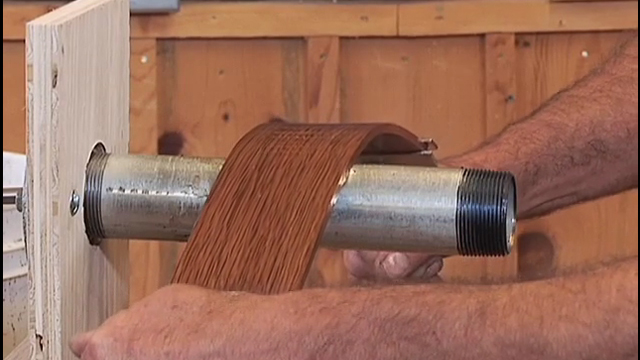
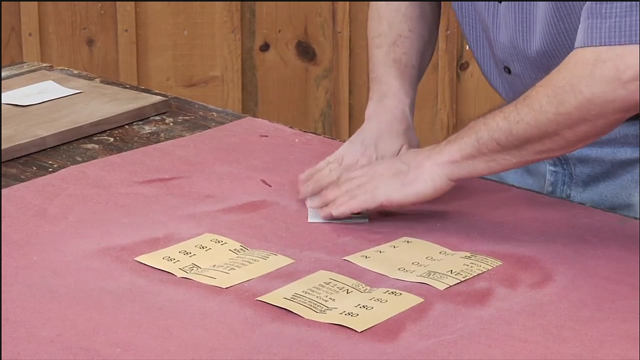
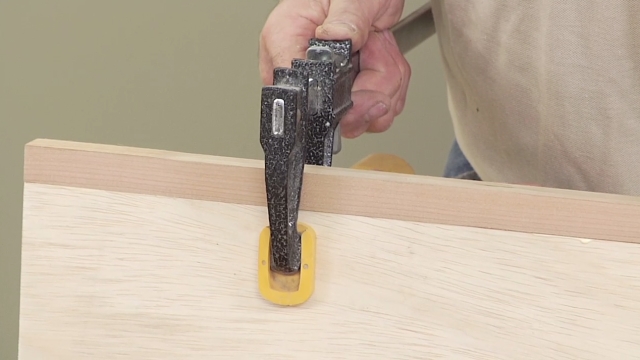
Use a flexible sanding solution. You need to use a sanding approach that allows you to gently follow the contours of your project, getting into tight places and following the profile of the piece. George will demonstrate his preferred solution which he has used successfully for decades.
Progress through the grits. As with other forms of sanding, you will need to work through the grits in stages, starting with a coarse grit and moving to a finer grit as you proceed. The contours should be sanded to the same grit as the rest of the project in order to achieve a uniform look after the finish is applied.
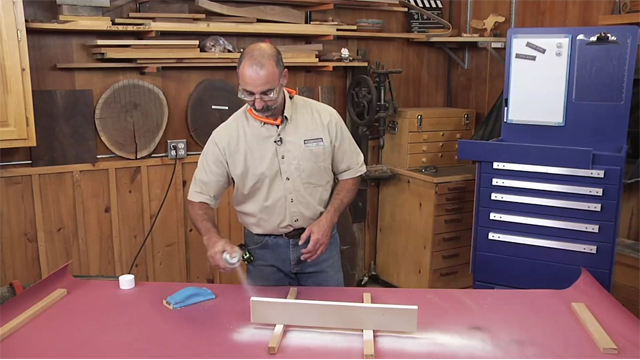
With this technique, along with more tips on sanding, you’ll love how your projects look after a finish has been applied.
Explore videos by George Vondriska


You may be interested in


Premium Membership
Unlock exclusive member content from our industry experts.
- 24/7 Access to Premium Woodworking Videos, Projects, and Tips
- Step-by-Step Instructional Demos, Plans, and Tutorials
- 50% Off Video Downloads Purchased in the Woodworkers Guild of America Shop
- 2 Printable Woodworking Plans
Unlock exclusive member content from our industry experts.
- 24/7 Access to Premium Woodworking Videos, Projects, and Tips
- Step-by-Step Instructional Demos, Plans, and Tutorials
- 50% Off Video Downloads Purchased in the Woodworkers Guild of America Shop
- 2 Full-Length Video Downloads to Watch Offline
- 2 Printable Woodworking Plans
Gold Membership
$370 Value
Get everything included in Premium plus exclusive Gold Membership benefits.
- 24/7 Access to Premium Woodworking Videos, Projects, and Tips
- Step-by-Step Instructional Demos, Plans, and Tutorials
- 8 Full-Length Video Downloads to Watch Offline
- 3 Full-Length Woodworking Classes to Keep for Life
- 7 Printable Woodworking Plans
- Discounts on Purchase-to-Own Content in the Woodworkers Guild of America Shop
- Access to Ask the Expert Program
- Exclusive GOLD LIVE Streaming Events