
Table Saw Dado Cuts Create Lock Joints
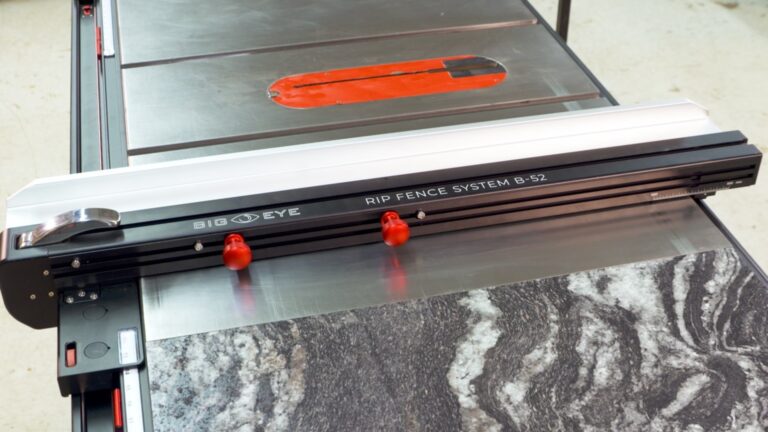
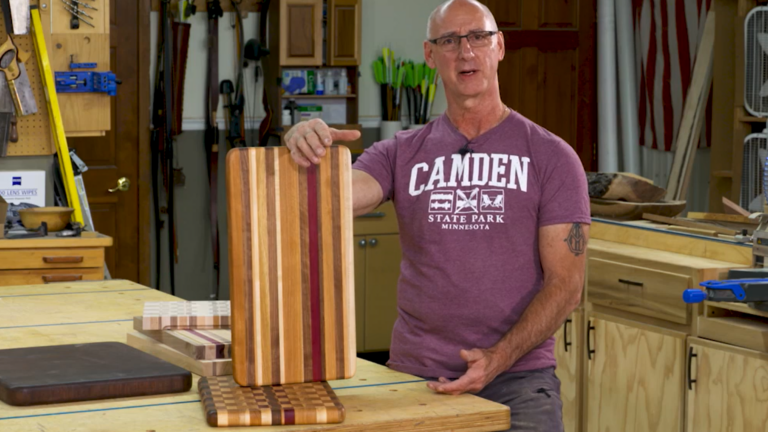
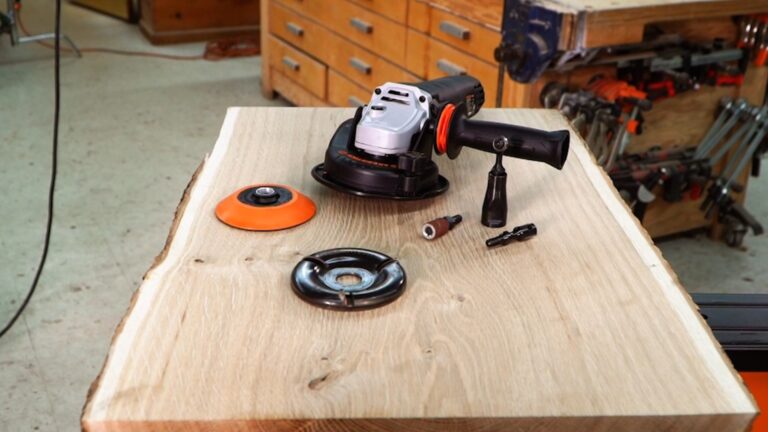
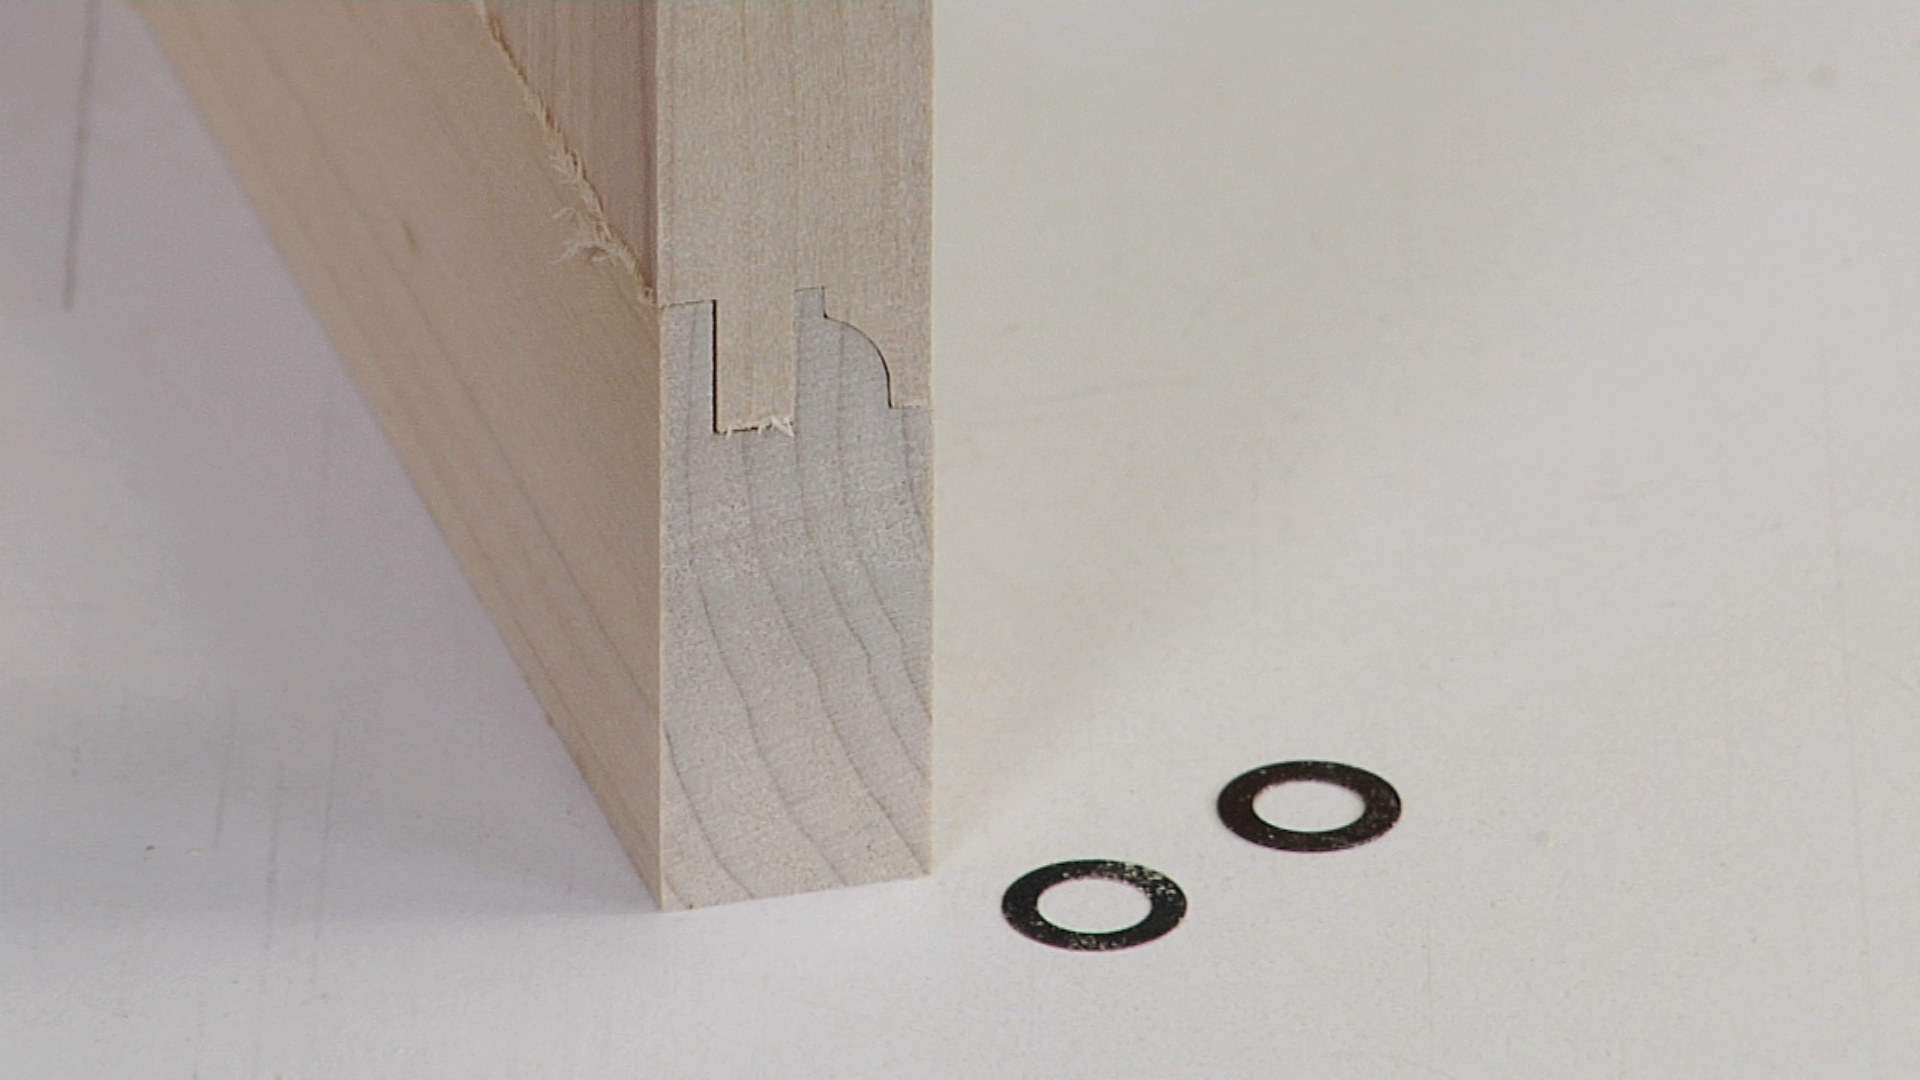
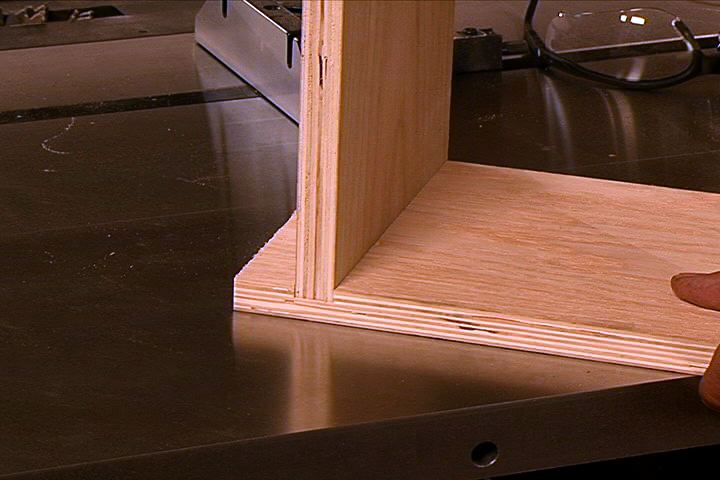
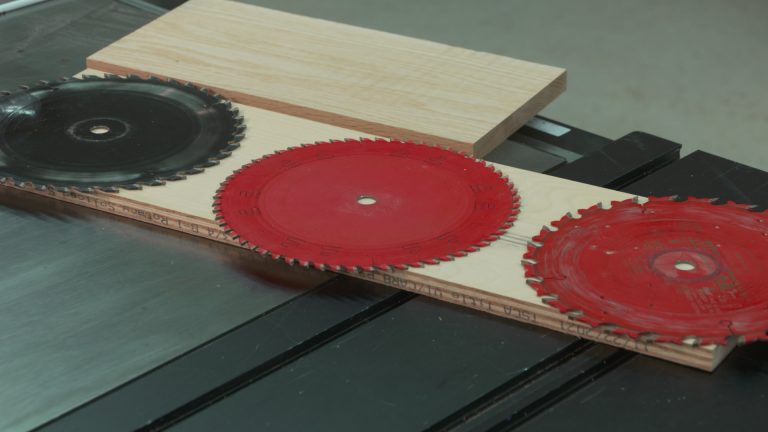
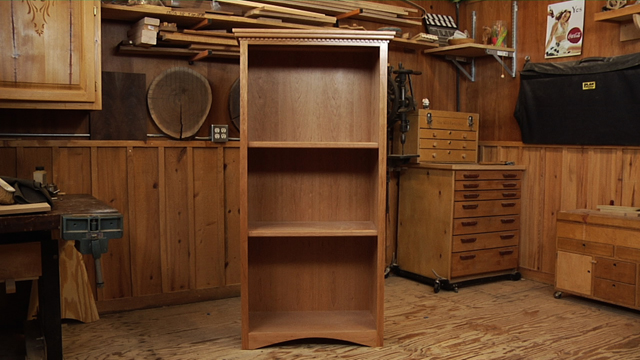
George VondriskaThere are countless approaches to joining two boards together, and our job as woodworkers is to choose an appropriate joint for each application. A good joinery option to have in our arsenal is called a lock joint, which is commonly used on projects that include drawers. This joint essentially combines a table saw dado on one piece with a rabbet on the other, and the result is a joint that is simple to create and assemble, providing sufficient strength to withstand significant abuse over the life of the piece. The only prerequisite is knowing how to use a table saw, and to have access to a table saw dado blade. The steps necessary to form this joint are straightforward, and in this video George provides detailed instruction on the setup, cutting, and perfection of this joint.
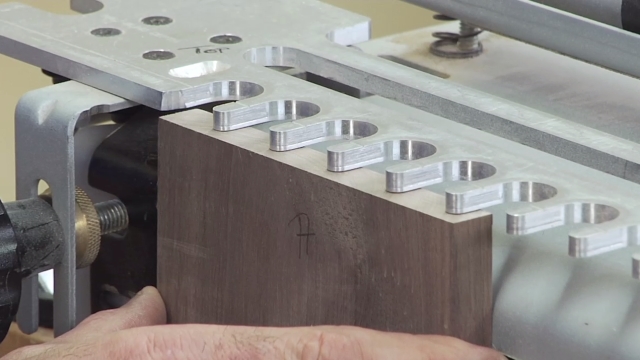
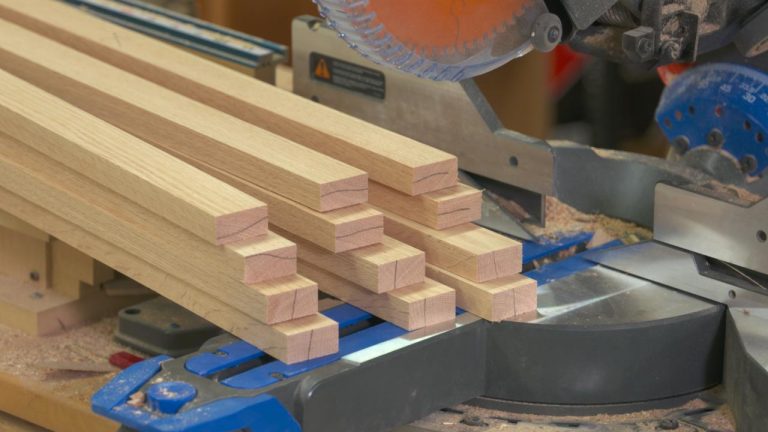
Set it up once and run them all through
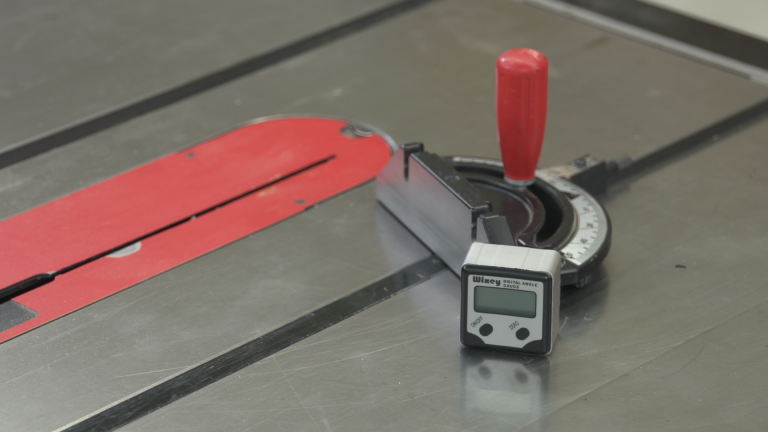
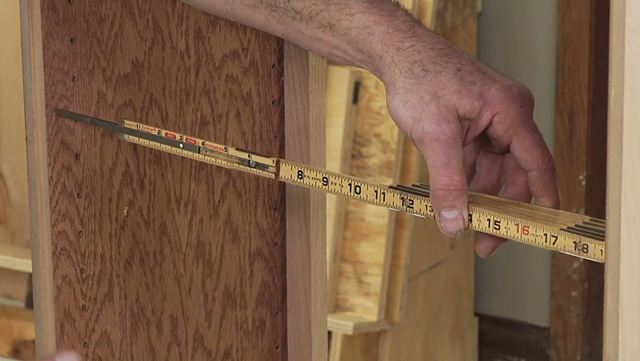
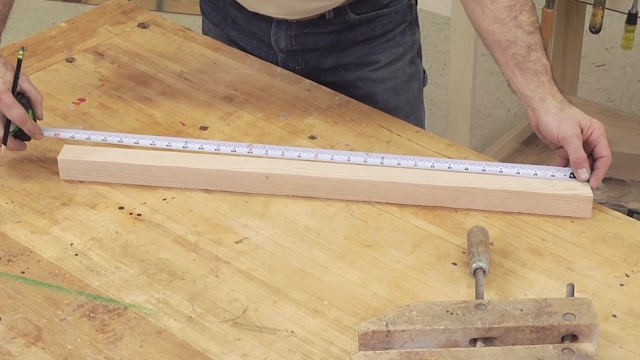
The key to setting up an effective table saw dado is to carefully set the fence and blade height, then patiently modify and test the setup until the perfect configuration has been achieved. After these variables have been taken care of, it is a good idea to run all the pieces through that will use the same setup, which provides both efficiency as well as consistency. After all similar pieces are milled, you can modify the setup for the mating piece.
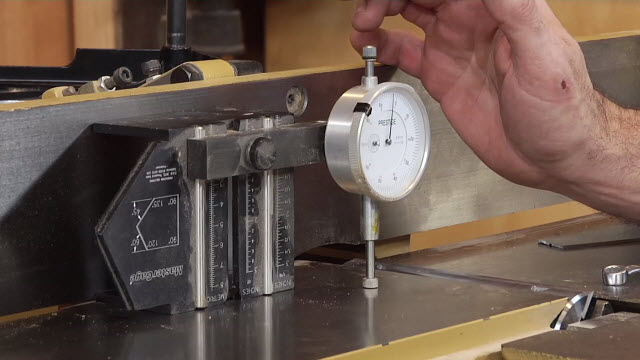
Sneak up on the fit
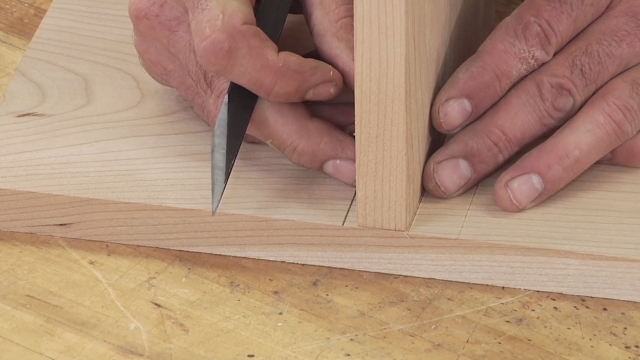
In your initial setup, it will be important to position the fence and dado blade height so that you err on the side of leaving a bit too much wood. That way you can carefully make adjustments toward the perfect fit without sacrificing the work piece. That is good practice for the creation of many woodworking joints, as it is easy to remove more wood that to put some back on.
Explore videos by George Vondriska


You may be interested in


Premium Membership
Unlock exclusive member content from our industry experts.
- 24/7 Access to Premium Woodworking Videos, Projects, and Tips
- Step-by-Step Instructional Demos, Plans, and Tutorials
- 50% Off Video Downloads Purchased in the Woodworkers Guild of America Shop
- 2 Printable Woodworking Plans
Unlock exclusive member content from our industry experts.
- 24/7 Access to Premium Woodworking Videos, Projects, and Tips
- Step-by-Step Instructional Demos, Plans, and Tutorials
- 50% Off Video Downloads Purchased in the Woodworkers Guild of America Shop
- 2 Full-Length Video Downloads to Watch Offline
- 2 Printable Woodworking Plans
Gold Membership
$370 Value
Get everything included in Premium plus exclusive Gold Membership benefits.
- 24/7 Access to Premium Woodworking Videos, Projects, and Tips
- Step-by-Step Instructional Demos, Plans, and Tutorials
- 8 Full-Length Video Downloads to Watch Offline
- 3 Full-Length Woodworking Classes to Keep for Life
- 7 Printable Woodworking Plans
- Discounts on Purchase-to-Own Content in the Woodworkers Guild of America Shop
- Access to Ask the Expert Program
- Exclusive GOLD LIVE Streaming Events
Purchase Video
Purchase video and add to your personal library with on-demand video access.
- Enjoy on-demand video access to this content anytime, anywhere for the one-time cost below.
- You won’t lose access, with or without an active current Membership
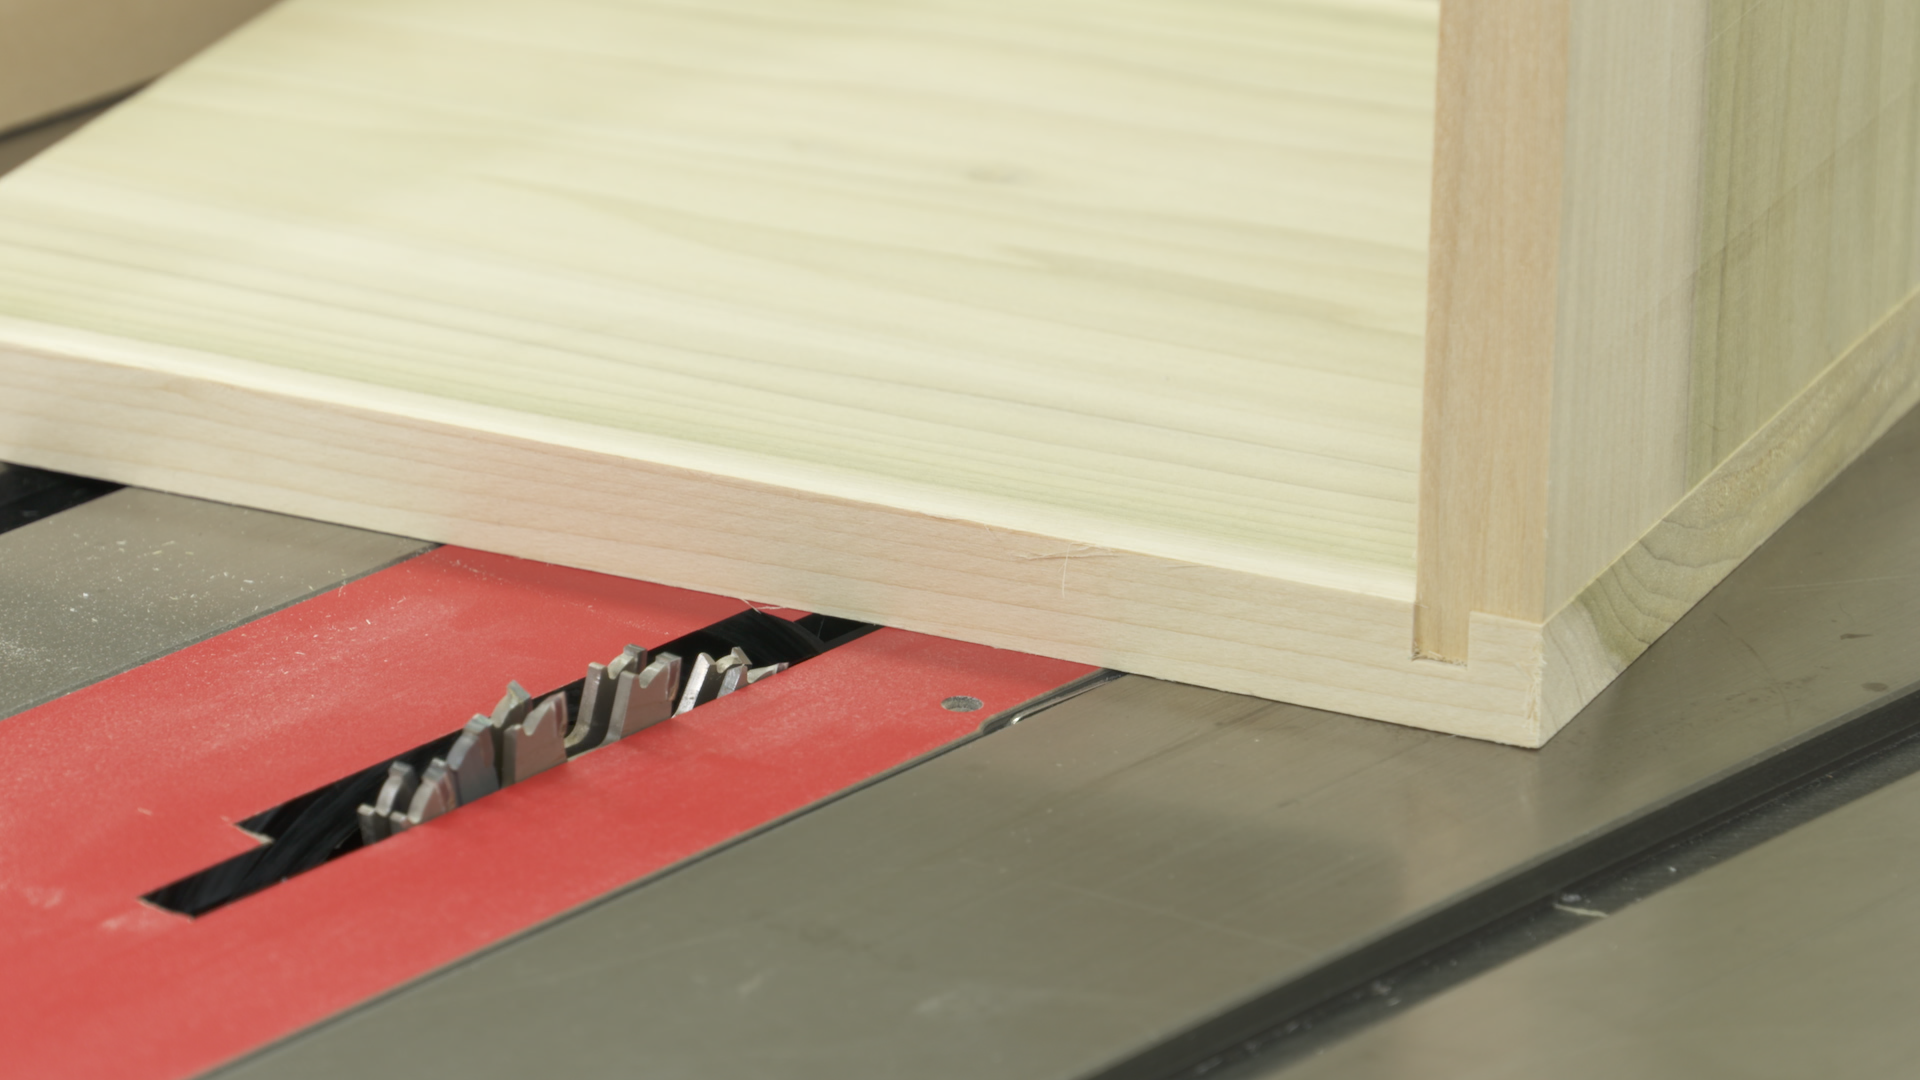
Table Saw Dado Cuts Create Lock Joints
with George Vondriska