Shop-made Epoxy Mold
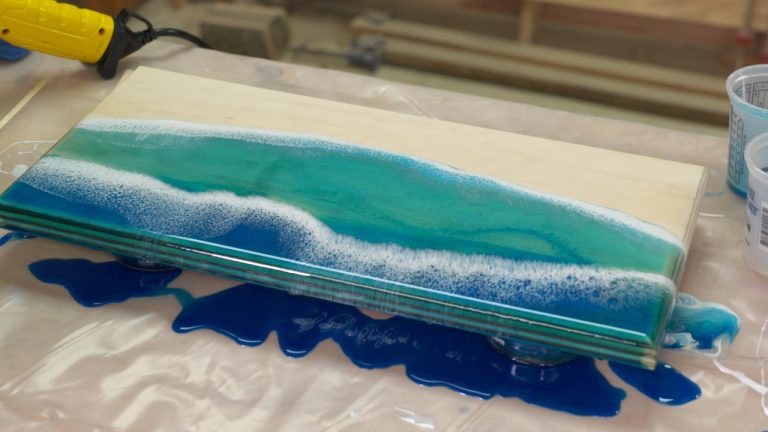
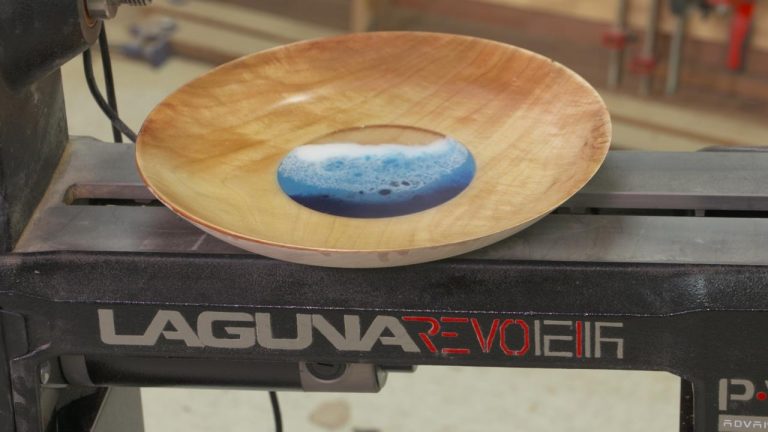
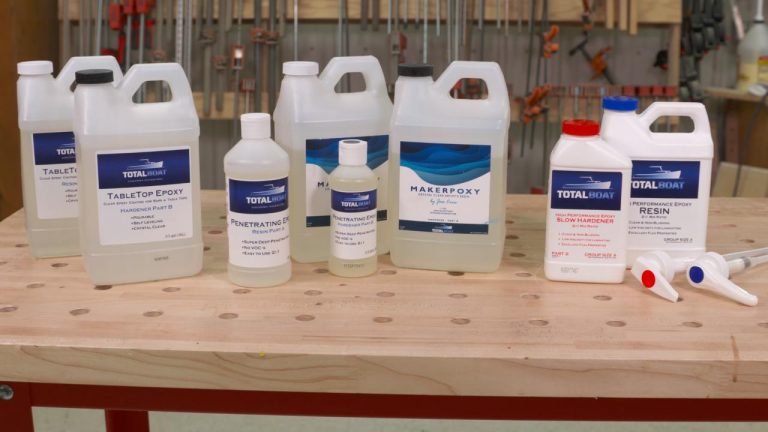
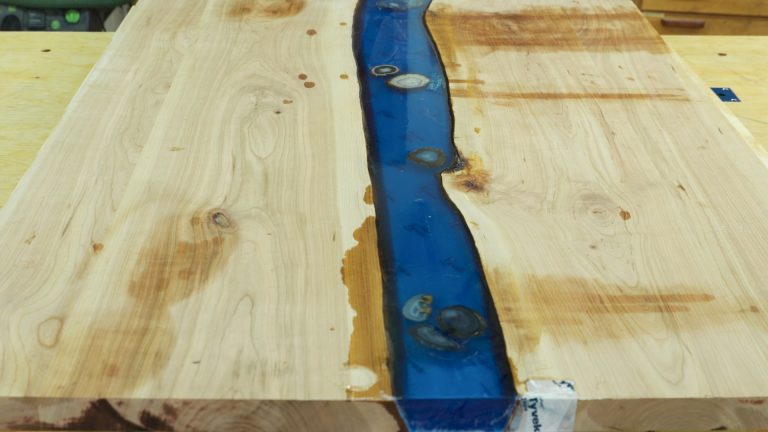
Jess CrowThere are lots of ways to work with resin. It can be cast, used as a table top decoration or finish, poured as a skim coat to add a decorative element to your projects. Casting resin is easy and, thanks to what we’re about to show you, you can make your own resin molds in ANY shape you want.

Start with a Printer
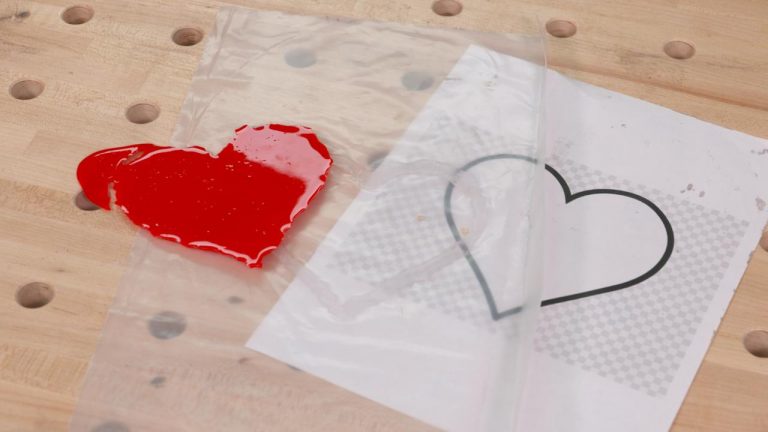
Start your work at the computer by finding a shape you like for your resin mold and printing it on a piece of paper. OK, you could skip the printer step if you can draw well. Look for cool shapes by adding the work clip art to your search. For example: star clip art, state map clip art, or heart-shaped clip art. The bottom line is you’ll need your design printed or drawn on a piece of paper.
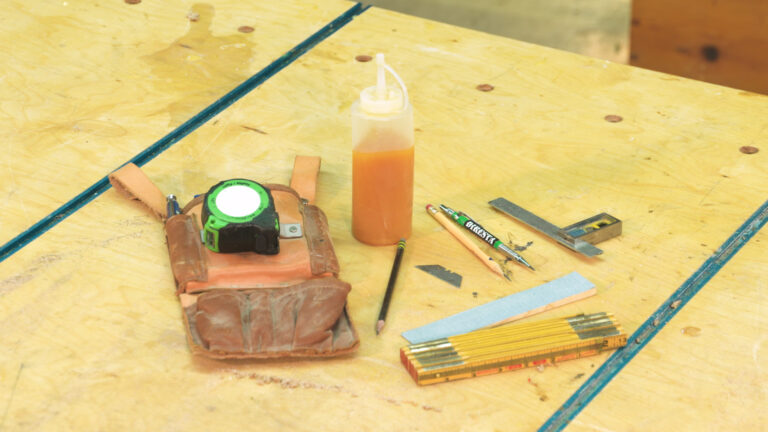
What you Need
Grab your artwork, a piece of heavy mil plastic (6-mil or more) and a tube of 100% silicone caulk. The plastic needs to be slightly larger than your artwork. It’s really important that you use 100% silicone caulk for your resin mold. Epoxy won’t stick to it.
Build a Dam
With the plastic overlaying your artwork, trace the design with your silicone. The caulk needs to be built up to a height that matches the thickness you want your final resin piece to be.
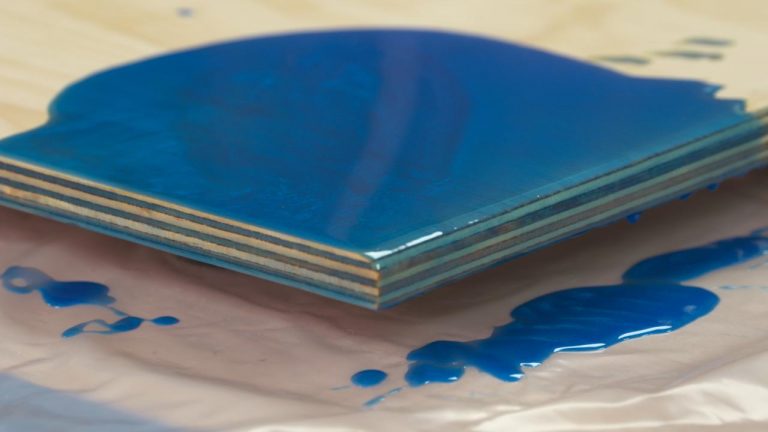
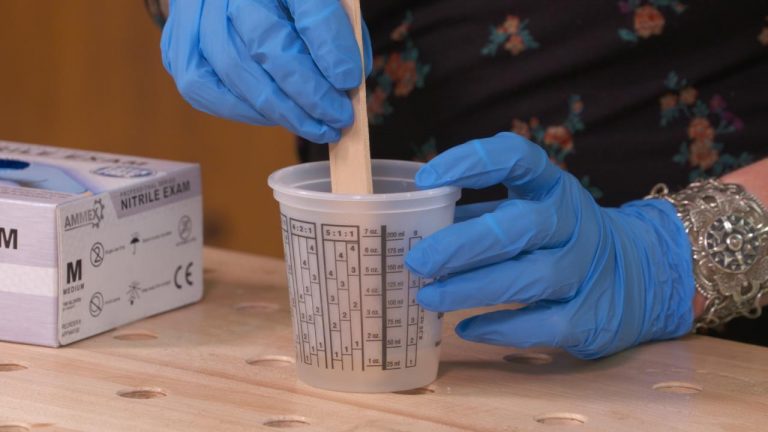
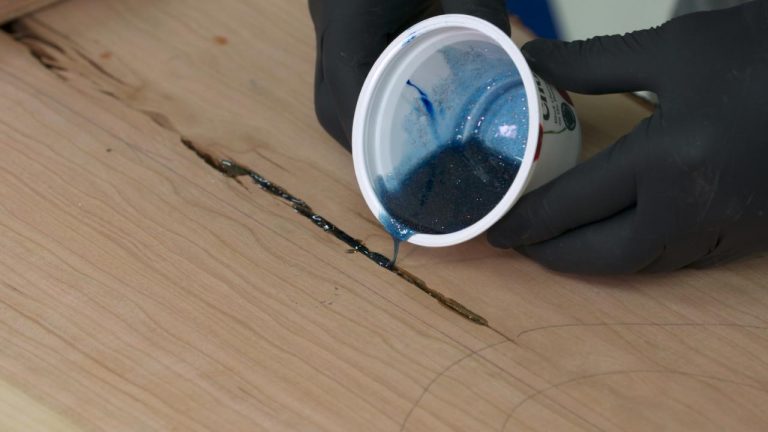
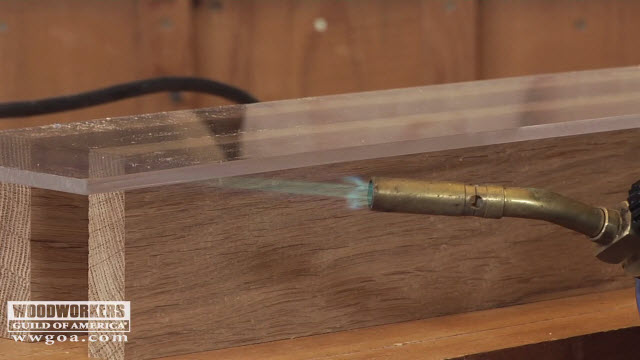
Pour and Go
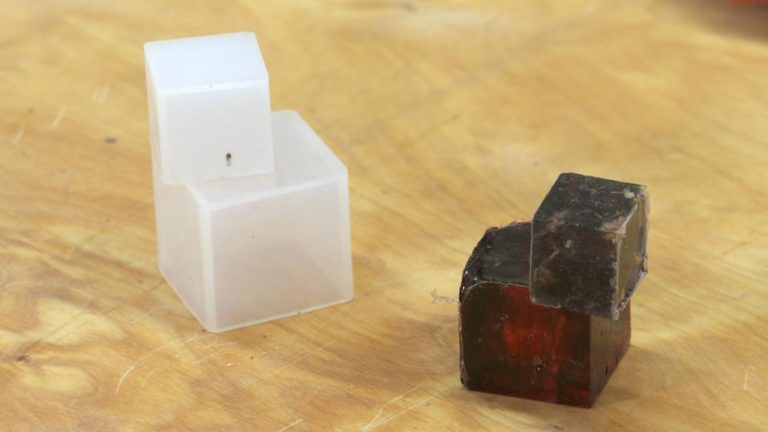
Let the caulk dry overnight, and you’re ready to pour your resin. Once the resin cures you can flex the plastic and silicone away from it to release it from the mold. Sand the edges, if you want, to make them more uniform.
Thanks to Jess Crow of Crow Creek Designs for this great tip.
Share tips, start a discussion or ask one of our experts or other students a question.
Already a member? Sign in
One Response to “Shop-made Epoxy Mold”
Explore videos by Jess Crow

You may be interested in

Premium Membership
Unlock exclusive member content from our industry experts.
- 24/7 Access to Premium Woodworking Videos, Projects, and Tips
- Step-by-Step Instructional Demos, Plans, and Tutorials
- 50% Off Video Downloads Purchased in the Woodworkers Guild of America Shop
- 2 Printable Woodworking Plans
Unlock exclusive member content from our industry experts.
- 24/7 Access to Premium Woodworking Videos, Projects, and Tips
- Step-by-Step Instructional Demos, Plans, and Tutorials
- 50% Off Video Downloads Purchased in the Woodworkers Guild of America Shop
- 2 Full-Length Video Downloads to Watch Offline
- 2 Printable Woodworking Plans
Gold Membership
$370 Value
Get everything included in Premium plus exclusive Gold Membership benefits.
- 24/7 Access to Premium Woodworking Videos, Projects, and Tips
- Step-by-Step Instructional Demos, Plans, and Tutorials
- 8 Full-Length Video Downloads to Watch Offline
- 3 Full-Length Woodworking Classes to Keep for Life
- 7 Printable Woodworking Plans
- Discounts on Purchase-to-Own Content in the Woodworkers Guild of America Shop
- Access to Ask the Expert Program
- Exclusive GOLD LIVE Streaming Events
i notice you don't wear a mask. What about fumes?