
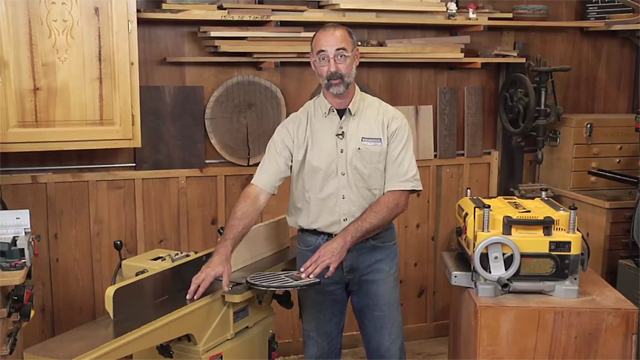
Router Table Setup Using Test Cuts for Perfect Dadoes
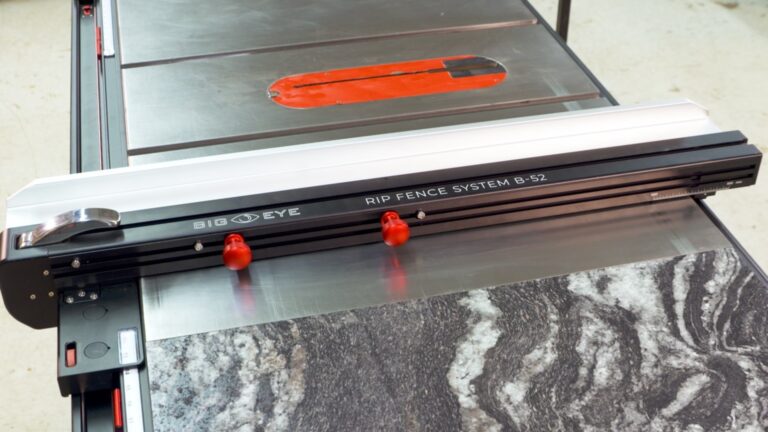
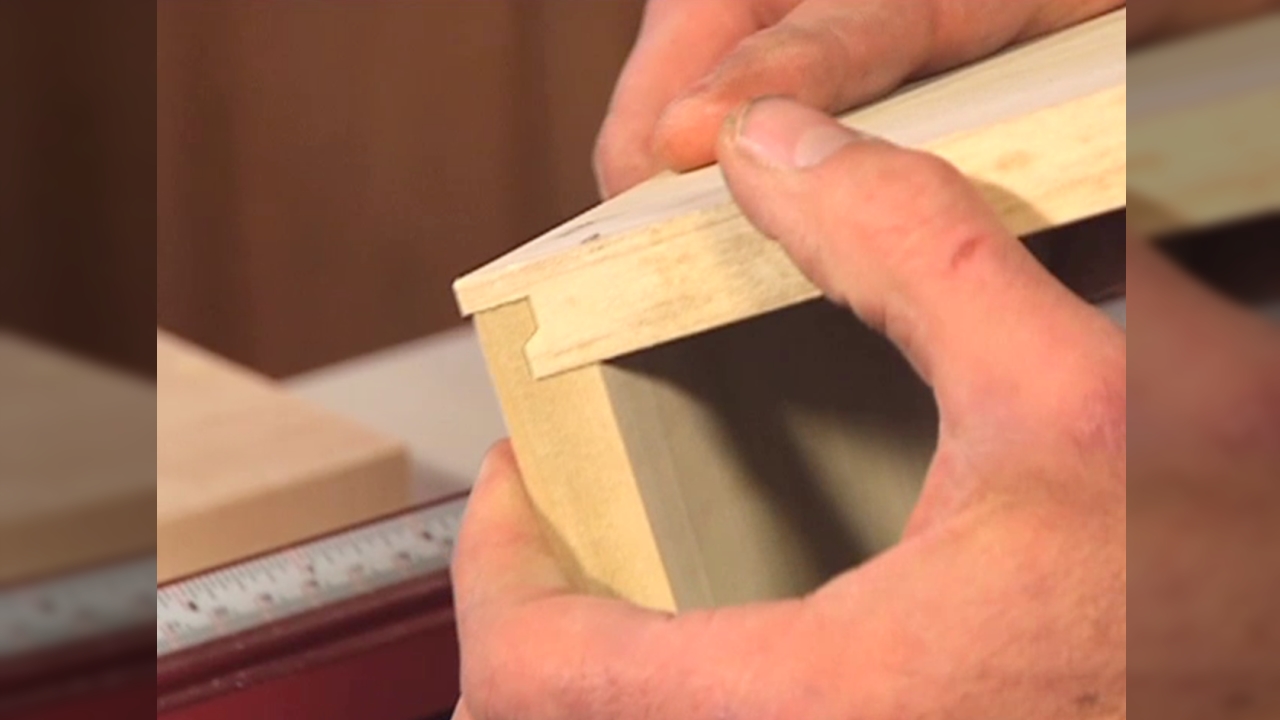
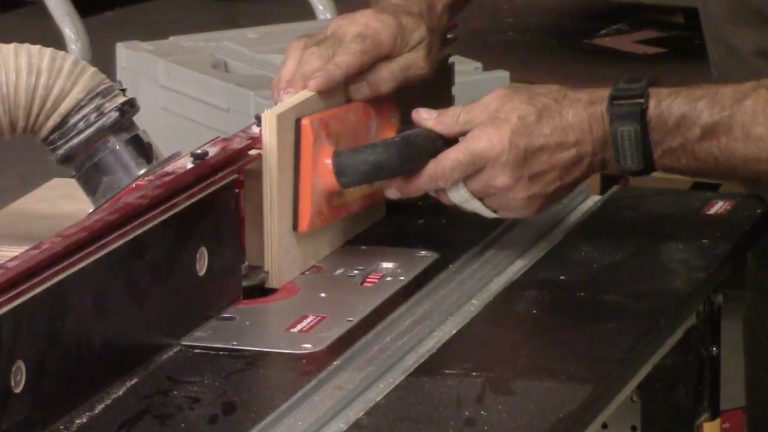
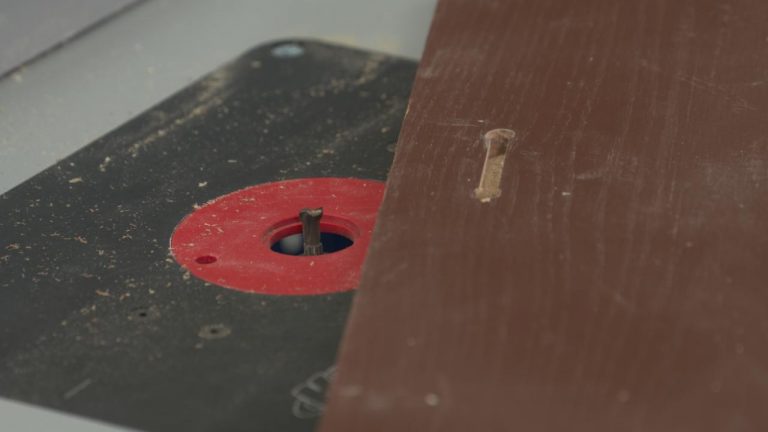
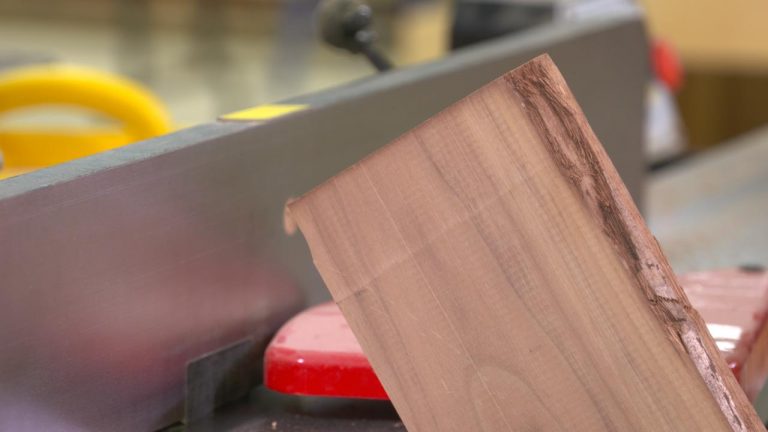
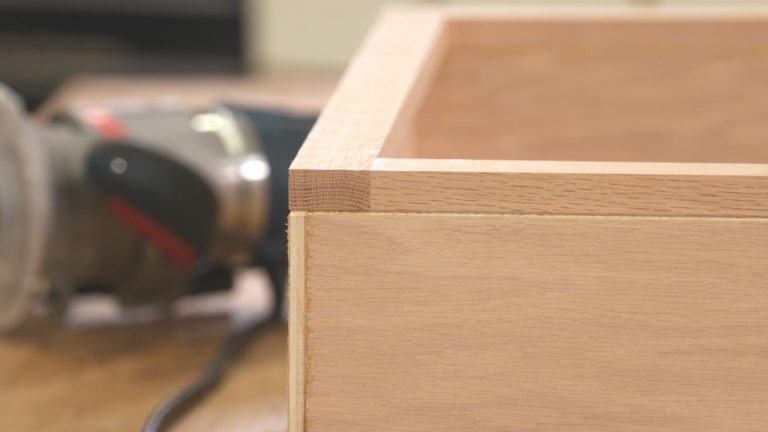
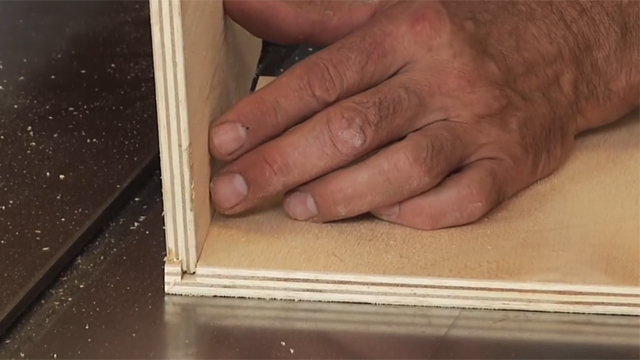
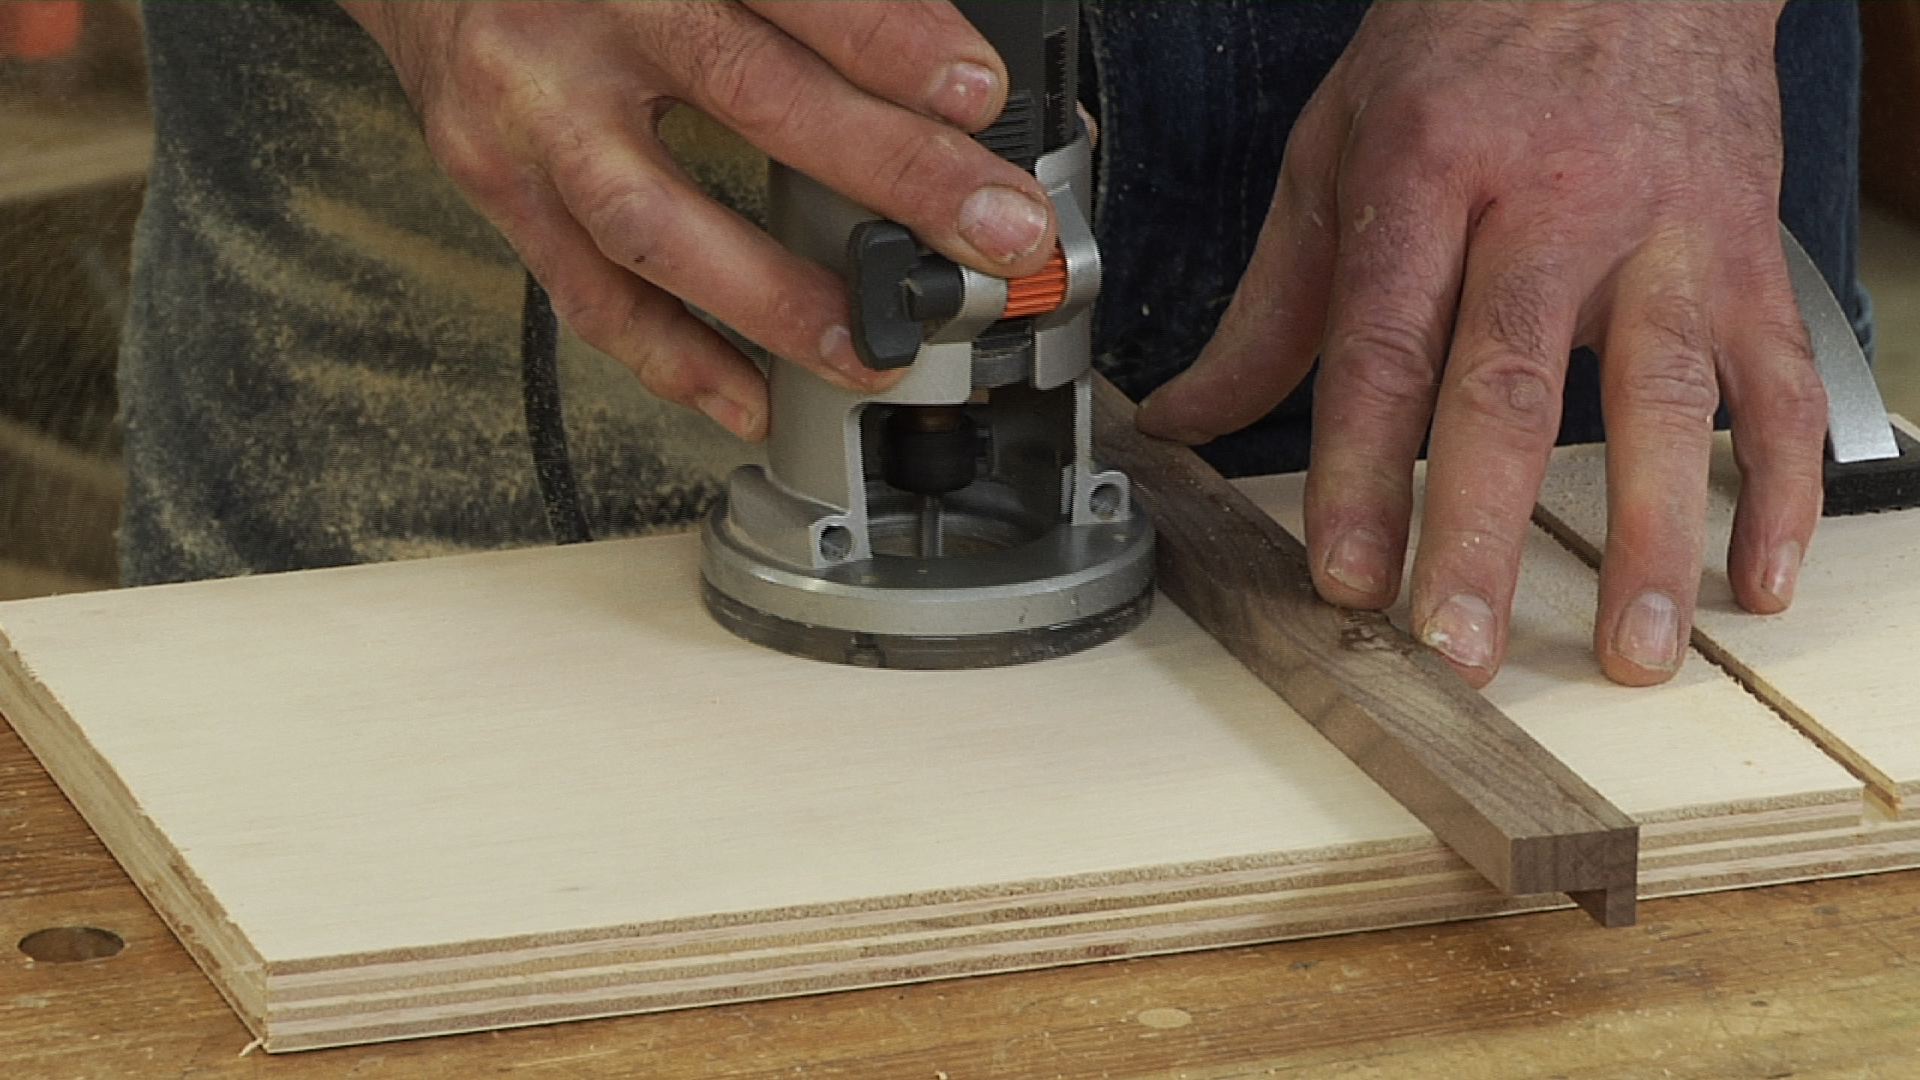
George VondriskaDado joints are a time-honored approach for case joinery. When choosing to use a router to create this joint, router table setup is critical to creating the perfect fit that you’re after. On a table saw equipped with a dado head, you would use shims to dial in the perfect width for your dado, but shims aren’t an option with router bits. On the router table you’ll use a bit smaller than the required dado and make multiple passes.
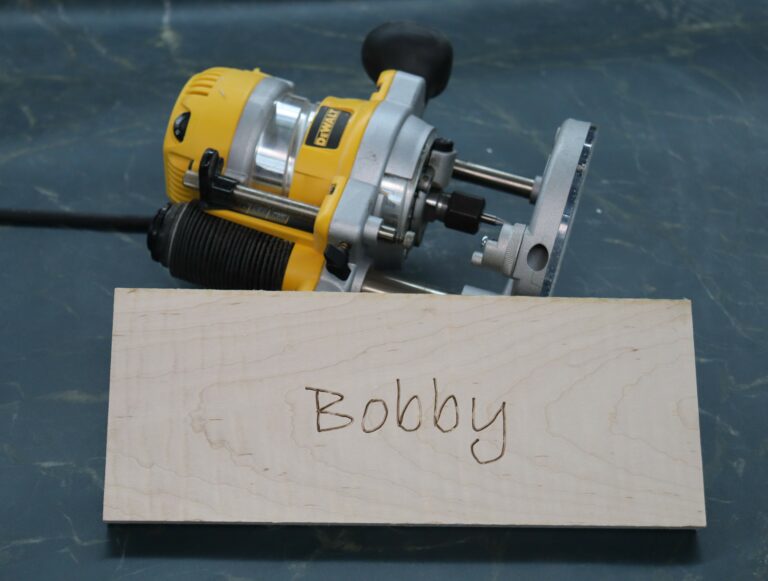
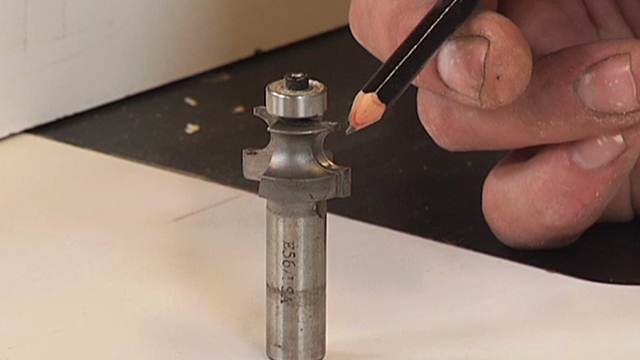
Before beginning your router table setup, you’ll want to be proficient in how to use a router, as you’ll need for that to be second nature during your joinery operations. You’ll also want to be sure that you are confident in knowing how to install a router bit in the proper fashion. With those pre-requisite skills in your arsenal, you’re ready to begin your joinery operations.
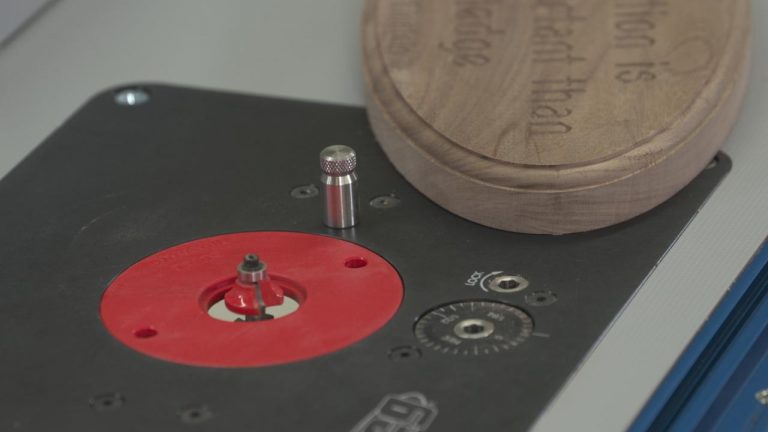
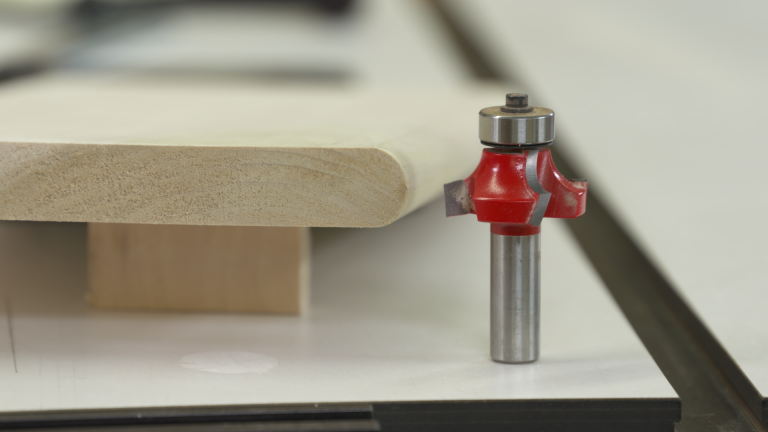
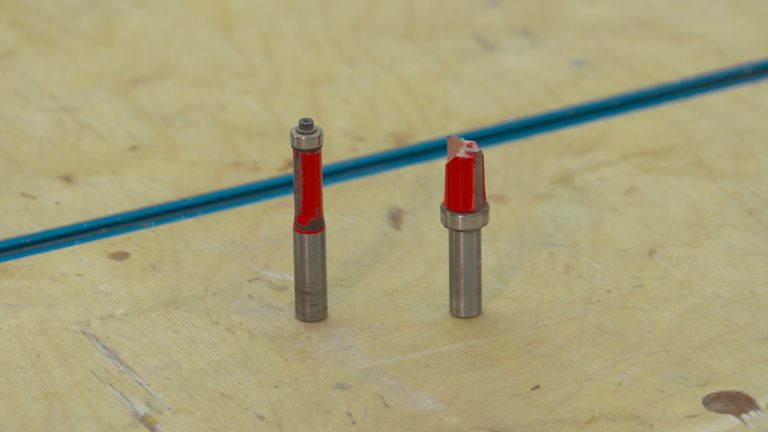
Choose the right bit
It’s important to choose a bit that is large enough to make the joint in two passes, but small enough so that you have ample adjustability.
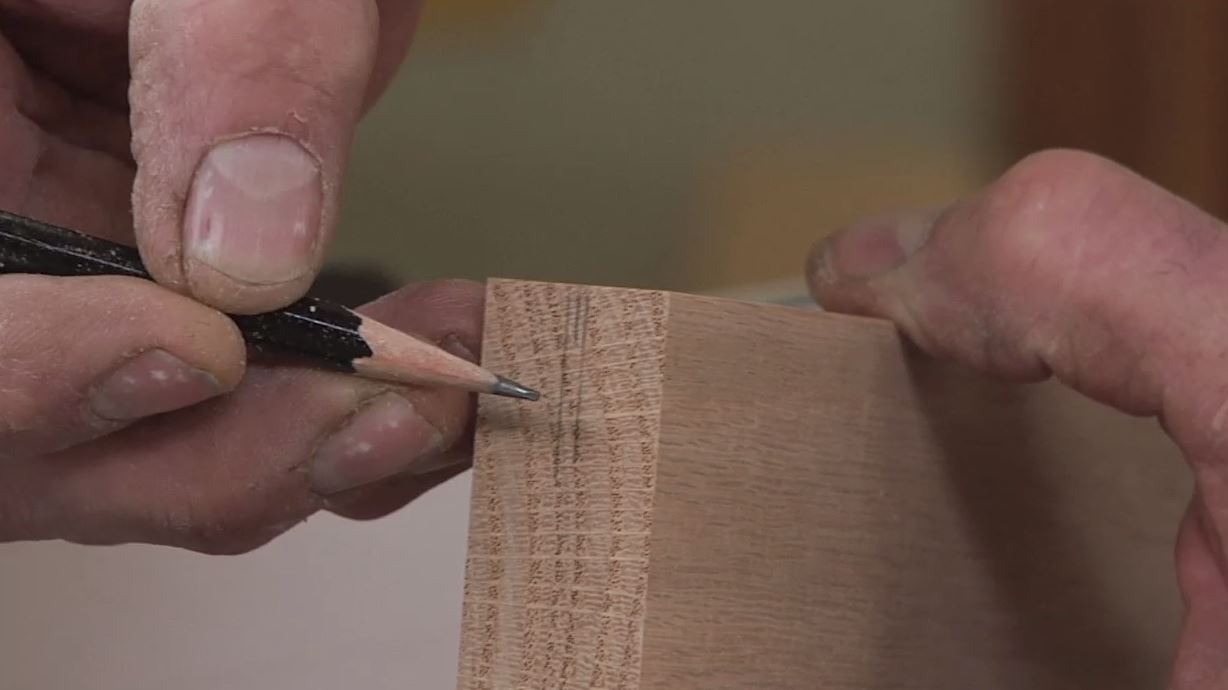
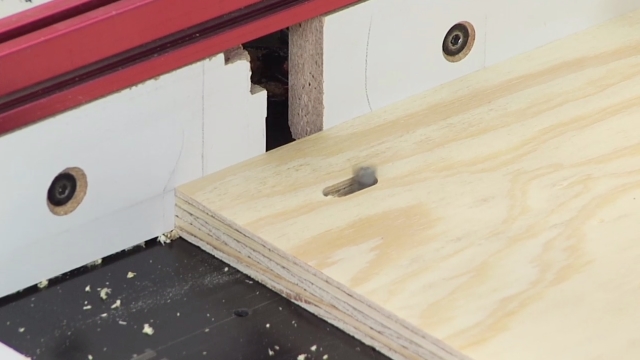
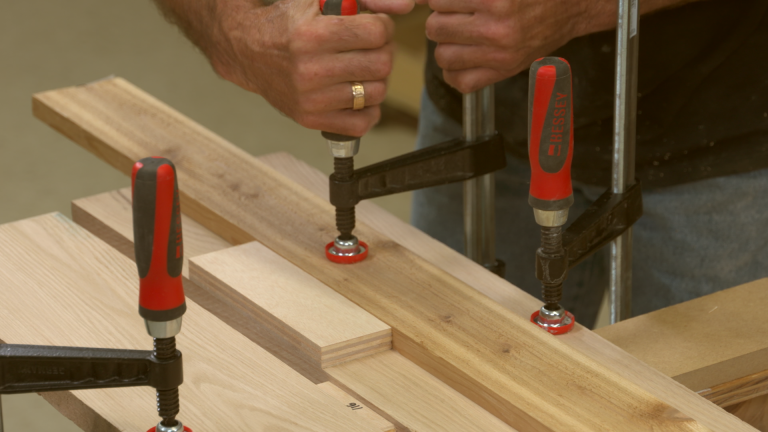
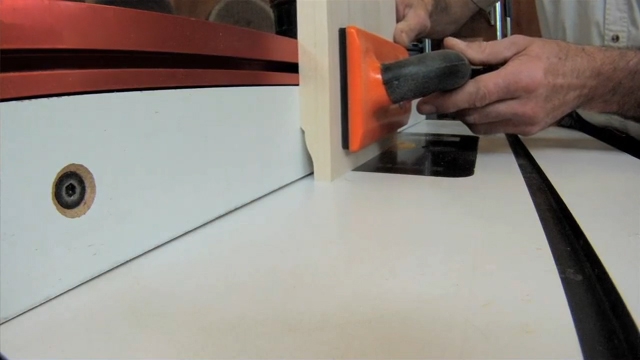
Router table setup
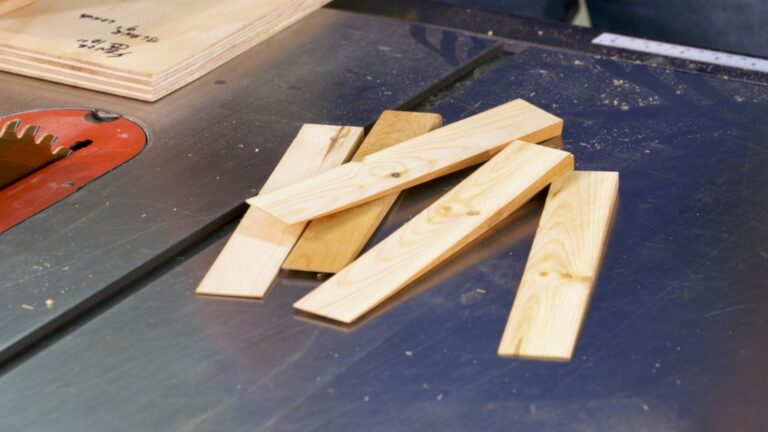
Take your time when setting up for your cut. Position the fence and the height of the bit carefully so that your dado or groove will come out perfect. And most importantly, test your router table setup with some scrap wood so that you can visually verify that everything is configured properly to product the perfect grooves or dadoes.
Explore videos by George Vondriska


You may be interested in


Premium Membership
Unlock exclusive member content from our industry experts.
- 24/7 Access to Premium Woodworking Videos, Projects, and Tips
- Step-by-Step Instructional Demos, Plans, and Tutorials
- 50% Off Video Downloads Purchased in the Woodworkers Guild of America Shop
- 2 Printable Woodworking Plans
Unlock exclusive member content from our industry experts.
- 24/7 Access to Premium Woodworking Videos, Projects, and Tips
- Step-by-Step Instructional Demos, Plans, and Tutorials
- 50% Off Video Downloads Purchased in the Woodworkers Guild of America Shop
- 2 Full-Length Video Downloads to Watch Offline
- 2 Printable Woodworking Plans
Gold Membership
$370 Value
Get everything included in Premium plus exclusive Gold Membership benefits.
- 24/7 Access to Premium Woodworking Videos, Projects, and Tips
- Step-by-Step Instructional Demos, Plans, and Tutorials
- 8 Full-Length Video Downloads to Watch Offline
- 3 Full-Length Woodworking Classes to Keep for Life
- 7 Printable Woodworking Plans
- Discounts on Purchase-to-Own Content in the Woodworkers Guild of America Shop
- Access to Ask the Expert Program
- Exclusive GOLD LIVE Streaming Events