
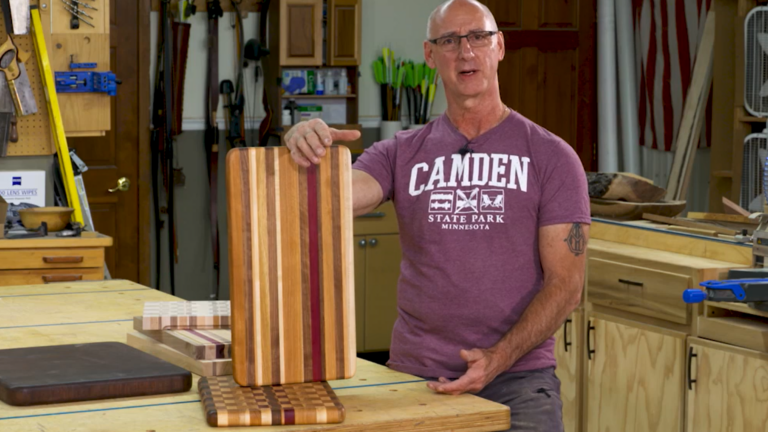
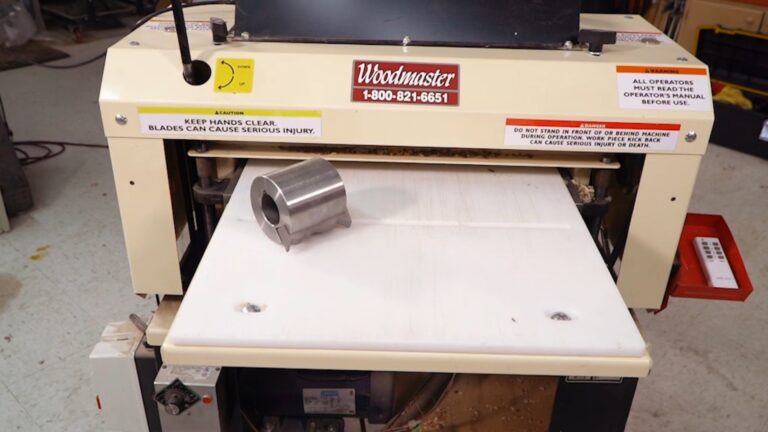
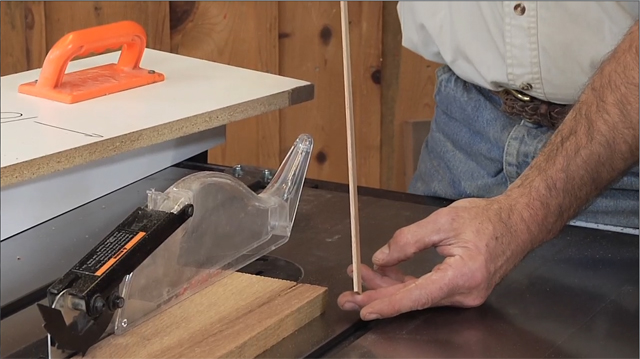
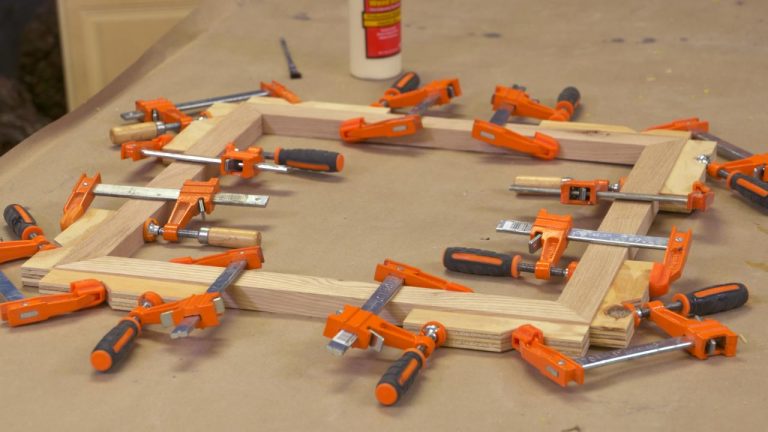
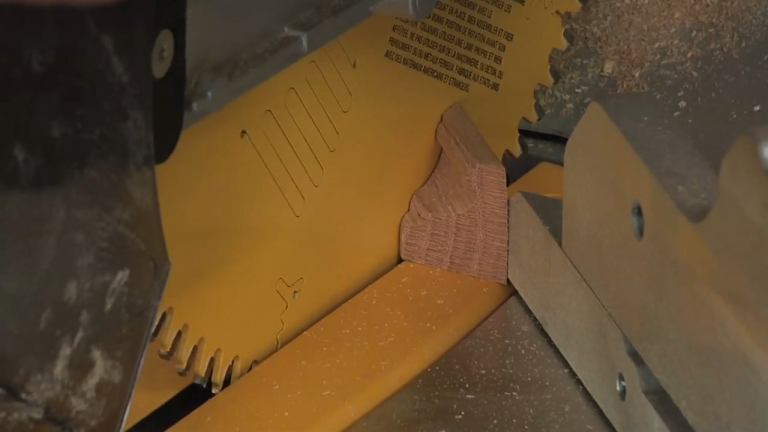
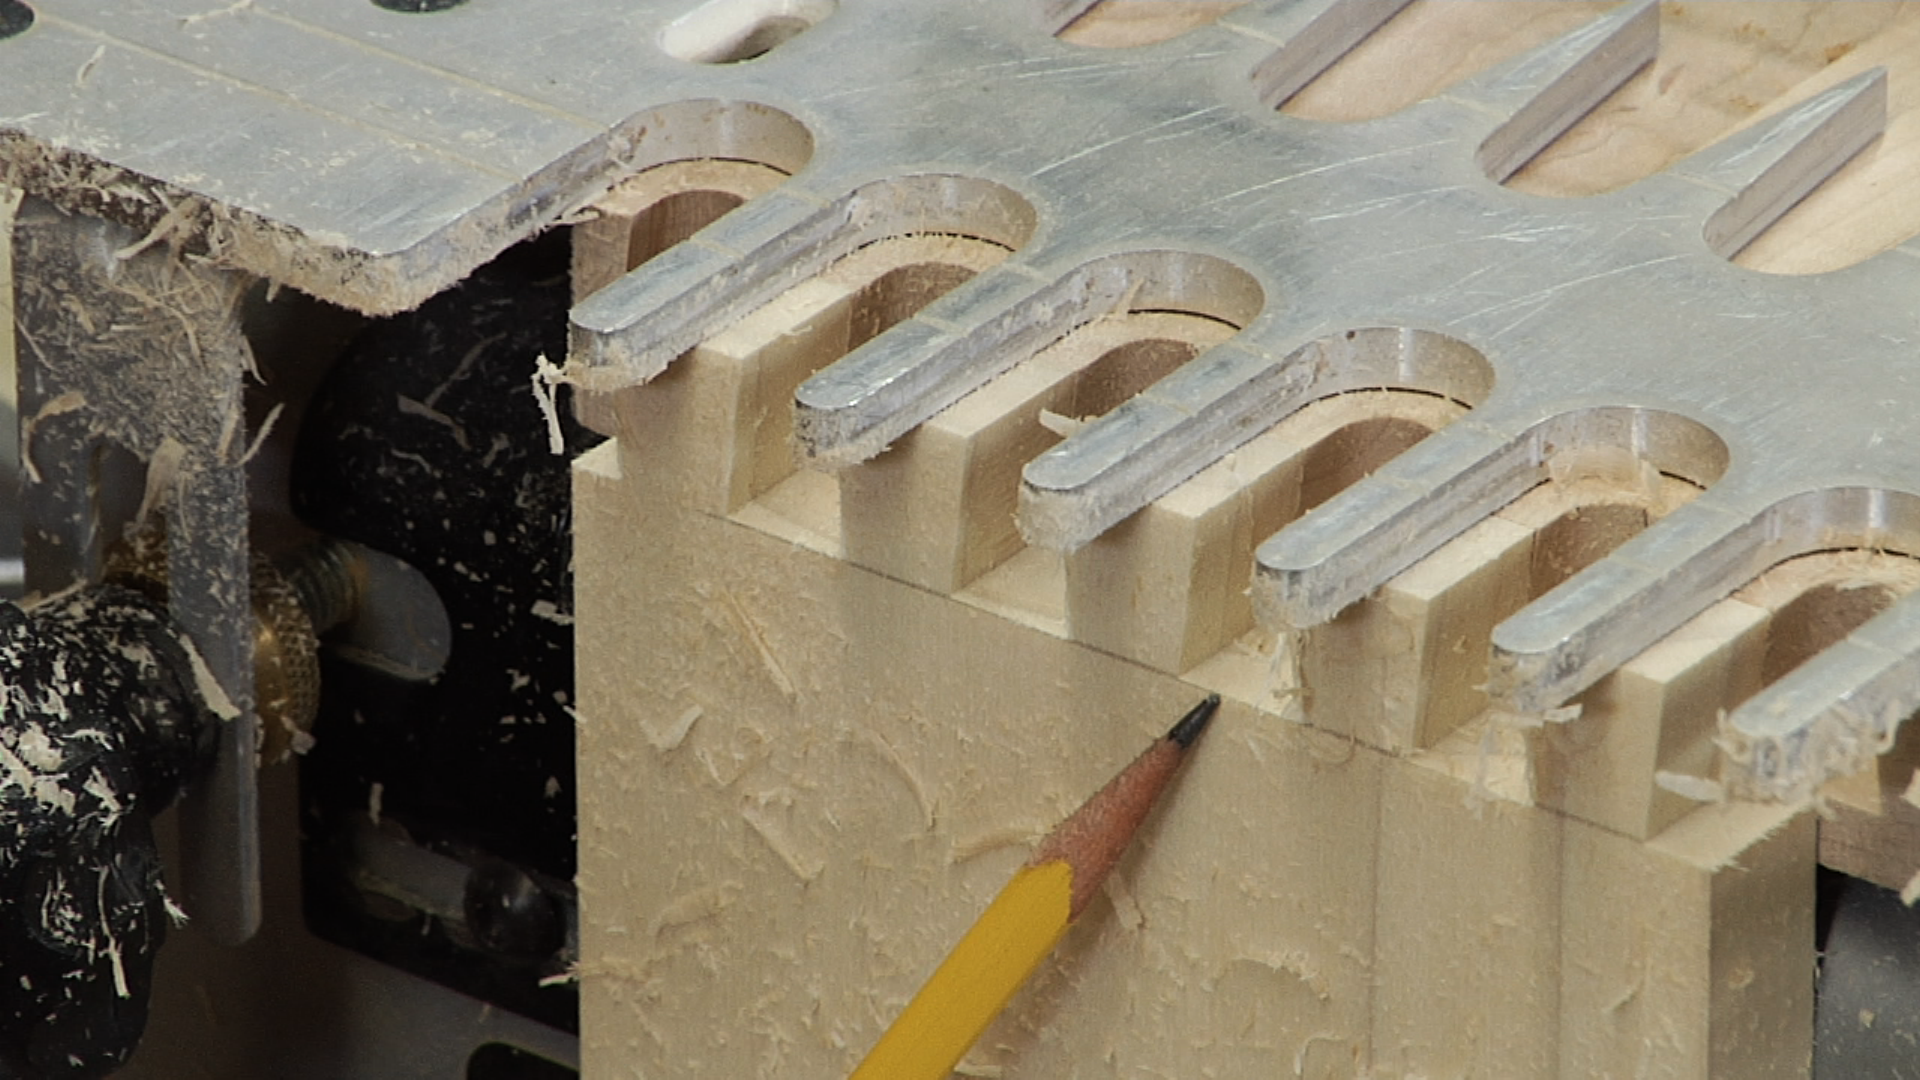
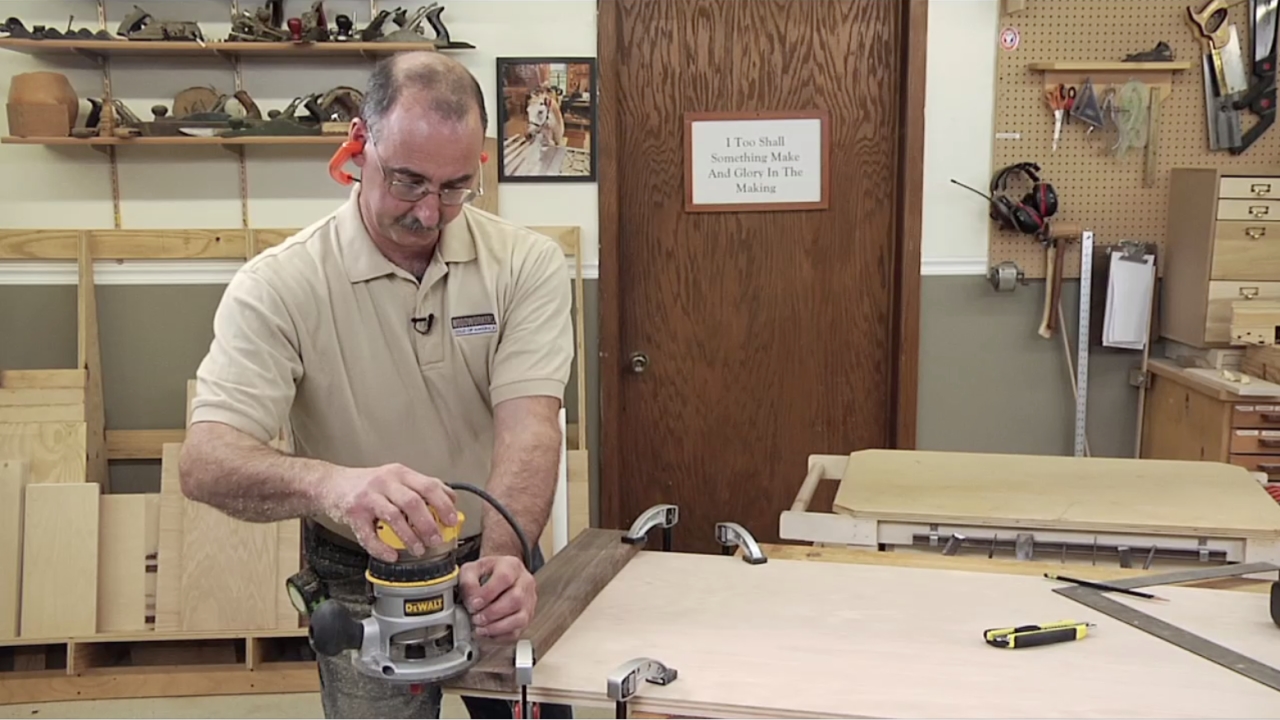
Quick Tip for Eliminating Putty Clean Up
George VondriskaWood putty provides woodworkers with a great way to “cover tracks”. When you make a goof, wood putty can help to hide it, and sometimes it does such a good job that nobody will ever know it was there. Another common use for wood putty is to fill holes that were left behind by a brad nailer. These pocks can be an eyesore on a project, and if filled sloppily, it will scream “amateur” to anyone who sees the project. Therefore it’s important to take the time and the necessary precautions when filling nails holes. When using wood putty, there are a few steps that be utilized to ensure a successful fill.
Color match
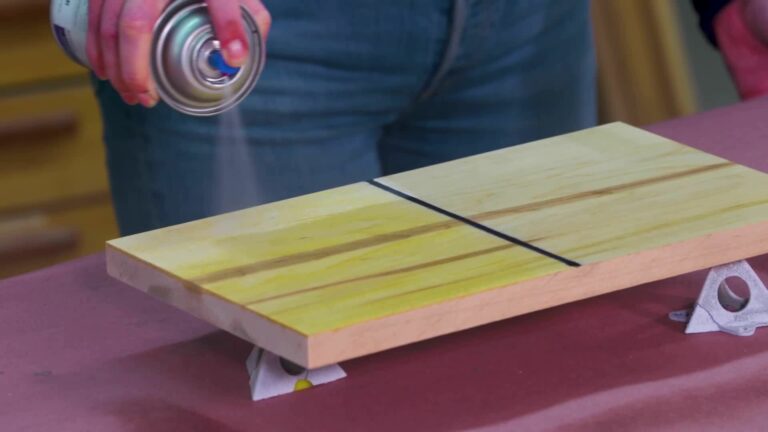
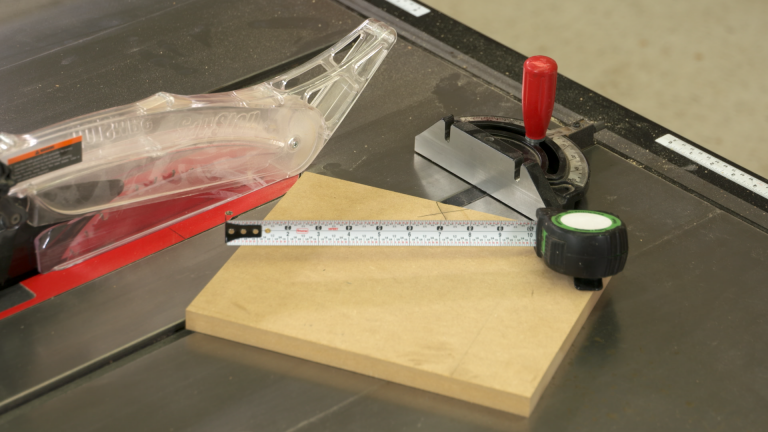
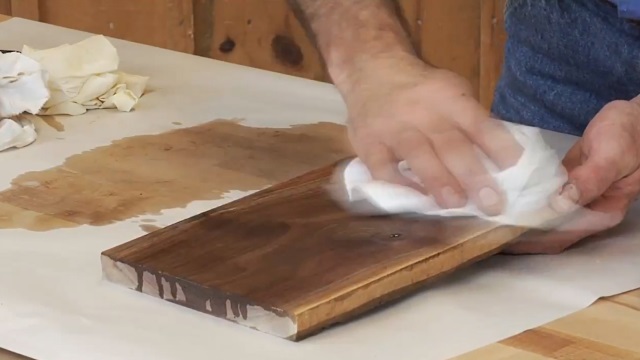
First, you want to match the color of the material, as it will appear when all of the finish is applied. Don’t assume that wood putty will absorb stain and top coat in the same fashion as the wood itself, because it won’t. So plan ahead, do some testing on scrap pieces, and choose a color that will work well with your final project.
Clean up thoroughly
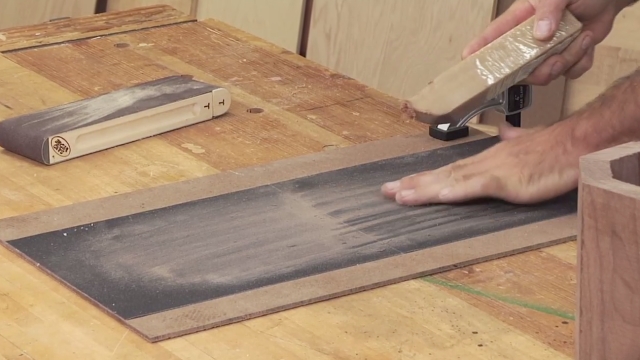
After the filler has dried you’ll want to sand thoroughly and be sure that any remaining traces of putty are fully removed from the wood’s surface. You’ll be amazed by how bad it looks to see wood putty out of place after the finish has been applied, even though you might not have been able to see it at all before putting down your first coat of finish. Look carefully, and be sure to use plenty of good quality lighting.
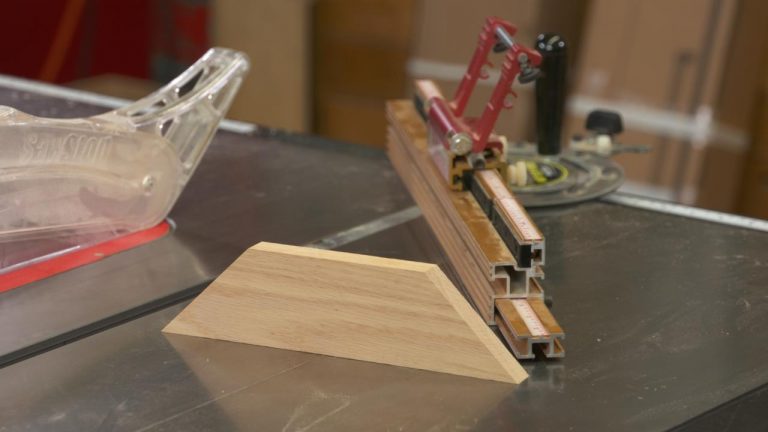
Minimize the cleanup necessary
The tip that George will show you here is how to make your cleanup work much easier. By applying this simple tip you’ll save hours in the shop, and ultimately produce a nicer looking project.
Explore videos by George Vondriska


You may be interested in


Premium Membership
Unlock exclusive member content from our industry experts.
- 24/7 Access to Premium Woodworking Videos, Projects, and Tips
- Step-by-Step Instructional Demos, Plans, and Tutorials
- 50% Off Video Downloads Purchased in the Woodworkers Guild of America Shop
- 2 Printable Woodworking Plans
Unlock exclusive member content from our industry experts.
- 24/7 Access to Premium Woodworking Videos, Projects, and Tips
- Step-by-Step Instructional Demos, Plans, and Tutorials
- 50% Off Video Downloads Purchased in the Woodworkers Guild of America Shop
- 2 Full-Length Video Downloads to Watch Offline
- 2 Printable Woodworking Plans
Gold Membership
$370 Value
Get everything included in Premium plus exclusive Gold Membership benefits.
- 24/7 Access to Premium Woodworking Videos, Projects, and Tips
- Step-by-Step Instructional Demos, Plans, and Tutorials
- 8 Full-Length Video Downloads to Watch Offline
- 3 Full-Length Woodworking Classes to Keep for Life
- 7 Printable Woodworking Plans
- Discounts on Purchase-to-Own Content in the Woodworkers Guild of America Shop
- Access to Ask the Expert Program
- Exclusive GOLD LIVE Streaming Events