
Making Compound Cuts on the Bandsaw
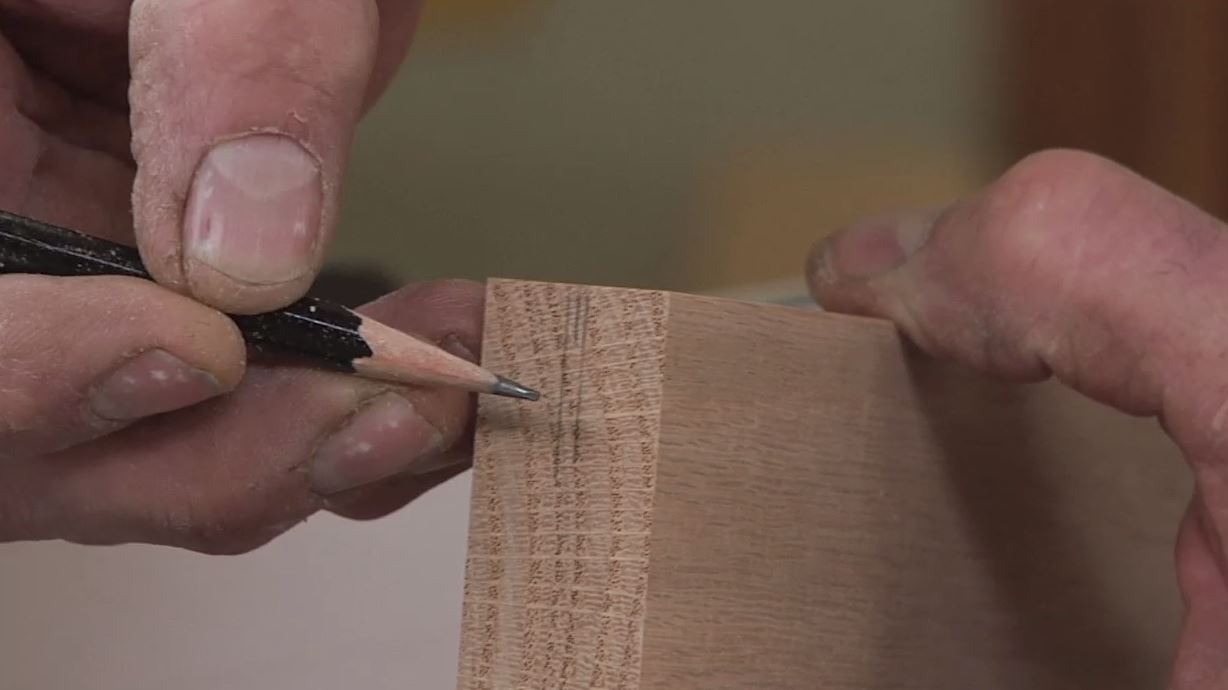
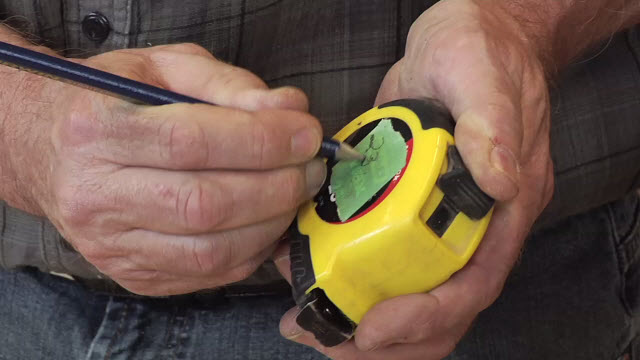
George VondriskaBandsaws provide a unique capability to create large scale, curvaceous compound cuts. Just think of the capabilities that this provides for projects such as a cabriole leg, duck decoy, spatula, etc. The possibilities for three dimensional shaping are virtually endless with a bandsaw! This cool process can actually be performed using two dimensional patterns that are cut from adjacent sides on a project blank. This is accomplished by drawing a pattern on two sides of the work piece, then cutting out one shape, then flipping the work piece 90 degrees and cutting the other pattern.
Download the tulip pattern here.
Quality, and Safety
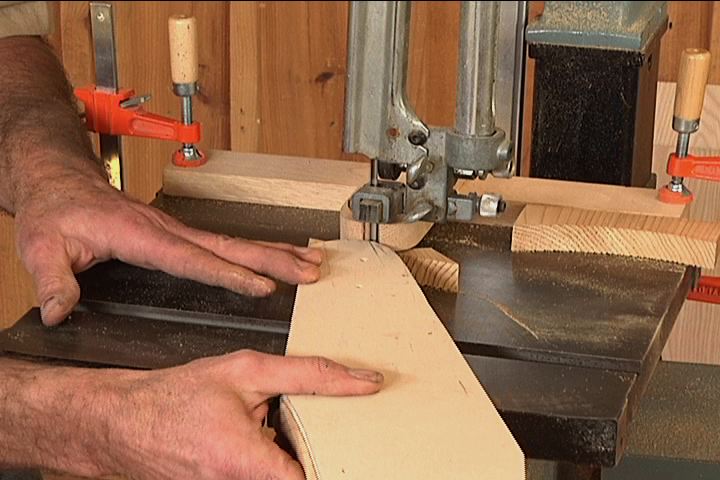
While it might be tempting to freehand the work piece at a variety of random angles to achieve the compound cuts, you are far better off using the bandsaw techniques that are demonstrated here. Take your time, leave the line for sanding afterward, and leave the work piece flat on the table the entire time. This gives you greater control over the work piece, which in turn keeps you safer and increases the precision of your cuts.
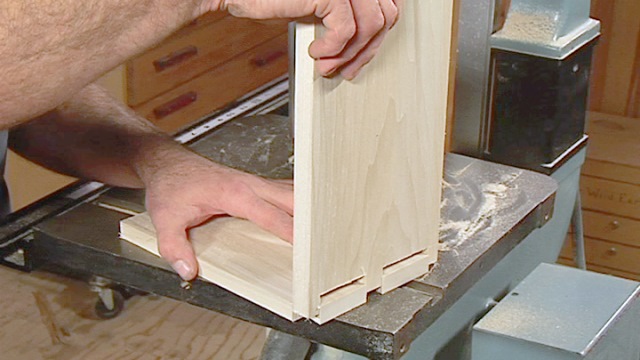
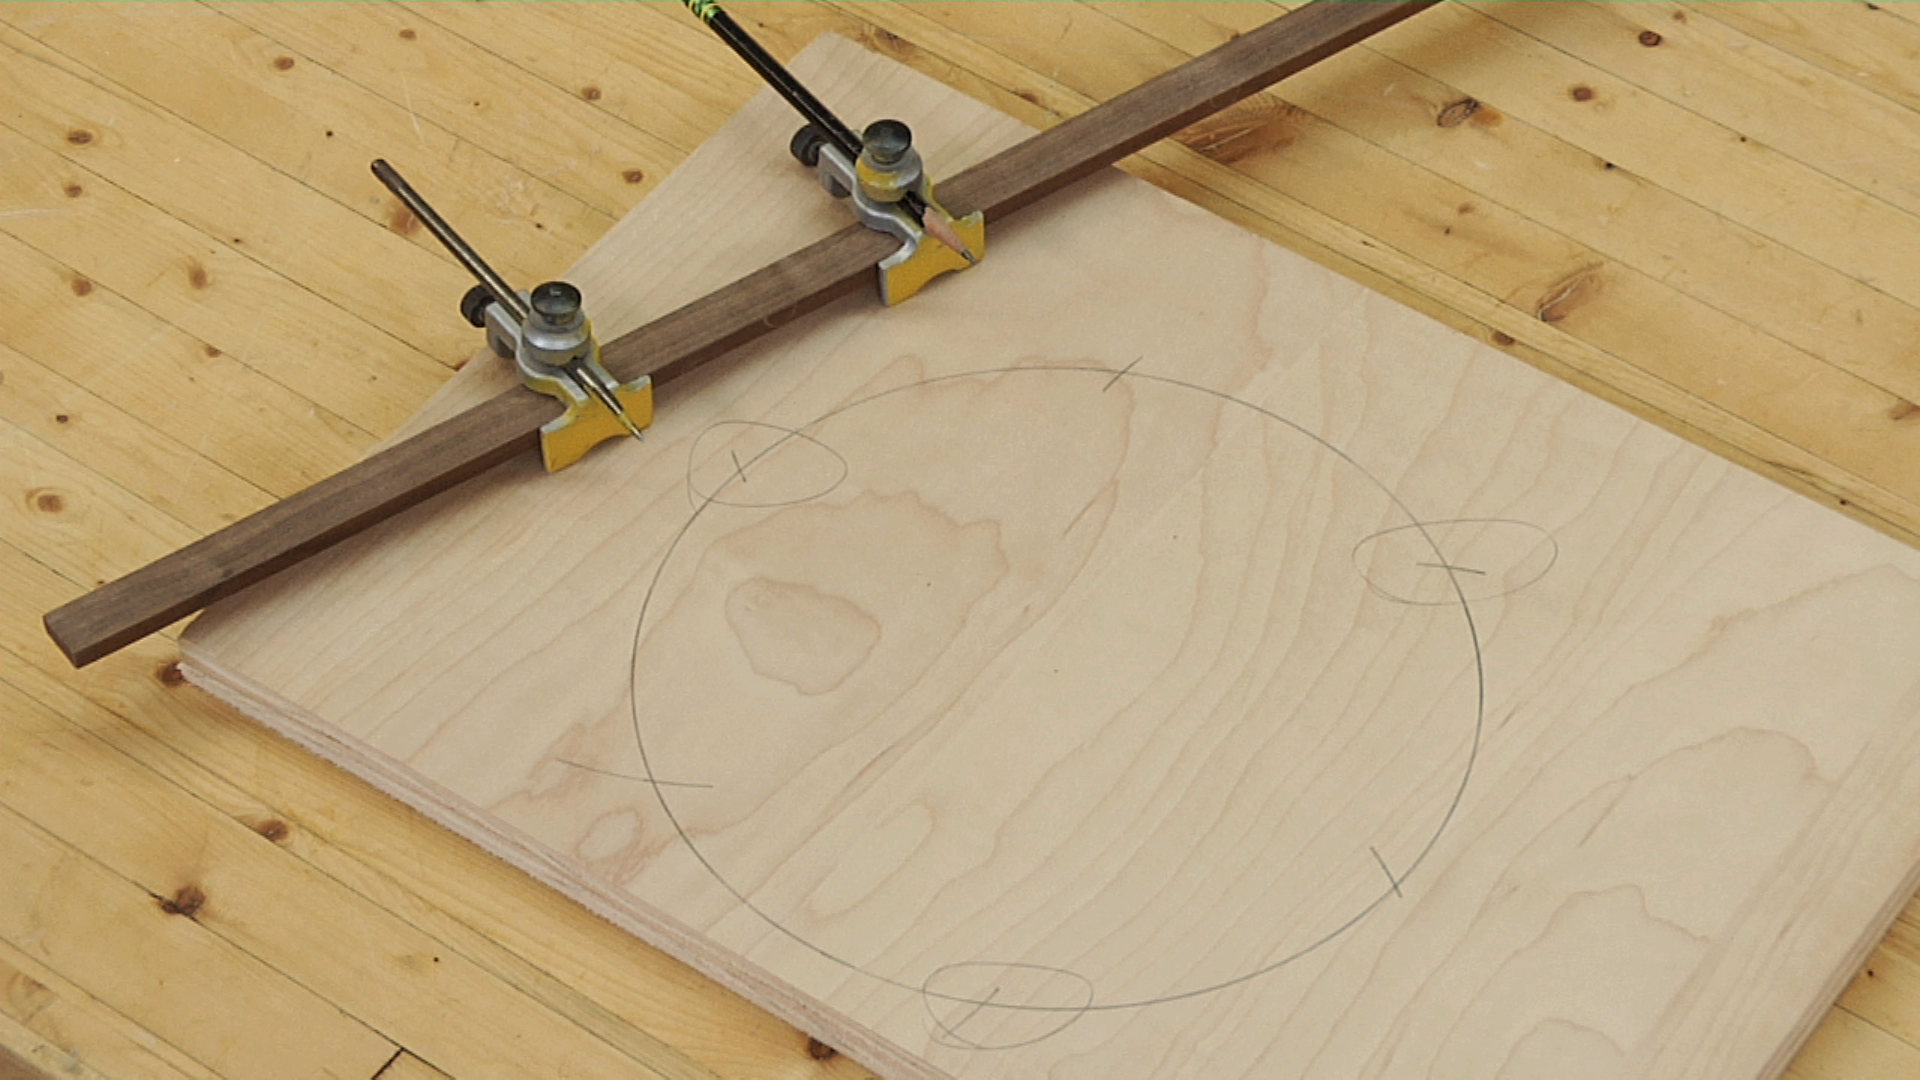
Cut it, and then put it back together. The process of making compound cuts is done as a “two step”. After tracing your pattern onto the first surface, you’ll carefully cut it out. Then, as if you are hitting the “undo” command on your keyboard, you’ll put the pieces back together and tape them snugly. This step is important because it re-establishes the large, flat surface that gives you an ample plane to set on the bandsaw table as you execute cut number two. Use a tape product that releases easily from the wood and leaves no residue behind, as you don’t want to interfere with your finish products.
Mastering this process will open you up to a whole new dimension in your woodworking!
Explore videos by George Vondriska


You may be interested in


Premium Membership
Unlock exclusive member content from our industry experts.
- 24/7 Access to Premium Woodworking Videos, Projects, and Tips
- Step-by-Step Instructional Demos, Plans, and Tutorials
- 50% Off Video Downloads Purchased in the Woodworkers Guild of America Shop
- 2 Printable Woodworking Plans
Unlock exclusive member content from our industry experts.
- 24/7 Access to Premium Woodworking Videos, Projects, and Tips
- Step-by-Step Instructional Demos, Plans, and Tutorials
- 50% Off Video Downloads Purchased in the Woodworkers Guild of America Shop
- 2 Full-Length Video Downloads to Watch Offline
- 2 Printable Woodworking Plans
Gold Membership
$370 Value
Get everything included in Premium plus exclusive Gold Membership benefits.
- 24/7 Access to Premium Woodworking Videos, Projects, and Tips
- Step-by-Step Instructional Demos, Plans, and Tutorials
- 8 Full-Length Video Downloads to Watch Offline
- 3 Full-Length Woodworking Classes to Keep for Life
- 7 Printable Woodworking Plans
- Discounts on Purchase-to-Own Content in the Woodworkers Guild of America Shop
- Access to Ask the Expert Program
- Exclusive GOLD LIVE Streaming Events