
How to Set a Miter Gauge for 45 Degrees
George VondriskaSetting the miter gauge on your table saw to a perfect 45-degrees can be very challenging. And, if you’re planning on making picture frames, being just a tiny bit off will be a deal breaker. But here’s great news. You’ve probably already got a tool in your shop that will give you the precision you need to set your miter gauge perfectly, allowing you to get an exact 45-degree cut.
Angles from squares
The amazing set-up tool for this operation is……a framing square. Yep, the lowly framing square. Used correctly, it’ll allow you to pivot the miter gauge to just the right spot for a perfect 45-degree angle. Thanks to the size of a framing square, you’ll get excellent accuracy.
Accurate picture framing
This video will help you get the miter gauge correctly set so you can accurately cut angles, but remember that there’s more to good looking picture frames than simply having the angles right. You also need to be consistent with the lengths of your parts. Each side needs to be exactly the same length as the opposite side. The best way to accomplish this is by using a stop block on your miter gauge.
But wait, there’s more
This is just one nugget of a tip that WoodWorkers Guild of America has for you. Make sure you’re getting the most of out your shop and your tools by checking out more great shop tips.
Share tips, start a discussion or ask one of our experts or other students a question.
Already a member? Sign in
2 Responses to “How to Set a Miter Gauge for 45 Degrees”
Explore videos by George Vondriska
Premium Membership
Unlock exclusive member content from our industry experts.
- 24/7 Access to Premium Woodworking Videos, Projects, and Tips
- Step-by-Step Instructional Demos, Plans, and Tutorials
- 50% Off Video Downloads Purchased in the Woodworkers Guild of America Shop
- 2 Printable Woodworking Plans
Unlock exclusive member content from our industry experts.
- 24/7 Access to Premium Woodworking Videos, Projects, and Tips
- Step-by-Step Instructional Demos, Plans, and Tutorials
- 50% Off Video Downloads Purchased in the Woodworkers Guild of America Shop
- 2 Full-Length Video Downloads to Watch Offline
- 2 Printable Woodworking Plans
Gold Membership
$370 Value
Get everything included in Premium plus exclusive Gold Membership benefits.
- 24/7 Access to Premium Woodworking Videos, Projects, and Tips
- Step-by-Step Instructional Demos, Plans, and Tutorials
- 8 Full-Length Video Downloads to Watch Offline
- 3 Full-Length Woodworking Classes to Keep for Life
- 7 Printable Woodworking Plans
- Discounts on Purchase-to-Own Content in the Woodworkers Guild of America Shop
- Access to Ask the Expert Program
- Exclusive GOLD LIVE Streaming Events



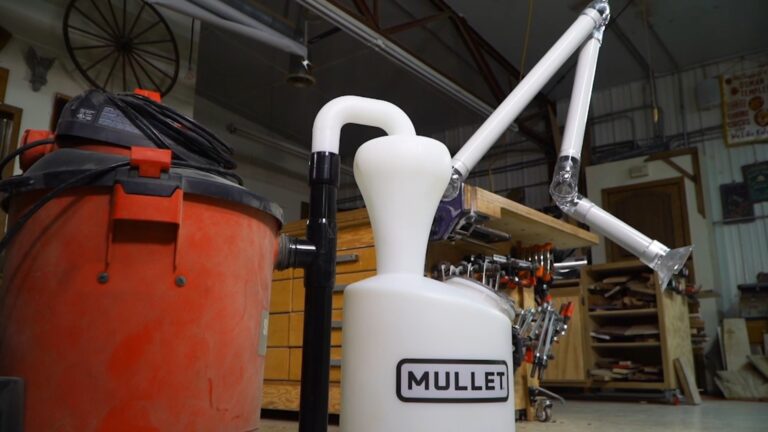
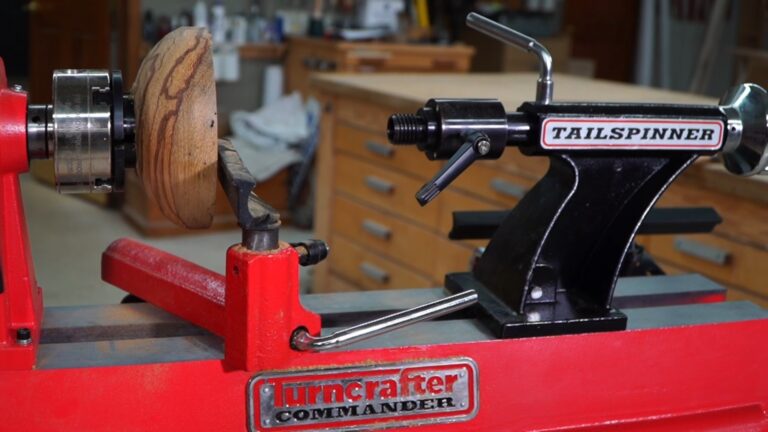
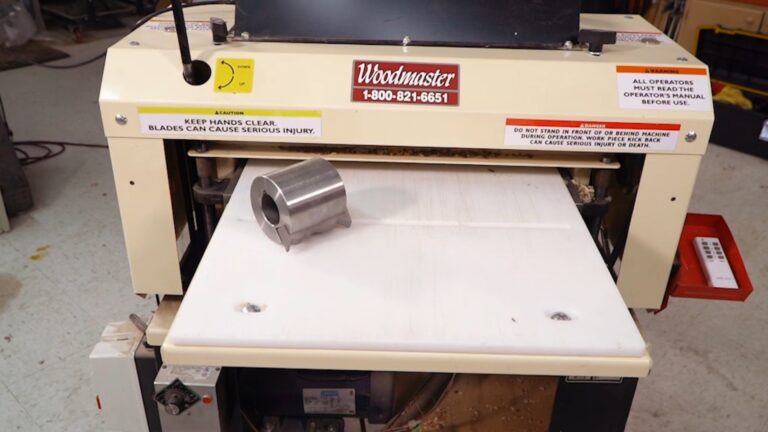
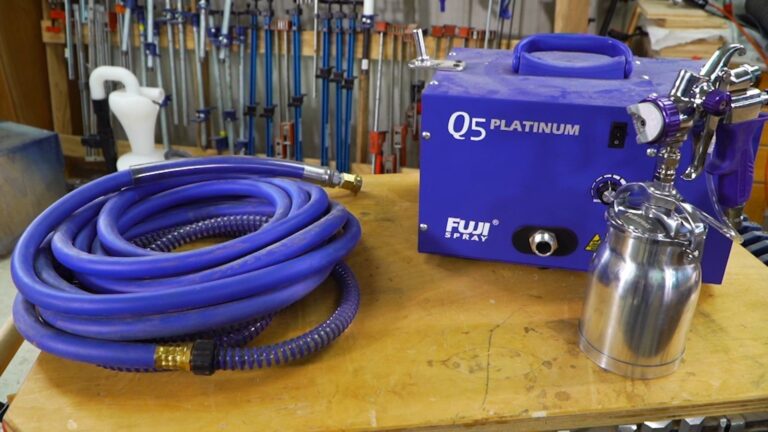



So, here's the situation: I built 5 colonial spinning wheels per instructions from an article by W. Clyde Lammey in Popular Mechanics from 1934 ("Colonial Spinning Wheel You Can Build" - it can be found on the Web with difficulty). The large wheel itself (built from 61 individual pieces) is 19 1/2" in diameter, and the rim is made up of 3 layers of 12 trapezoidal pieces that are 5 3/8" length at the base and 3" wide. The trapezoid's angles are 15 degrees. So for each piece, there are two 15 degree cuts that have to be made "exactly" while maintaining the critical 5 3/8" length. How any of this could have been done using the available tools of that time period during the height of the Great Depression is another matter. But I have the advantage of digital tools, a router table, a 14" HF miter saw and a Sears 10" table saw with the usual miter gauge we all know and love. As each layer of 12 pieces is assembled, any error is potentially multiplied 24 times (2 angles x 12 pieces). Thus, the last piece never exactly fits well during a trial assembly and once glue is applied, it is even more off. I have tried making a "perfect" template and used it as a pattern on the router table, but it doesn't seem to matter since I can't make those perfect 15 degree angle cuts, the template moves slightly and the bit's bearing mars the template's surfaces during routing (and it's dangerous). On the table saw, there is too much play in the miter gauge slot to even hope for any kind of accuracy. The miter bar has to be slightly smaller than the 3/4" slot or it won't slide (a 3/4" dowel won't fit in a 3/4" hole!). Here's another situation: I have constructed several mitered, round, game tables with a 40" diameter. These consist of, naturally, 4 initially triangular pieces, 40" wide at their bases, cut at 45 degree angles. To get the angles correctly drawn, I use a good 24" combination square. The sizes of the pieces makes it too large for the table saw's miter gauge or the HF miter saw. Using a band saw or good jig saw and then running the cut edges (carefully) over a jointer doesn't get you the required exact 45 degree angles. The closest I can get is using a long, hard maple straight edge as a router guide. After the edges are cut, the router table is used to create the glue joint cuts so that the 4 pieces intersect along the 4 miters. But it's never perfect. Pipe clamps certainly help. (Afterward, the square table top is cut with a Rockler circle cutting router jig, etc.) That perfectly straight cut, the exact angle, the perfectly centered hole - they remain elusive in spite of laser guides, digital angle finders, planer, jointer, drum sander, drill press, various saws and routers. When you add to that dust and insects landing on your polyurethane finish and uneven primer and paint results, what a challenge to woodworking!
This works great if your framing square is actually square. Stamped out framing squares you buy tend to be out of square due to the heating and cooling of the metal. Check your square for square and if need be, square the framing square before you trust it for accuracy. A degree or two off square will create problems, especially with things like picture frames. A master carpenter friend of mine taught me how to do this. Knowing him to be a perfectionist, I had him square all of my squares. Never had a problem after that with getting accurate angles.