
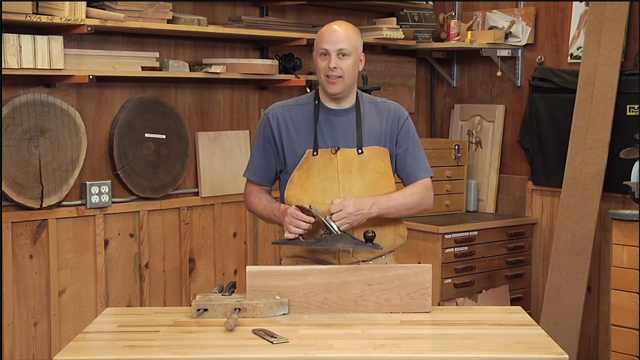
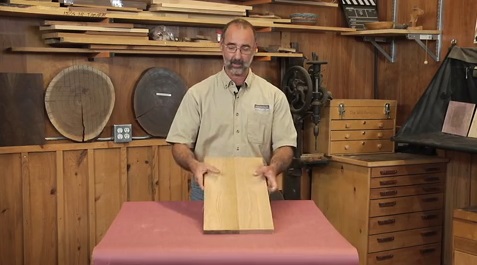
How to Prevent Troublesome, Slippery Glue Joints
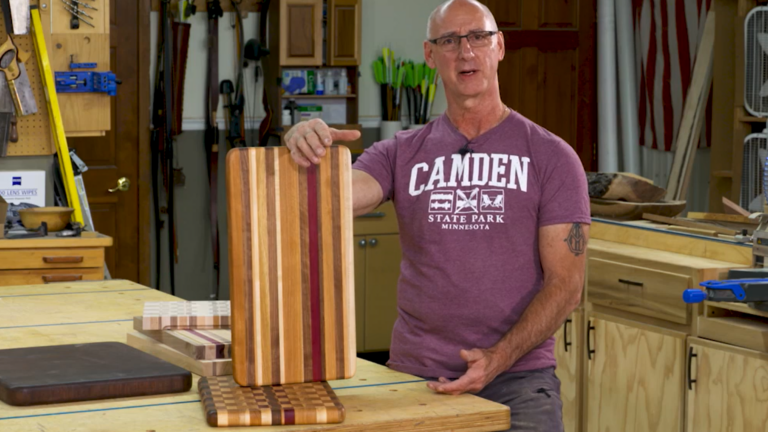
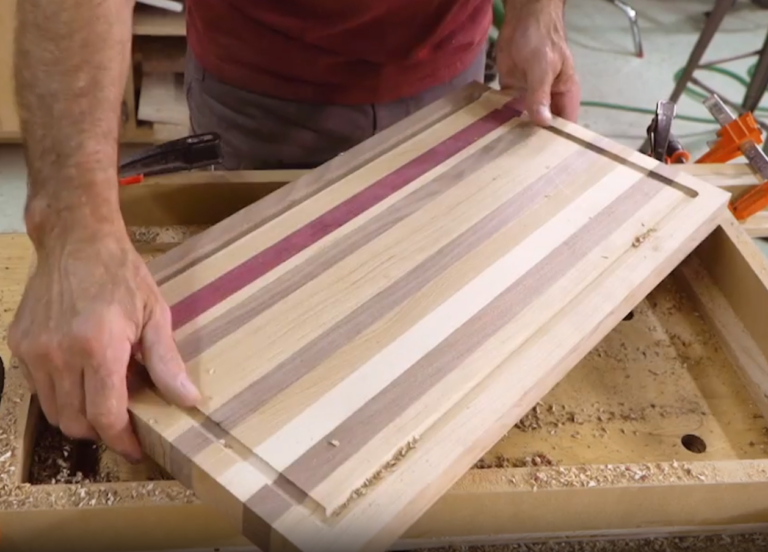
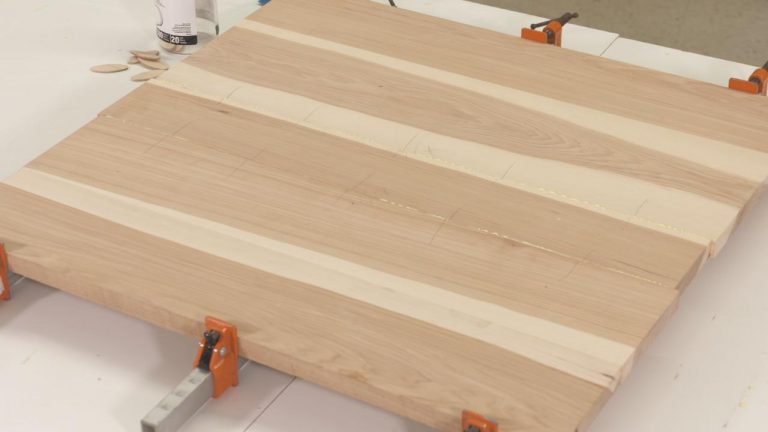
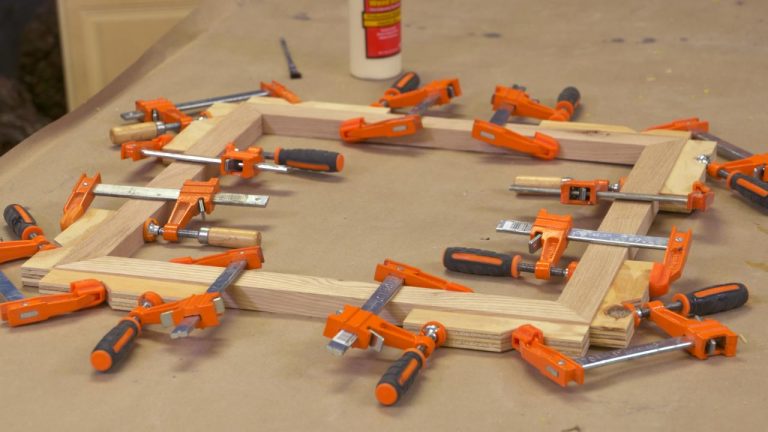
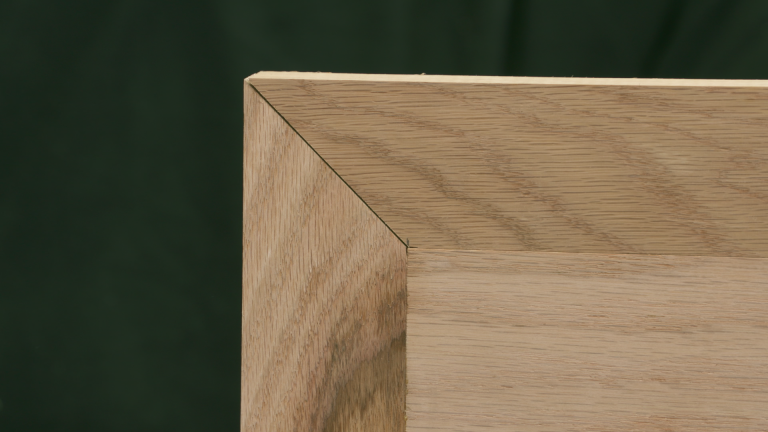
George VondriskaWoodworkers use glue on nearly every project, and any woodworker who has applied clamping pressure to their joinery knows all about slippery glue joints. Just when you get everything aligned, and start to snug up the clamping pressure, the slippery glue joints start to float and all the care that you took getting everything dialed in perfectly is for naught as the pieces start to shift. The effect can also cause glue to ooze out of the joint and compromise the strength of the joint due to glue starvation.
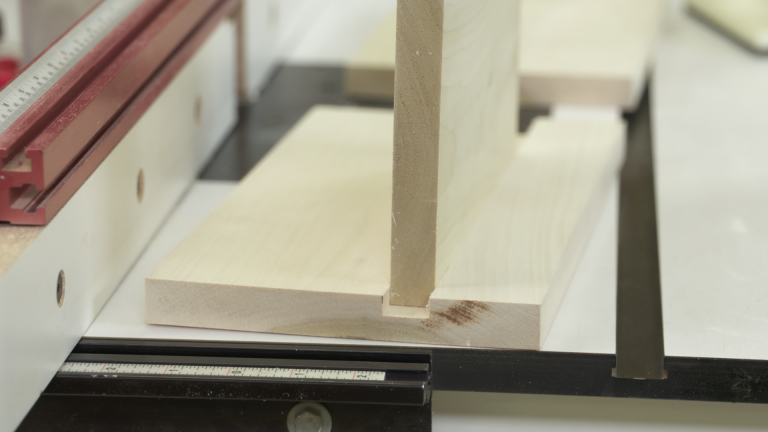
How can you deal with slippery glue joints while not compromising the strength of glue joints? First it starts with gaining an understanding the basic properties of PVA woodworking glue, which has some of the characteristics of a lubricant until it begins to tack. Essentially the glue is creating a nearly frictionless plane between the two components, so when the slightest pressure is introduced, it causes the pieces to easily move with very little resistance.
With that basic understanding of PVA glue you are able to implement a strategy to deal with slippery glue joints. Two strategies that can help you deal with this include:
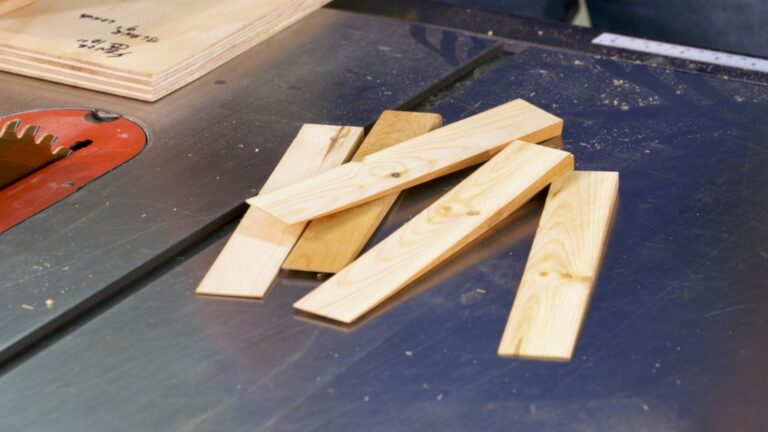
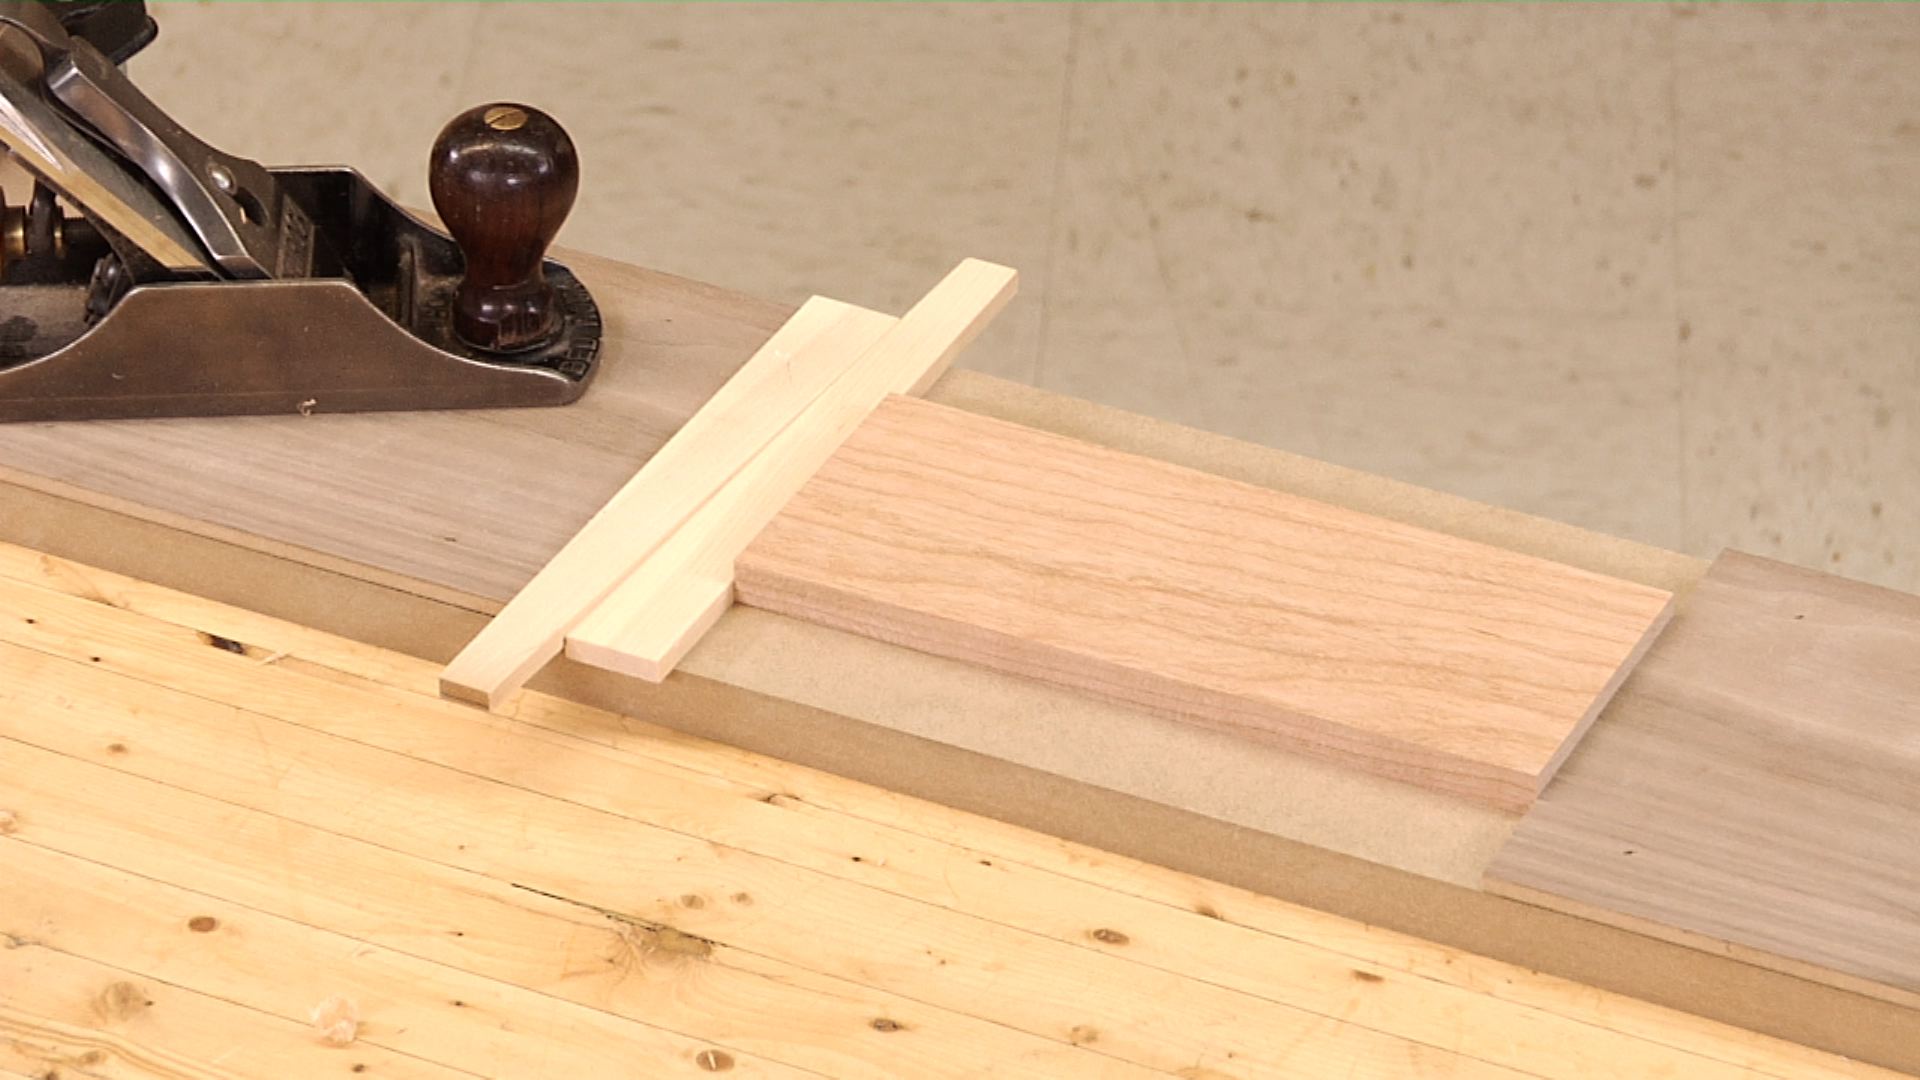
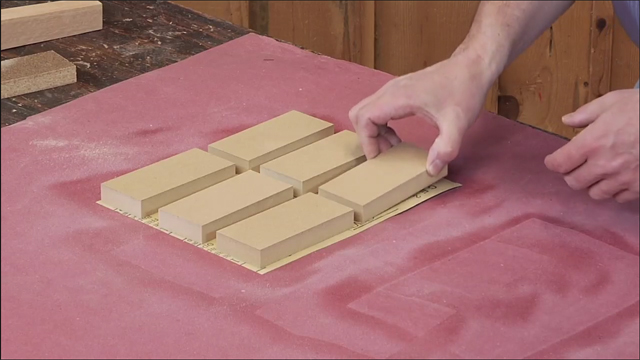
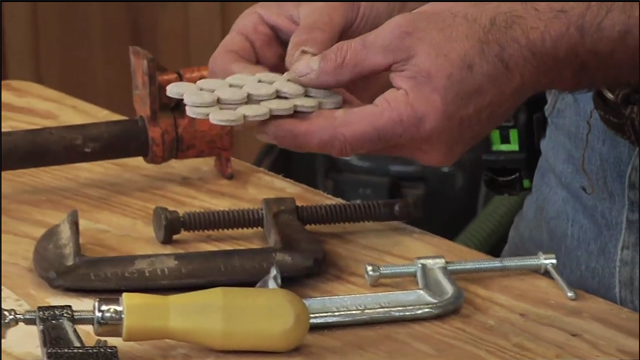
Introduce an abrasive into the glue joint
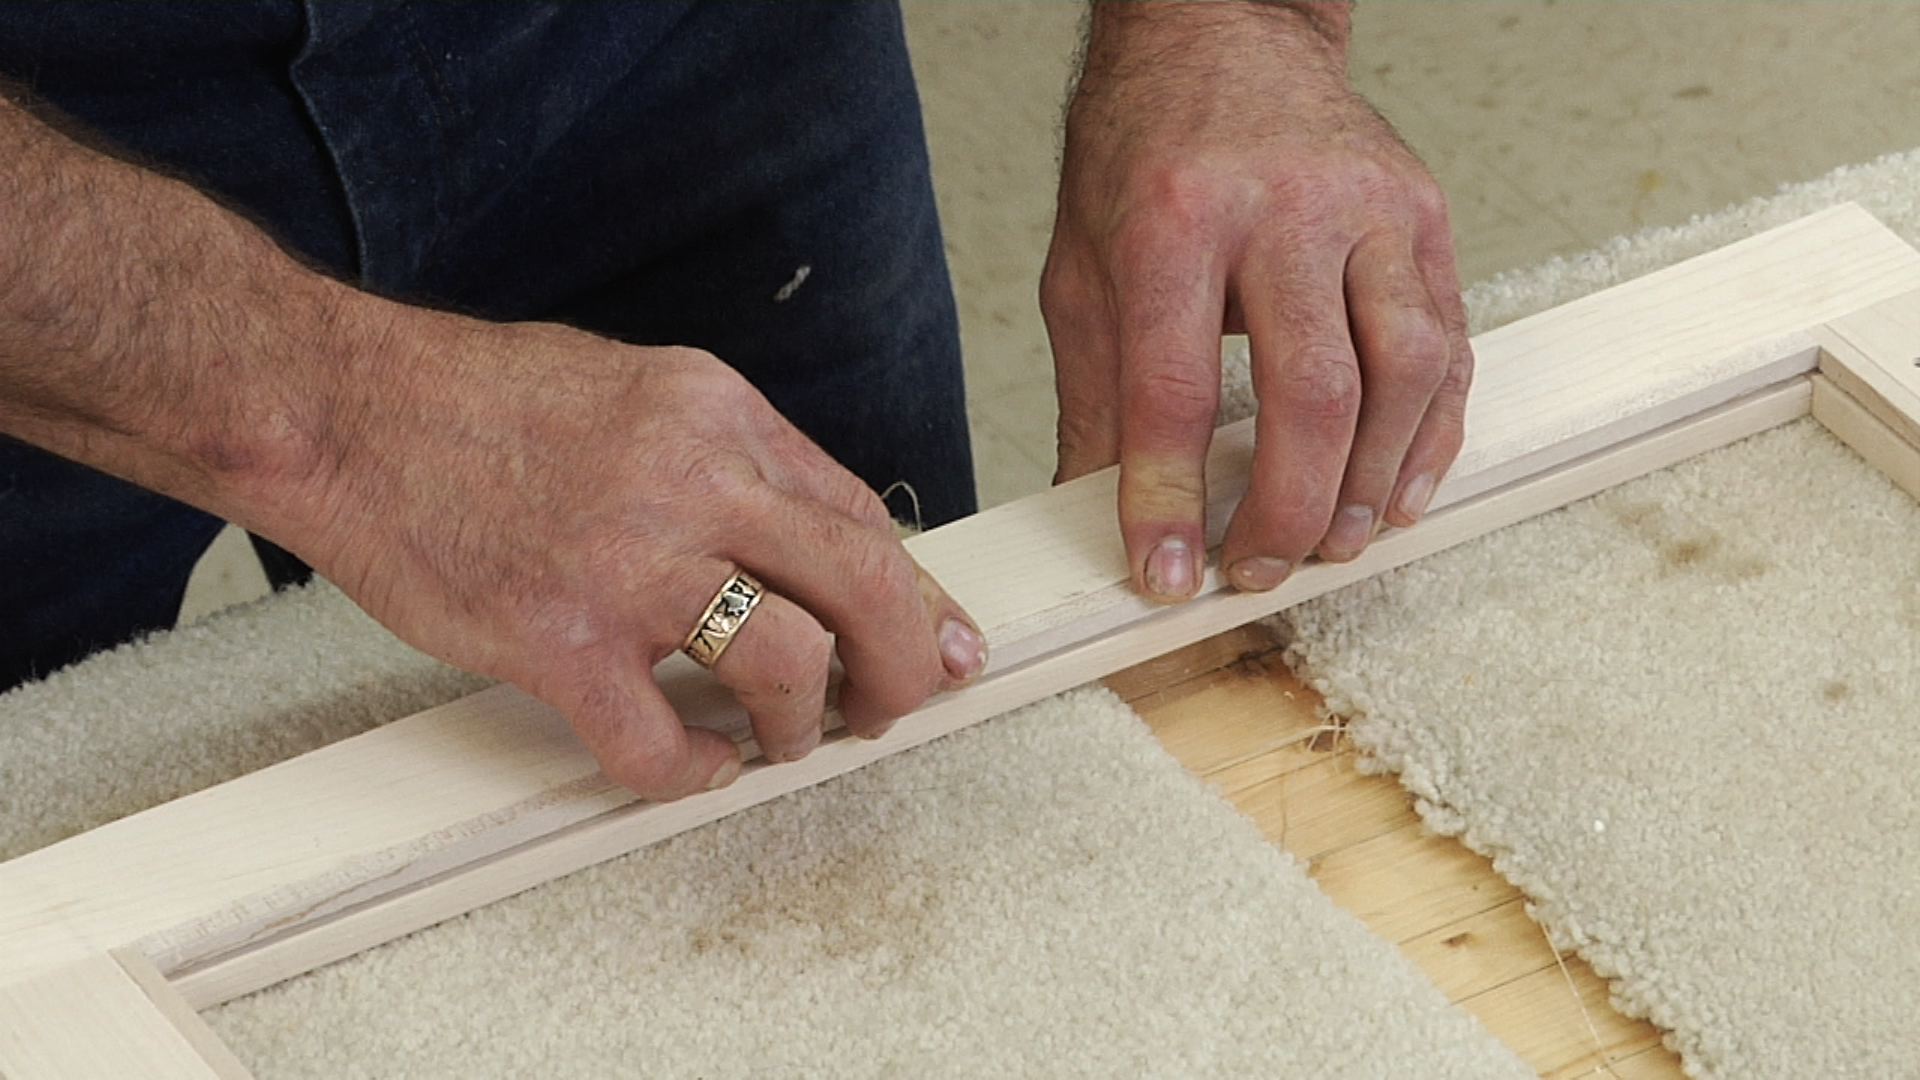
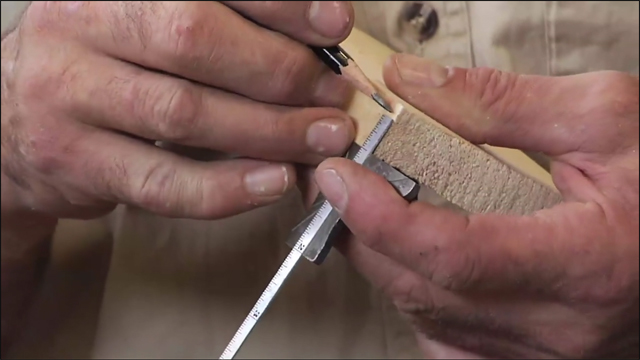
By adding an abrasive to the slippery glue joint you can create some friction, penetrating through the film of glue, and “grabbing” the wood components on each side in such a way that the joint will resist shifting up to a certain amount of clamping pressure. Don’t use just any abrasive; watch this video to see what George recommends.
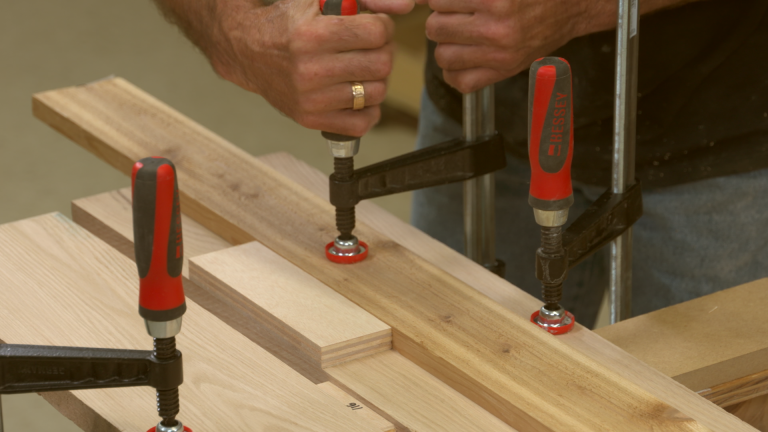
Allow for some tack time
Wait just a little bit before applying full clamping pressure. Once the glue tacks and your abrasive is in place, you can then tighten the clamps further and let the glue cure.
Explore videos by George Vondriska


You may be interested in

Premium Membership
Unlock exclusive member content from our industry experts.
- 24/7 Access to Premium Woodworking Videos, Projects, and Tips
- Step-by-Step Instructional Demos, Plans, and Tutorials
- 50% Off Video Downloads Purchased in the Woodworkers Guild of America Shop
- 2 Printable Woodworking Plans
Unlock exclusive member content from our industry experts.
- 24/7 Access to Premium Woodworking Videos, Projects, and Tips
- Step-by-Step Instructional Demos, Plans, and Tutorials
- 50% Off Video Downloads Purchased in the Woodworkers Guild of America Shop
- 2 Full-Length Video Downloads to Watch Offline
- 2 Printable Woodworking Plans
Gold Membership
$370 Value
Get everything included in Premium plus exclusive Gold Membership benefits.
- 24/7 Access to Premium Woodworking Videos, Projects, and Tips
- Step-by-Step Instructional Demos, Plans, and Tutorials
- 8 Full-Length Video Downloads to Watch Offline
- 3 Full-Length Woodworking Classes to Keep for Life
- 7 Printable Woodworking Plans
- Discounts on Purchase-to-Own Content in the Woodworkers Guild of America Shop
- Access to Ask the Expert Program
- Exclusive GOLD LIVE Streaming Events