
How to Make a Wooden Bowl or Tray With a Router
George VondriskaWatch this complete step-by-step video to learn how to make a wooden bowl or tray with your router. With the help of patterns and bits, your plunge router can transform a huge chunk of wood into something your lathe just couldn’t handle.
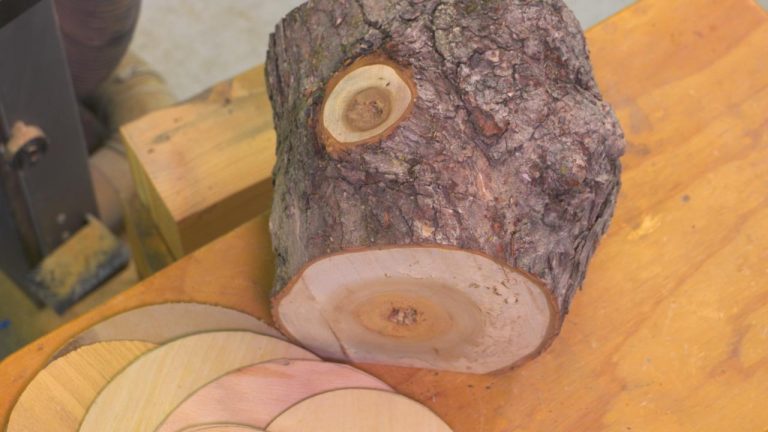
Material Prep
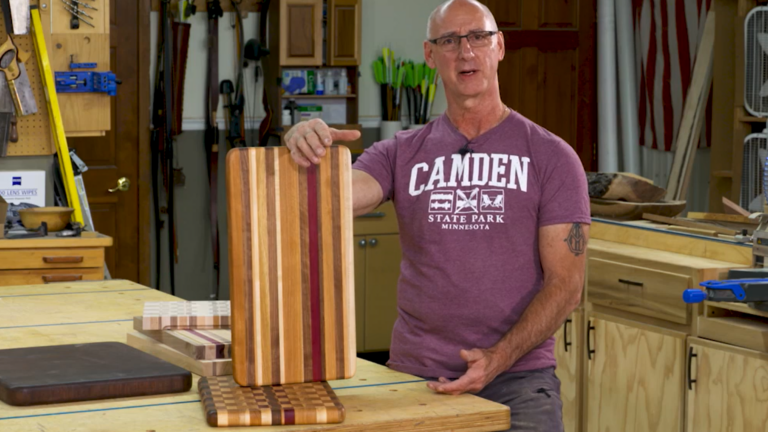
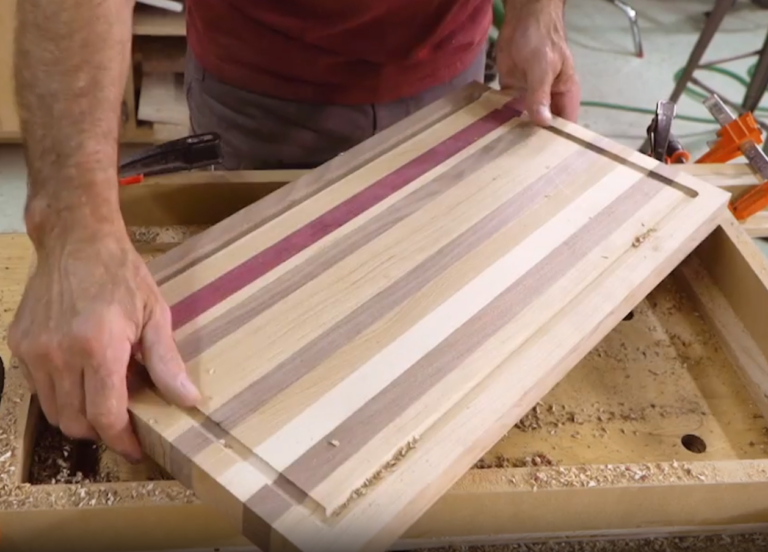
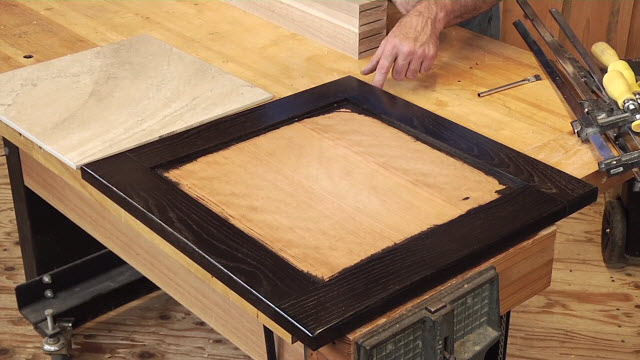
If you watch woodturning videos you know that lathes have limitations regarding the size blank you can turn, but with this router method, you can go big! When choosing the material you’ll use for your blank, consider the pattern size and the depth you need to make the bowl or tray so they serve their intended purpose. If you’re wondering how to make a wooden bowl that’s unique, consider gluing up your blank using contrasting colors of wood to create interesting patterns.
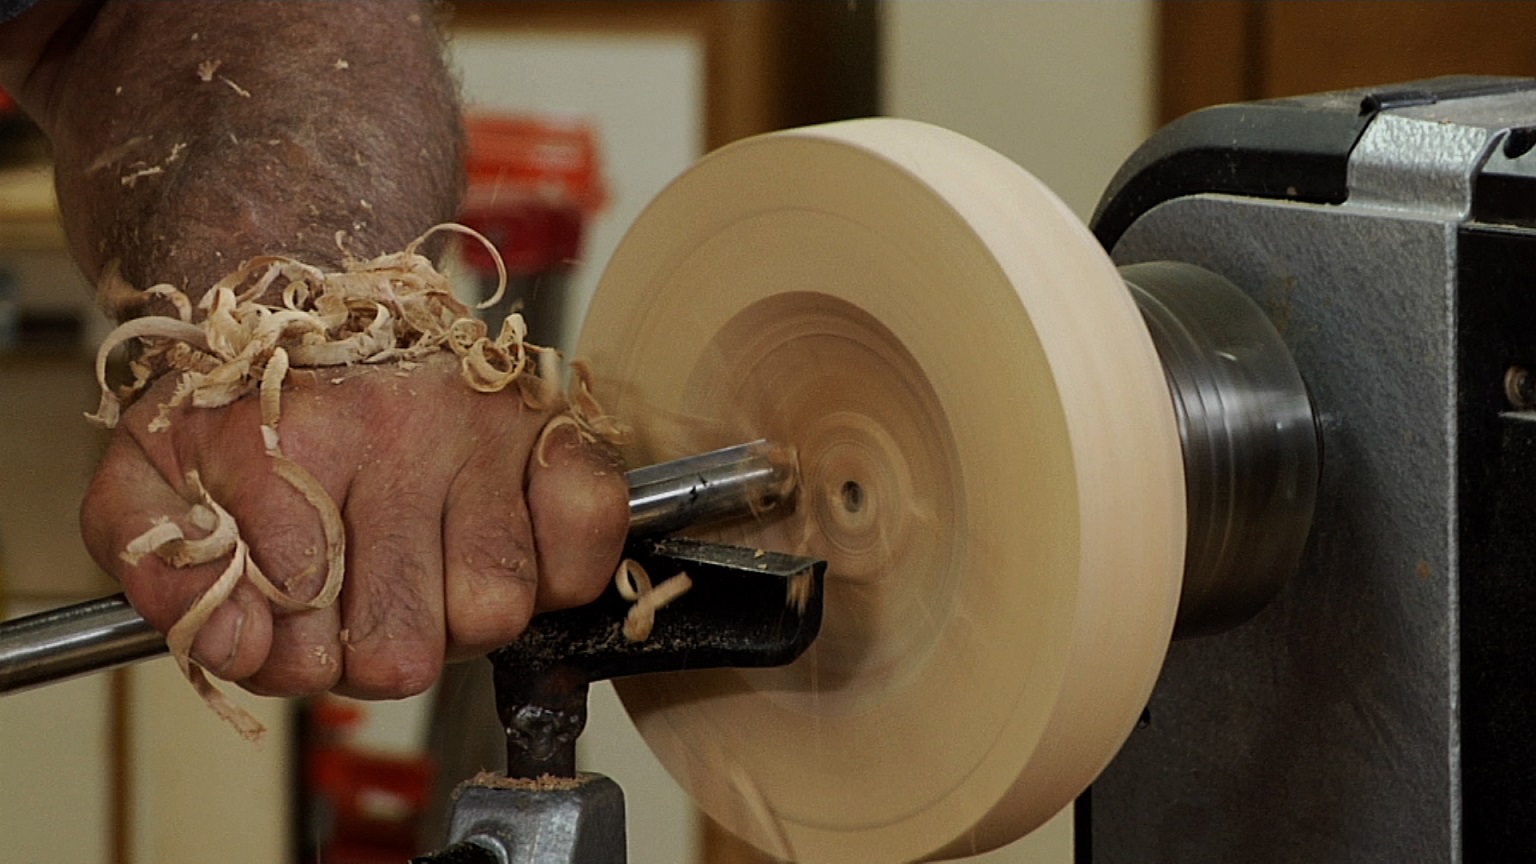
Start Removing Wood
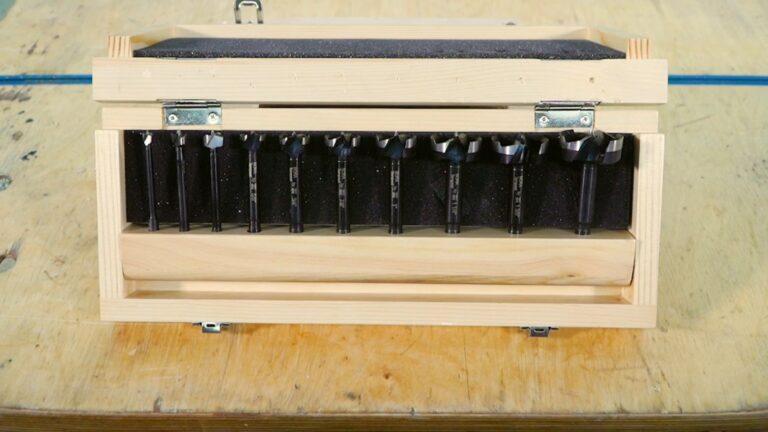
Now comes the “boring” part — removing the bulk of the waste wood. With your biggest Forstner bit in your drill press you can remove lots of wood fast. Don’t cut away the perimeter waste because the pattern will be screwed to it later.
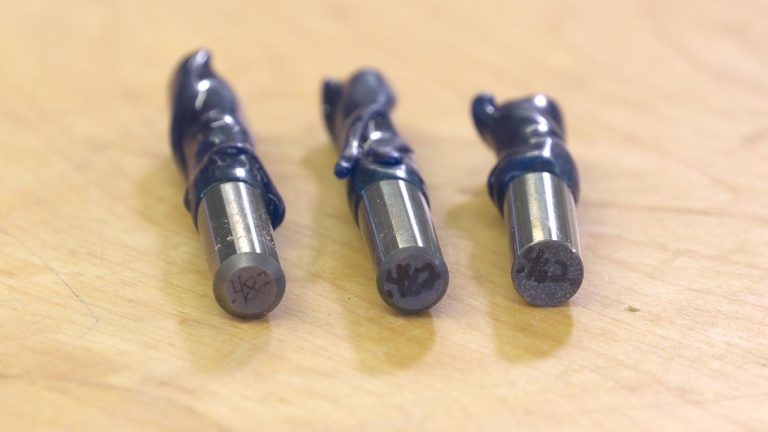
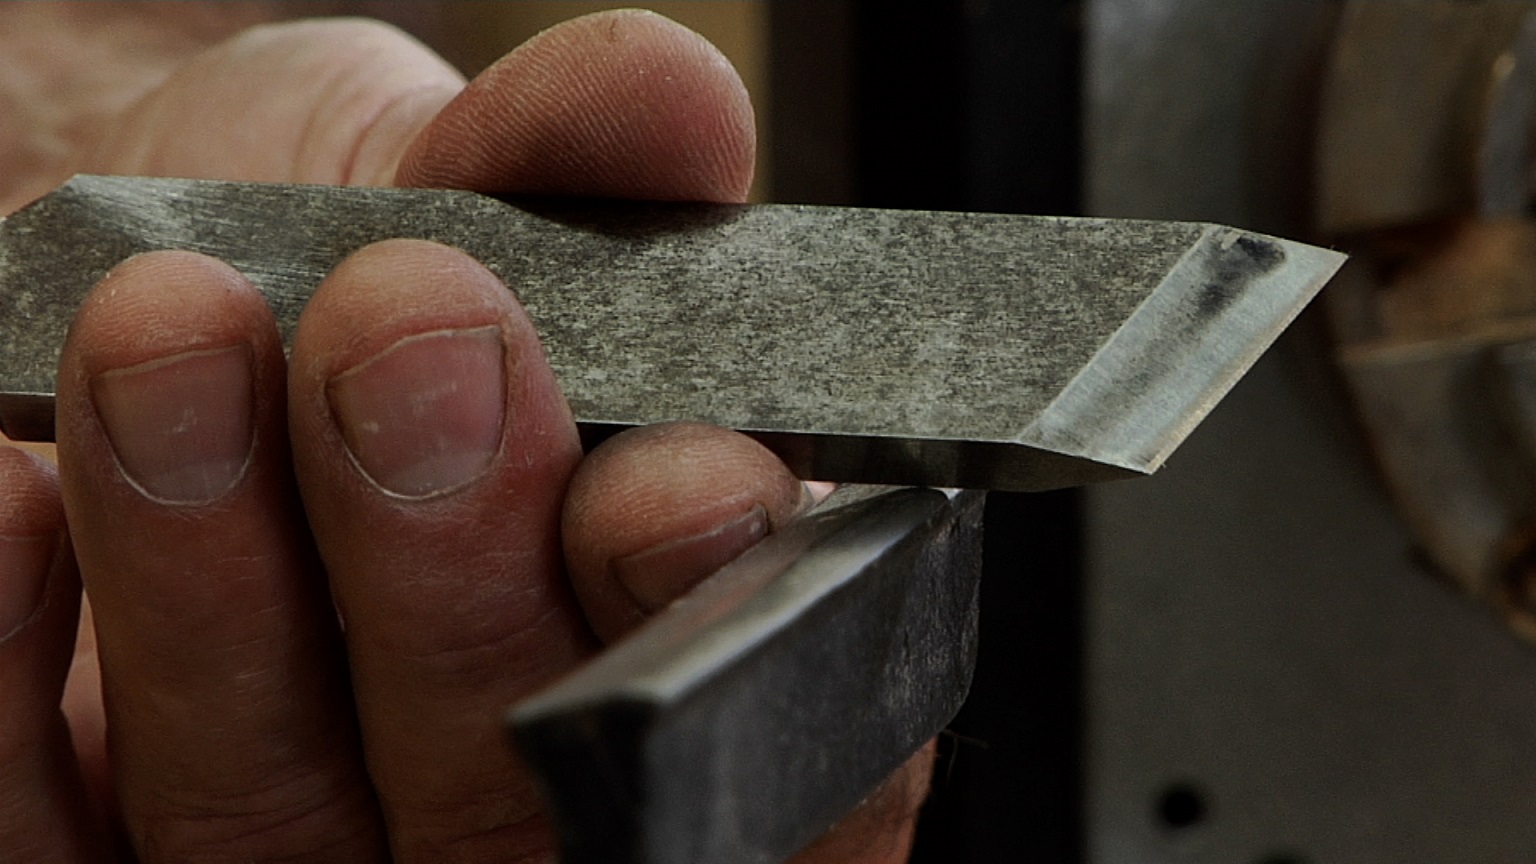
Router and Base Setup
You’ll need a plunge router, a large base, a rounded pattern-style bit, and, to make the deep cuts, you’ll need to add a collet extension.
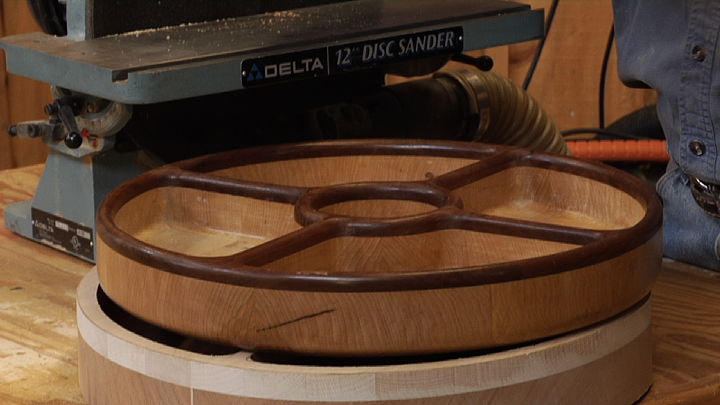
Routing the Interior
Finally, here’s how to make a wooden bowl with a router: Screw the pattern onto the waste wood, set the depth of cut, clamp it up and have a shop vacuum nearby. Start to hollow out the bowl. Make a pass, inspect your work and make additional passes until all ridges and dimples are gone. Then, remove the pattern, rotate it and repeat the process in the next spot.
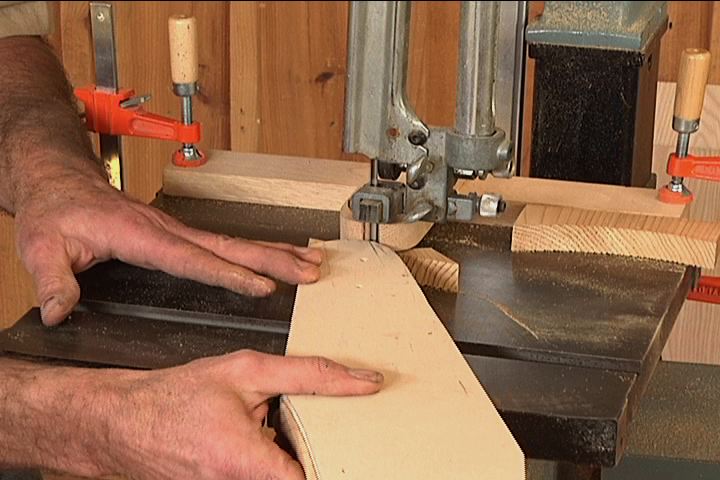
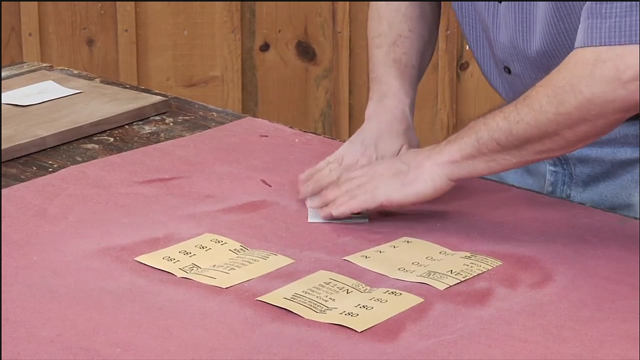
Sanding the Interior and Creating the Outside Shape
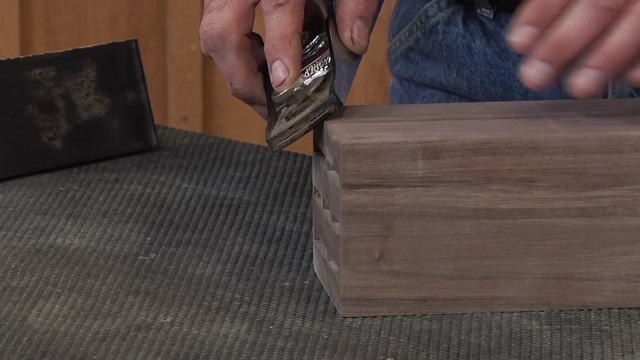
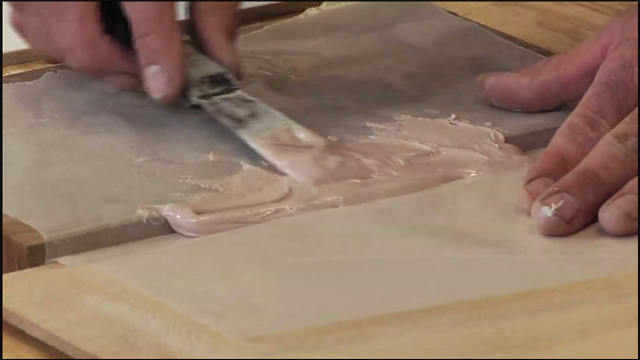
A flap sander works well to clean up marks left by the router. Mark the outside edge and cut it out on a bandsaw. Use a disc or random-orbit sander to smooth the outside. Ease all of the corners with a roundover bit and, as with all woodworking projects that come in contact with food, apply a food-safe finish.
Click here to download a PDF of the resource information
Sources
Below you will find information that will guide you to the sources referenced in the video.
CMT
Bit #851.502.11B
Collet Extension #796.001.00
http://www.cmtusa.com
Eagle America
Bit #144-2005B
Collet Extension #415-0660
http://www.eagleamerica.com/
MLCS
Bit #7817
Collet Extension #9465
http://www.mlcswoodworking.com
(800) 533-9298
Whiteside Router Bits
Bit #1376B
http://www.whitesiderouterbits.com
Bowl Patterns (May include bit and collet extension)
CMT – #BTS-001
MLCS – #9179
Eagle America – #401-8300
Share tips, start a discussion or ask one of our experts or other students a question.
Already a member? Sign in
3 Responses to “How to Make a Wooden Bowl or Tray With a Router”
Explore videos by George Vondriska


You may be interested in


Premium Membership
Unlock exclusive member content from our industry experts.
- 24/7 Access to Premium Woodworking Videos, Projects, and Tips
- Step-by-Step Instructional Demos, Plans, and Tutorials
- 50% Off Video Downloads Purchased in the Woodworkers Guild of America Shop
- 2 Printable Woodworking Plans
Unlock exclusive member content from our industry experts.
- 24/7 Access to Premium Woodworking Videos, Projects, and Tips
- Step-by-Step Instructional Demos, Plans, and Tutorials
- 50% Off Video Downloads Purchased in the Woodworkers Guild of America Shop
- 2 Full-Length Video Downloads to Watch Offline
- 2 Printable Woodworking Plans
Gold Membership
$370 Value
Get everything included in Premium plus exclusive Gold Membership benefits.
- 24/7 Access to Premium Woodworking Videos, Projects, and Tips
- Step-by-Step Instructional Demos, Plans, and Tutorials
- 8 Full-Length Video Downloads to Watch Offline
- 3 Full-Length Woodworking Classes to Keep for Life
- 7 Printable Woodworking Plans
- Discounts on Purchase-to-Own Content in the Woodworkers Guild of America Shop
- Access to Ask the Expert Program
- Exclusive GOLD LIVE Streaming Events
I really appreciate how easy it is to follow this video. Two things I have questions/comments on: 1. How do you take care of cleaning out the corners while keeping the rounded bottom shape? That was the one thing I was really hoping to figure out, but I didn't see it explained in the video. 2. The link to the .pdf resource list is a dead link. The page results report "Access denied." Would it be possilbe to update the link with the correct information? Thanks again for the great video!
Just getting tools and Hobby shop set up to do some projects. I really like this one. I'm not sure how i'll do but i'm going to give it a try. Need to buy a plung router, planner and sander.
Enjoyed the video. Have given some thoughts about making something like this. It was not till I saw the size of the starting wood blank did I realize how much wood is put in the trash. At 18” X 18” X 3” you were starting out with about 6 board feet of wood. When someone asks what I am making, the first answer is “Sawdust” and then I tell them what the project really is. This project really makes the sawdust. Now I do have question, in the background is a fabric desk that folds up against the wall. The manufacture’s name is there, but I could not quite make it out. What is the brand name and is it still being made? Does it take up a lot of wall space and is the writing surface stable as you use it? Does it work well or is it “a good idea, but”. Thanks.