
Finishing 2 Faces Made Easy
George VondriskaWhen it comes to finishing projects, there can be challenges. Let’s do everything we can to eliminate challenges, and make finishing as simple as possible. Here’s a trick that will help your finishing move along a little faster; finishing both faces of a project in one go.
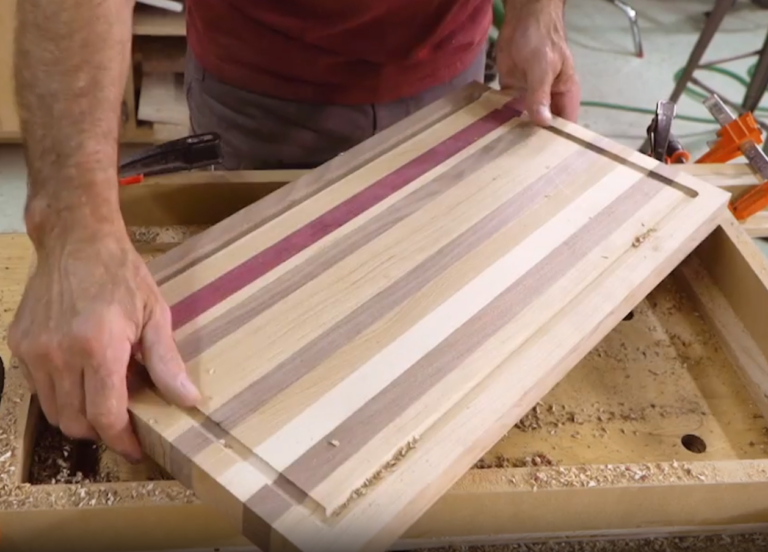
I have to say that for a lot of years I would put finish on one face of a piece and let it thoroughly dry before flipping it over to finish the other face. I ended up with a job that required putting new finish on almost two dozen table tops. My friend Charlie has a bigger shop than mine, so I took the tables to his place.
When the time came to apply finish, I started following my standard procedure. With finish on one face I was ready to leave for the day. That’s when Charlie yelled at me, “Why not finish the finishing?” Charlie’s standard approach is to finish the back first, carefully flip the parts so the back surface is on finish points, and then finish the front. I don’t know why, but it never occurred to me that I could do this.
Potential downside?
When you flip the parts over and set the back on finish points, you might leave tiny marks in the finish. In many applications this doesn’t matter; the bottom face of table top, the back face of a cabinet back…there are many places you can get away with this. You can take a completely different approach when finishing both sides of a door.
Finishing can be a challenge
There’s no faster way to ruin a project than to mess up the finishing process. We know how intimidating finishing can be, so we’ve put together lots of wood finishing videos to help you out.
Explore videos by George Vondriska


Premium Membership
Unlock exclusive member content from our industry experts.
- 24/7 Access to Premium Woodworking Videos, Projects, and Tips
- Step-by-Step Instructional Demos, Plans, and Tutorials
- 50% Off Video Downloads Purchased in the Woodworkers Guild of America Shop
- 2 Printable Woodworking Plans
Unlock exclusive member content from our industry experts.
- 24/7 Access to Premium Woodworking Videos, Projects, and Tips
- Step-by-Step Instructional Demos, Plans, and Tutorials
- 50% Off Video Downloads Purchased in the Woodworkers Guild of America Shop
- 2 Full-Length Video Downloads to Watch Offline
- 2 Printable Woodworking Plans
Gold Membership
$370 Value
Get everything included in Premium plus exclusive Gold Membership benefits.
- 24/7 Access to Premium Woodworking Videos, Projects, and Tips
- Step-by-Step Instructional Demos, Plans, and Tutorials
- 8 Full-Length Video Downloads to Watch Offline
- 3 Full-Length Woodworking Classes to Keep for Life
- 7 Printable Woodworking Plans
- Discounts on Purchase-to-Own Content in the Woodworkers Guild of America Shop
- Access to Ask the Expert Program
- Exclusive GOLD LIVE Streaming Events
Share tips, start a discussion or ask one of our experts or other students a question.
Already a member? Sign in
No Responses to “Finishing 2 Faces Made Easy”