
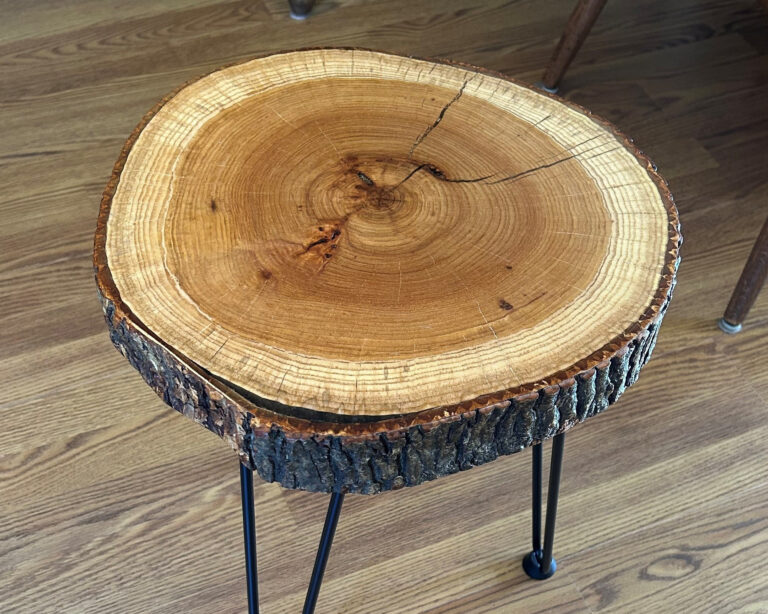
Build a Live Edge Table: Part 2
George VondriskaThis is Part 2 of our three-part series on building a live edge table. In this installment we’ll look at bookmatching our pieces, design considerations when working with slabs, and getting the slabs joined using steel pins.
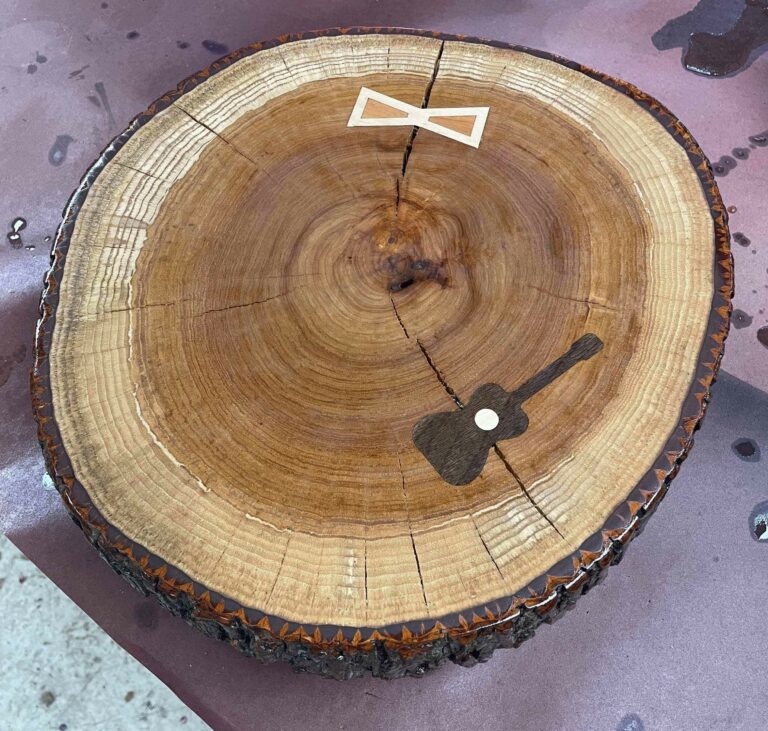
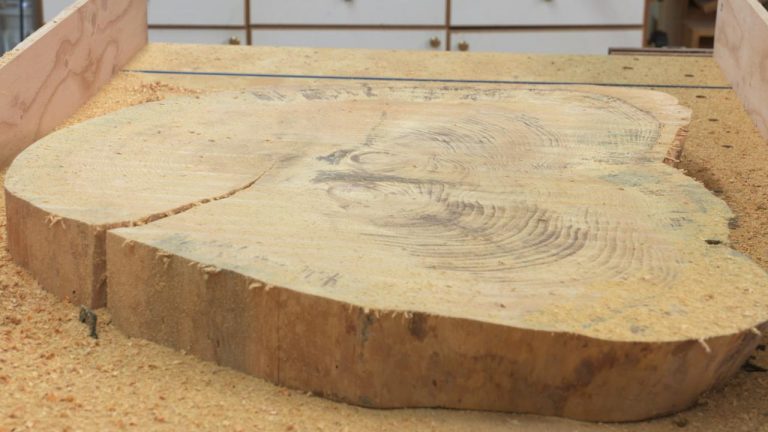
Beauty in the eye….
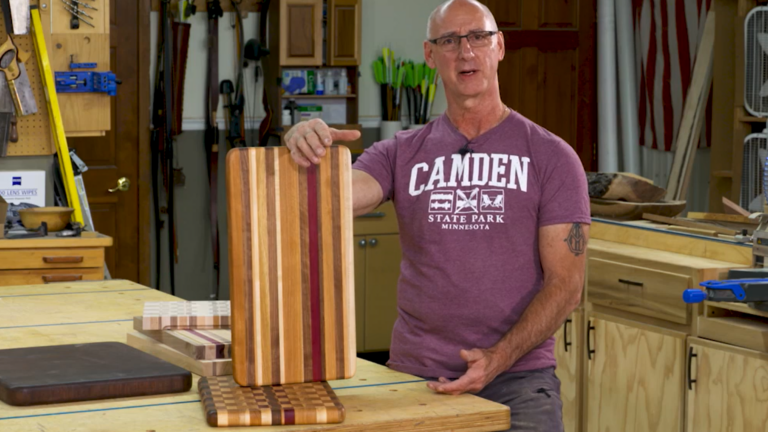
There’s no one right way to put projects like this together. Be ready to let your imagination flow, talk to others about their design ideas, look at other live edge tables…. This is a great opportunity to be creative.
Joining parts
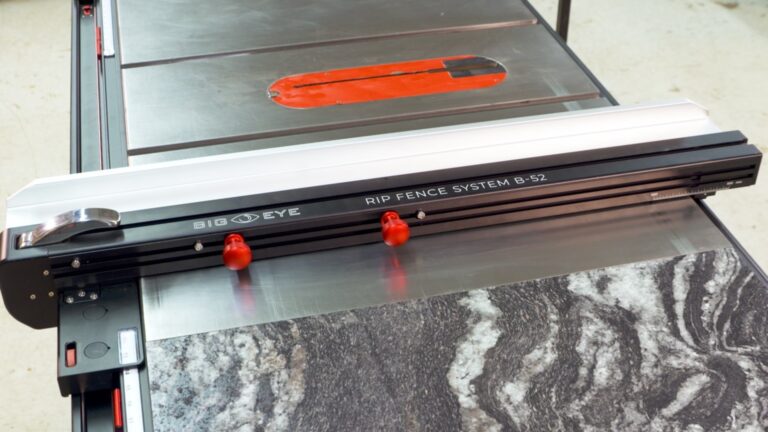
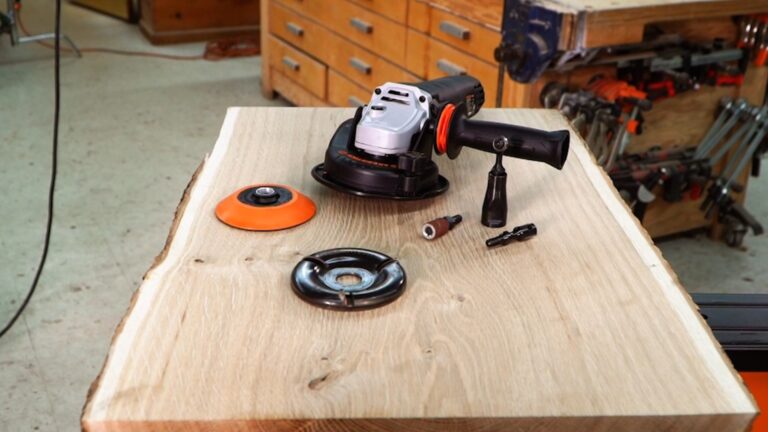
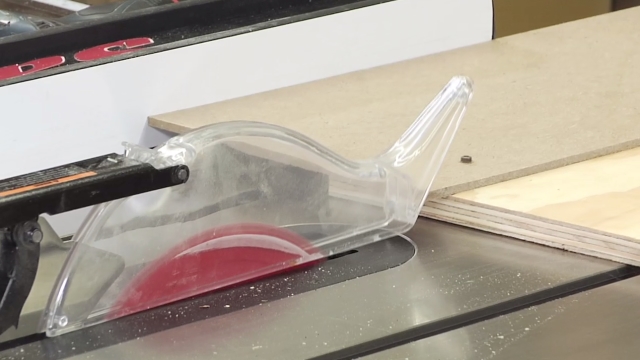
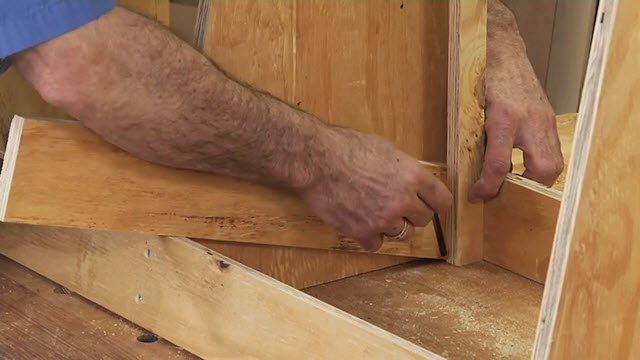
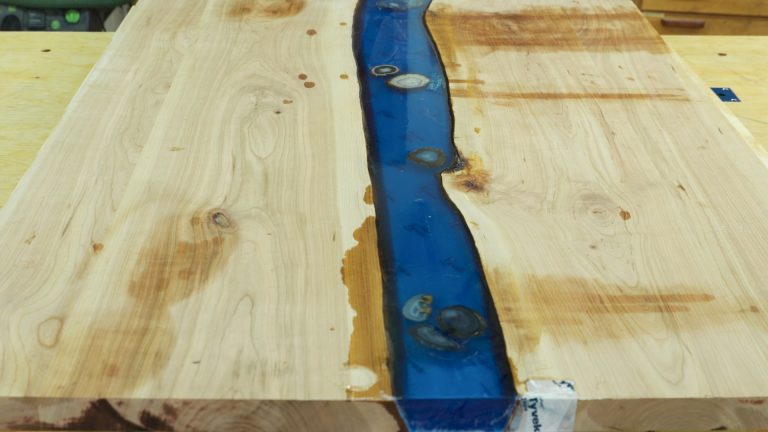
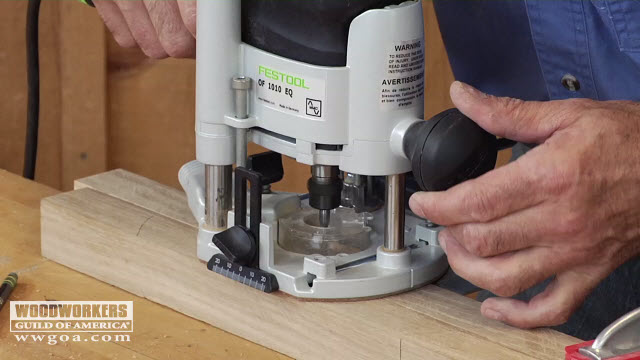
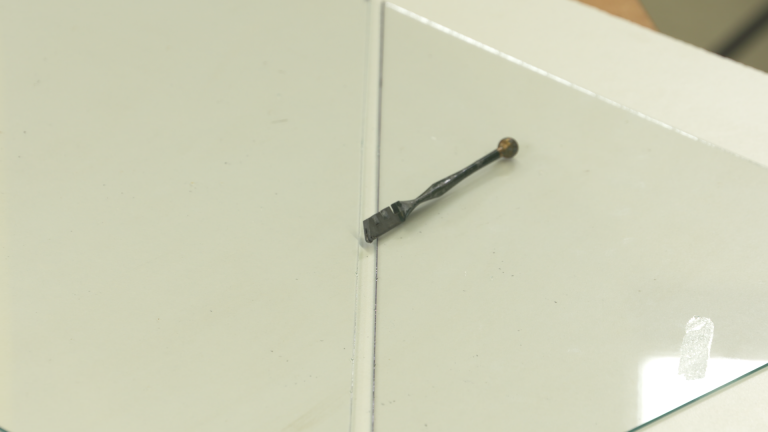
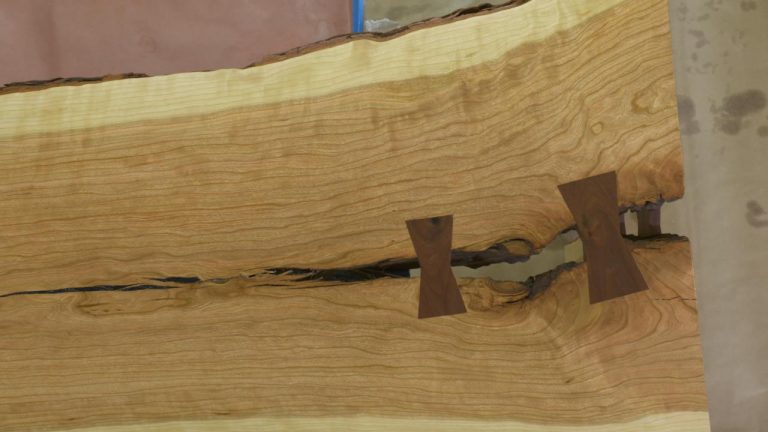
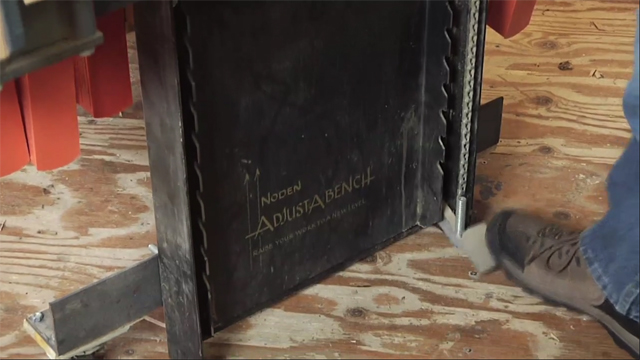
On this project we chose to not join the two slabs edge to edge. Instead, we used steel pins and left a space between the two parts. With the use of the steel pins, this was a perfect application for using a dowel jig.
Unique assembly
This project created an unusual assembly approach for us. Steel pins and oversized holes made epoxy the best glue choice, since it’s gap filling. You may have run into similar scenarios in your projects; trying to glue and clamp in unusual circumstances. If so, WoodWorkers Guild of America can help you out with tutorials on gluing and clamping under a variety of circumstances.
Build a Live Edge Table-Part 1
Build a Live Edge Table-Part 3
For more information on:
Live edge slabs visit www.cookwoods.com
Furniture components, corbels, hair pin legs, visit www.osbornewood.com
Surface sanders and dust collection, visit www.supermaxtools.com
Explore videos by George Vondriska


You may be interested in


Premium Membership
Unlock exclusive member content from our industry experts.
- 24/7 Access to Premium Woodworking Videos, Projects, and Tips
- Step-by-Step Instructional Demos, Plans, and Tutorials
- 50% Off Video Downloads Purchased in the Woodworkers Guild of America Shop
- 2 Printable Woodworking Plans
Unlock exclusive member content from our industry experts.
- 24/7 Access to Premium Woodworking Videos, Projects, and Tips
- Step-by-Step Instructional Demos, Plans, and Tutorials
- 50% Off Video Downloads Purchased in the Woodworkers Guild of America Shop
- 2 Full-Length Video Downloads to Watch Offline
- 2 Printable Woodworking Plans
Gold Membership
$370 Value
Get everything included in Premium plus exclusive Gold Membership benefits.
- 24/7 Access to Premium Woodworking Videos, Projects, and Tips
- Step-by-Step Instructional Demos, Plans, and Tutorials
- 8 Full-Length Video Downloads to Watch Offline
- 3 Full-Length Woodworking Classes to Keep for Life
- 7 Printable Woodworking Plans
- Discounts on Purchase-to-Own Content in the Woodworkers Guild of America Shop
- Access to Ask the Expert Program
- Exclusive GOLD LIVE Streaming Events
Share tips, start a discussion or ask one of our experts or other students a question.
Already a member? Sign in
No Responses to “Build a Live Edge Table: Part 2”