
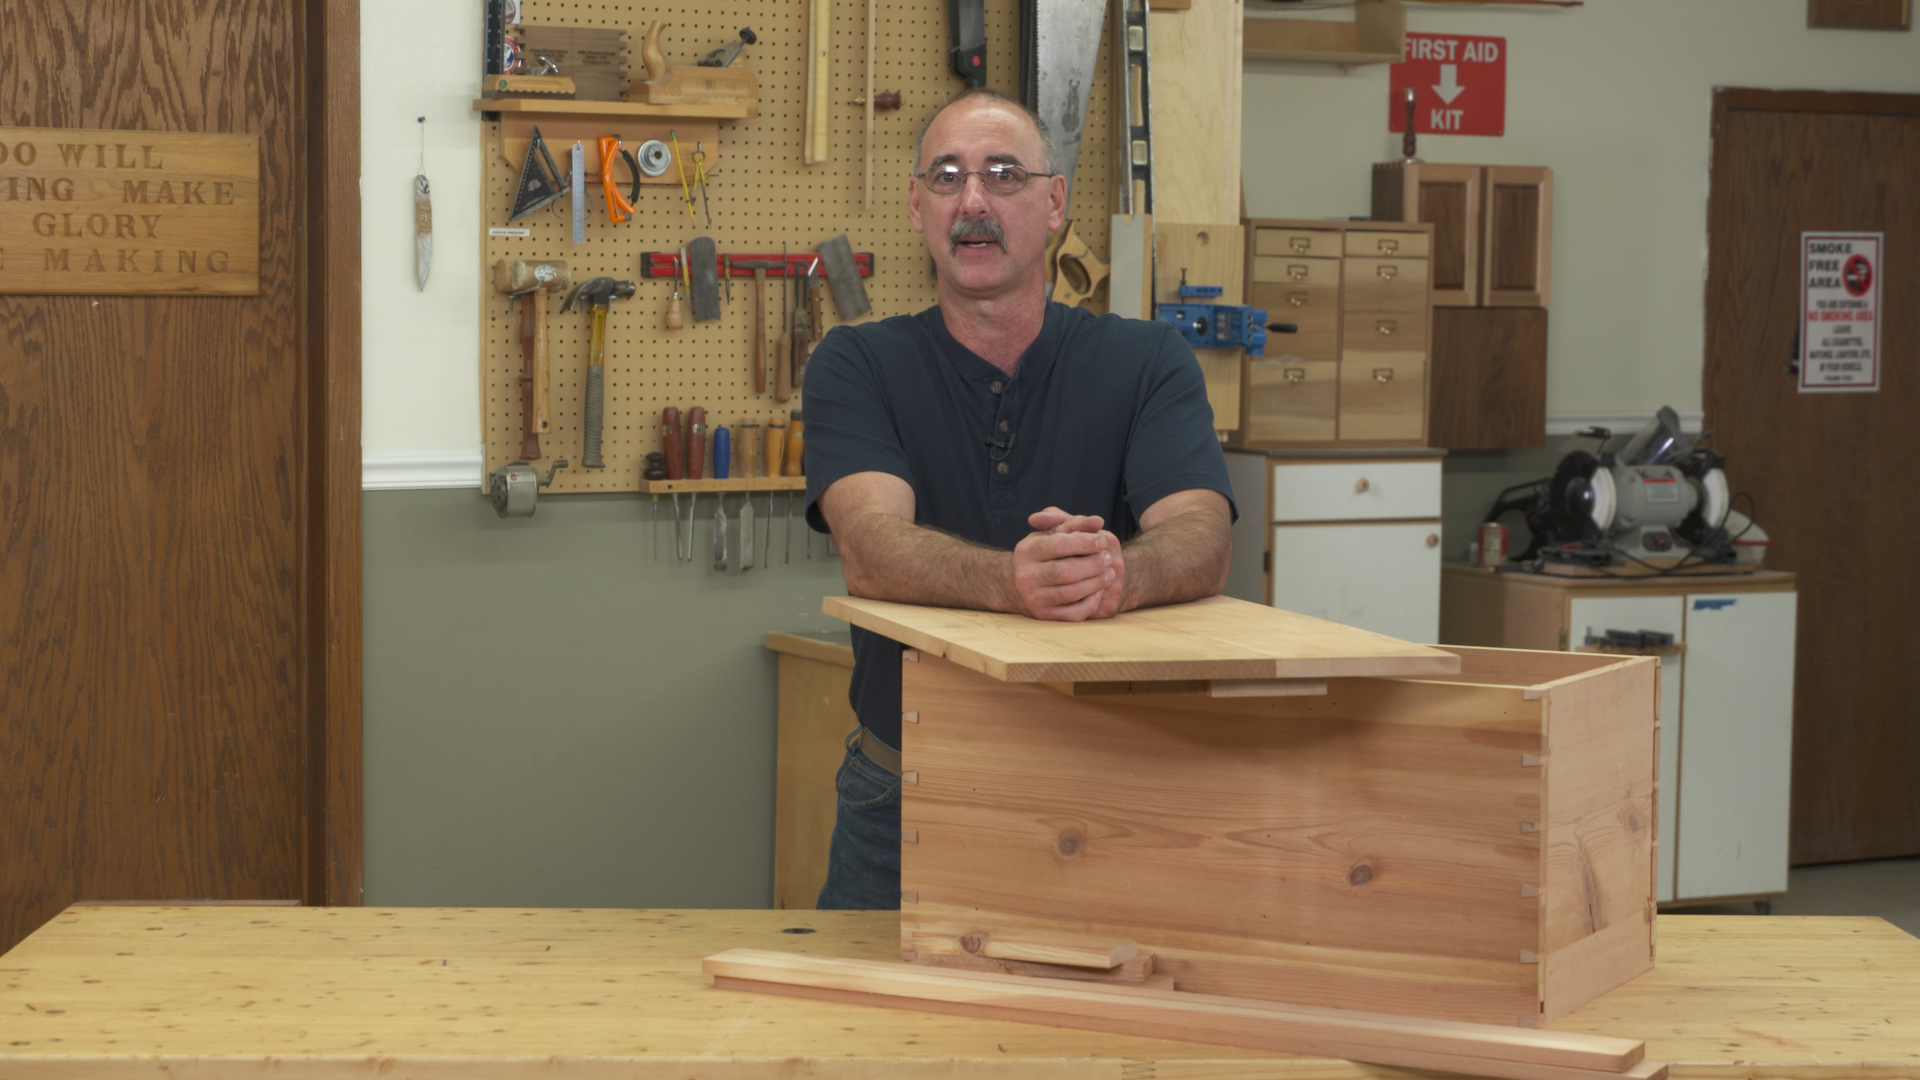
Build a Tool Chest in Reclaimed Wood
George Vondriska
Class Preview
3:30:31
- In-depth Instruction; over 211 mins
- On-demand video access anytime
- Bonus downloadable PDF resources
- Access to class Q&A
- Available for purchase: $11.99
Session 1: Getting Started
24:38
With an understanding of reclaimed wood, you’ll be ready to get started on the tool chest. We’ll talk about the positives and negatives of using reclaimed stock, and what to watch out for.
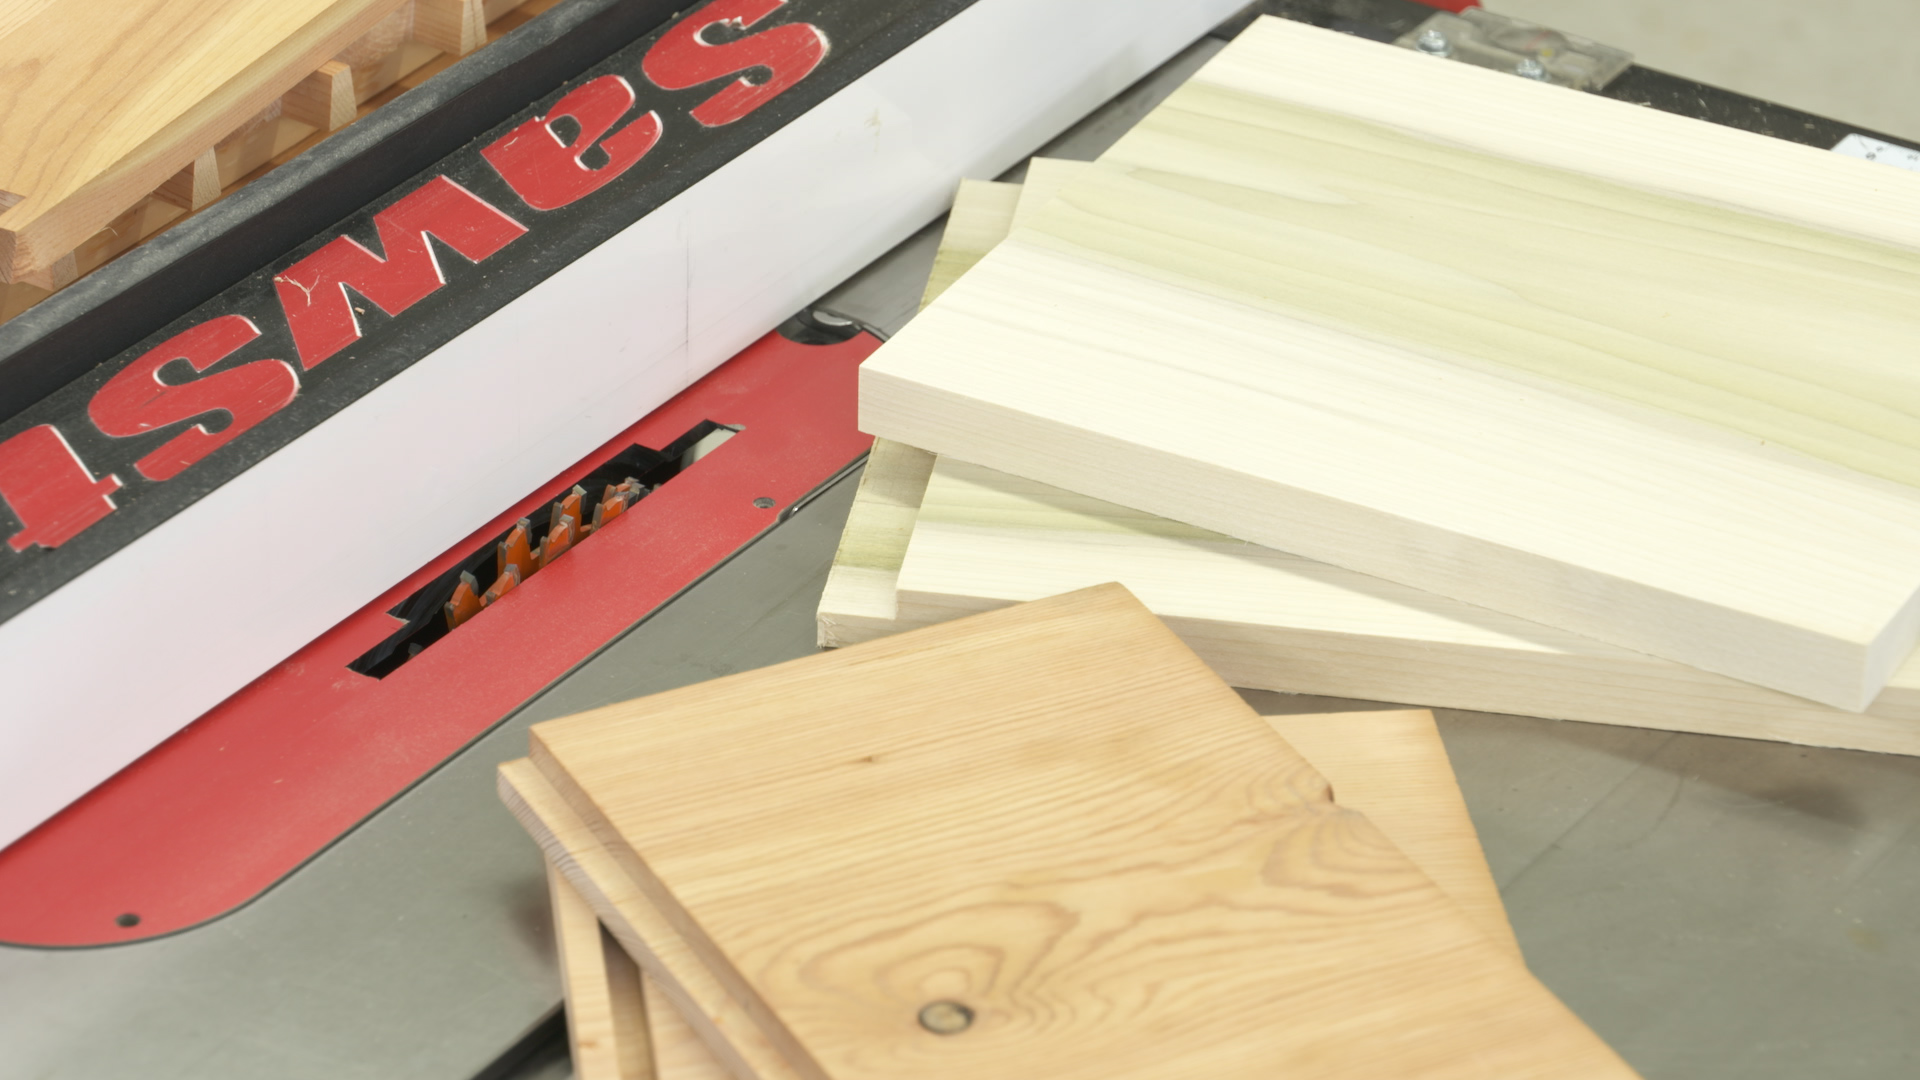
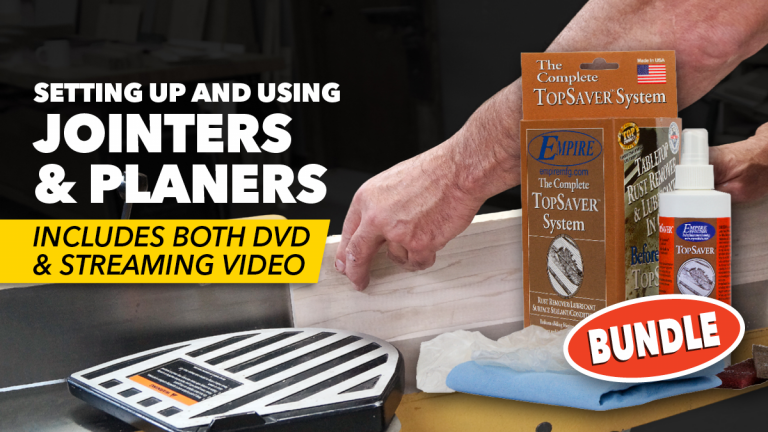
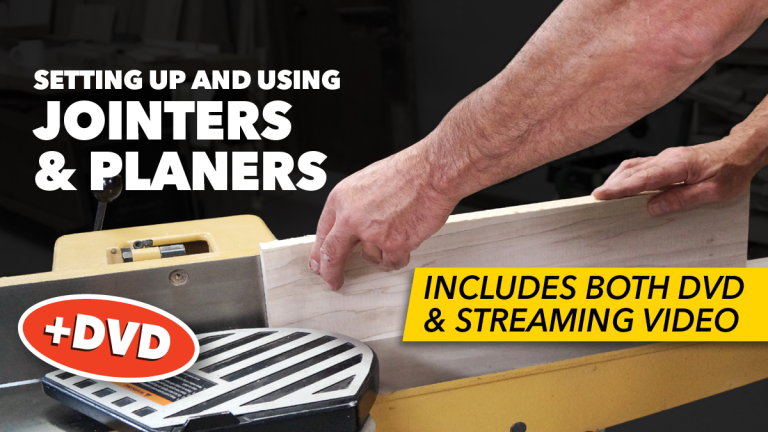
The first step in building the chest is gluing up the panels, and we’ll give you the tricks you need for good joinery and flat panels, including advice on how to get the best cuts on your jointer.
Session 2: Dimensioning Parts
23:53
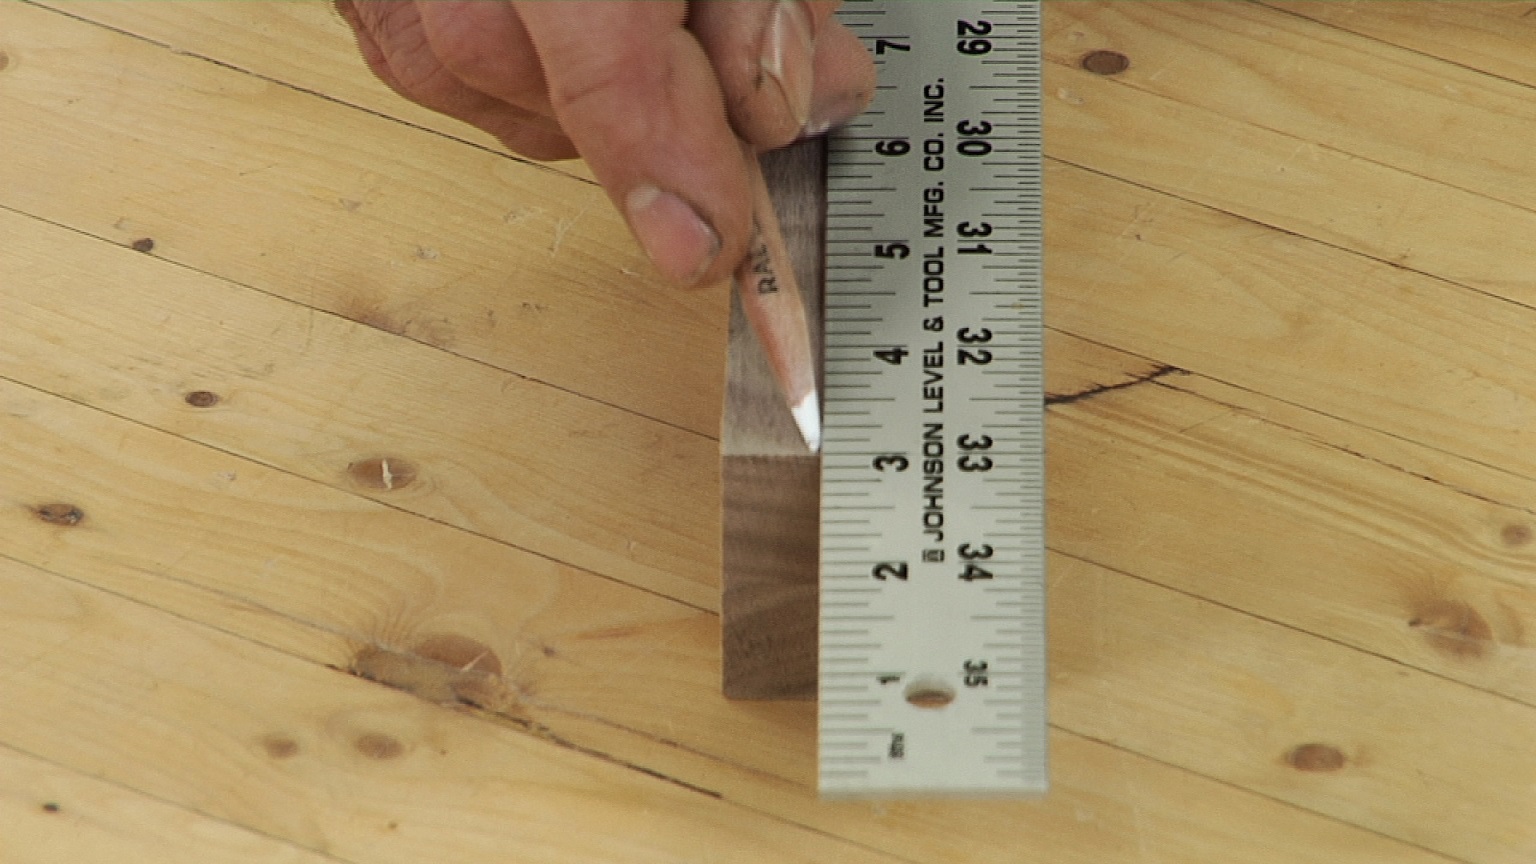
The first step in dimensioning is ripping the panels to width using a combination of jointing and ripping operations. Then the parts can be cross cut to length, and we’ll give you some great tips for that. It’s critical that the dimensions are uniform, and the correct blades are used for ripping and crosscutting. The Class will help you with that.
Session 3: Joinery and Assembly
55:52
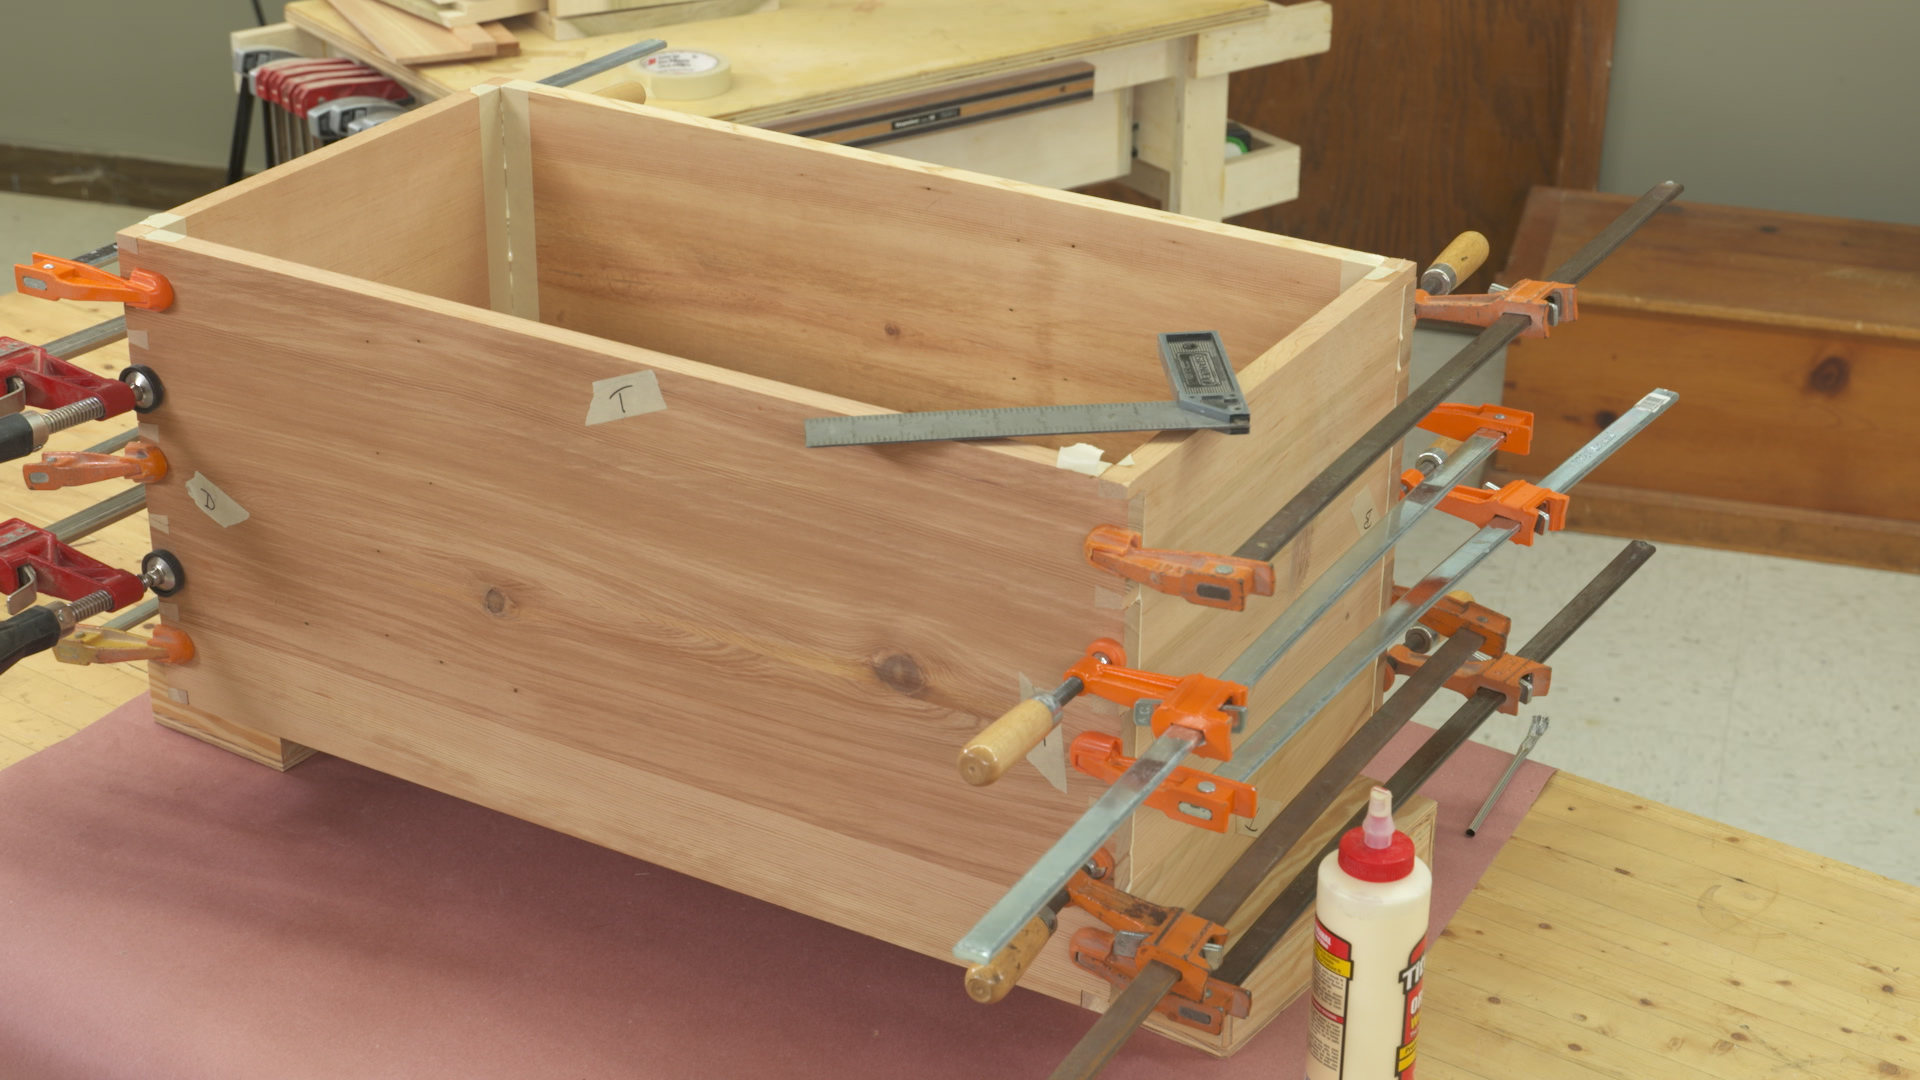
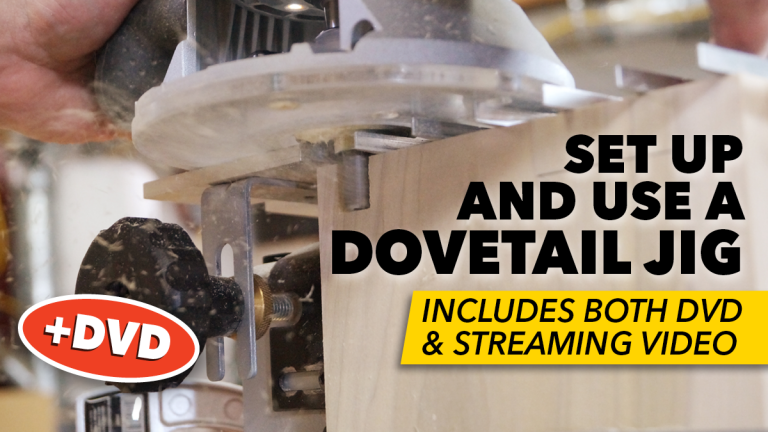
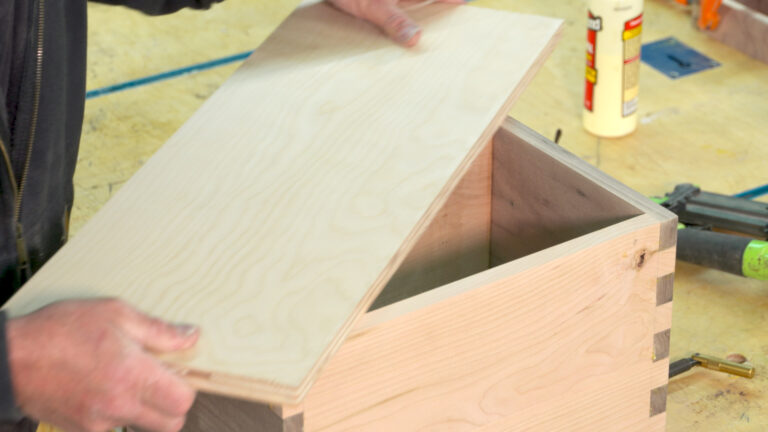
Our instructional video gives you the info you need to help lay out the dovetail joints for the chest. If you don’t want to cut dovetails, no problem. We also provide the instruction you need to make a rabbet or lock rabbet joint on the corners. Regardless of what joints you use, there are a few critical aspects of assembly. We’ll walk you through the steps to make sure the chest goes together square, and with minimal glue squeeze out.

Session 4: Trays and Trimming
51:38
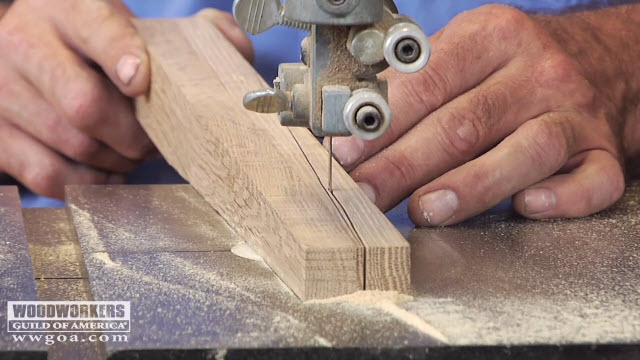
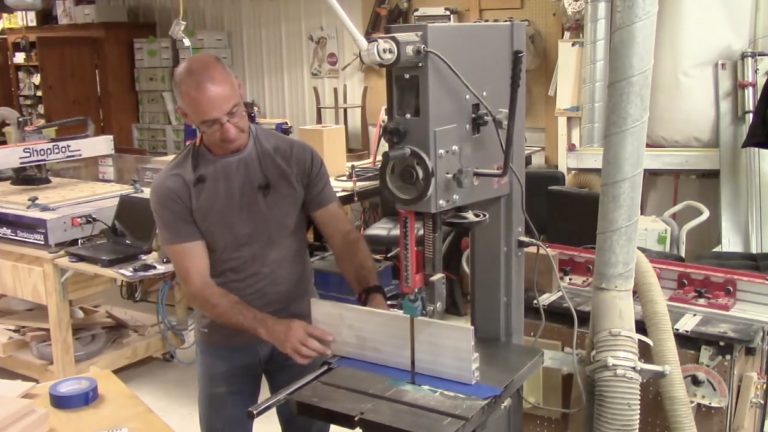
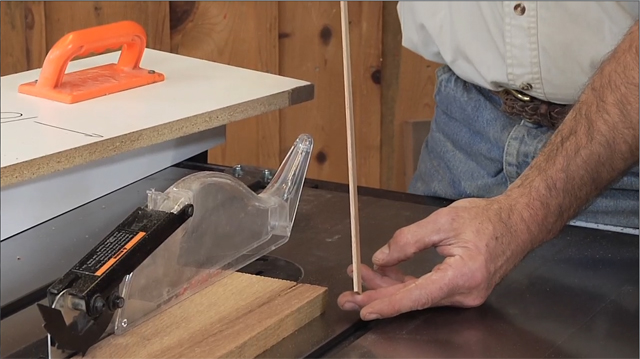
A single point fence makes short work of resawing the thin parts for the tray cleats. Making the trays involves getting the parts accurately cut to size, measuring directly from the chest. Then we’ll lay out a through dovetail that will be cut using the bandsaw, along with hand tools.
While glue is drying on the assembled trays we can clean up the dovetails on the chest. We’ll show you how to do this a flush trim router bit, and with a block plane.
Session 5: Top, Molding and Hardware
53:16
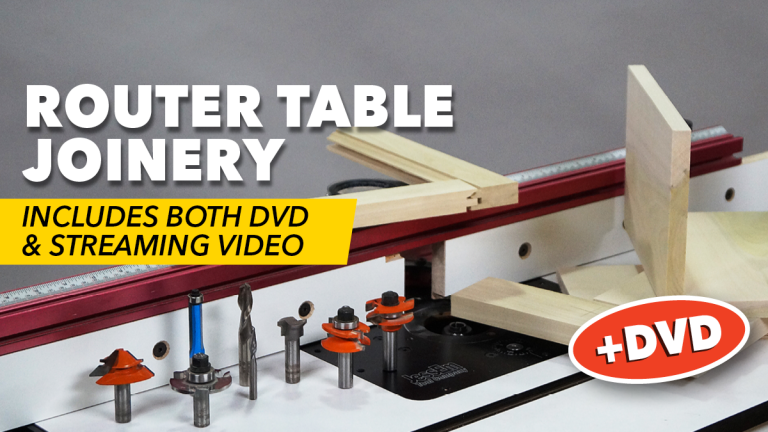
The breadboard ends are held in place with a tongue and groove joint, and we’ll teach you how to cut the joint using a router table. Once the joint is produced you’ll learn the best possible way to glue the breadboard in place, while at the same time avoiding cracks in the field.
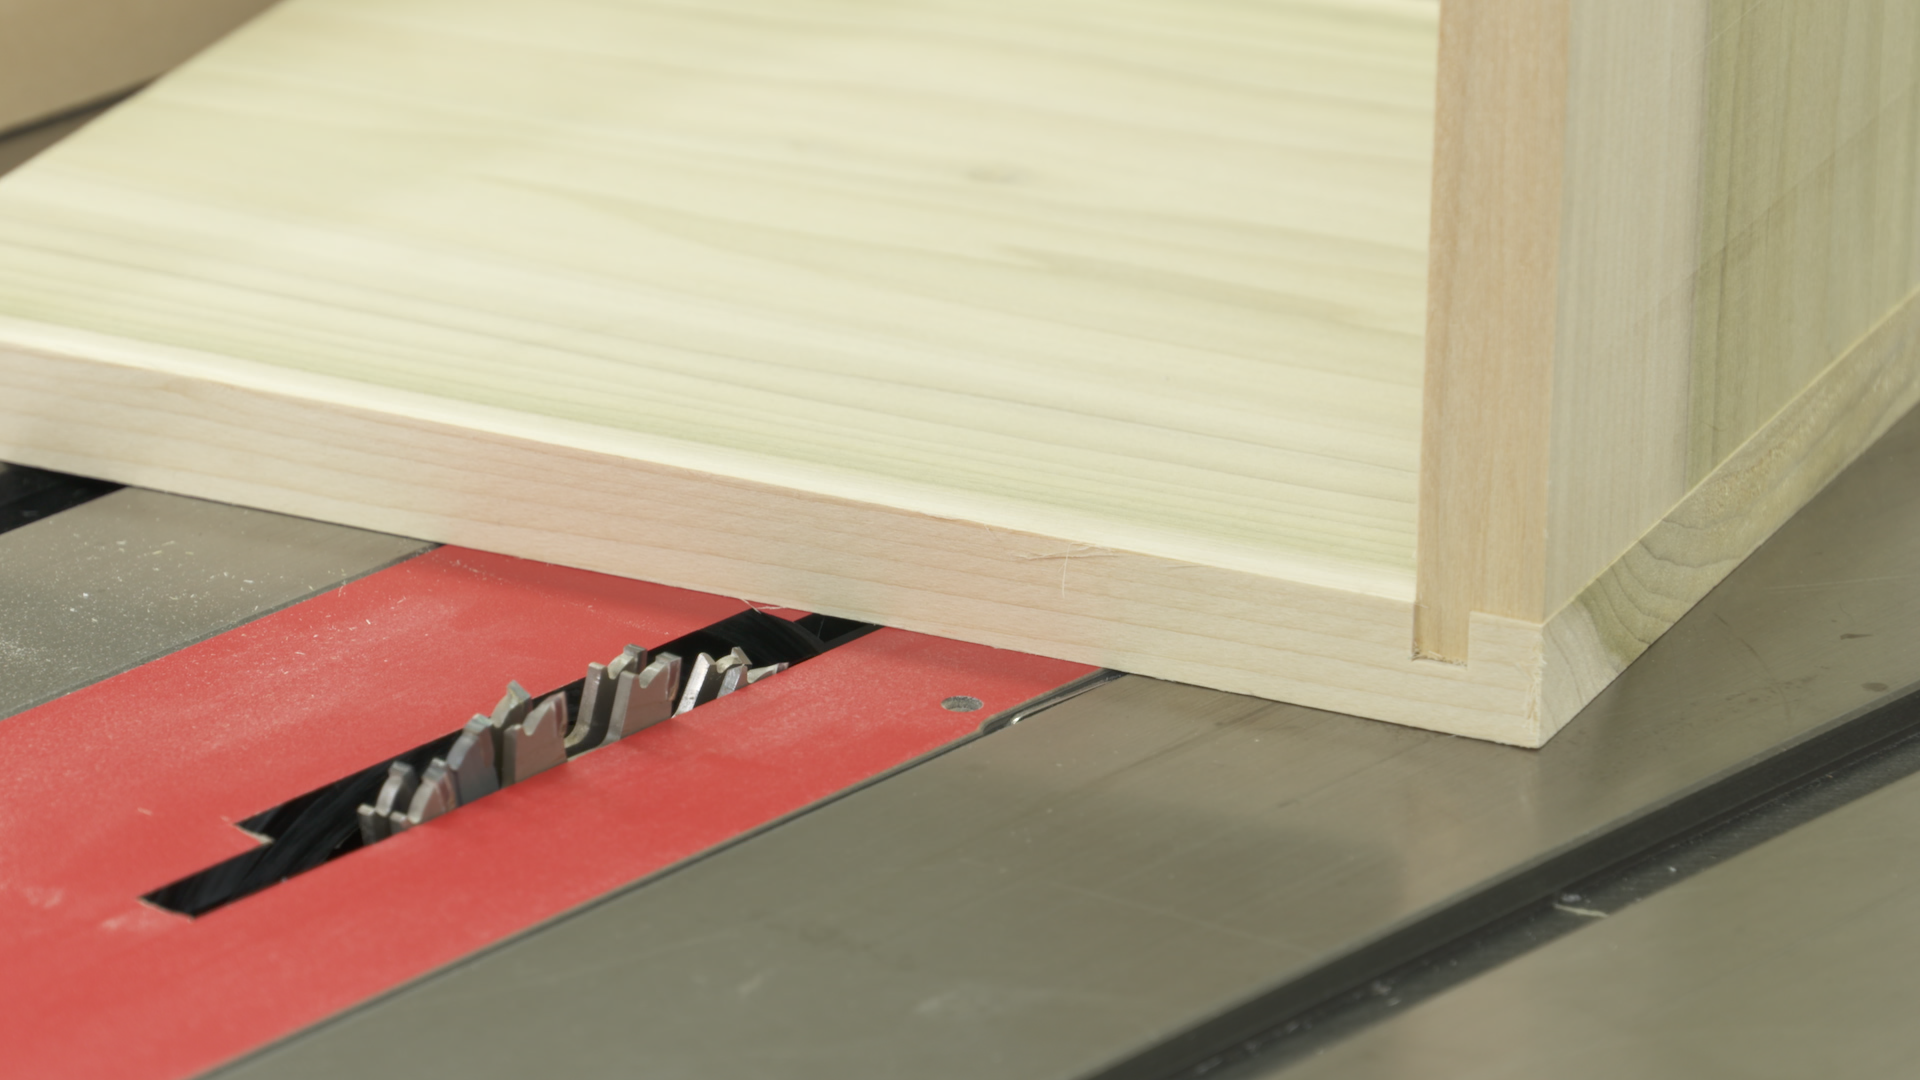
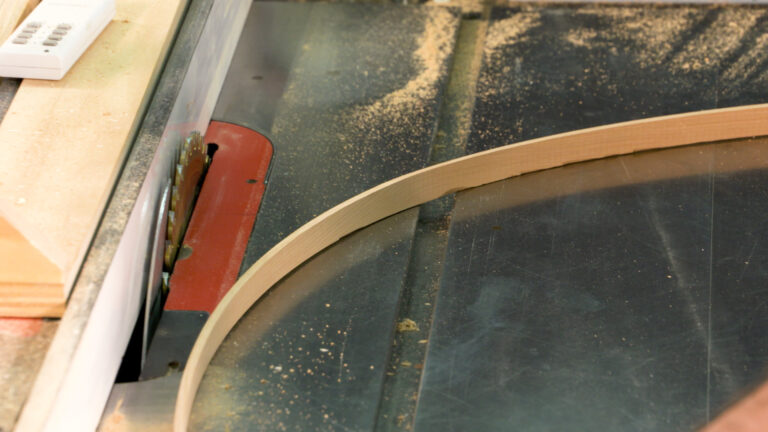
There are a few tricks in capturing the box with mitered molding. From marking out pieces to setting up the miter saw, we’ll give you the inside track so your miters are perfect.
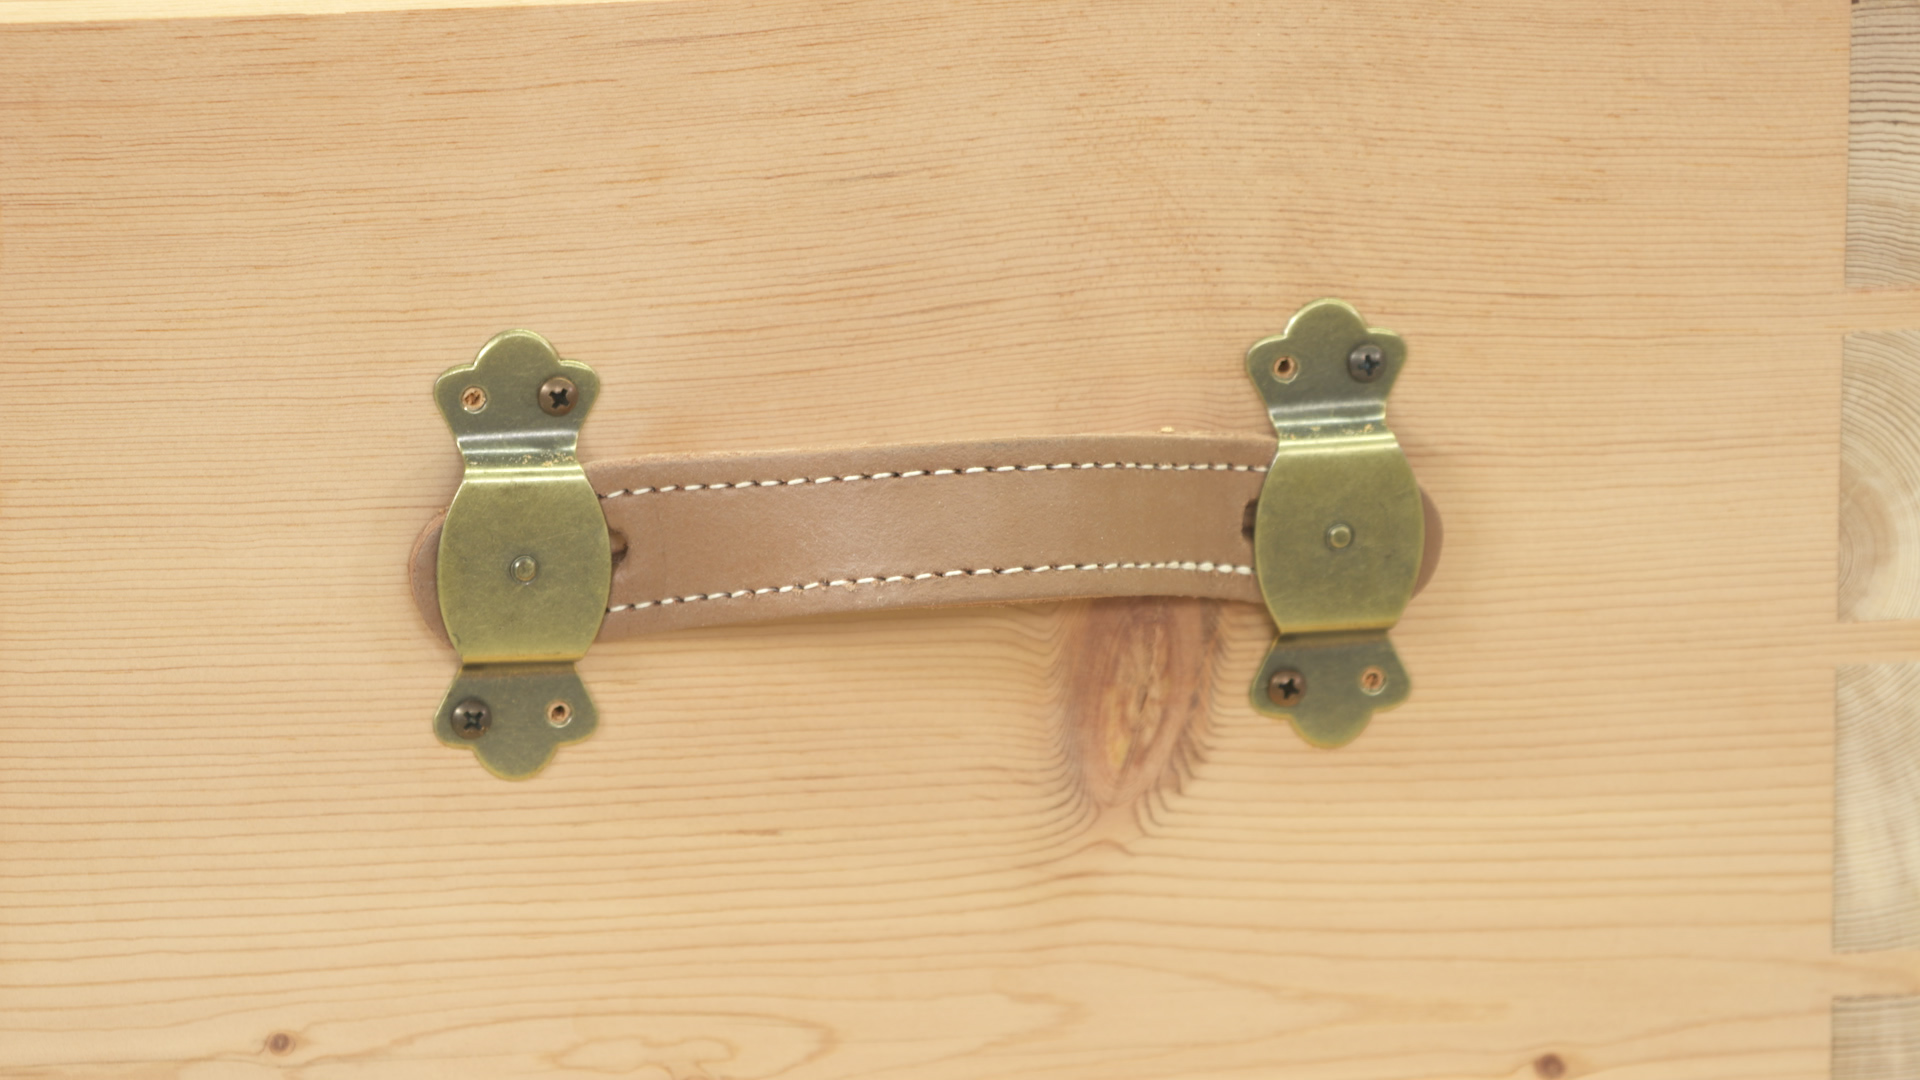
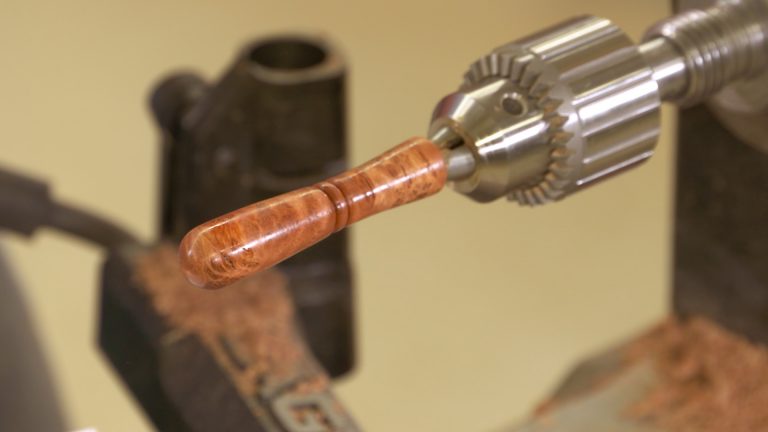
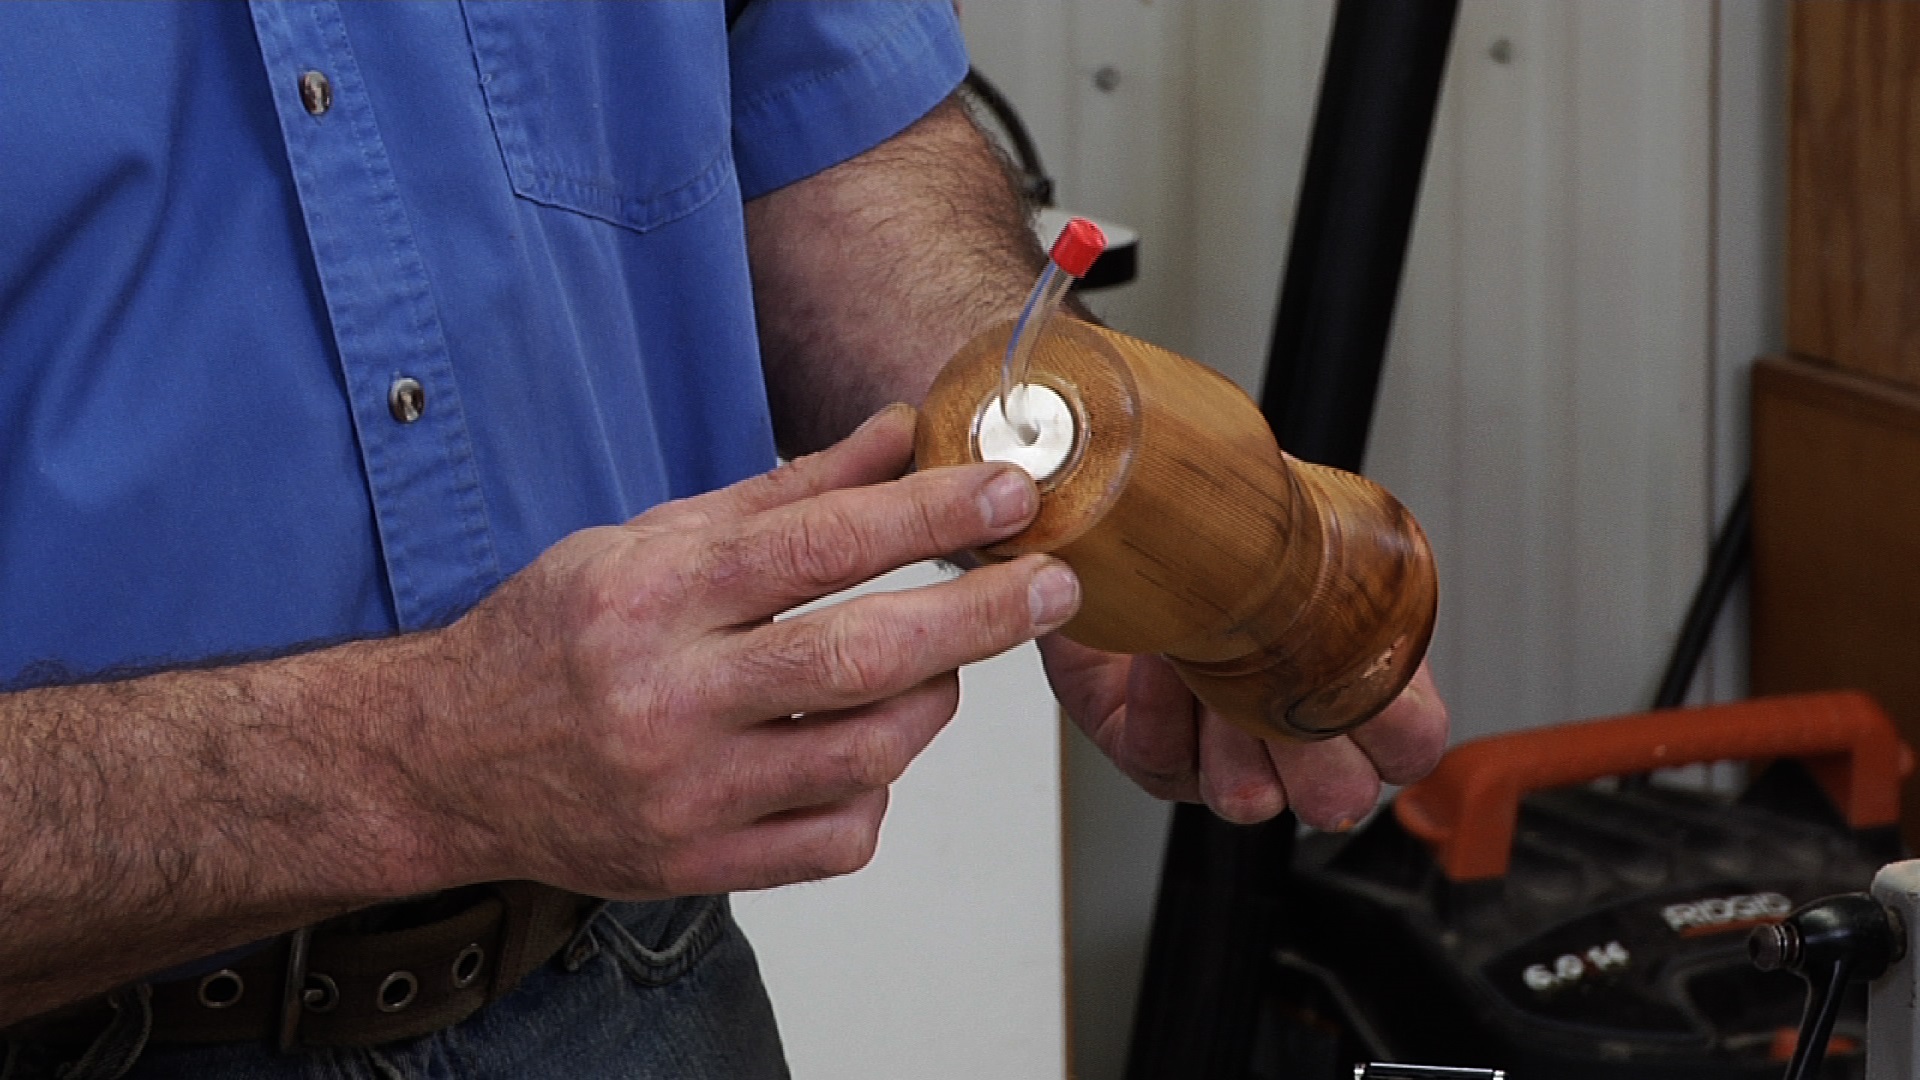
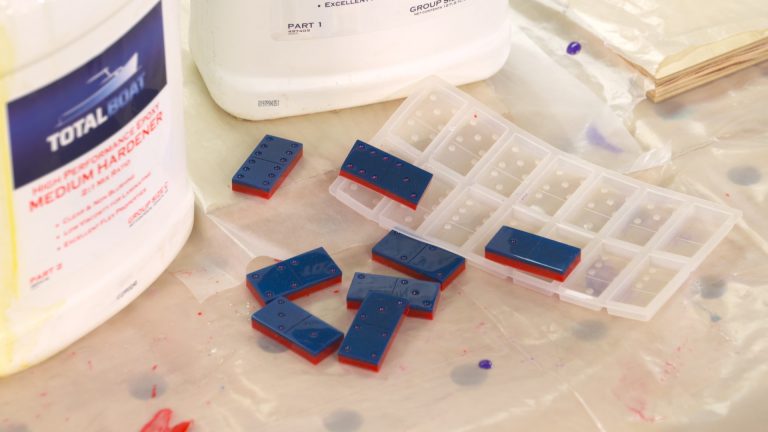
The tool chest hardware really makes the project. A shop-made lay out template makes handle location easy, and self-centering drill bits are a huge help for installing the handles and the hinges.
Session 6: Class Summary
1:14
The Class wraps up with a couple tips on how to make your tool chest look great with a simple finish.
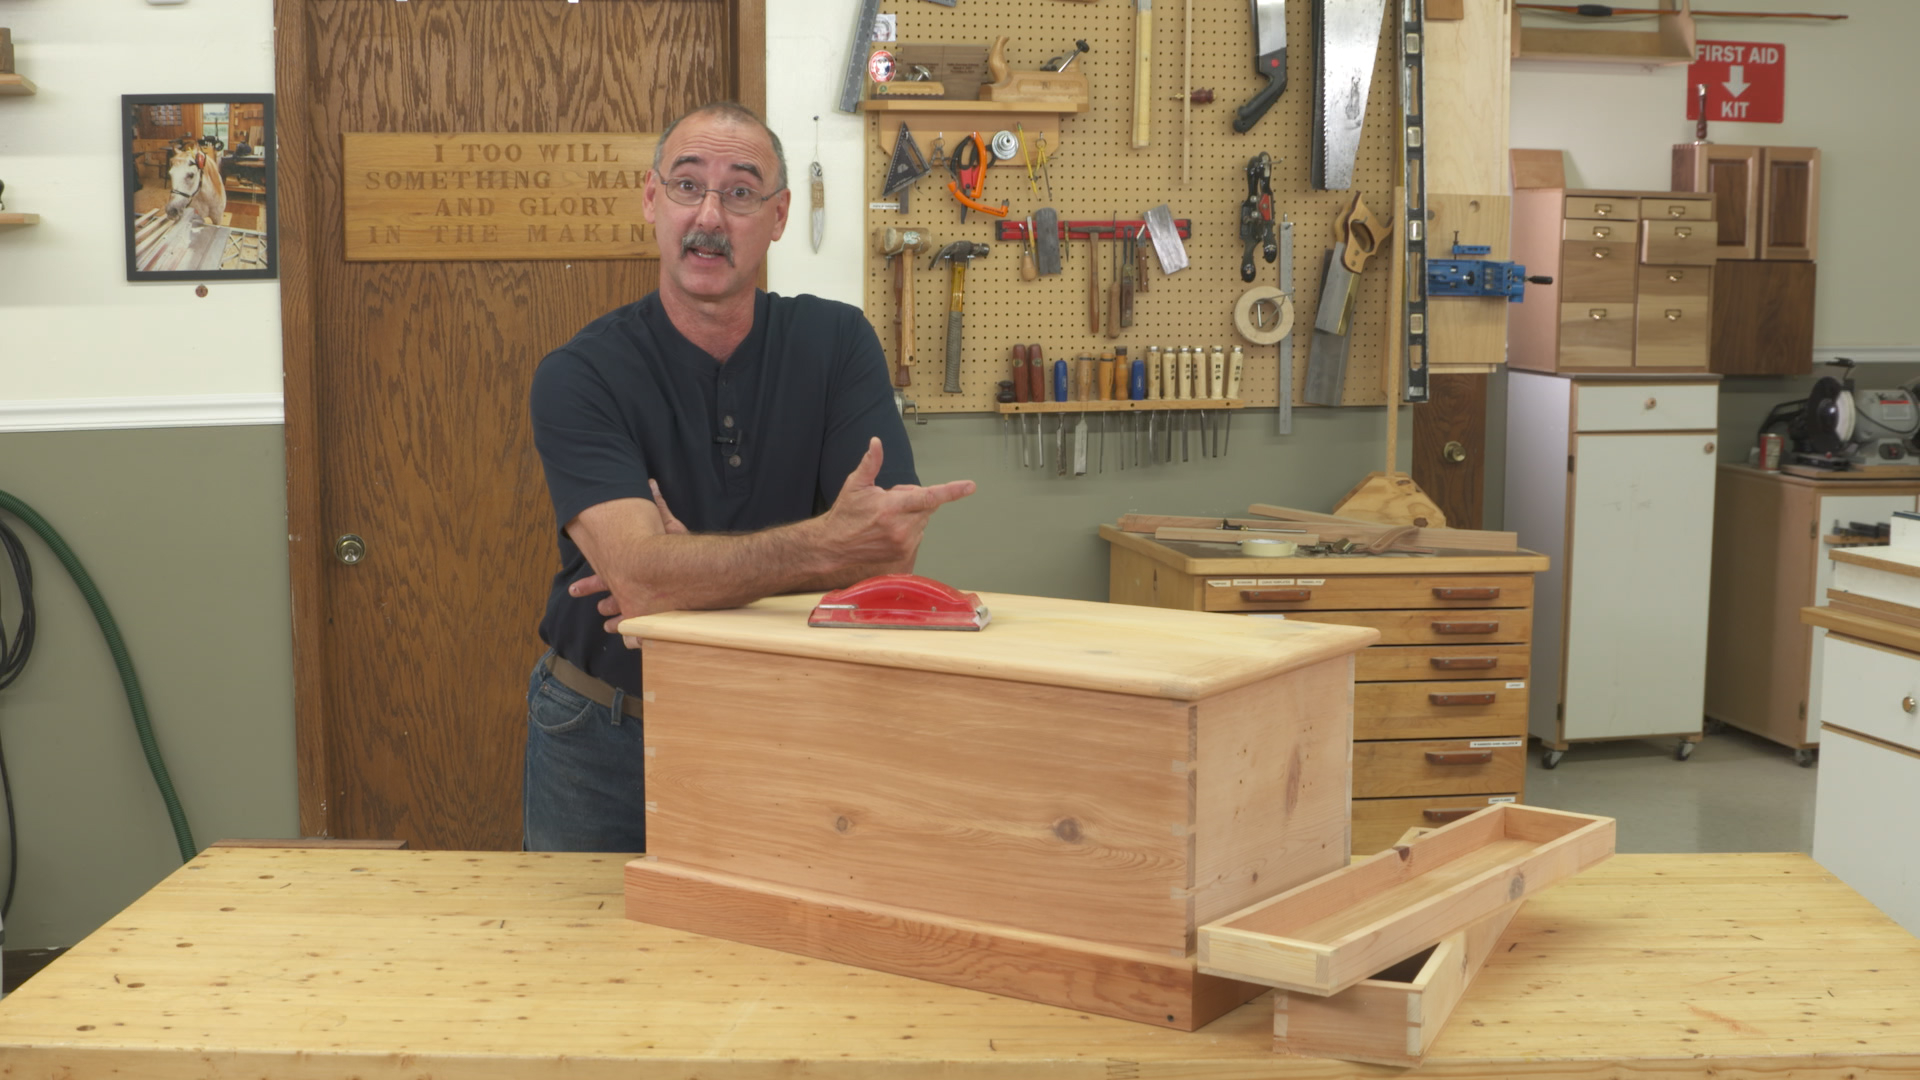
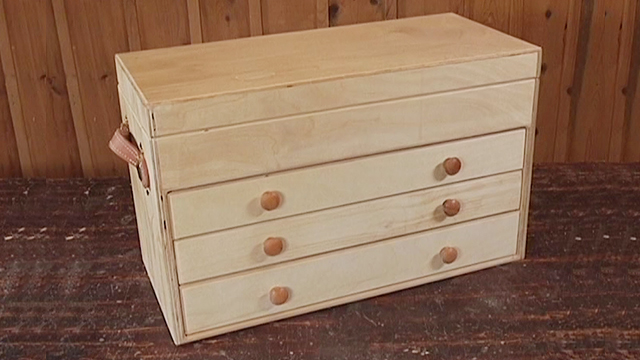
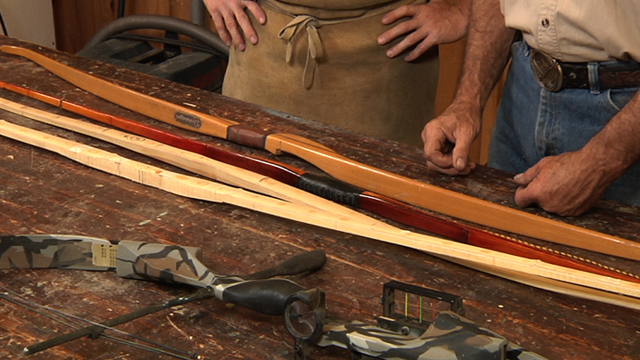
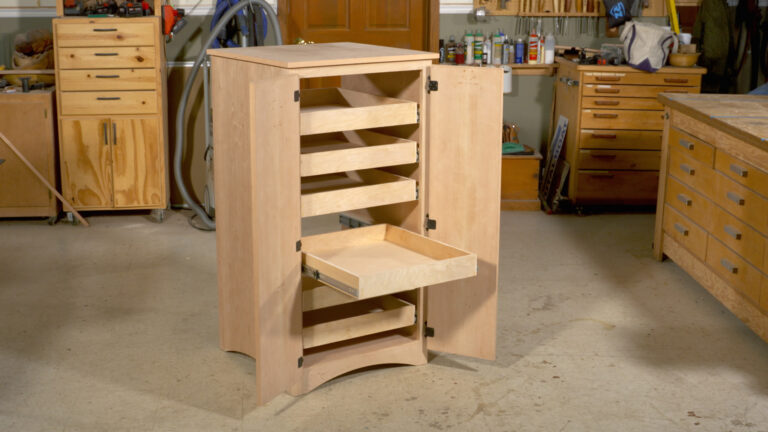
Every shop needs a tool chest. Not only does it provide a place to store your prized tools, it also provides a way to show off your woodworking skills. The tool chest shown in this instructional video Class is a classic – with dovetailed corners, breadboard ends, mitered base molding and leather strap handles. These features will allow the chest to stand up to the test of time, and look great while doing so.
You’ll not only end up with a great looking and functional tool chest after viewing this class, you’ll use and enhance some key woodworking skills and techniques that will be valuable to you for many shop projects.
JOINERY
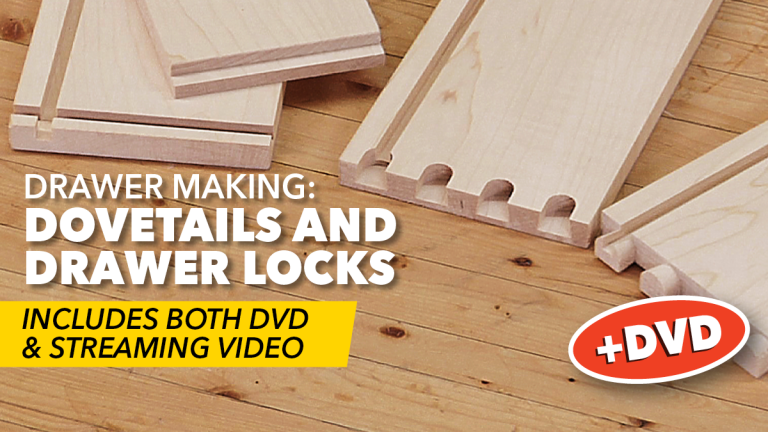
Through dovetails are used on the chest, and also on the storage trays inside the chest. The chest dovetails are cut using a dovetail jig, and the Class takes you step-by-step through the set up required for great dovetails. The dovetails on the trays are cut using a combination of bandsaw and hand tool work. If you’re not interested in using dovetails for the project, or don’t have the tools to do so, no problem. We’ll teach you alternate joinery techniques.
The breadboard ends are held in place with a tongue and groove joint. Breadboard ends are both attractive and functional, but must be used correctly or they can lead to cracks in your woodworking project. We’ll take you through the process, start to finish.
RECLAIMED WOOD
We’re using reclaimed Ponderosa Pine for our chest, but any material will work. Reclaimed wood helps make your project an “instant antique,” allowing character that developed over many years to come through. We’ll provide you with tips and tricks for working with reclaimed wood on your woodworking projects.
GLUE UPS, RESAWING & MITERS
The tool chest requires large panels, so we’ll teach you how to make great glue joints, and keep panels flat while gluing edge to edge. We’ll also show you how to resaw on the bandsaw to create the tray cleats, and how to create perfect miters for the base molding.
In addition to the detailed video instruction you’ll receive, this online Class provides you with some downloadable resources and helpful information to print and keep, including: A detailed Class Guide you can follow and use as a reminder for the key steps of the Class instruction; a detailed drawing of the tool chest elements with a cut list; and source references for the tools and material used in the Class.
George Vondriska
George Vondriska is the Editor in Chief here at Woodworkers Guild of America and has been sharing his woodworking expertise since 1986. Apart from conducting classes at his renowned Vondriska Woodworks School, George's passion for teaching has taken him to woodworking shows nationwide and has led him to teach woodworking for prestigious organizations such as Peace Corps/Swaziland, Andersen Window, Northwest Airlines, and the Pentagon. With a wealth of published magazine articles under his belt, encompassing tool reviews and shop improvement projects, George's knowledge and skills continue to inspire woodworkers every day. To discover more about him and his school, visit georgevondriska.com.
Bonus materials available after purchase
How do I know what the Class covers?
Do I have to be a Member of Woodworkers Guild of America to purchase a Class?
How do I purchase a Class?
How do I access/view my Class?
Do I have to take the Class right away?
Is there a limit on the times I can view my Class?
Can I view a Class on my tablet device or mobile phone?
How do I get access to the Bonus Materials for the Class?
How does the Class Q&A Resource benefit work?
Can I print out Class details?
What are PDF downloads?
Are there any system requirements to view the Class video content?
Why do you need my email?
Can I get a refund if I don’t like the Class?
How do I contact WWGOA Academy?
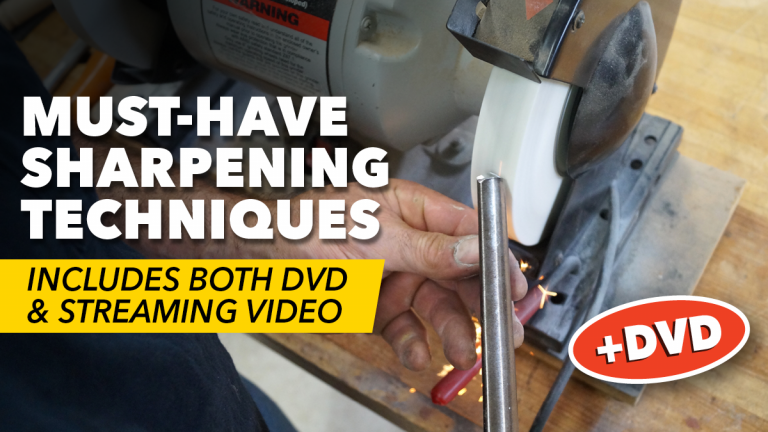
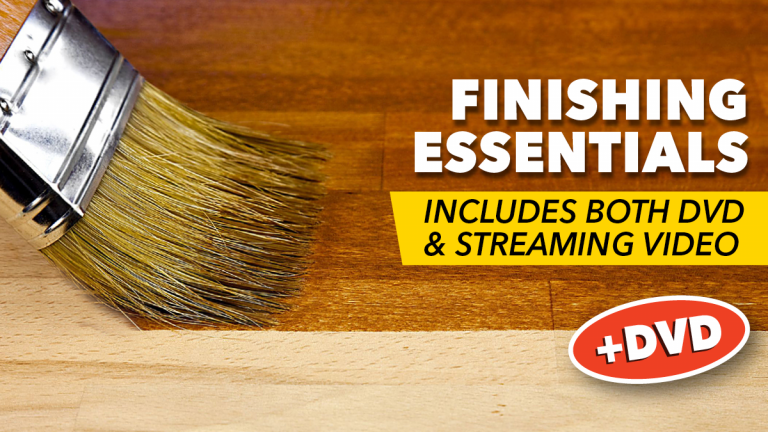
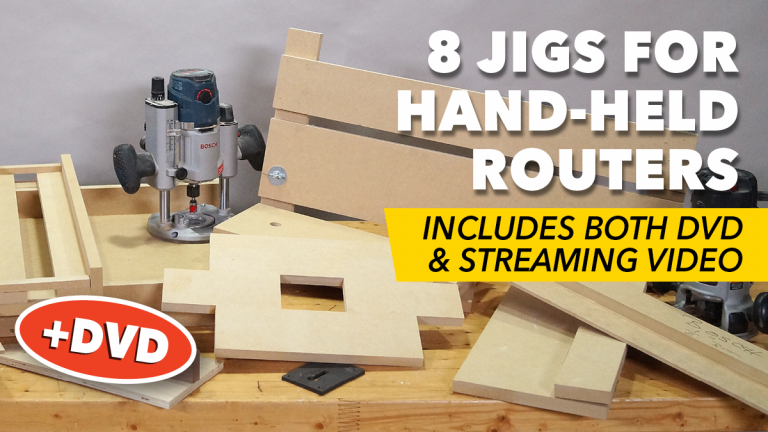
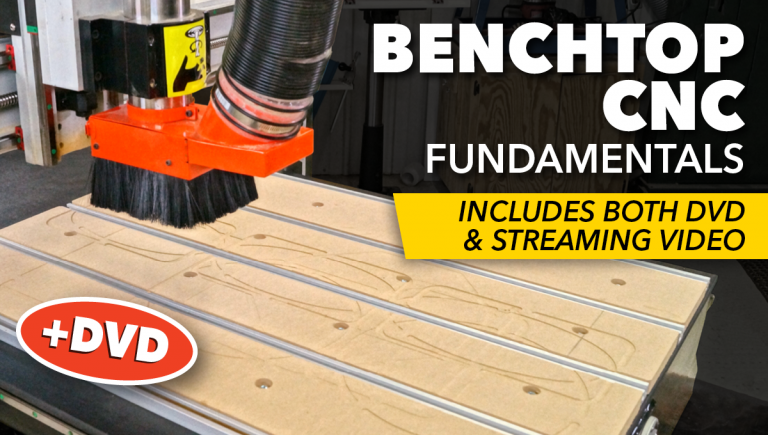
Explore classes by George Vondriska
Sale
Camp Kitchen
Class
Sale
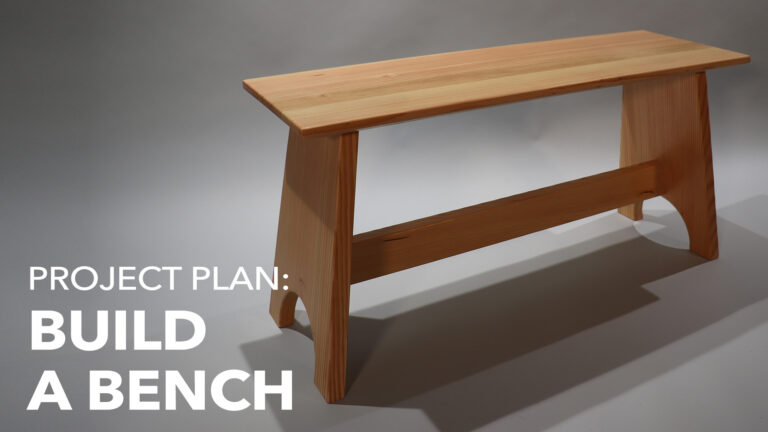
Build a Bench
Class
Sale
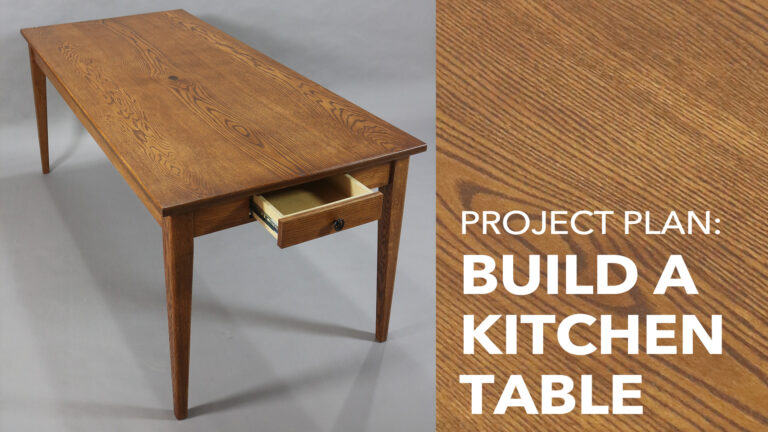
Kitchen Table
Class
Sale
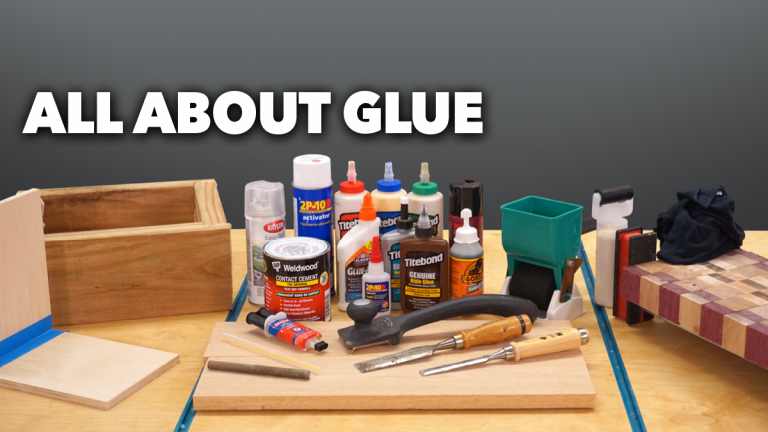
All About Glue
Class


Sale

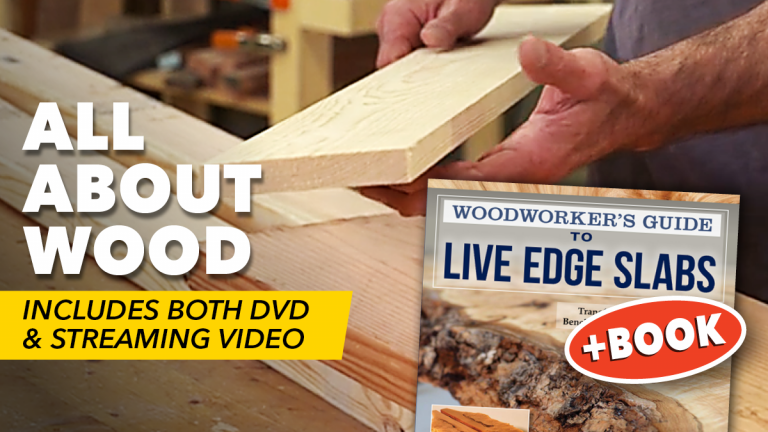
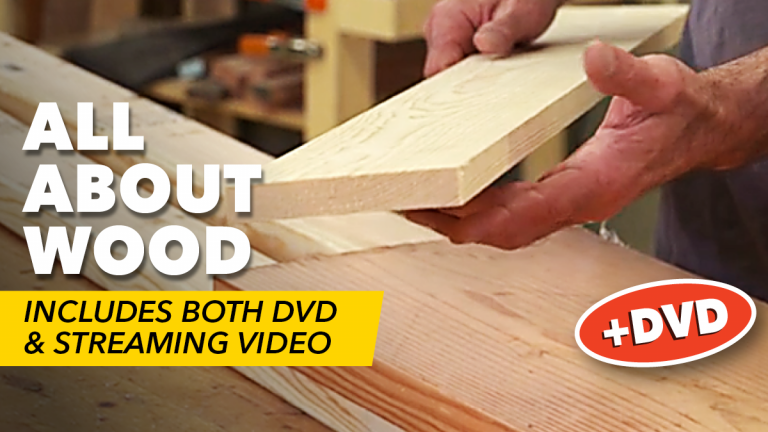
All About Wood
Class

Sale
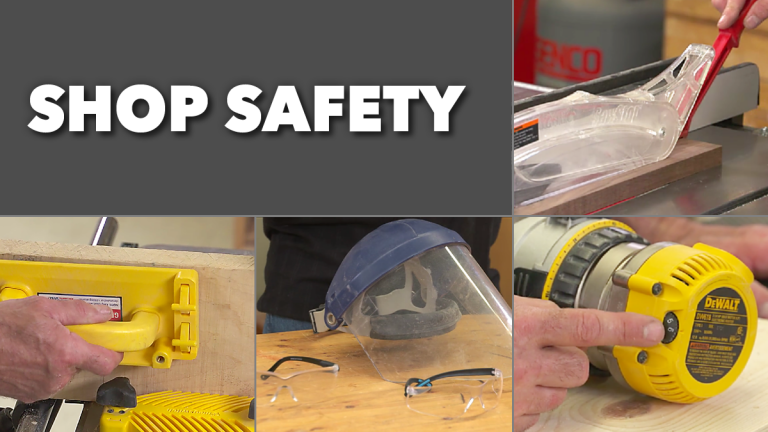
Shop Safety
Class
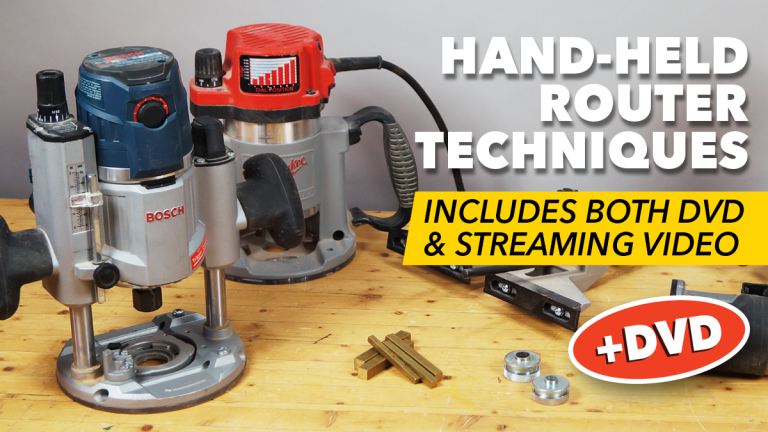
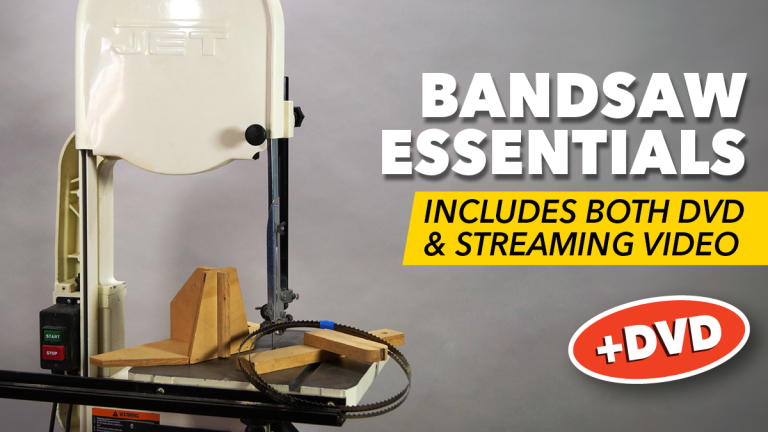
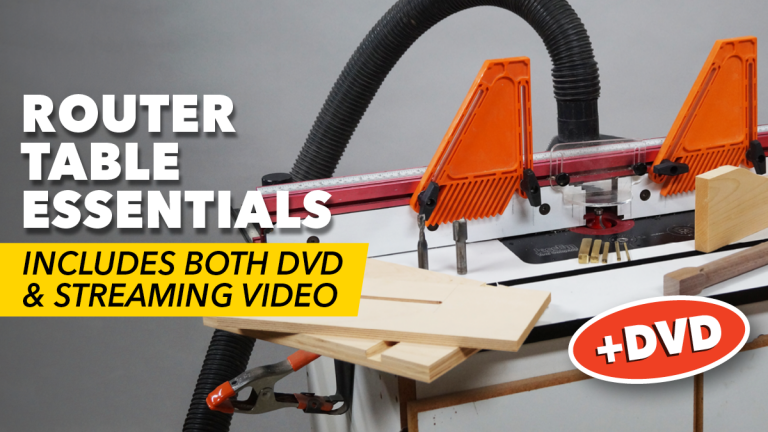
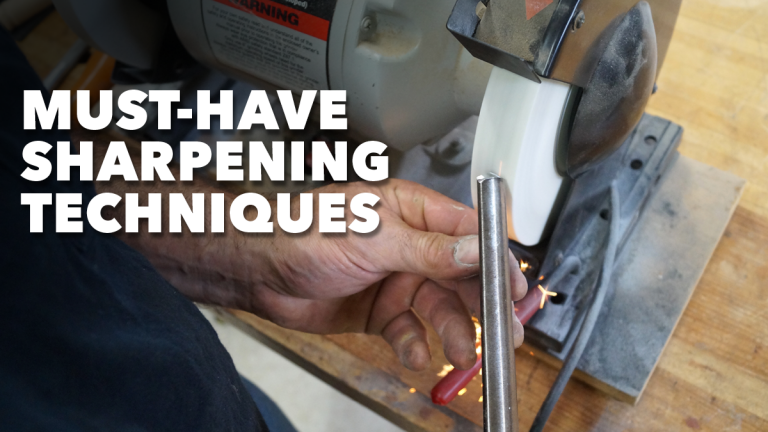
You may be interested in


Purchase Class
Purchase class and add to your personal library with on-demand video access.
- Enjoy on-demand video access to this content anytime, anywhere for the one-time cost below.
- You won’t lose access, with or without an active current Membership
Build a Tool Chest in Reclaimed Wood
with George Vondriska